|
BALLS AND LINES

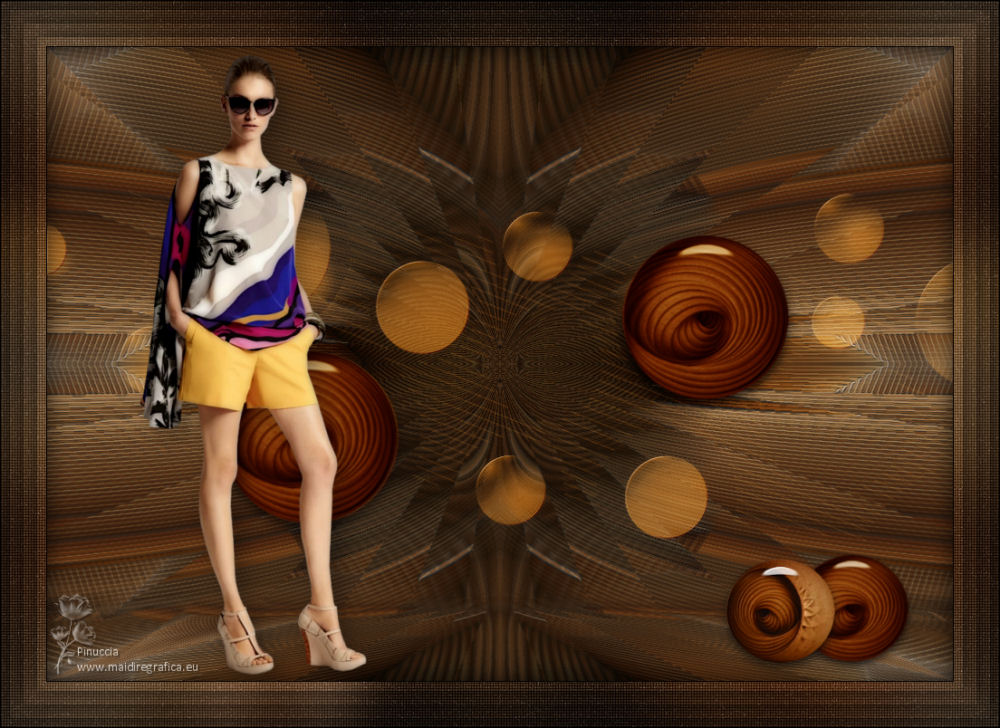
Thanks Maria José for your invitation to translate your tutorial

This tutorial has been translated with PSPX2 and PSPX3, but it can also be made using other versions of PSP.
Since version PSP X4, Image>Mirror was replaced with Image>Flip Horizontal,
and Image>Flip with Image>Flip Vertical, there are some variables.
In versions X5 and X6, the functions have been improved by making available the Objects menu.
In the latest version X7 command Image>Mirror and Image>Flip returned, but with new differences.
See my schedule here
 French translation here French translation here
 your versions ici your versions ici
For this tutorial, you will need:

The material is by Maria José.
(you find here the links to the material authors' sites)

consult, if necessary, my filter section here
Filters Unlimited 2.0 here
Mehdi - Sorting Tiles, Edges FX, Curves here
Simple - Top Left Mirror here
RCS Filter Pak 1.0 - RCS Digi-Lens - Flower Cut here
Redfield - Craquelure 3D here
Innovations 1.5 - Wavy City here
Mura's Meister - Perspective Tiling here
Mura's Seamless - Emboss at Alpha here
FM Tile Tools - Saturation Emboss here
Photoeffex - Scanlines here
Filters Simple can be used alone or imported into Filters Unlimited.
(How do, you see here)
If a plugin supplied appears with this icon  it must necessarily be imported into Unlimited it must necessarily be imported into Unlimited

You can change Blend Modes according to your colors.
In the newest versions of PSP, you don't find the foreground/background gradient (Corel_06_029).
You can use the gradients of the older versions.
The Gradient of CorelX here

Open the mask in PSP and minimize it with the rest of the material.
Set your foreground color to #80562c
and your background color to #393d40.
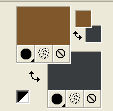
Set your foreground color to a Foreground/Background Gradient, style Linear.
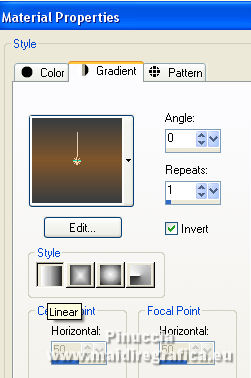
1. Open a new transparent image 1000 x 700 pixels.
Flood Fill  the transparent image with your Gradient. the transparent image with your Gradient.
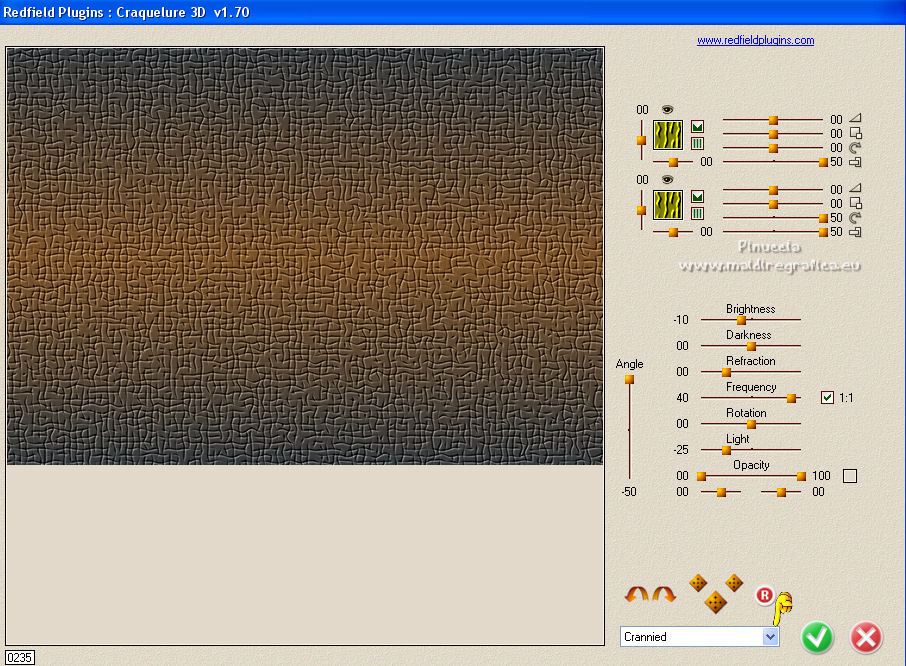
2. Effets>Effects>Plugins>Redfield - Craquelure 3D - preset Crannied and ok.
3. Effects>Plugins>Mehdi - Sorting Tiles
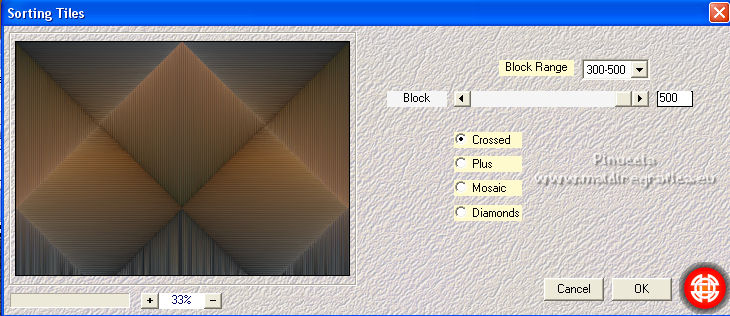
4. Effects>Image Effects>Seamless Tiling.

5. Effects>Plugins>Innovations 1.5 - Wavy City
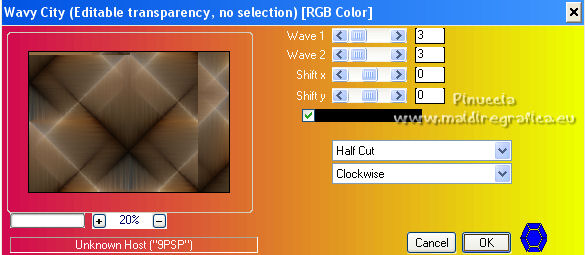
6. Effects>Image Effects>Seamless Tiling.

7. Effects>Plugins>RCS Filter Pak 1.0 - RCS Digi-Lens - Flower Cut
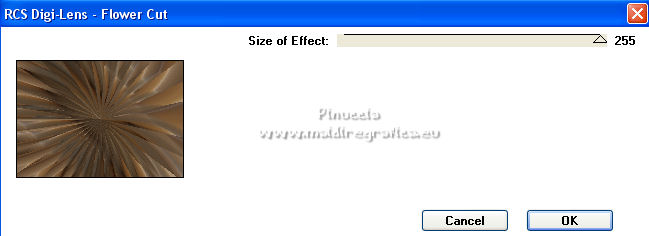
Note: To get the right result, this effect cannot be imported into Unlimited
8. Effects>Reflection Effects>Rotating Mirror.

9. Effects>Plugins>Simple - Top Left Mirror
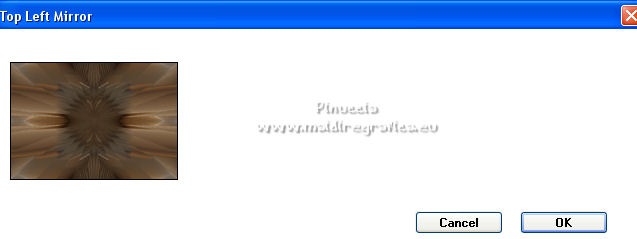
10. Effects>Plugins>Mehdi - Edges FX, background color.
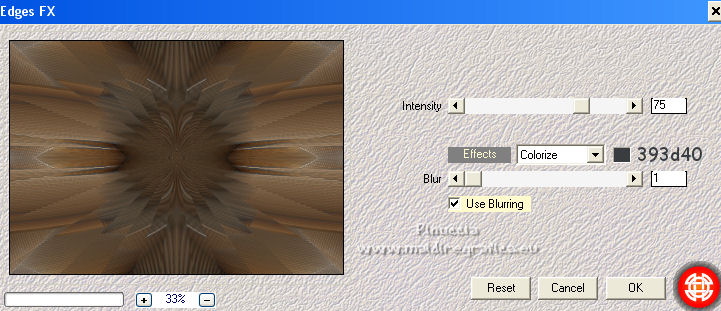
11. Effects>Plugins>Mehdi - Curves
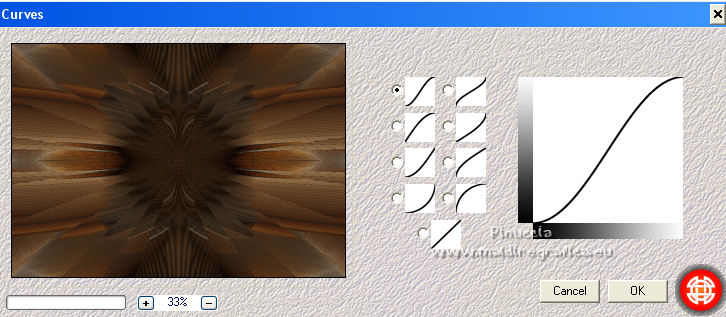
12. Layers>Duplicate.
Effects>Plugins>MuRa's Meister - Perspective Tiling
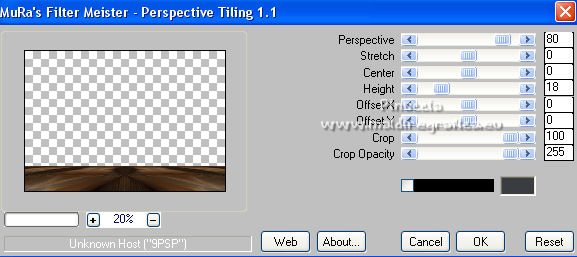
13. Activate your Magic Wand Tool  , tolerance and feather 0, , tolerance and feather 0,
and click in the transparent part to select it.
14. Selections>Modify>Outside/Inside Feather.
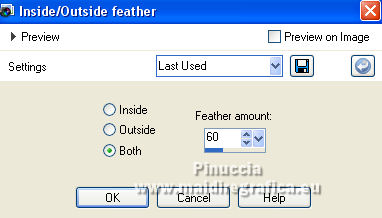
Press +/-10 times CANC on the keyboard 
Selections>Select None.
15. Layers>New Raster Layer.
Set your foreground color to Color.
Flood Fill  the layer with your foreground color #80562c. the layer with your foreground color #80562c.
16. Layers>New Mask layer>From image
Open the menu under the source window and you'll see all the files open.
Select the mask 2-maskmajo.
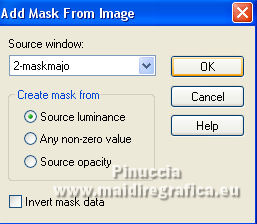
Layers>Merge>Merge Group.
17. Effects>Plugins>FM Tile Tools - Saturation Emboss, default settings.

18. Effects>Plugins>MuRa's Seamless - Emboss at Alpha, default settings.
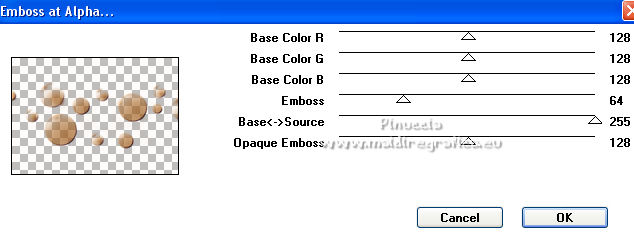
Change the Blend Mode of this layer to Screen
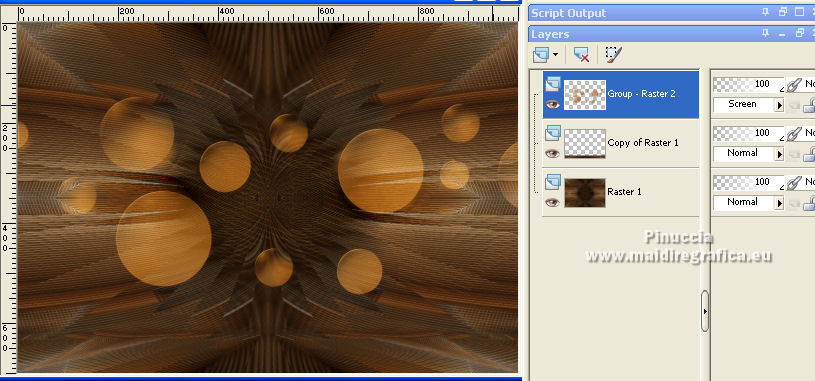
19. Open deco-MJ 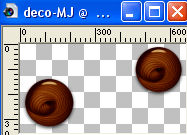
Edit>Copy.
Go back to your work and go to Edit>Paste as new layer.
Move  the tube on the existing balls the tube on the existing balls
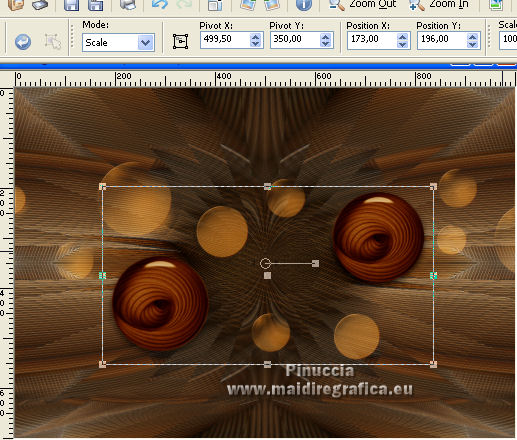
in the material you find the decorations to be colored
20. Open MJ-deco 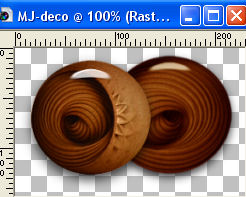
Edit>Copy.
Go back to your work and go to Edit>Paste as new layer.
Move  the tube at the bottom right. the tube at the bottom right.
in the material you find the decorations to be colored
Your tag and the layers - change Blend Modes to your liking.
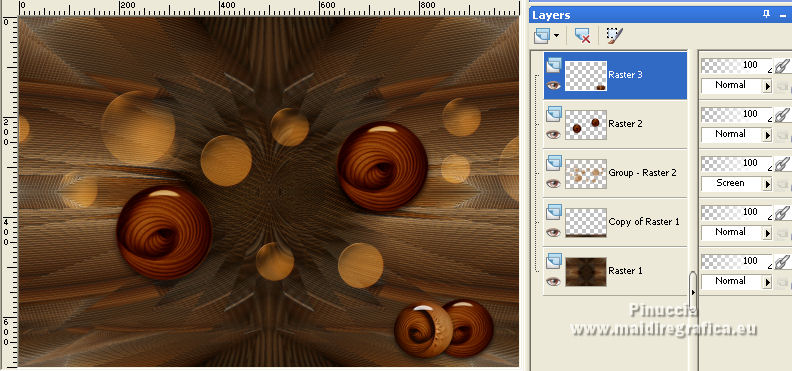
21. Open the woman tube womantube-MJ 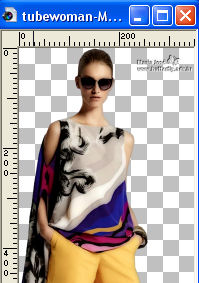
Erase the watermark and go to Edit>Copy.
Go back to your work and go to Edit>Paste as new layer.
Image>Resize, to 80%, resize all layers not checked.
Move  the tube to the left side, or to your liking. the tube to the left side, or to your liking.
Effects>3D Effects>Drop Shadow, at your choice.
22. Image>Add borders, 1 pixel, symmetric, color black.
23. Selections>Select All.
Edit>Copy
Image>Add borders, 50 pixels, symmetric, color white.
24. Selections>Invert.
Edit>Paste into Selection.
25. Adjust>Blur>Gaussian Blur - radius 30.

26. Effects>3D Effects>Drop Shadow, color black.

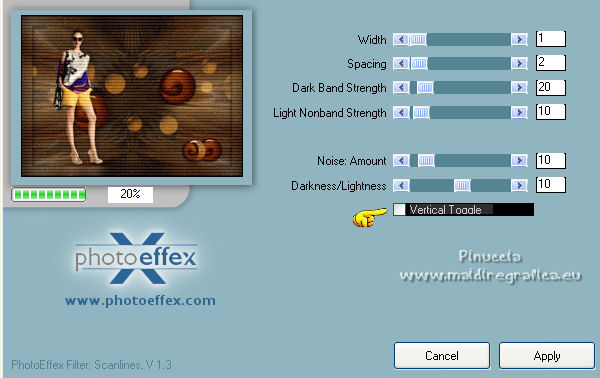
27. Effects>Plugins>Photoeffex - Scanlines
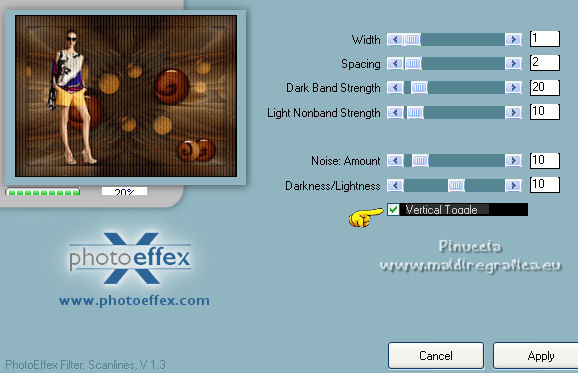
Repeat the Effect, vertical not checked.
28. Selections>Select All.
Selections>Modify>Contract - 40 pixels.
Effects>3D Effects>Drop Shadow, same settings.
29. Selections>Select All.
Selections>Modify>Contract - 25 pixels.
Effects>3D Effects>Drop Shadow, same settings.
30. Selections>Select All.
Selections>Modify>Contract - 10 pixels.
Effects>3D Effects>Drop Shadow, same settings.
Selections>Select None.
31. Sign your work on a new layer.
32. Image>Add borders, 1 pixel, symmetric, color black.
Image>Resize, 1000 pixels width, resize all layers checked.
Save as jpg.
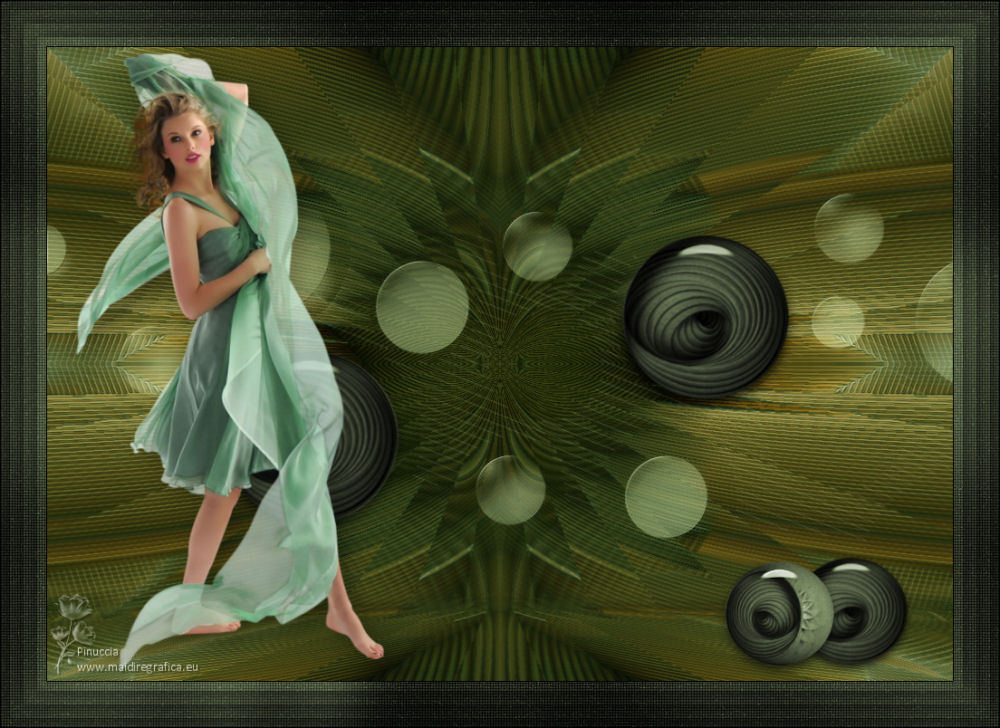
For the tubes of these versions thanks
Azalée
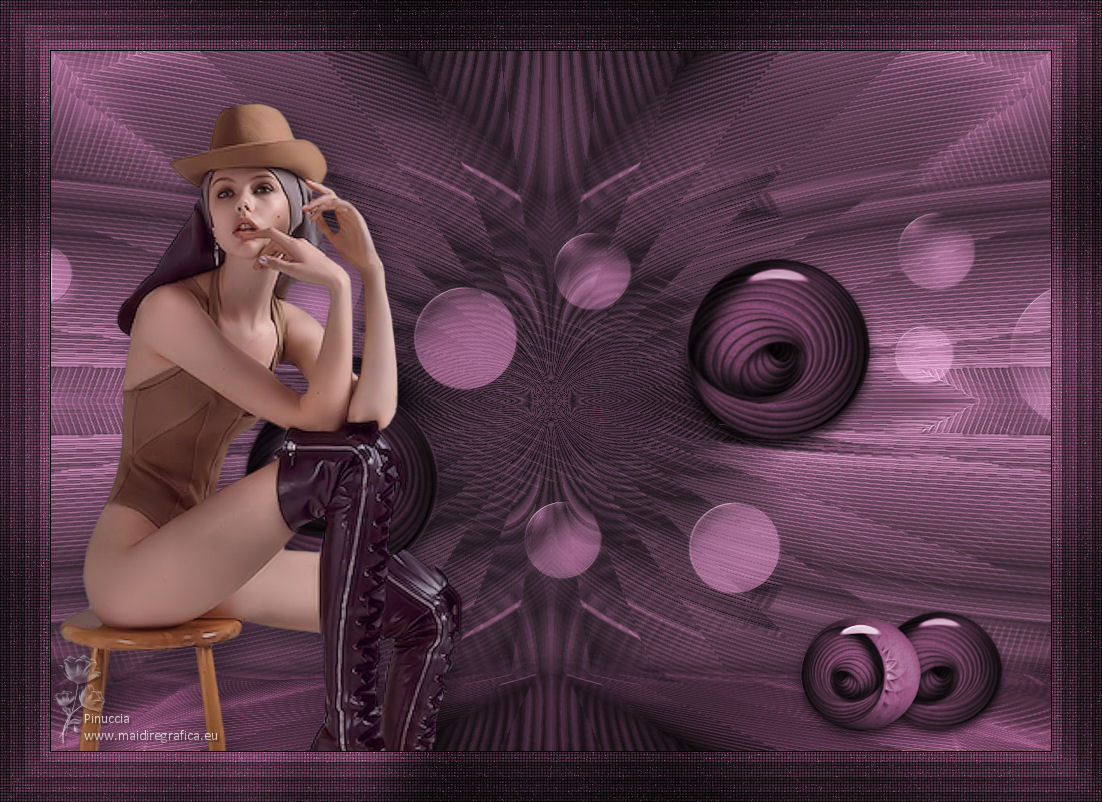
Tocha
 Your versions here Your versions here

If you have problems or doubts, or you find a not worked link,
or only for tell me that you enjoyed this tutorial, write to me.
5 November 2022

|

