|
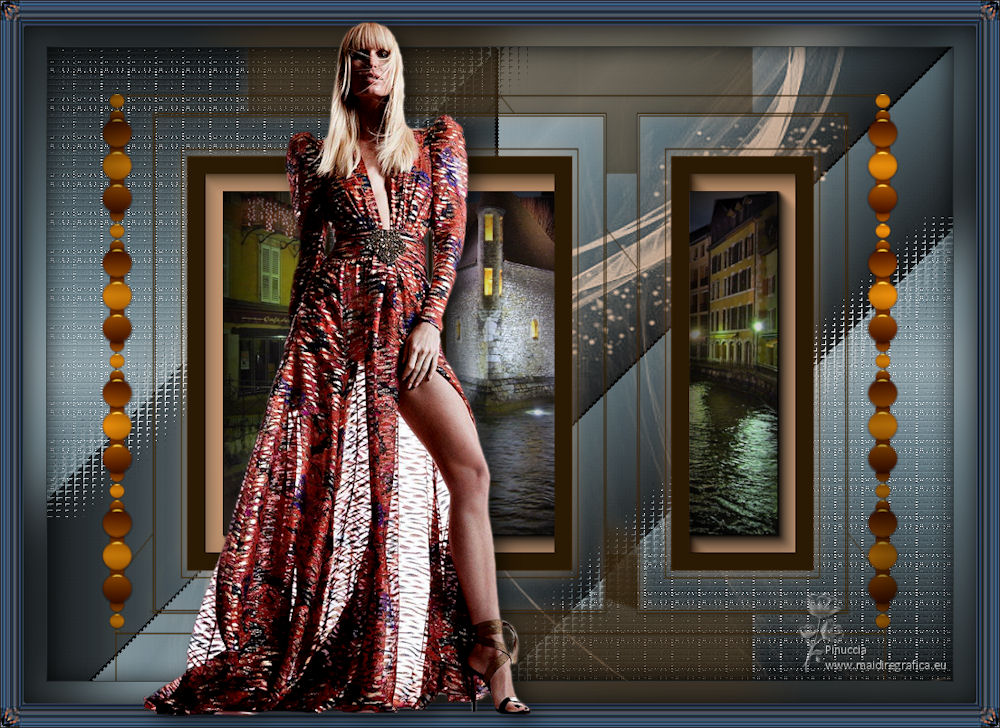
ANNECY

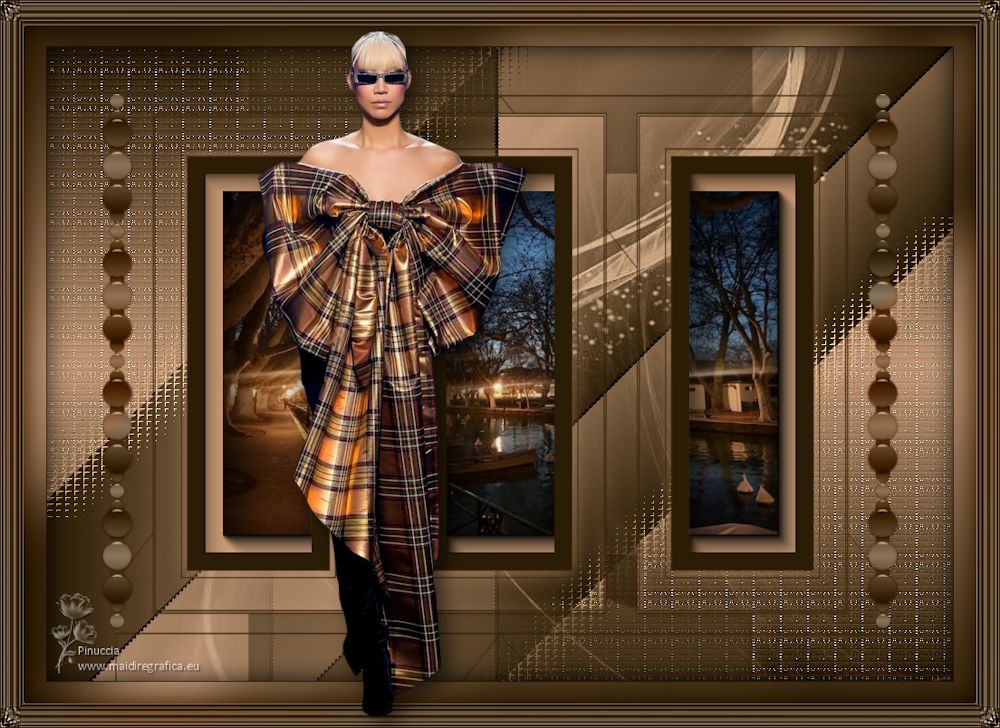
Thanks Maria José for your invitation to translate your tutorial

This tutorial has been translated with PSPX2 and PSPX3, but it can also be made using other versions of PSP.
Since version PSP X4, Image>Mirror was replaced with Image>Flip Horizontal,
and Image>Flip with Image>Flip Vertical, there are some variables.
In versions X5 and X6, the functions have been improved by making available the Objects menu.
In the latest version X7 command Image>Mirror and Image>Flip returned, but with new differences.
See my schedule here
 French translation here French translation here
 your versions ici your versions ici
For this tutorial, you will need:
Material here
Thanks for the tube Suizabella and for the masks @nn_tdstudio and Narah.
The rest of the material is by Maria José.
(you find here the links to the material authors' sites)
Plugins
consult, if necessary, my filter section here
Filters Unlimited 2.0 here
Funhouse - Tremors here
Mehdi - Sorting Tiles here
Carolaine and Sensibiilty - CS-LDots here
Unplugged Tools - Renaissance here
AAA Frames - Foto Frame here
Filters Unplugged Tools and Funhouse can be used alone or imported into Filters Unlimited.
(How do, you see here)
If a plugin supplied appears with this icon  it must necessarily be imported into Unlimited it must necessarily be imported into Unlimited

You can change Blend Modes according to your colors.
In the newest versions of PSP, you don't find the foreground/background gradient (Corel_06_029).
You can use the gradients of the older versions.
The Gradient of CorelX here

Open the masks in PSP and minimize them with the rest of the material.
1. Set your foreground color to light color #c09776,
and your background color to dark color #2b1c05.
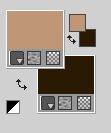
Set your foreground color to a Foreground/Background Gradiente, style Linear.

Open alphachannelannecy.
Window>Duplicate or, on the keyboard, shift+D to make a copy.

Close the original.
The copy, that will be the basis of your work, is not empty,
but contains the selections saved to alpha channel.
Flood Fill  the transparent image with your Gradient. the transparent image with your Gradient.
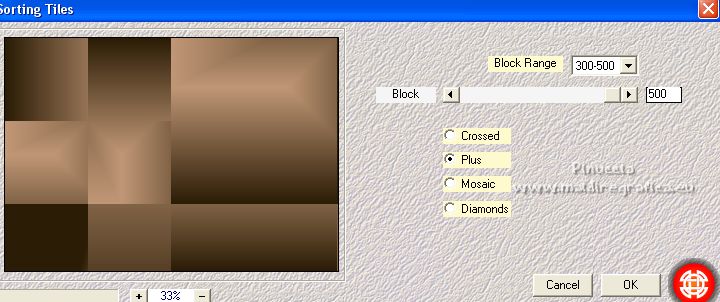
2. Effects>Plugins>Mehdi - Sorting Tiles.
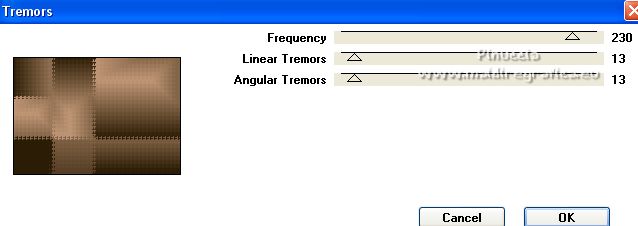
3. Effects>Plugins>Funhouse - Tremors
4. Effects>Geometric Effects>Skew - foreground color #c09776.

5. Selections>Load/Save Selection>Load Selection from Alpha Channel.
The selection #1 is immediately available.
You just have to click Load.

6. Layers>New Raster Layer.
Flood Fill  with your Gradient. with your Gradient.
7. Effects>Plugins>Carolaine and Sensibility - CS-LDots.
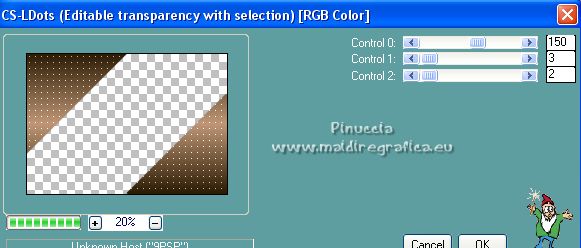
8. Effects>3D Effects>Drop Shadow, color black.

Selections>Invert.
Effects>3D Effects>Drop Shadow, same settings.
Selections>Select None.
9. Effects>Texture Effects>Mosaic - Glass.

10. Adjust>Sharpness>Sharpen More.
11. Activate the layer Raster 1.
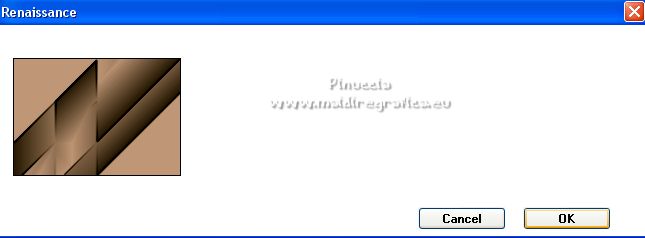
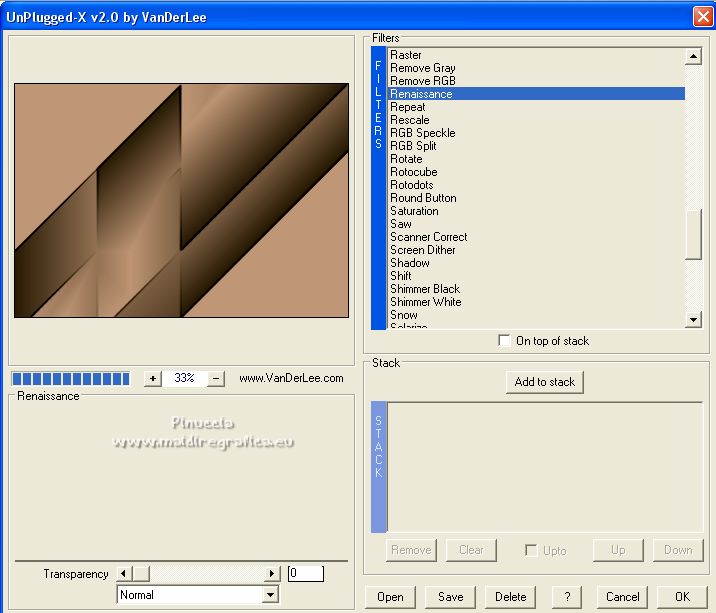
Effects>Plugins>Unplugged Tools - Renaissance.
or Effects>Plugins>VanDerLee - Unplugged-X - Renaissance.
12. Layers>New Raster Layer.
Layers>Arrange>Bring to Top.
Flood Fill  with your dark color. with your dark color.
13. Layers>New Mask layer>From image
Open the menu under the source window and you'll see all the files open.
Select the mask m@nn_141012_mask_189.jpg.

Layers>Merge>Merge Group.
14. Adjust>Sharpness>Sharpen More.
15. Effects>Reflection Effects>Rotating Mirror.

16. Selections>Load/Save Selection>Load Selection from Alpha Channel.
Open the selections menu and load the selection #2.

17. Selections>Modify>Contract - 20 pixels.
Set your foreground color to Color.
Flood Fill  with your light foreground color. with your light foreground color.
18. Effects>Plugins>AAA Frames - Foto Frame.
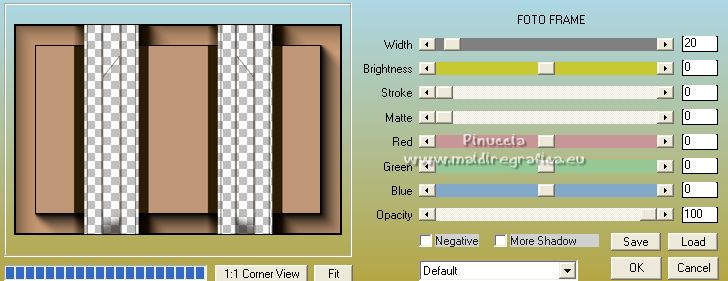
Selections>Select None.
19. Selections>Load/Save Selection>Load Selection from Alpha Channel.
Open the selections menu and load the selection #3.

20. Layers>New Raster Layer.
Open the graphique and go to Edit>Copy.
Go back to your work and go to Edit>Paste into Selection.
21. Layers>New Raster Layer.
Effects>3D Effects>Cutout.

22. Layers>Merge>Merge Down - 2 times.
Selections>Select None.
23. Effects>3D Effects>Drop Shadow, light color.

24. Reduce the opacity of your Flood Fill Tool to 80%.
Layers>New Raster Layer.
Flood Fill  the layer with your light foreground color. the layer with your light foreground color.
don't forget to set again the opacity to 100
25. Layers>New Mask layer>From image
Open the menu under the source window
and select the mask NarahsMasks_1683.jpg.

Layers>Merge>Merge Group.
26 Adjust>Sharpness>Sharpen More.
27. Change the Blend Mode of this layer to Screen.
Layers>Arrange>Move Down.

28. Activate your top layer.
Open decoannecy_MJ and go to Edit>Copy.
Go back to your work and go to Edit>Paste as new layer.
Change the Blend Mode of this layer to Luminance (legacy).
Your tag and the layers; adapt Blend Mode and opacity to your liking.

29. Image>Add borders, 1 pixel, symmetric, dark color.
30. Selections>Select All.
Edit>Copy.
Image>Add borders, 50 pixels, symmetric, color white.
31. Selections>Invert.
Edit>Paste into Selection (the image memorized at step 30).
32. Adjust>Blur>Gaussian Blur - radius 30.

33. Effects>3D Effects>Drop Shadow, colore black.

Keep selected.
34. Layers>New Raster Layer.
Open frame1 and go to Edit>Copy.
Go back to your work and go to Edit>Paste into Selection.
Change the Blend Mode of this layer to Luminance (legacy).
Adjust>Sharpness>Sharpen More.
Selections>Select None.
35. Effects>3D Effects>Drop Shadow, color black.

Layers>Merge>Merge visible.
36. Open the woman tube and go to Edit>Copy.
Go back to your work and go to Edit>Paste as new layer.
Image>Resize, to 68%, resize all layers not checked.
Place  correctly the tube. correctly the tube.
Effects>3D Effects>Drop Shadow, at your choice.
37. Sign your work on a new layer.
Image>Add borders, 1 pixel, symmetric, dark color.
38. Image>Resize, 1000 pixels width, resize all layers checked.
Save as jpg.
For the tubes of this version thanks Suizabella.
 Your versions here Your versions here

If you have problems or doubts, or you find a not worked link,
or only for tell me that you enjoyed this tutorial, write to me.
17 September 2022

|

