|
ABAYOMI

Abayomi is a name of Nigerian origin and means "bringer of joy"
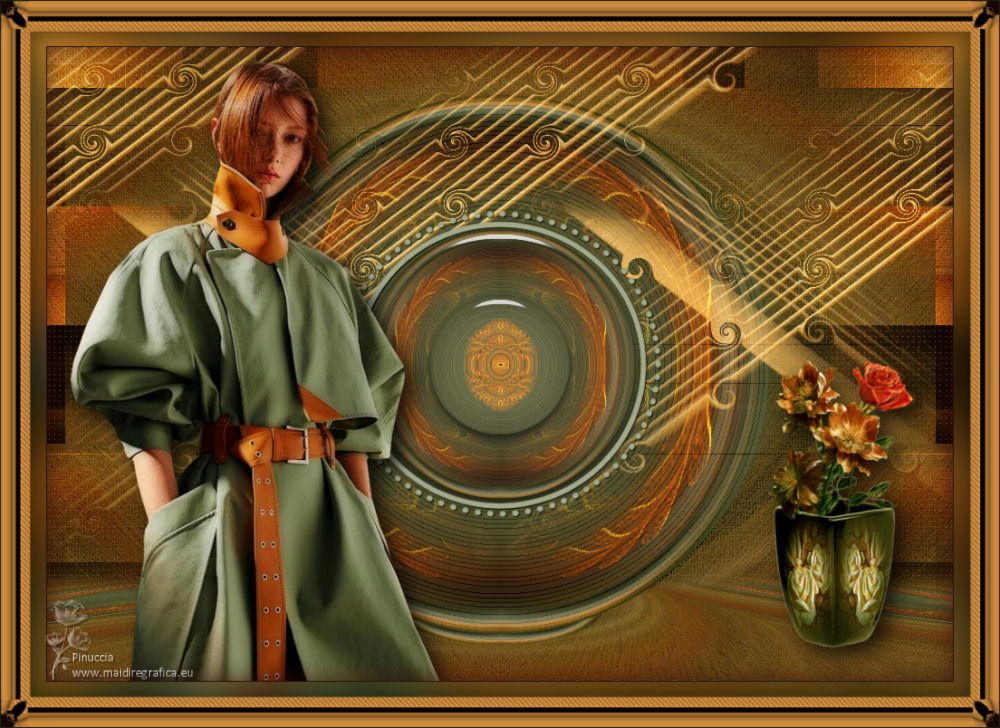
Thanks Maria José for your invitation to translate your tutorial

This tutorial has been translated with PSPX2 and PSPX3, but it can also be made using other versions of PSP.
Since version PSP X4, Image>Mirror was replaced with Image>Flip Horizontal,
and Image>Flip with Image>Flip Vertical, there are some variables.
In versions X5 and X6, the functions have been improved by making available the Objects menu.
In the latest version X7 command Image>Mirror and Image>Flip returned, but with new differences.
See my schedule here
 French translation here French translation here
 your versions ici your versions ici
For this tutorial, you will need:

The material is by Maria José.
(you find here the links to the material authors' sites)

consult, if necessary, my filter section here
Filters Unlimited 2.0 here
Almathera - A Warper here
Carolaine and Sensibility - CS_Halloween 2 here
Artistiques - Pastels here
Mura's Meister - Perspective Tiling here
Alien Skin Eye Candy 5 Impact - Perspective Shadow, Glass here
Mura's Seamless - Emboss at Alpha here
Filters Mura's Seamless can be used alone or imported into Filters Unlimited.
(How do, you see here)
If a plugin supplied appears with this icon  it must necessarily be imported into Unlimited it must necessarily be imported into Unlimited

You can change Blend Modes according to your colors.
In the newest versions of PSP, you don't find the foreground/background gradient (Corel_06_029).
You can use the gradients of the older versions.
The Gradient of CorelX here
Copy the preset  in the folder of the plugin Alien Skin Eye Candy 5 Impact>Settings>Glass. in the folder of the plugin Alien Skin Eye Candy 5 Impact>Settings>Glass.
One or two clic on the file (it depends by your settings), automatically the preset will be copied in the right folder.
why one or two clic see here

Copy the preset Emboss 3 in the Presets Folder.
Copy the Selections in the Selections Folder.
Open the masks in PSP and minimize them with the rest of the material.
Set your foreground color to #de9744,
and your background color to #172501.
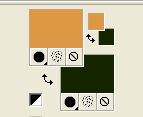
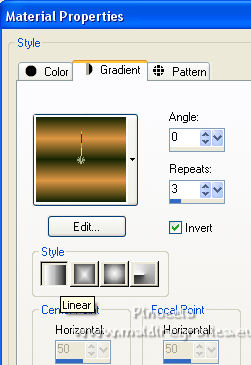
Set your foreground color to a Foreground/Background Gradient, style Linear.
1. Open a new transparent image 1000 x 700 pixels.
Flood Fill  the transparent image with your Gradient. the transparent image with your Gradient.
2. Selections>Select All.
Open the tube mariajoseMJ-307 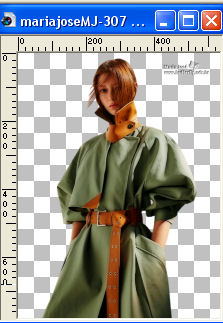
Erase the watermark and go to Edit>Copy.
Minimize the tube.
Go back to your work and go to Edit>Paste into Selection.
Selections>Select None.
3. Effects>Image Effects>Seamless Tiling.

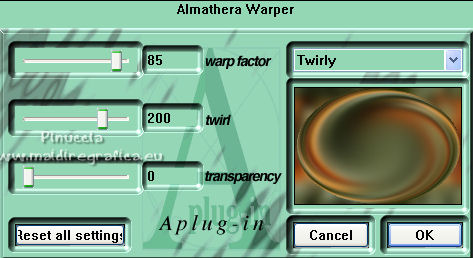
4. Effects>Plugins>Almathera - A Warper.
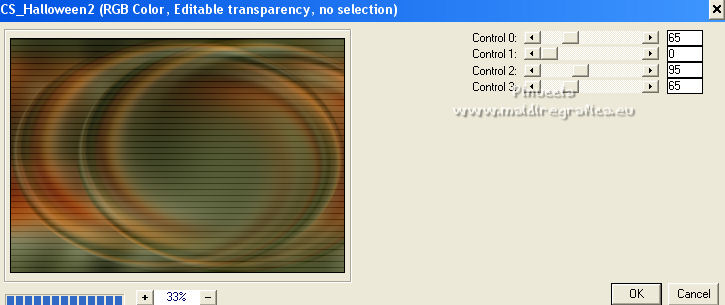
5. Effects>Plugins>Carolaine and Sensibility - CS_Halloween 2, default settings.
7. Layers>New Raster Layer.
Set your foreground color to Colo.
Flood Fill  the layer with your light foreground color. the layer with your light foreground color.
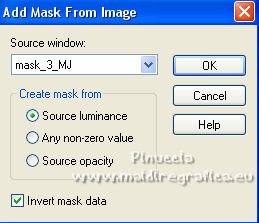
8. Layers>New Mask layer>From image
Open the menu under the source window and you'll see all the files open.
Select the mask mask_3_MJ.
Layers>Merge>Merge Groupe.
9. Effects>User Defined Filter - select the preset Emboss 3 and ok.

10. Effects>Image Effects>Seamless Tiling.

11. Change the Blend Mode of this layer to Hard Light.
Layers>Merge>Merge visible.
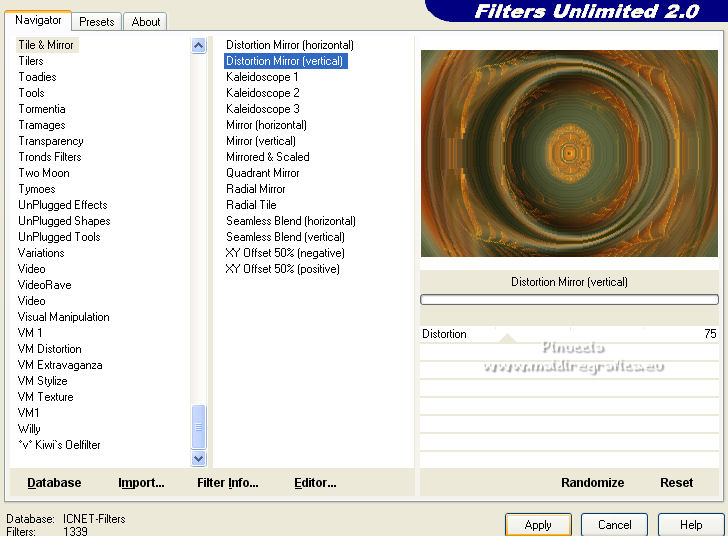
12. Effects>Plugins>Filters Unlimited 2.0 - Tile & Mirror - Distortion Mirror.
13. Effects>Reflection Effects>Rotating Mirror, default settings.

14. Selections>Load/Save Selection>Load Selection from Disk.
Look for and load the selection MJ-sel-round-1
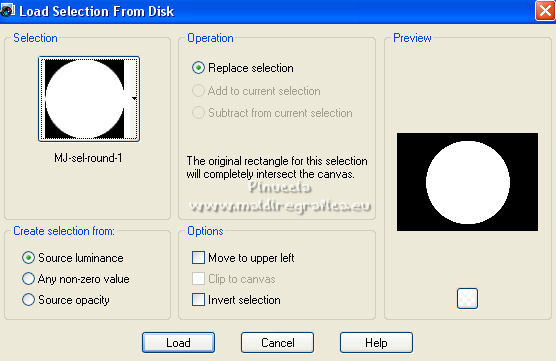
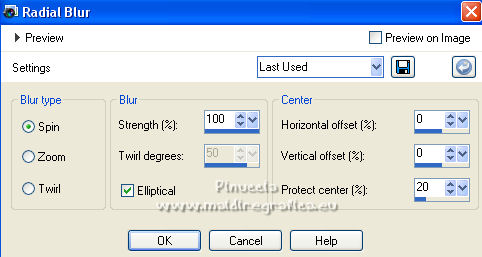
15. Selections>Invert.
Adjust>Blur>Radial Blur.
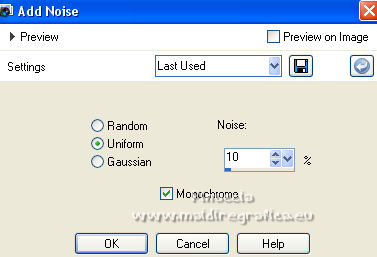
16. Adjust>Add/Remove Noise>Add Noise.
17. Effects>Plugins>Artistic - Rough Pastels
if you use the french version of this filter (le result doen't change)
Effects>Plugins>Artistiques - Pastels.
 
18. Effects>Reflection Effects>Rotating Mirror, default settings.

19. Again Selections>Invert.
Selections>Promote Selection to layer.
Selections>Select None.
20. Image>Resize, to 50%, resize all layers not checked.
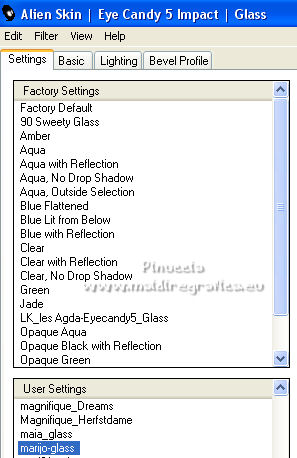
21. Effects>Plugins>Alien Skin Eye Candy 5 Impact - Glass.
Select the preset marijo-glass and ok.
22. Open decoabayomi-MJ 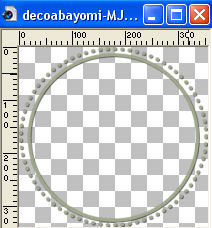
Edit>Copy.
Go back to your work and go to Edit>Paste as new layer.
Layers>Merge>Merge Down.
23. Selections>Load/Save Selection>Load Selection from Disk.
Look for and load the selection MJ-sel-round-3
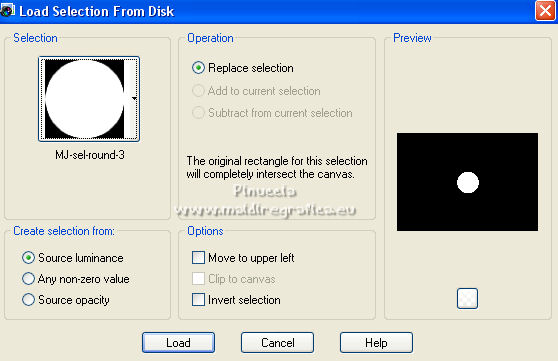
Selections>Promote Selection to Layer.
24. Effects>Plugins>Alien Skin Eye Candy 5 Impact - Glass - preset marijo-glass.
Selections>Select None.
25. Open deco1-MJ 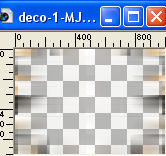
Edit>Copy.
Go back to your work and go to Edit>Paste as new layer.
Layers>Arrange>Move Down - 2 times.
Change the Blend Mode of this layer to Overlay, or other.
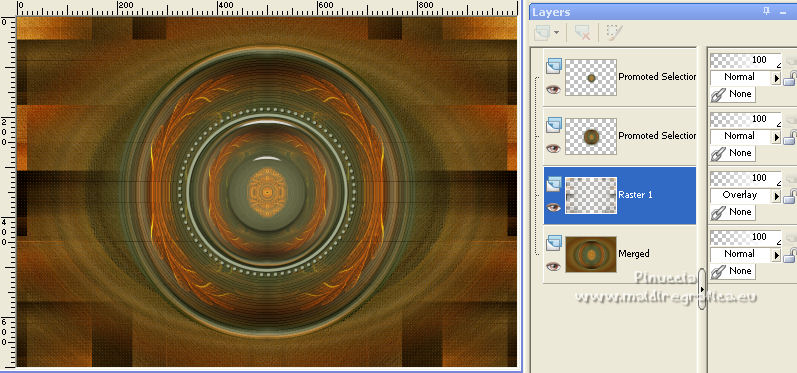
26. Layers>New Raster Layer.
Flood Fill  the layer with your light foreground color. the layer with your light foreground color.
27. Layers>New Mask layer>From image
Open the menu under the source window
and select the mask mask_40_MJ.
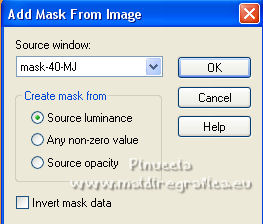
Layers>Merge>Merge Group.
28. Effects>Plugins>Mura's Seamless - Emboss at Alpha, default settings.
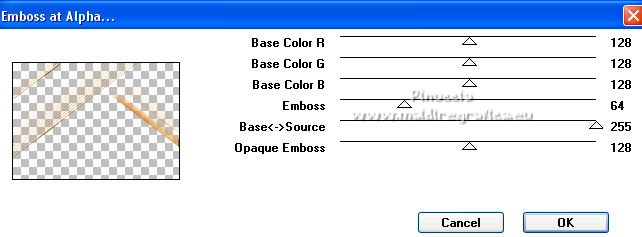
29. Effects>Image Effects>Seamless Tiling.

30. Effects>Distortion Effects>Curlicues.
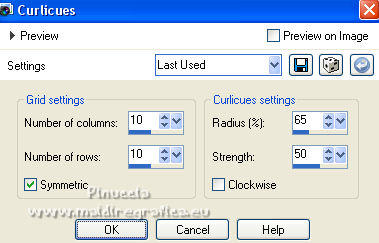
31. Layers>Duplicate.
Layers>Merge>Merge Down.
32. Selections>Load/Save Selection>Load Selection from Disk.
Look for and load the selection MJ-sel-round-2
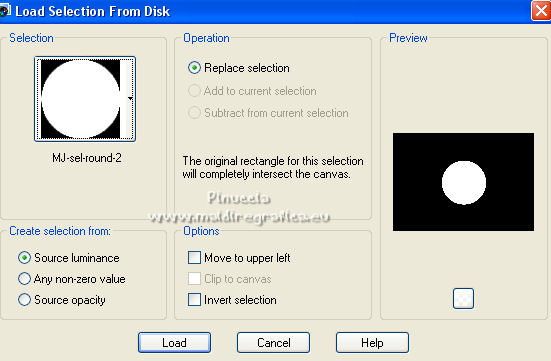
Press CANC on the keyboard 
Selections>Select None.
Change the Blend Mode of this layer to Screen.
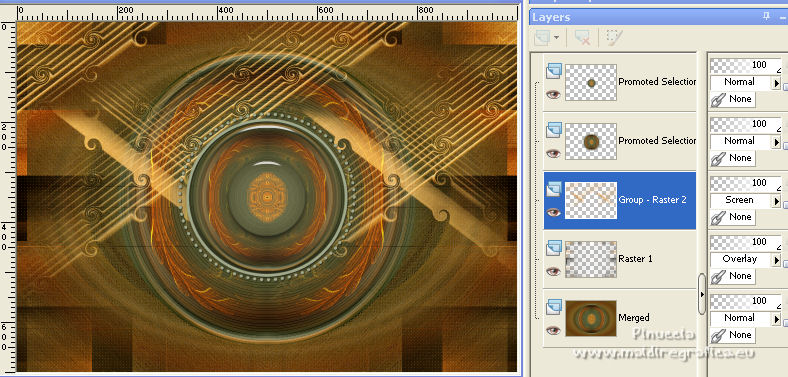
33. Activate the layer Merged.
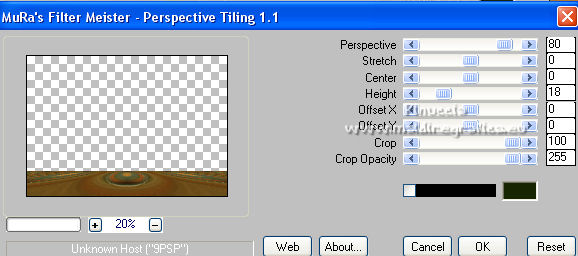
Layers>Duplicate.
Effects>Plugins>Mura's Meister - Perspective Tiling.
14. Activate your Magic Wand Tool  , feather 30, , feather 30,
and click in the transparent part to select it.
Press +/-10 times CANC on the keyboard 
Selections>Select None.
35. Selections>Load/Save Selection>Load Selection from Disk.
Look for and load again the selection MJ-sel-round-1

Press CANC on the keyboard.
Selections>Select None.
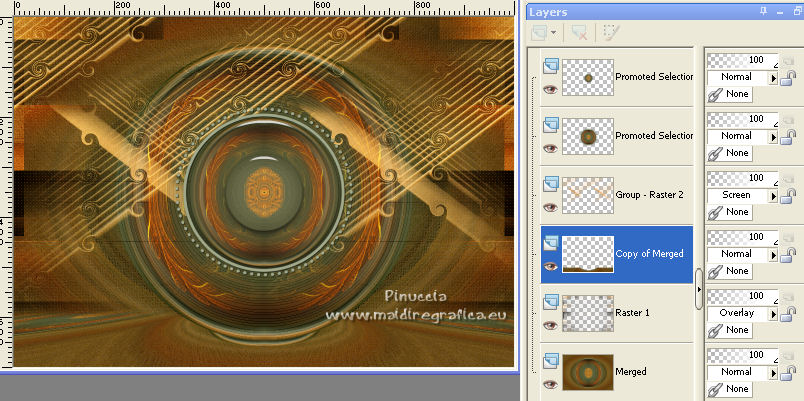
Layers>Arrange>Move Up.
La tag and the layers - adapt Blend Mode and opacity according to your colors.
36. Activate your top layer.
Activate again the woman tube mariajoseMJ-307 and go to Edit>Copy.
Go back to your work and go to Edit>Paste as new layer.
Image>Resize, to 90%, resize all layers not checked.
Image>Mirror.
Move  the tube to the left side. the tube to the left side.
Effects>3D Effects>Drop shadow, at your choice.
37. Open the déco vasoverde-MJ 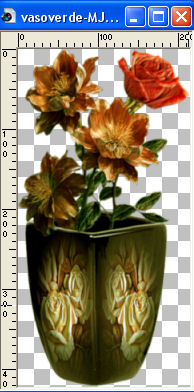
Edit>Copy.
Go back to your work and go to Edit>Paste as new layer.
Image>Resize, to 75%, resize all layers not checked.
Move  the tube to the right side. the tube to the right side.
Effects>3D Effects>Drop shadow, at your choice.
38. Image>Add borders, 1 pixel, symmetric, dark background color.
39. Selections>Select None.
Edit>Copy
Image>Add borders, 50 pixels, symmetric, color white.
40. Selections>Invert.
Edit>Paste into Selection.
41. Adjust>Blur>Gaussian Blur - radius 30.

Effects>3D Effects>Drop shadow, color black.

Leeè seòected.
42. Open frame-1-MJ 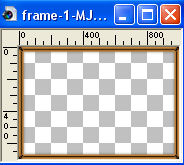
Go back to your work and go to Edit>Paste into Selection.
Selections>Select None.
43. Sign your work.
Image>Add borders, 1 pixel, symmetric, dark color.
44. Image>Resize, 1000 pixels width, resize all layers checked.
Save as jpg.
For the tubes of this version thanks Luz Cristina and Lady Valella
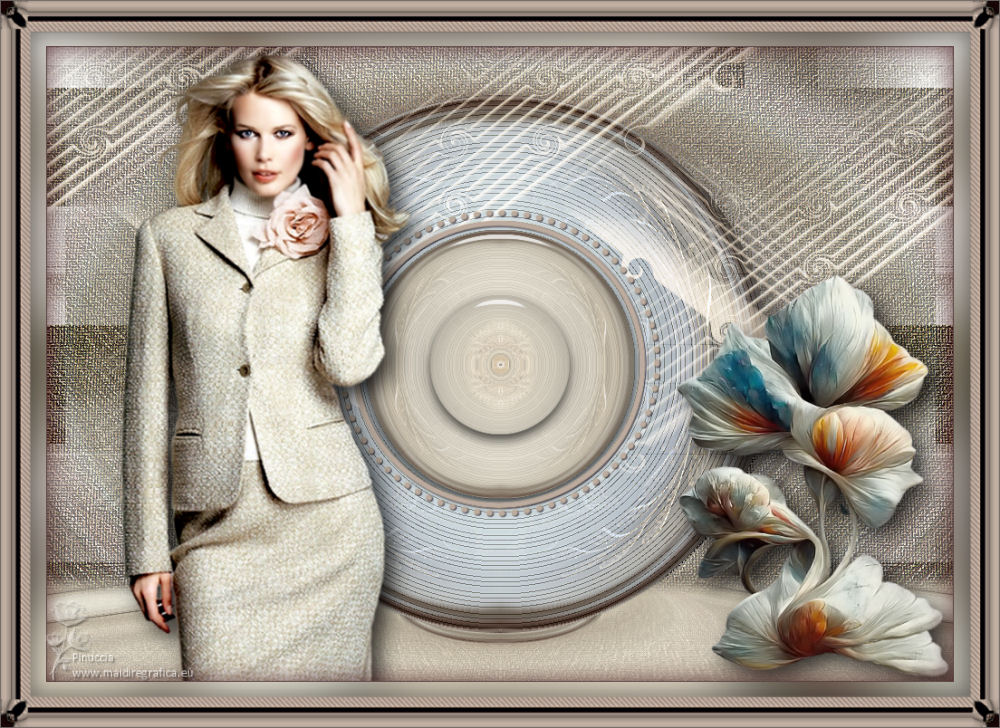
 Your versions here Your versions here

If you have problems or doubts, or you find a not worked link,
or only for tell me that you enjoyed this tutorial, write to me.
5 January 2023

|

