|
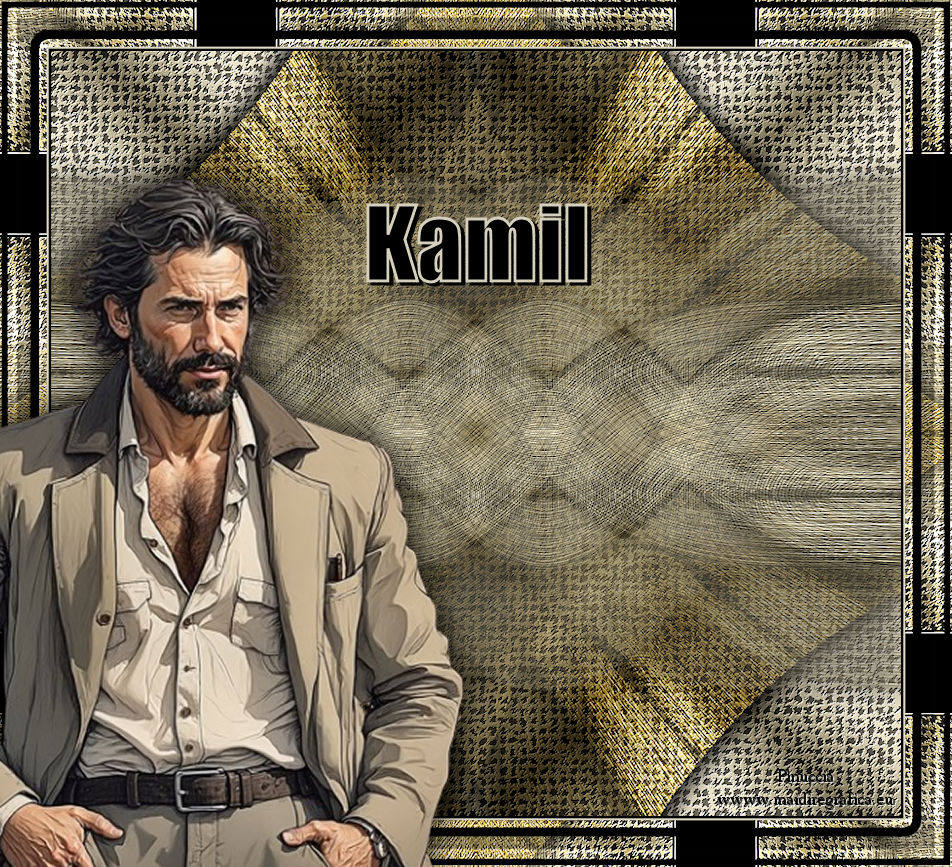
TUTORIAL KAMIL


Thanks Luz Cristina for your invitation to translate your tutorials into english

This tutorial, created with PSP2022, was translated with PspX7, but it can also be made using other versions of PSP.
Since version PSP X4, Image>Mirror was replaced with Image>Flip Horizontal,
and Image>Flip with Image>Flip Vertical, there are some variables.
In versions X5 and X6, the functions have been improved by making available the Objects menu.
In the latest version X7 command Image>Mirror and Image>Flip returned, but with new differences.
See my schedule here
 French Translation here French Translation here
 Your versions here Your versions here

For this tutorial, you will need:


consult, if necessary, my filter section here
Filters Unlimited 2.0 here
Simple - Top Left Mirror here
FM Tile Tools - Saturation Emboss here
Alien Skin Eye Candy 5 Impact - Extrude here
Brush Strokes Sprayed Strokes here
It@lian Editors Effects - Effetto Fantasma here
Filters Simple and It@lian Editors can be used alone or imported into Filters Unlimited.
(How do, you see here)
If a plugin supplied appears with this icon  it must necessarily be imported into Unlimited it must necessarily be imported into Unlimited

You can change Blend Modes according to your colors.
In the newest versions of PSP, you don't find the foreground/background gradient (Corel_06_029).
You can use the gradients of the older versions.
The Gradient of CorelX here

1. Open a new transparent image 1000 x 900 pixels.
2. Set your foreground color to #000000,
and your background color to #d5cfbd.
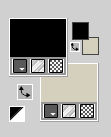
Set your foreground color to a Foreground/Background Gradient, style Rectangular.
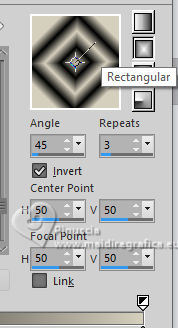
Flood Fill  the transparent image with your light background color. the transparent image with your light background color.
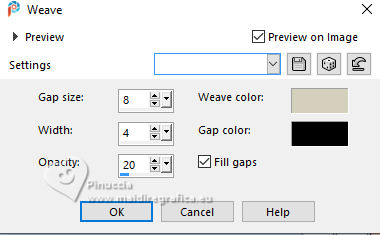
3. Effects>Texture Effects>Weave
weave color: background color
gap color: foreground color.
4. Effects>Plugins>Brush Strokes - Sprayed Strokes.
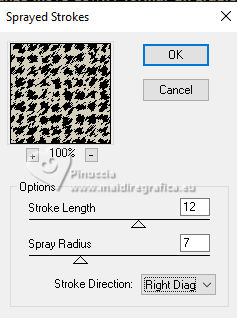
5. Layers>New Rastser Layer.
Layers>Arrange>Move Down.
Flood Fill  the layer with your Gradient. the layer with your Gradient.
6. Effects>Reflection Effects>Kaleidoscope.
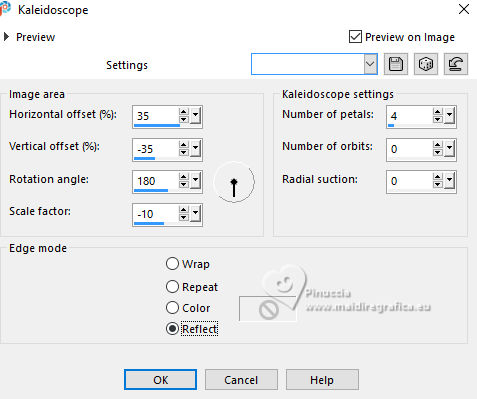
7. Activate the layer Raster 1.
Change the Blend Mode of this layer to Hard Light and reduce the opacity to 50%.
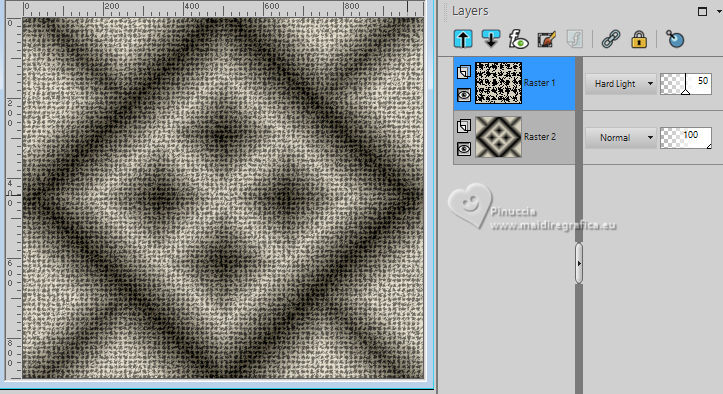
Layers>Merge>Merge Down.
8. Effects>Plugins>FM Tile Tools - Saturation Emboss, default settings.

9. Layers>Duplicate.
10. Effects>Geometric Effects>Perspective horizontal.
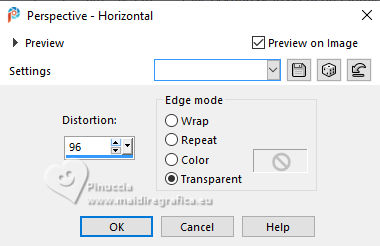
11. Effects>Reflection Effects>Rotating Mirror.

12. Effects>Plugins>Alien Skin Eye Candy 5 Impact - Extrude.
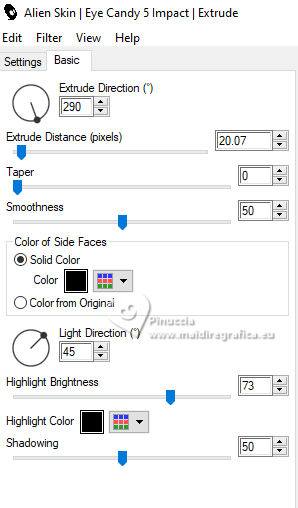
13. Effects>Distortion Effects>Polar Coordinates.
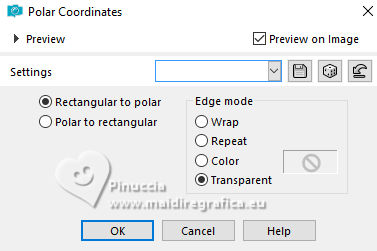
14. Effects>Plugins>Simple - Top Left Mirror.
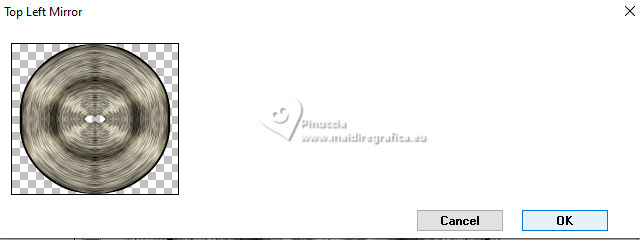
Image>Resize, to 70%, resize all layers not checked.
15. Effects>Image Effects>Seamless Tiling.

16. Effects>Distortion Effects>Pinch.

17. Effects>Plugins>It@lian Editors Effects - Effetto Fantasma, default settings.
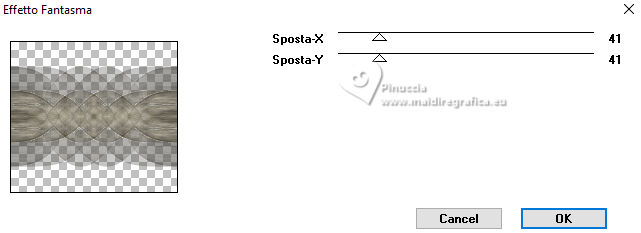
18. Effects>Plugins>FM Tile Tools - Saturation Emboss, default settings.

19. Effecs>3D Effects>Drop Shadow, color black.

20. Layers>Duplicate.
21. Image>Free Rotate - 45 degrees to right.

22. Layers>Duplicate.
Image>Mirror>Mirror horizontal.
23. Layers>Merge>Merge Down.
Layers>Arrange>Move Down.
24. Image>Resize, to 130%, resize all layers not checked.
Change the Blend Mode of this layer to Hard Light.
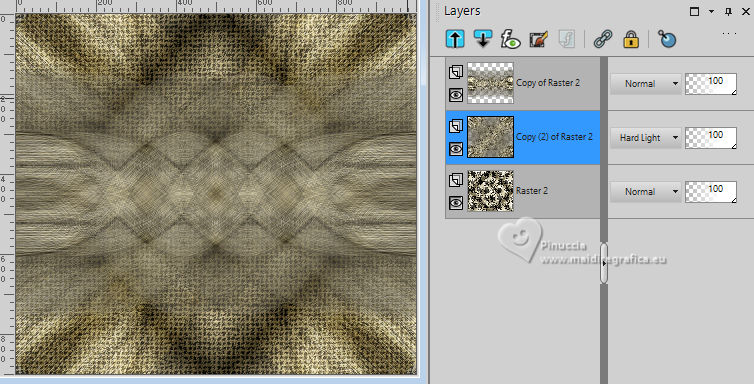
Effects>3D Effects>Drop Shadow, same settings.
25. Effects>Distortion Effects>Pinch, same settings.

26. Adjust>Automatic Saturation Enhancement.
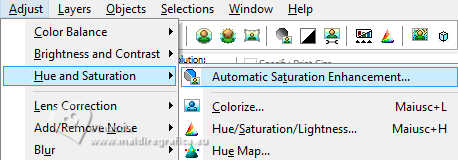 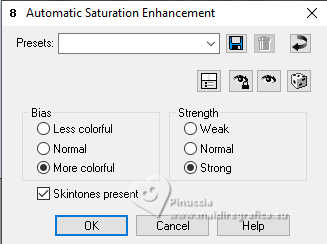
This effect is only found up to the PSP9 version,
This is the result before and after the application
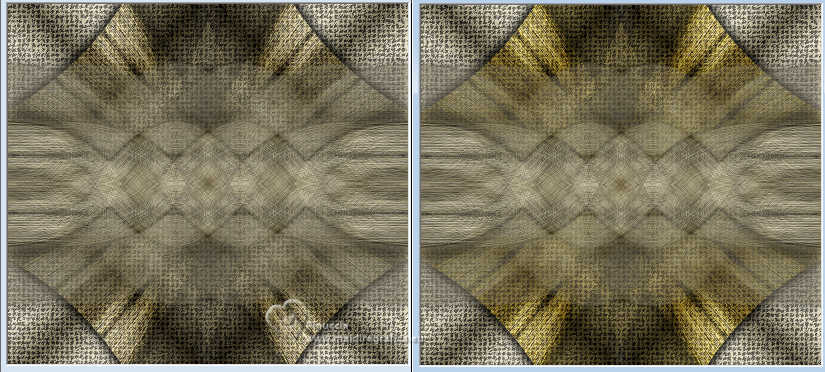
Since in the previous version PSP8, it was under Adjust>Hue and Saturation>Automatic Saturation Enhancement,
I replaced it with
Adjust>Hue and Saturation>Vibrancy.
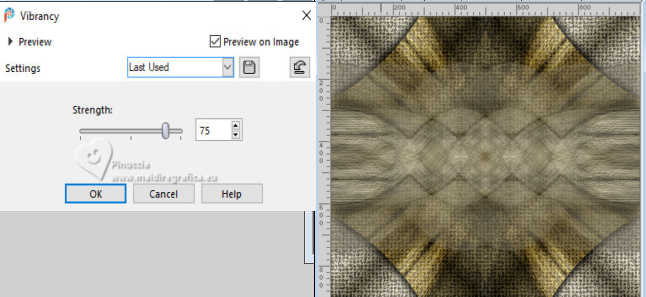
27. Image>Add borders, 3 pixels, symmetric, dark color.
Image>Add borders, 2 pixels, symmetric, light color.
Image>Add borders, 55 pixels, symmetric, dark color.
28. Activate your Magic Wand Tool  , tolerance and feather 0, , tolerance and feather 0,
and click on the last border to select it.
29. Effects>Reflection Effects>Kaleidoscope, same settings.

30. Effects>3D Effects>Inner Bevel.
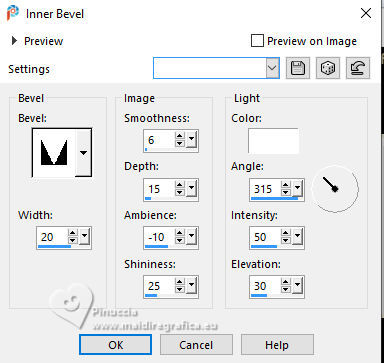
31. Effects>Plugins>Simple - Top Left Mirror.
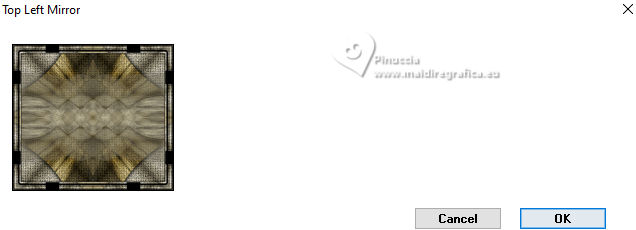
32. Effects>Plugins>FM Tile Tools - Saturation Emboss, default settings.

Selections>Select None.
33. Image>Resize, to 85%, resize all layers checked.
34. Open the tube 8405-LuzCristina 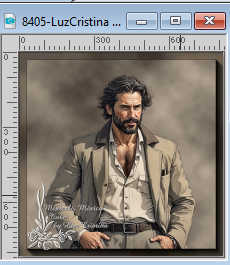
Edit>Copy.
Go back to your work and go to Edit>Paste as new layer.
Move  the tube to the left side. the tube to the left side.
Effects>3D Effects>Drop Shadow, at your choice.
35. Open the text texto 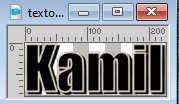
Edit>Copy.
Go back to your work and go to Edit>Paste as new layer.
Move  the text at the upper. the text at the upper.
It is not necessary to add the Drop Shadow.
36. Sign your work and save as jpg.
Other versions with tubes by Luz Cristina
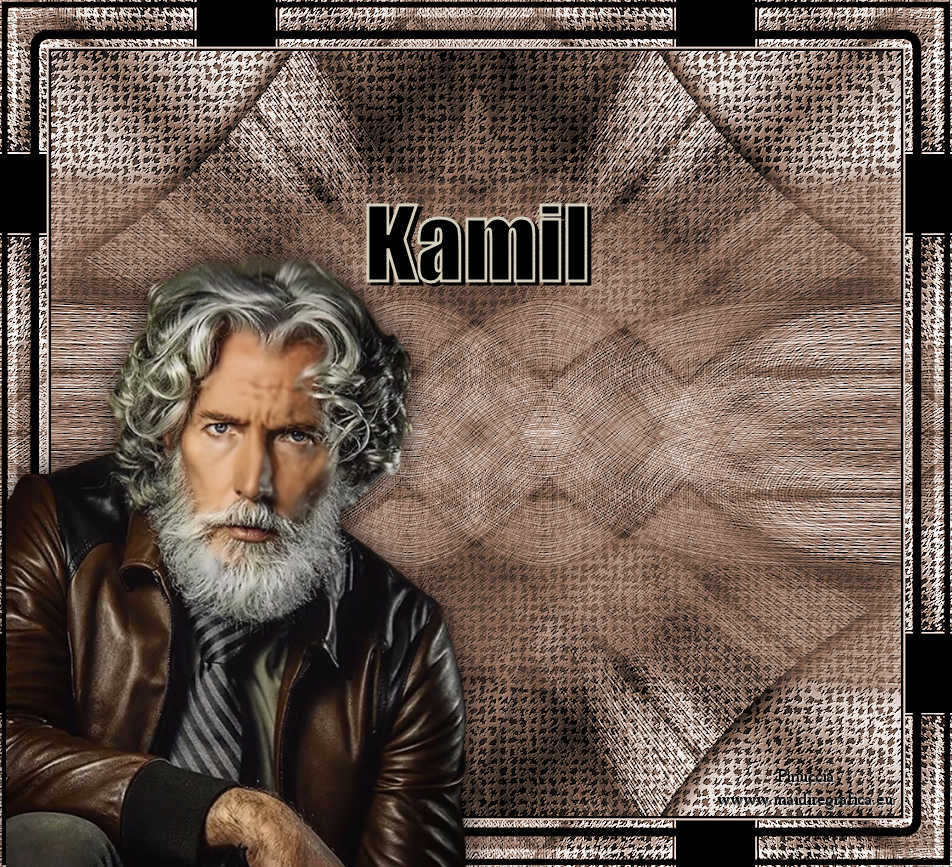
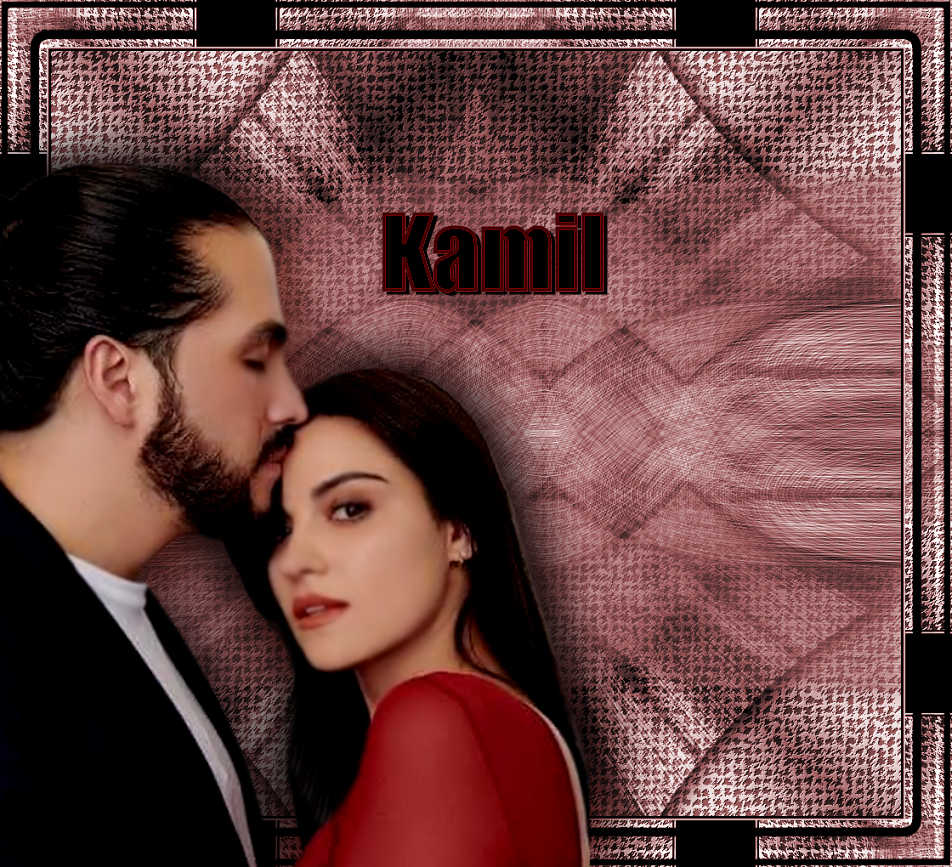


If you have problems or doubts, or you find a not worked link,
or only for tell me that you enjoyed this tutorial, write to me.
26 August 2024

|

