|
RETOUR VERS LE FUTUR


Thanks Lulu for your invitation to translate your tutorials into english
The site is closed

This tutorial was written with CorelX12 and translated with CorelX13, but it can also be made using other versions of PSP.
Since version PSP X4, Image>Mirror was replaced with Image>Flip Horizontal,
and Image>Flip with Image>Flip Vertical, there are some variables.
In versions X5 and X6, the functions have been improved by making available the Objects menu.
In the latest version X7 command Image>Mirror and Image>Flip returned, but with new differences.
See my schedule here
Your versions
Material here
For the tubes thanks Renée
(The links of the tubemakers here).
Plugins:
consult, if necessary, my filter section here
Filters Unlimited 2.0 here
VM Extravaganza - Picture in a Picture here
VM Distortion - Circulator here
Mura's Meister - Perspective Tiling here
&<Bkg Kaleidoscope> - xtile Maker 1.0 (to import in Unlimited) here
Andromeda - Perspective here
AAA Frames - Foto Frame here
Filters VM Extravaganza et VM Distortion can be used alone or imported into Filters Unlimited.
(How do, you see here)
If a plugin supplied appears with this icon  it must necessarily be imported into Unlimited it must necessarily be imported into Unlimited

You can change Blend Modes according to your colors.
You can copy the preset "retour vers le futur.pfp" in the Andromeda Folder, or import it when you'll have to use it.
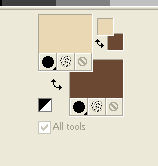
Choose two colors.
My colors:
Foreground color to #ead8b4,
Background color to #6b4832.
1. Open a new transparent image 900 x 600 pixels.
Flood Fill  with your foreground color. with your foreground color.
Layers>New Raster Layer.
Selections>Select All.
Open the tube Steampunk Ville and go to Edit>Copy.
Go back to your work and go to Edit>Paste into Selection.
Image>Resize, to 110%, resize all layers not checked.
Selections>Select None.
2. Open the tube STP Punk les yeux and go to Edit>Copy.
Go back to your work and go to Edit>Paste as new layer.
Image>Resize, to 60%, resize all layers not checked.
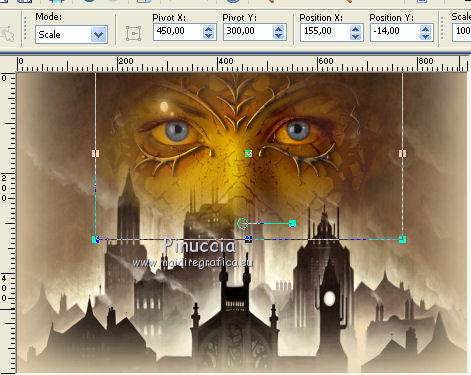
K key on the keyboard to activate your Pick Tool 
and set Position X: 155,00 and Position Y: -14,00.
M key to deselect the tool.
Reduce the opacity of this layer to 50%.
Layers>Merge>Merge visible.
3. Layers>Duplicate.
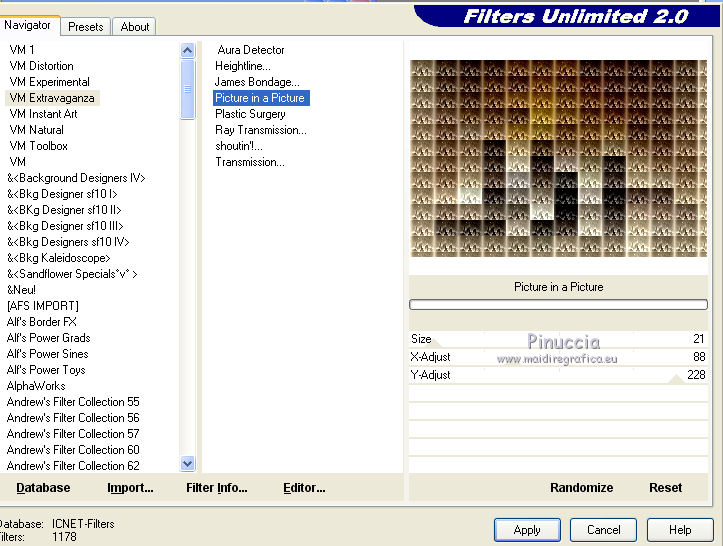
Effects>Plugins>VM Extravaganza - Picture in a picture, default settings.
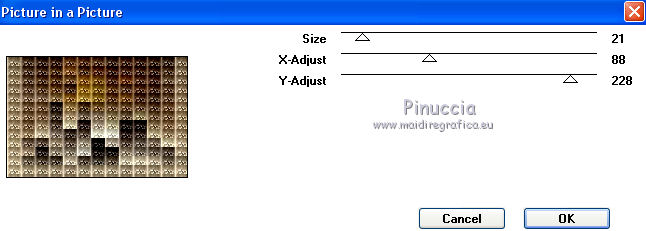
this effects is also in Italian Editors Effects.
If you don't find it in the list of Extravaganza,
it means that you have added in your File Locations Italian Editors before Extravaganza.
To use the effects of Extravaganza, you can remove from File Locations Italian Editors,
or import it in Unlimited.
4. Effects>Plugins>VM Distortion - Circulator, default settings.
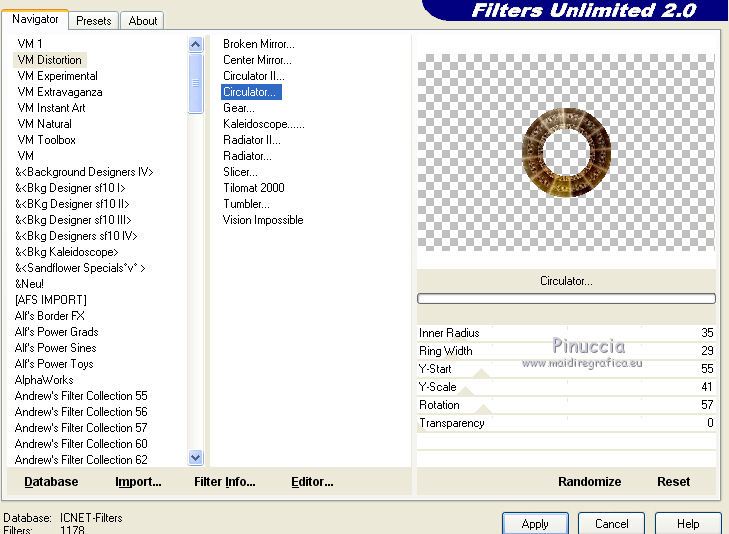
5. Image>Resize, to 60%, resize all layers not checked.
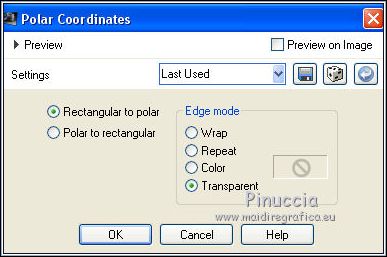
Effects>Distortion Effects>Polar Coordinates.
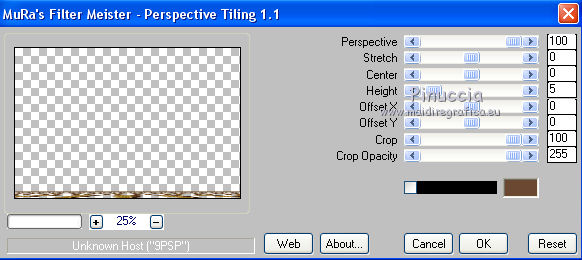
Effects>Plugins>Mura's Meister - Perspective Tiling - don't worry for the color, the resul don't change.
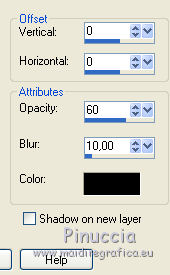
Effects>3D Effects>Drop Shadow, color black.
Layers>Merge>Merge visible.
Edit>Copy.
6. Image>Add borders, 2 pixels, symmetric, background color.
Image>Add borders, 40 pixels, symmetric, foreground color.
Image>Add borders, 2 pixels, symmetric, background color.
Selections>Select All.
Image>Add borders, 20 pixels, symmetric, color 3.
Selections>Invert.
Edit>Paste into Selection.
Selections>Promote Selection to Layer.
7. Effects>Plugins>Filters Unlimited 2.0 - &<Bkg Kaleidoscope> - xTile Maker 1.0, default settings.
Attention please, the result change according to the Unlimited versions you are using.
If you are using the version software, you'll get this,
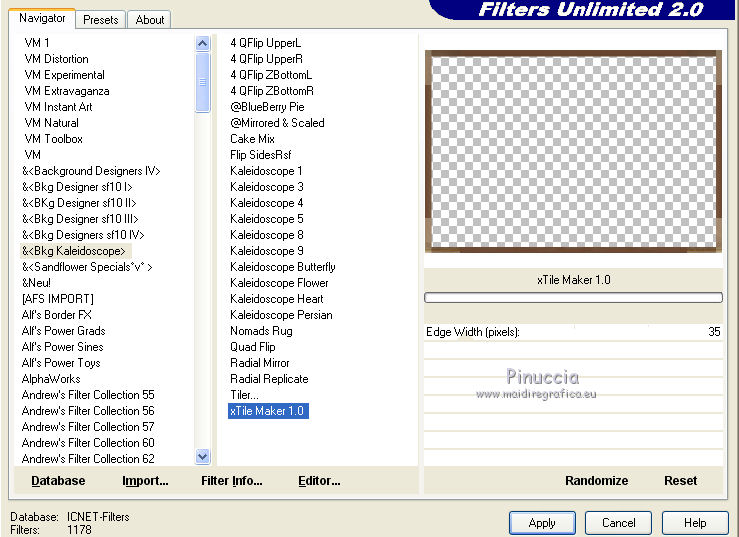
if you using the version that doesn't need of installation,
composed by files en .8bf, you'all get this
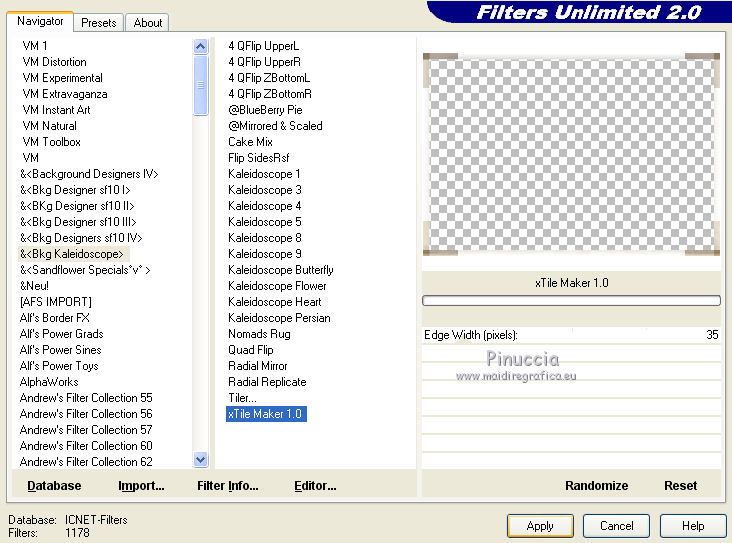
Effects>Edge Effects>Enhance.
Adjust>One Step Photo Fix.
8. Open the tube Steampunk_ddc3 and go to Edit>Copy.
Go back to your work and go to Edit>Paste as new layer.
Image>Resize, to 80%, resize all layers not checked.
Effects>Plugins>Andromeda - Perspective.
Click on Preset
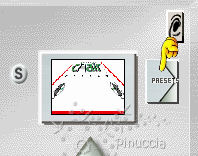
On the next window, click on the folder image,
and look for and select the preset
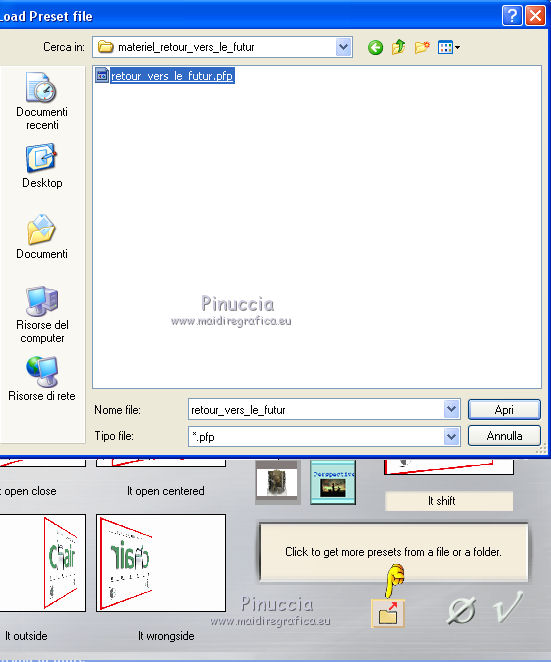
Click on on the sign at the bottom right to apply.
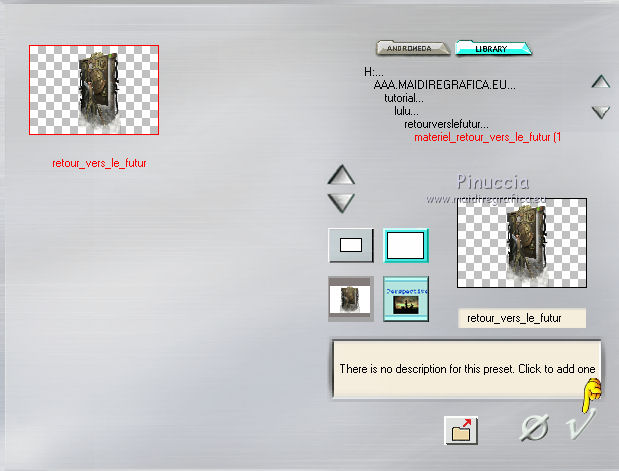
Again click on the sign at the bottom right to close.
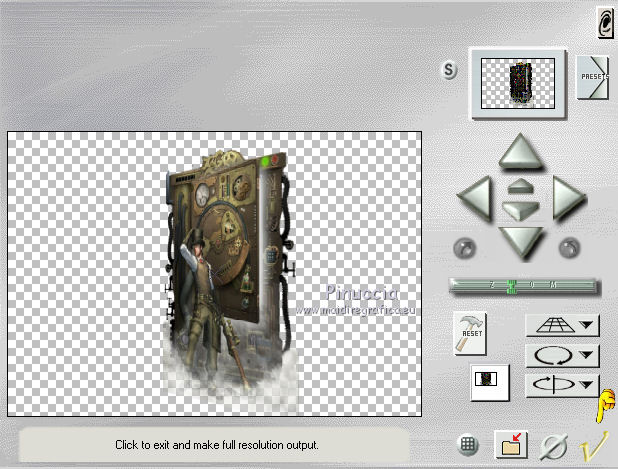
if you have problems with Andromeda, I joined in the materiale the file "layer andromeda" to copy/paste as new layer
K key on the keyboard to activate your Pick Tool 
and set Position X: 650,00 and Position Y: 44,00.
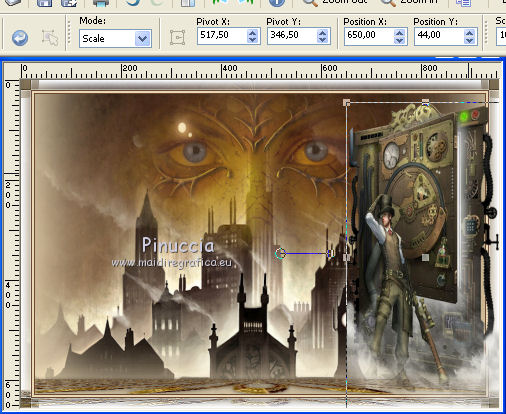
M key to deselect the tool.
Adjust>Sharpness>High-pass sharpen.
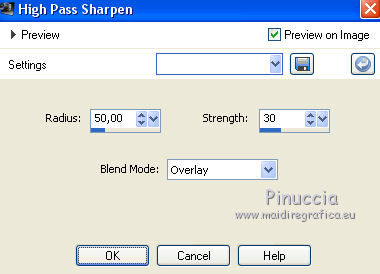
Effects>3D Effects>Drop Shadow, color black.

9. Open the tube Steampunk Soldat and go to Edit>Copy.
Go back to your work and go to Edit>Paste as new layer.
Image>Resize, 1 time to 60% and 1 time to 80%, resize all layers not checked.
Move  the tube to the left side. the tube to the left side.
Adjust>One Step Photo Fix.
Effects>3D Effects>Drop Shadow, color black.

10. Image>Add borders, 2 pixels, symmetric, background color.
Image>Add borders, 4 pixels, symmetric, foreground color.
Image>Add borders, 2 pixels, symmetric, background color.
Selections>Select All.
Image>Add borders, 50 pixels, symmetric, foreground color.
Selections>Invert.
Effects>Reflection Effects>Kaleidoscope, default settings.
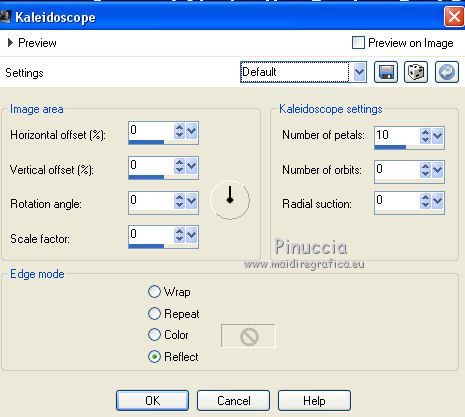
11. Effects>Plugins>AAA Frames - Foto Frame.
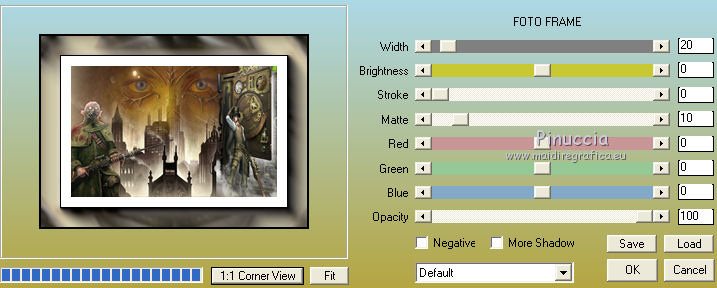
Selections>Invert.
Effects>3D Effects>Drop Shadow, color black.
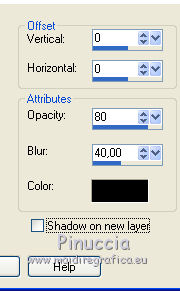
Selections>Select None.
Image>Resize, 900 pixels width, resize all layers checked.
Adjust>Sharpness>High-pass Sharpen, same settings.

Sign your work on a new layer.
Layers>Merge>Merge All and save as jpg.
Version with a tube (left tube) of Krys. The right tube is mine.


Your versions
Thanks

If you have problems or doubts, or you find a not worked link, write to me.
1 May 2019
|

