|
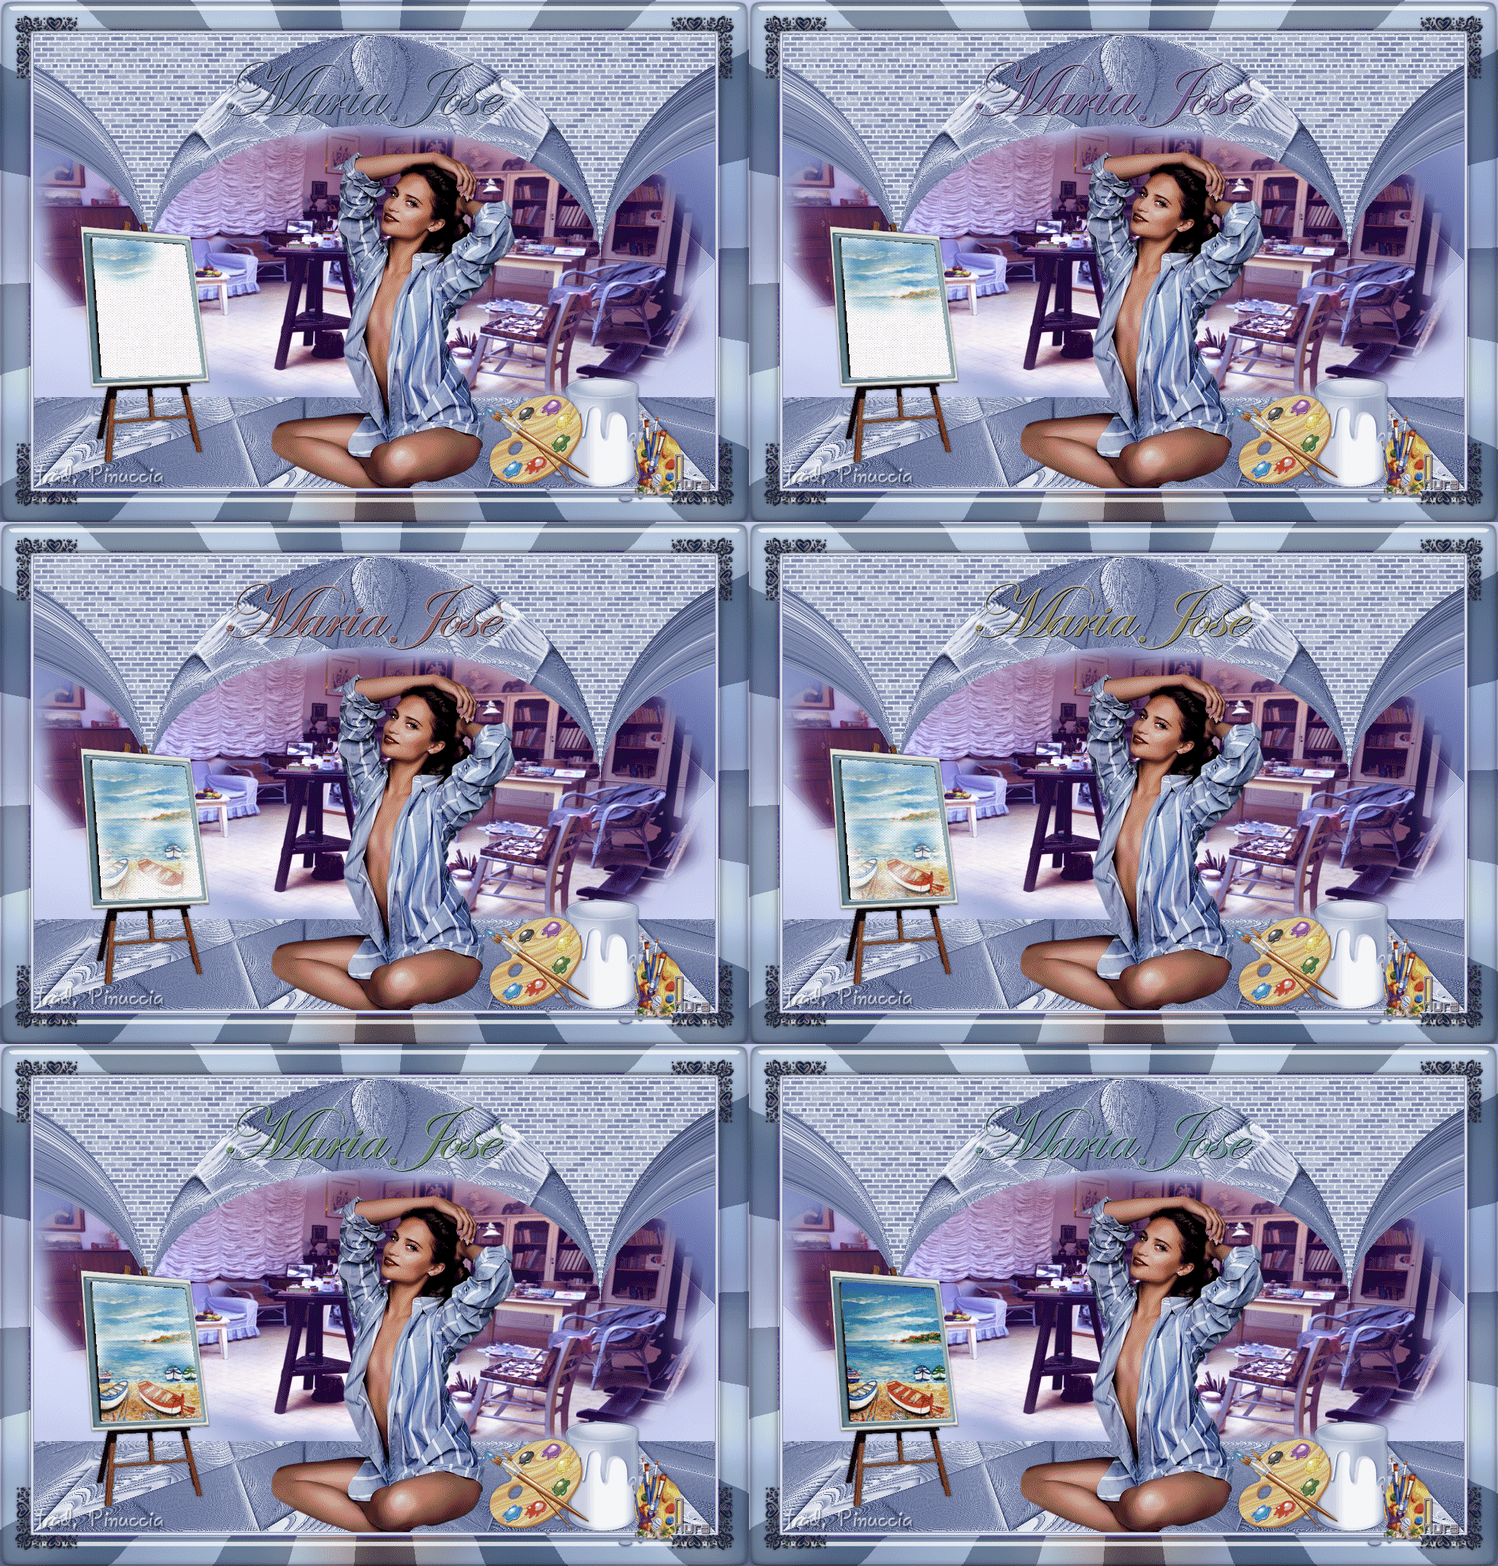
MARIA JOSÉ


Thanks Lulu for your invitation to translate your tutorials into english
The site is closed

This tutorial was written with CorelX12 and translated with CorelX13, but it can also be made using other versions of PSP.
Since version PSP X4, Image>Mirror was replaced with Image>Flip Horizontal,
and Image>Flip with Image>Flip Vertical, there are some variables.
In versions X5 and X6, the functions have been improved by making available the Objects menu.
In the latest version X7 command Image>Mirror and Image>Flip returned, but with new differences.
See my schedule here
Your versions
Material here
(The links of the tubemakers here).
Plugins:
consult, if necessary, my filter section here
Filters Unlimited 2.0 here
Mehdi - Wavy Lab 1.1 here
Mehdi - Sorting Tiles, Local Equalisation here
VM Extravaganza - Ray Transmission here
Mura's Meister - Perspective Tiling here
Alien Skin Eye Candy 5 Textures - Brick Wall here
Alien Skin Eye Candy 5 Impact - Glass here
Filters VM Extravaganza can be used alone or imported into Filters Unlimited.
(How do, you see here)
If a plugin supplied appears with this icon  it must necessarily be imported into Unlimited it must necessarily be imported into Unlimited

You can change Blend Modes according to your colors.
Copy the presets  in the folder of the plugins Alien Skin Eye Candy 5. in the folder of the plugins Alien Skin Eye Candy 5.
One or two clic on the file (it depends by your settings), automatically the preset will be copied in the right folder.
why one or two clic see here
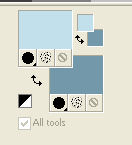
Set your foreground color to #c2e0ec,
and your background color to #7298aa.
1. Open Alpha_Maria_José.
Window>Duplicate or on the keyboard shift+D to make a copy.
Close the original.
The copy, that will be the basis of your work, is not empty,
but contains a selection saved on the alpha channel.
Rename the layer Raster 1.
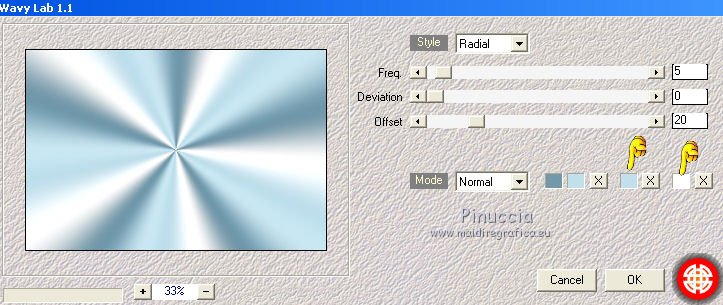
2. Effects>Plugins>Mehdi - Wavy Lab 1.1
This filter creates gradients with the colors of your Materials palette.
The first is your background color, the second is your foreground color.
Change the last two colors created by the filter:
the third with your foreground color #c2e0ec,
and the fourth with color white.
Adjust>Blur>Gaussian Blur - radius 50

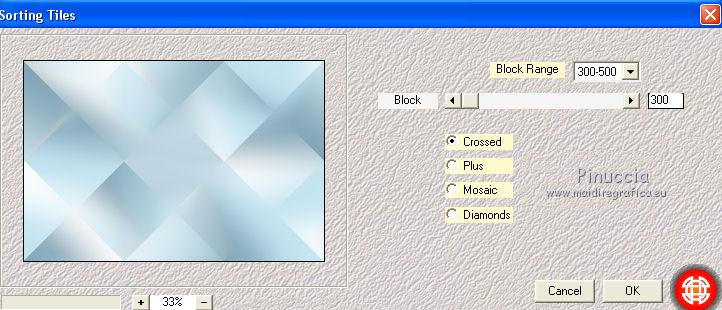
Effects>Plugins>Mehdi - Sorting Tiles.
Effects>Edge Effects>Enhance.
3. Layers>Duplicate.
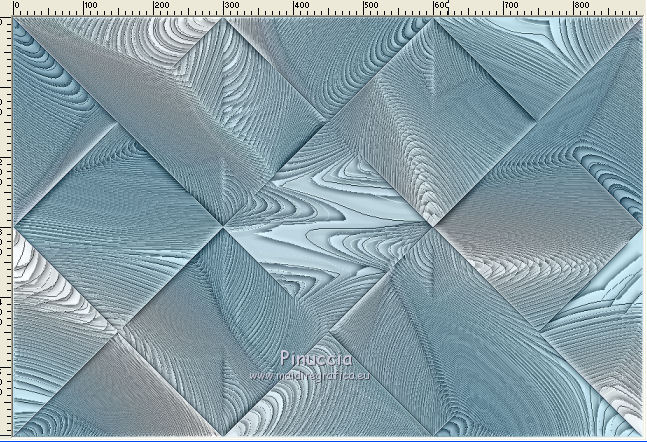
Effects>Plugins>Mehdi - Local Equalisation
this effect works without window; result:
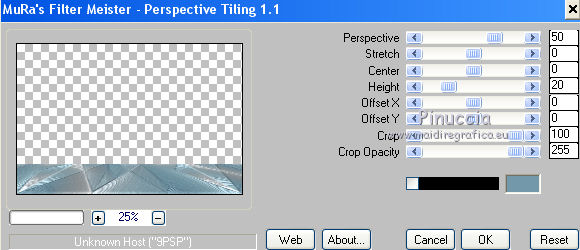
Effects>Plugins>Mura's Meister - Perspective Tiling.
4. Layers>Duplicate.
Image>Flip.
Effects>Geometric Effects>Circle

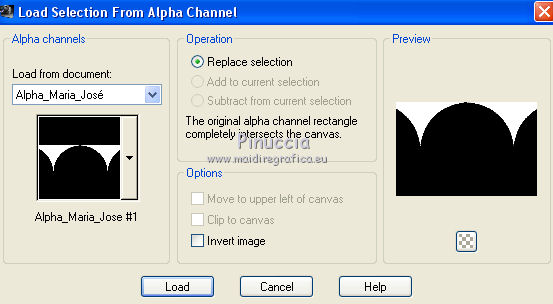
5. Selections>Load/Save Selection>Load Selection from Alpha Channel.
The selection Alpha_Maria_José_1 is immediately available. You just have to click Load.
Layers>New Raster Layer.
Flood Fill  with your dark background color. with your dark background color.
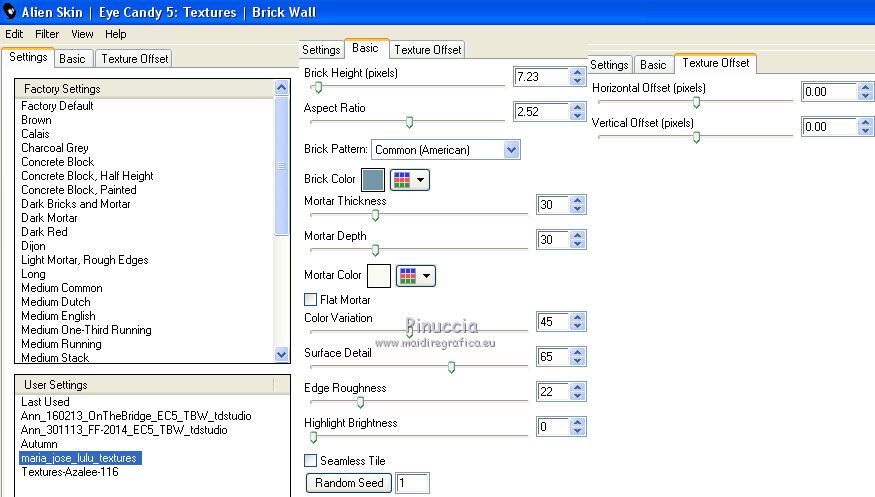
Effects>Plugins>Alien Skin Eye Candy 5 Textures - Brick Wall
Select the preset Maria_Jose_Lulu and ok.
If you use other colors: Brick Color: your background color
Adjust>One Step Photo Fix.
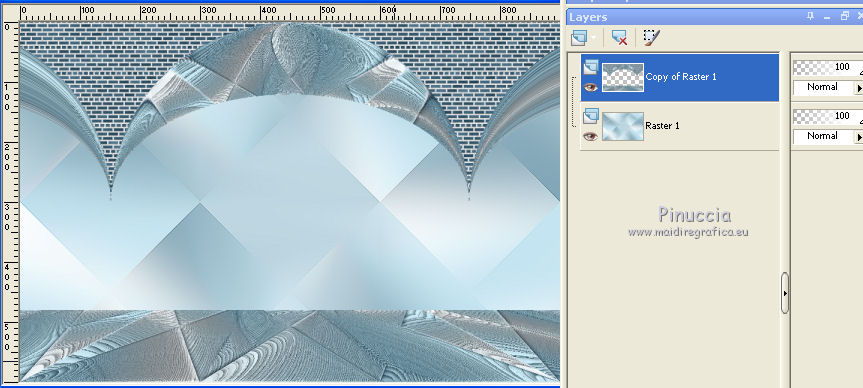
Layers>Merge>Merge Down - 2 times
5. Activate your Magic Wand Tool 
and click in the center to select it.
Selections>Modify>Expand - 15 pixels.
Layers>New Raster Layer.
Open the tube intérieur1_Lulu and go to Edit>Copy.
Go back to your work and go to Edit>Paste into Selection.
Layers>Duplicate.
Layers>Merge>Merge Down.
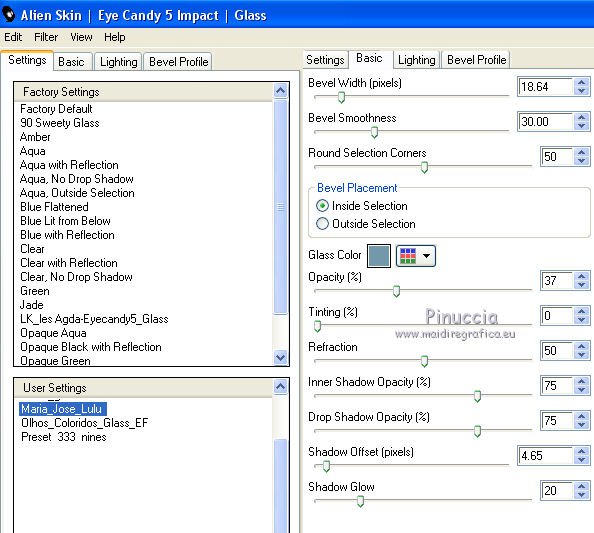
Effects>Plugins>Alien Skin Eye Candy 5 Impact - Glass
Select the preset Maria_Jose_Lulu and ok
If you use other colors: Brick Color: your background color
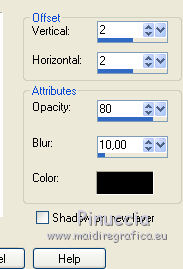
Effects>3D Effects>Drop Shadow, color black.
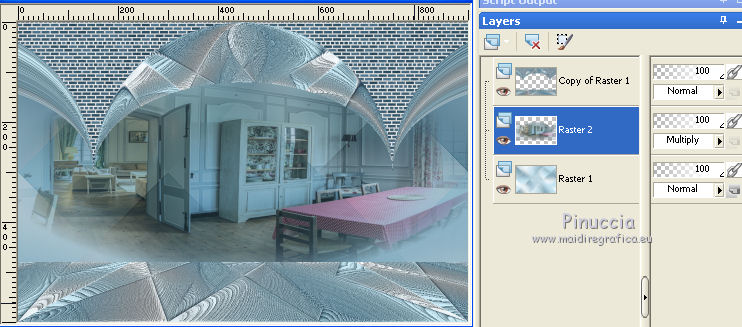
Layers>Arrange>Move Down.
Selections>Select None.
Change the Blend Mode of this layer to Multiply, or according to your colors (for my second version Hard Light)
6. Activate your top Layer.
Open the tube Tableau Lulu and go to Edit>Copy.
Go back to your work and go to Edit>Paste as new layer.
Image>Mirror.
K key on the keyboard to activate your Pick Tool 
and set Position X: 7,00 and Position Y: 234,00.

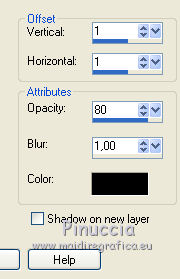
Effects>3D Effects>Drop Shadow, color black.
7. Open the tube Femme Lulu and go to Edit>Copy.
Go back to your work and go to Edit>Paste as new layer.
Image>Resize, to 70%, resize all layers not checked.
Move  the tube to the right side. the tube to the right side.
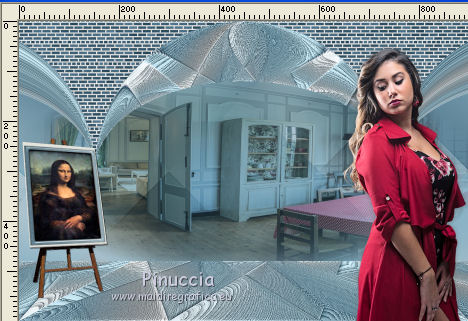
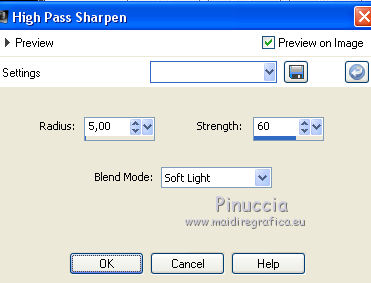
Adjust>Sharpness>High Pass Sharpen
Layers>Merge>Merge All.
8. Image>Add borders, 1 pixel, symmetric, dark background color.
Edit>Copy.
Image>Add borders, 3 pixels, symmetric, light foreground color.
Image>Add borders, 1 pixel, symmetric, dark background color.
Selections>Select All.
Image>Add borders, 40 pixels, symmetric, color white.
Selections>Invert.
Edit>Paste into Selection.
Adjust>Blur>Gaussian Blur - radius 20

Selections>Promote Selection to Layer.
9. Effects>Plugins>VM Extravaganza - Ray Transmission
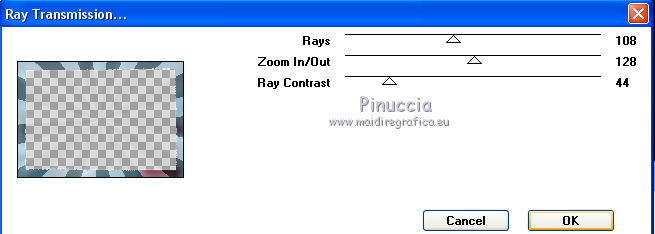
10. Effects>Plugins>Alien Skin Eye Candy 5 Impact - Glass, same settings

Selections>Select None.
11. Activate your Text Tool 
font Esenin script two (in the zip), size 72
background color: white

write Maria José and click on Apply

Layers>Convert to Raster Layer.
Move  the text up in the center. the text up in the center.
Effects>3D Effects>Drop shadow, color black.
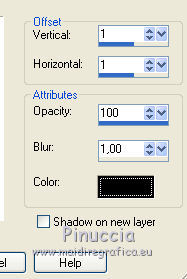
Image>Add borders, 1 pixel, symmetric, dark background color.
Image>Add borders, 3 pixels, symmetric, light foreground color.
Image>Add borders, 1 pixels, symmetric, dark background color.
12. Open the tube Cornersmult12 and go to Edit>Copy.
Go back to your work and go to Edit>Paste as new layer.
With your Selection Tool  , ,
choose a deco and a corner, and place  the images at your choice. the images at your choice.
For my example I chose a deco and I put it near the text
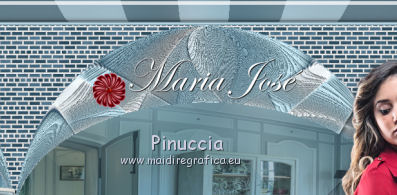
Adjust>Hue and Saturation>Colorize - both settings 0.

Layers>Duplicate.
Image>Mirror and place  rightly the deco. rightly the deco.
For the corner I choose the roses
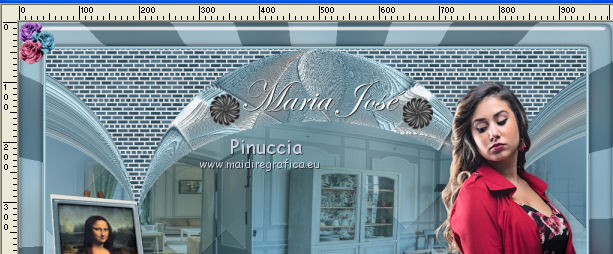
Layers>Duplicate.
Image>Mirror.
Image>Add borders, 1 pixel, symmetric, dark background color.
Image>Resize, 900 pixels width, resize all layers cheched.
Adjust>One Step Photo Fix.
Sign your work and save as jpg.
The tubes of this version are by Luz Cristina


Your versions
Thanks
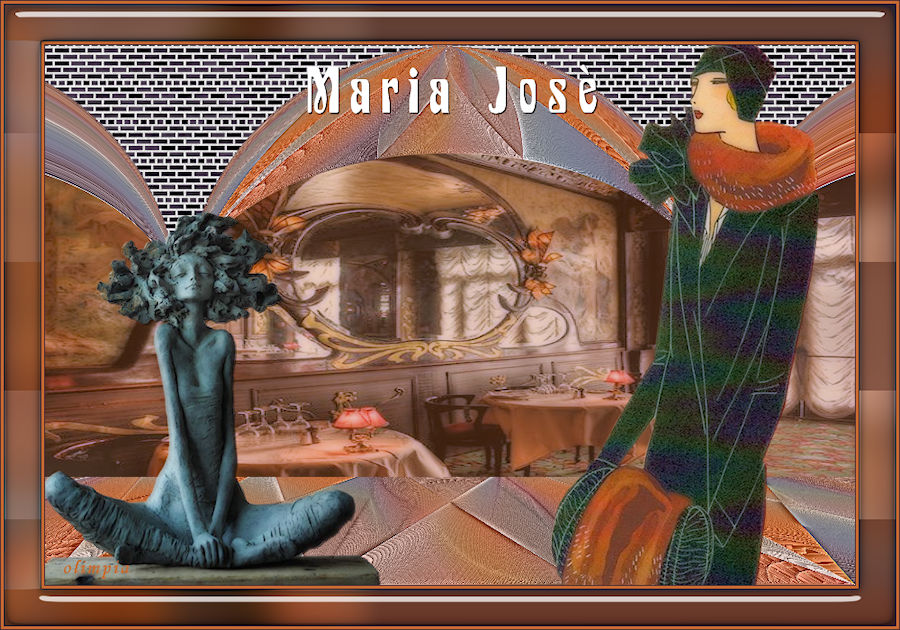
Olimpia
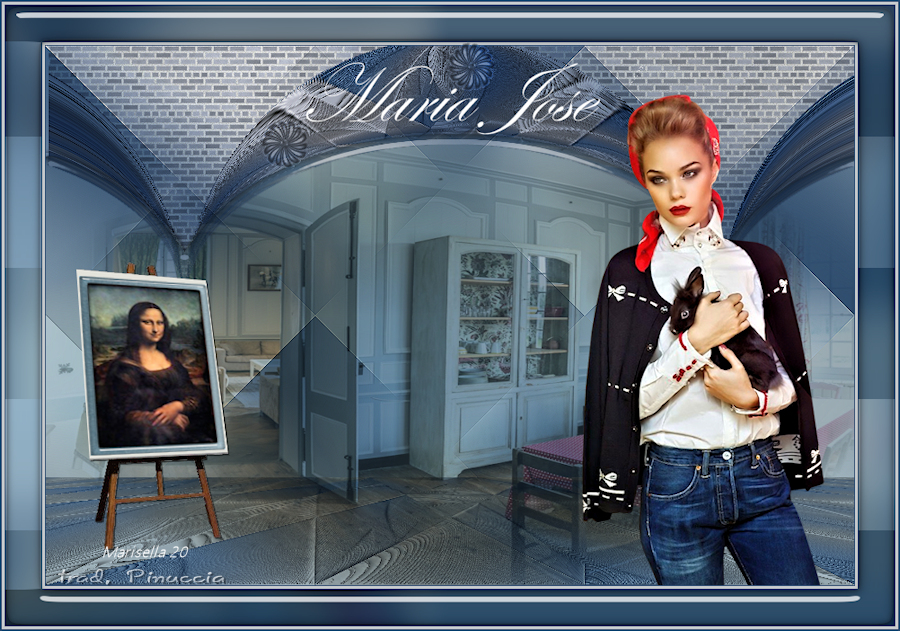
Marisella
Aura

If you have problems or doubts, or you find a not worked link, write to me.
8 Janvier 2020
|

