|
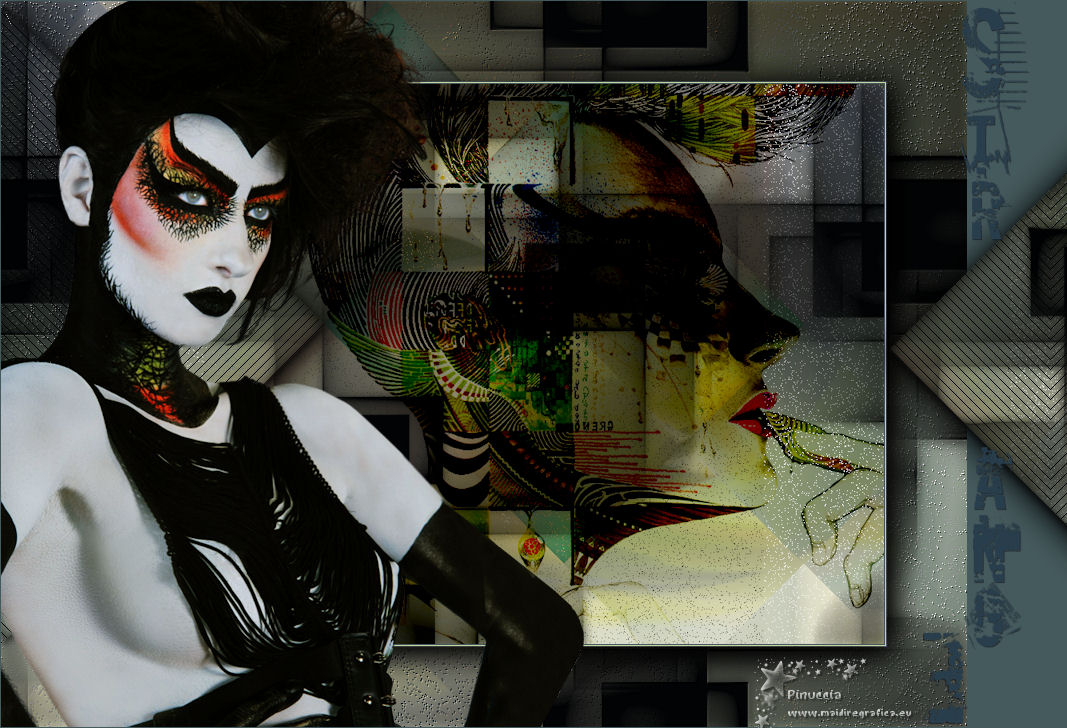
STRANGE

Thanks Ligia for your invitation to translate your tutorial

This tutorial was translated with PSPX7, but it can also be made using other versions of PSP.
Since version PSP X4, Image>Mirror was replaced with Image>Flip Horizontal,
and Image>Flip with Image>Flip Vertical, there are some variables.
In versions X5 and X6, the functions have been improved by making available the Objects menu.
In the latest version X7 command Image>Mirror and Image>Flip returned, but with new differences.
See my schedule here
 French translation here French translation here
 your versions ici your versions ici
For this tutorial, you will need:
Material here
Thanks: for the tubes Nicole and Nikita and for the mask LeniDiniz.
(you find here the links to the material authors' sites)
Plugins
consult, if necessary, my filter section here
Filters Unlimited 2.0 here
Graphics Plus - Emboss here
Mehdi - Sorting Tiles here
Adjust - Variations here
Brush Strokes - Angle Strokes here
Alien Skin Eye Candy 5 Impact - Glass here
AP 01 [Innovations] - Lines SilverLining here
Filters Graphics Plus can be used alone or imported into Filters Unlimited.
(How do, you see here)
If a plugin supplied appears with this icon  it must necessarily be imported into Unlimited it must necessarily be imported into Unlimited

You can change Blend Modes according to your colors.
In the newest versions of PSP, you don't find the foreground/background gradient (Corel_06_029).
You can use the gradients of the older versions.
The Gradient of CorelX here
Copy the preset  in the folder of the plugin Alien Skin Eye Candy 5 Impact>Settings>Shadow. in the folder of the plugin Alien Skin Eye Candy 5 Impact>Settings>Shadow.
One or two clic on the file (it depends by your settings), automatically the preset will be copied in the right folder.
why one or two clic see here
Copy the Selection in the Selections Folder.
Open the mask in PSP and minimize it with the rest of the material.
1. Open a new transparent image 1000 x 700 pixels.
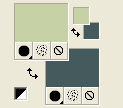
Set your foreground color to #c6d1a6.
and your background color to #455a5d
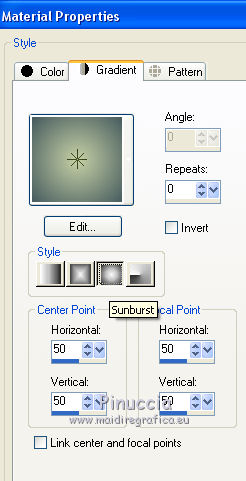
Set your foreground color to a Foreground/Background Gradient, style Sunburst.
2. Selections>Select All.
Open the jpg image 4a58ce6649...
Image>Free Rotate - 90 degrees to right.

Image>Mirror.
Edit>Copy.
Go back to your work and go to Edit>Paste into Selection.
Selections>Select None.
If necessary, colorize according to your colors.
3. Effects>Plugins>Brush Strokes - Angle strokes, default settings.
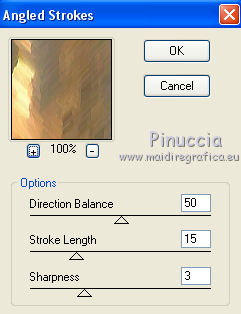
Repeat the effect Angle Strokes another time.
4. Layers>New Raster Layer.
Flood Fill  the layer with your Gradient. the layer with your Gradient.
Selections>Select None.
Open the tube by Nicole and go to Edit>Copy.
Go back to your work and go to Edit>Paste into Selection.
Selections>Select None.
5. Adjust>Blur>Radial Blur.
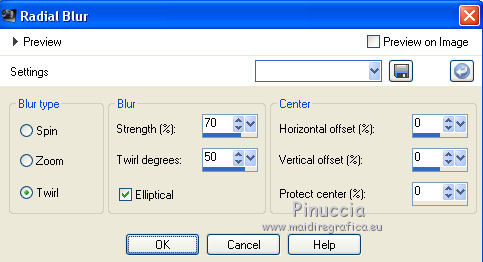
6. Effects>Plugins>Mehdi - Sorting Tiles.
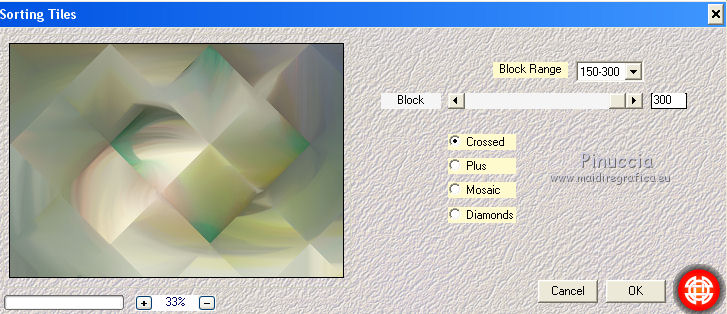
Change the Blend Mode of this layer to Dissolve and reduce the opacity to 95%.
Layers>Merge>Merge visible.
7. Layers>New Raster Layer.
Set your background color to #020304.
Flood Fill  the layer with color #020304. the layer with color #020304.
8. Layers>New Mask layer>From image
Open the menu under the source window and you'll see all the files open.
Select the mask LeniDinizMask_LDM026.
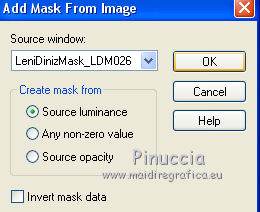
Layers>Merge>Merge Group.
9. Effects>3D Effects>Drop Shadow.
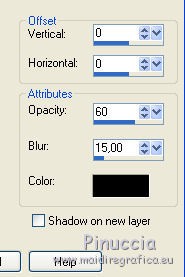
Edit>Repeat Drop Shadow - 2 times (total 3 times).
Layers>Merge>Merge visible.
Edit>Copy.
Edit>Paste as new image, and minimize this image.
10. Go back to your work.
Open again the tube by Nicole and go to Edit>Copy.
Go back to your work and go to Edit>Paste as new layer.
Image>Mirror.
Effects>Image Effects>Offset.
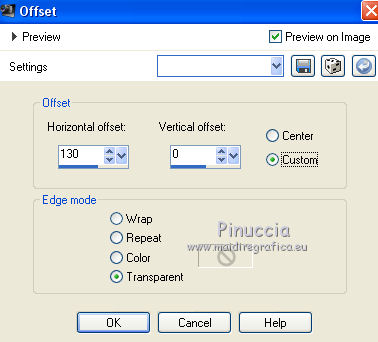
(if you use other colors and images, try to make a similar effect).
Change the Blend Mode of this layer to Burn or other.
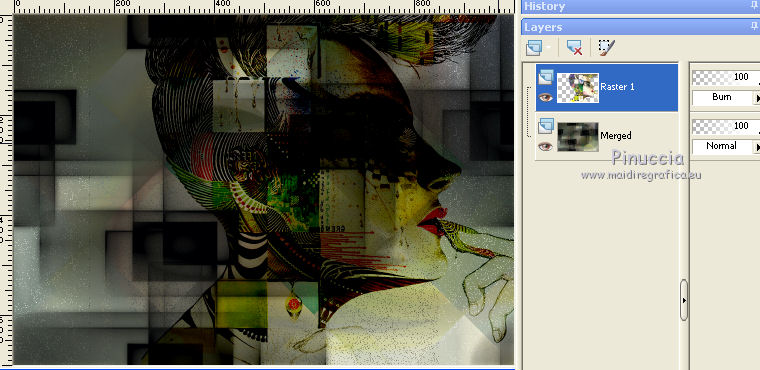
Layers>Merge>Merge All.
Image>Resize, to 80%, resize all layers checked.
11. For the border, set again your background color to the initial color #455a5d

Image>Add borders, 1 pixel, symmetric, dark color.
Image>Add borders, 1 pixel, symmetric, light color.
Image>Add borders, 1 pixel, symmjetric, dark color.
Image>Add borders, 80 pixels, symmetric, whatever color.
Activate your Magic Wand Tool 
and click on the last border to select it.
12. Activate the image minimized at step 9 and go to Edit>Copy.
Go back to your work and go to Edit>Paste into Selection.
Image>Mirror.
13. Effects>Plugins>Graphics Plus - Emboss.
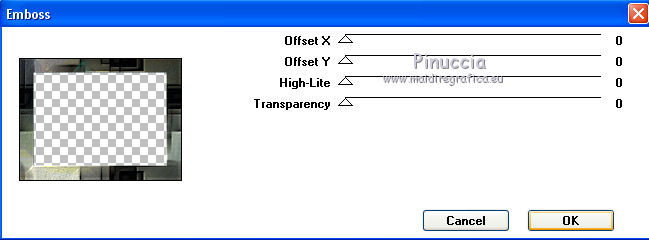
14. Selections>Invert.
Effects>3D Effects>Drop Shadow, color black.
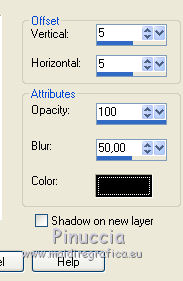
Edit>Repeat Drop Shadow.
Selections>Select None.
15. Selections>Load/Save Selection>Load Selection from Disk.
Look for and load the selection abstract_li.
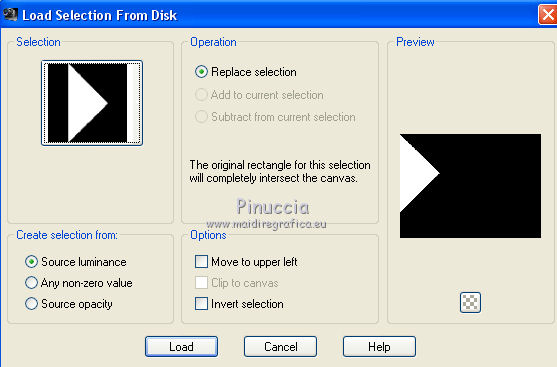
Selections>Promote Selection to layer.
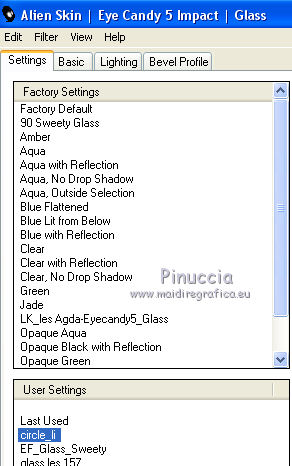
16. Effects>Plugins>Alien Skin Eye Candy 5 Impact - Glass.
Select the preset circle_li and ok.
17. Effects>3D Effects>Drop Shadow, same settings.

18. Effects>Plugins>AP 01 &@91;Innovations] - Lines SilverLining.
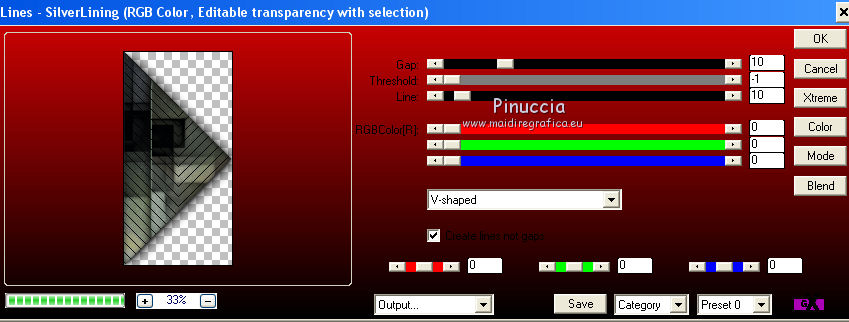
Selections>Select None.
19. Edit>Copy.
Edit>Paste as new image and minimize this image.
Layers>Merge>Merge visible.
20. Open the tube by Nikita and go to Edit>Copy.
Go back to your work and go to Edit>Paste as new layer.
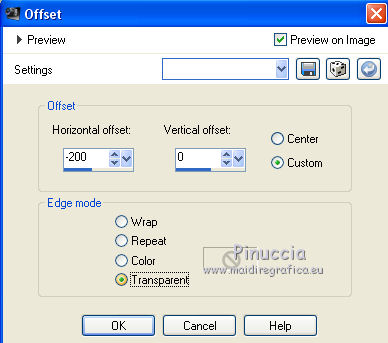
21. Effects>Image Effects>Offset.
22. Effects>Plugins>Adjust - Variations
a click on Original to cancel any previous settings memorized by the filter,
a click on More Yellow, a click on Darker and ok.
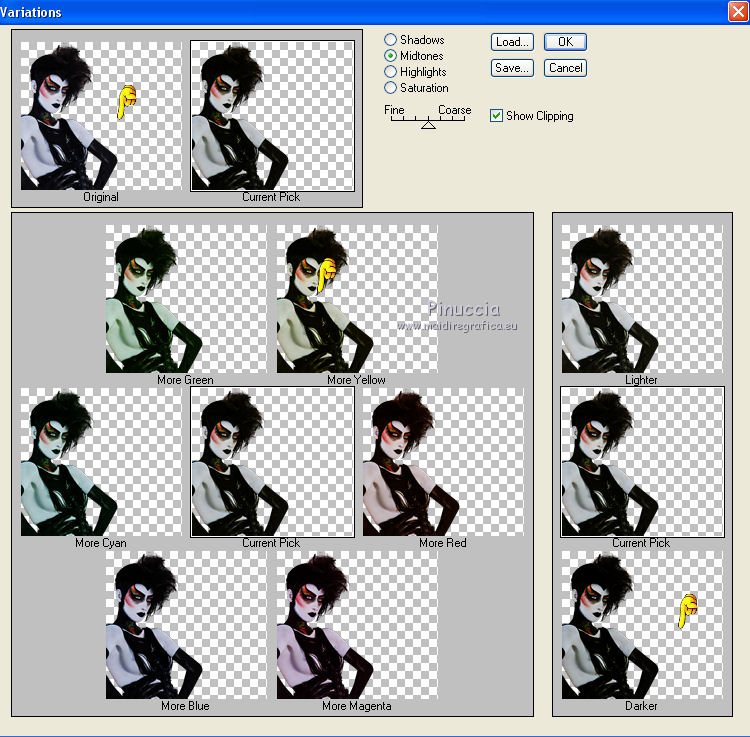
Repeat the filtre (according to your tube).
23. Optional: Effects>3D Effects>Drop Shadow, at your choice.
Layers>Merge>Merge All.
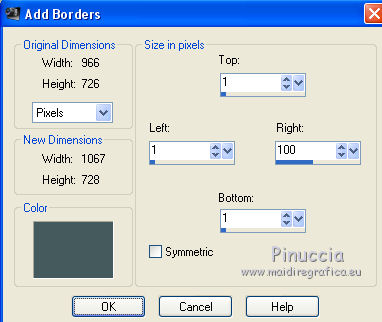
24. Image>Add borders, symmetric not checked, background color.
25. Activate the image of the triangle minimized at step 19.
Edit>Copy.
Go back to your work and go to Edit>Paste as new layer.
Image>Mirror.
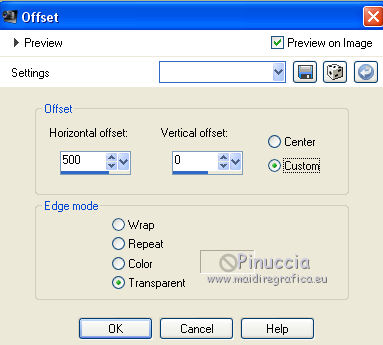
Effects>Image Effects>Offset.
26. Open text_li - and go to Edit>Copy.
Go back to your work and go to Edit>Paste as new layer.
Move  le texte to the right side. le texte to the right side.
Layers>Arrange>Move Down, under the triangle's layer.
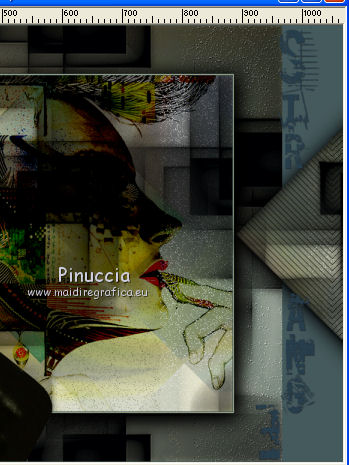
if your want to write your own text,
you will find the font used in the material
27. Sign your work on a new layer.
If you want, add the watermarks of the author and the translator.
Save as jpg.
Version with tube by Yoka
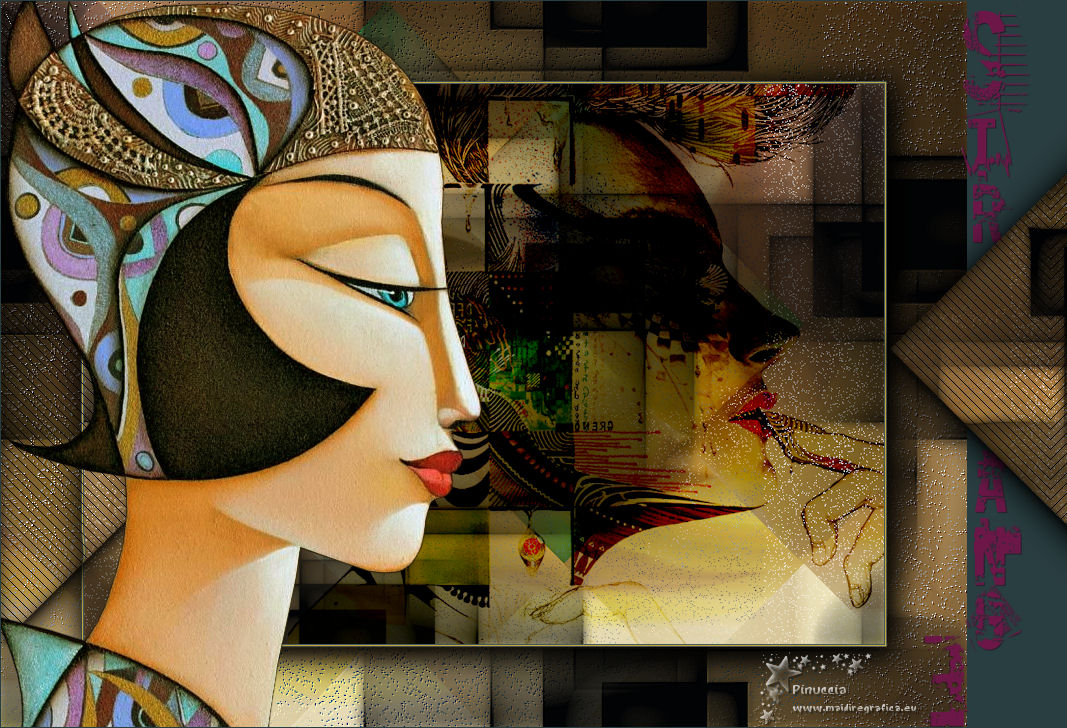
 Your versions here Your versions here

If you have problems or doubts, or you find a not worked link, or only for tell me tstrange you enjoyed this tutorial, write to me.
7 July 2021
|

