|
STEAMPUNK

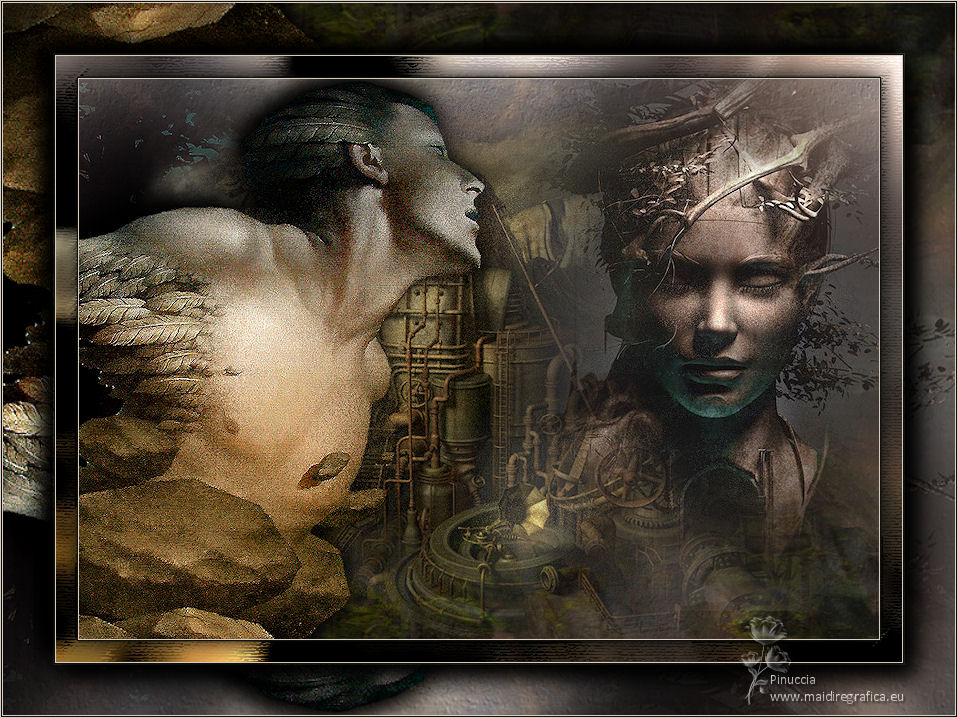
Thanks Ligia for your invitation to translate your tutorial

This tutorial was translated with PSPX7, but it can also be made using other versions of PSP.
Since version PSP X4, Image>Mirror was replaced with Image>Flip Horizontal,
and Image>Flip with Image>Flip Vertical, there are some variables.
In versions X5 and X6, the functions have been improved by making available the Objects menu.
In the latest version X7 command Image>Mirror and Image>Flip returned, but with new differences.
See my schedule here
 French translation here French translation here
 your versions ici your versions ici
(difficulty level = medium)
This is a medium difficulty job because even though we use simple PSP resources and some plugins,
you have to work with your own creativity in choosing mists, tubes and play with Blend mode and opacity optionnaly,
to give an effect similar to the original.
For this tutorial, you will need:
Material here
Thanks for the tubes Renée.
The rest of the material is by Ligia
(you find here the links to the material authors' sites)
Plugins
consult, if necessary, my filter section here
Filters Unlimited 2.0 here
Alien Skin Eye Candy 5 Impact here
Adjust - Variations here
Brush Strokes here
Artistic here
Graphics Plus - Cross Shadow here
Filters Graphics Plus can be used alone or imported into Filters Unlimited.
(How do, you see here)
If a plugin supplied appears with this icon  it must necessarily be imported into Unlimited it must necessarily be imported into Unlimited

You can change Blend Modes according to your colors.

1. Open a new transparent image 1000 x 700 pixels.
Selections>Select All.
Open the image "fundo" and go to Edit>Copy.
Go back to your work and go to Edit>Paste into Selection.
Selections>Select None.
2. Layers>Duplicate.
Effects>Texture Effects>Texture - select the texture Asphalt, or Corel_15_030
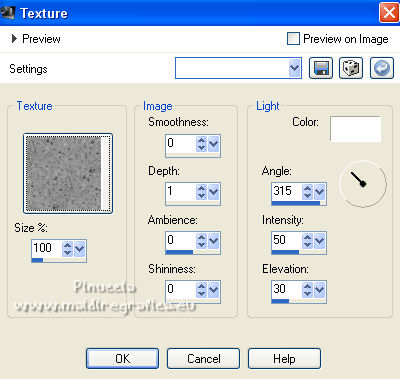
3. Reduce the opacity of this layer to 77%.
4. Layers>New Raster Layer.
Selections>Select All.
Open the tube Renee tubes-steampunk-DEC 36 (layer MASQUE) and go to Edit>Copy.
Go back to your work and go to Edit>Paste into Selection.
Selections>Select None.
Layers>Merge>Merge Down.
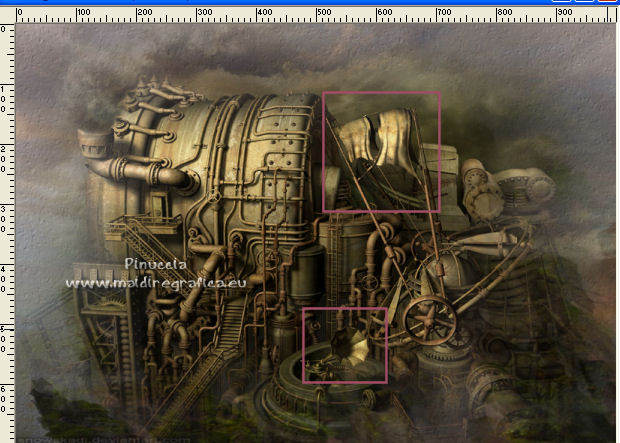
5. In order to create a contrast between light and dark,
activate your Lighten/Darken Brush Tool with the settings below;
with your colors and images, try to create some contrasts between light and dark

lightening and giving shine in the image as below
6. Open the misted "face" and go to Edit>Copy.
Go back to your work and go to Edit>Paste as new layer.
K key to activate your Pick Tool 
and set Position X: 515,00 and Position Y: -82,00.

7. Open the image "sombra" and go to Edit>Copy.
Go back to your work and go to Edit>Paste as new layer.
Set Position X and Y 0,00.

8. Open the tube Renée Tube-Tryptik and go to Edit>Copy.
Go back to your work and go to Edit>Paste as new layer.
Image>Mirror.
Set Position X: -22,00 and Position Y: -27,00.

Layers>Duplicate.
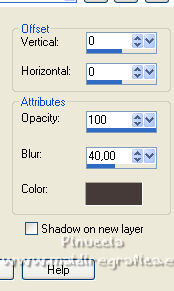
9. On the copy's layer: Effects>3D Effects>Drop Shadow, color black.
10. Effects>Plugins>Alien Skin Eye Candy 5 Impact - Perspective Shadow.
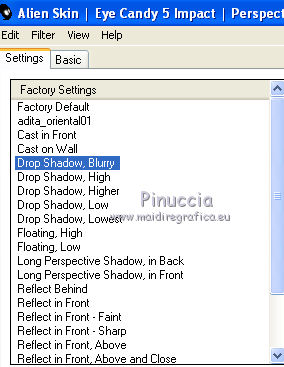
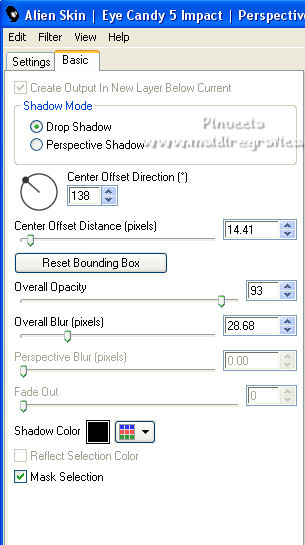
Select the preset Drop Shadow Blurry and under Basic set Center Offset Direction 138
11. Effects>Plugins>Adjust - Variations
a clic on Original to undo any previous settings memorized by the filter,
a clic on Darker and ok.
12. On the original layer change the Blend Mode to Hard Light and reduce the opacity to 71%.

13. Activate the top layer.
Edit>Copy Special>Copy Merged.
Edit>Paste as new layer.
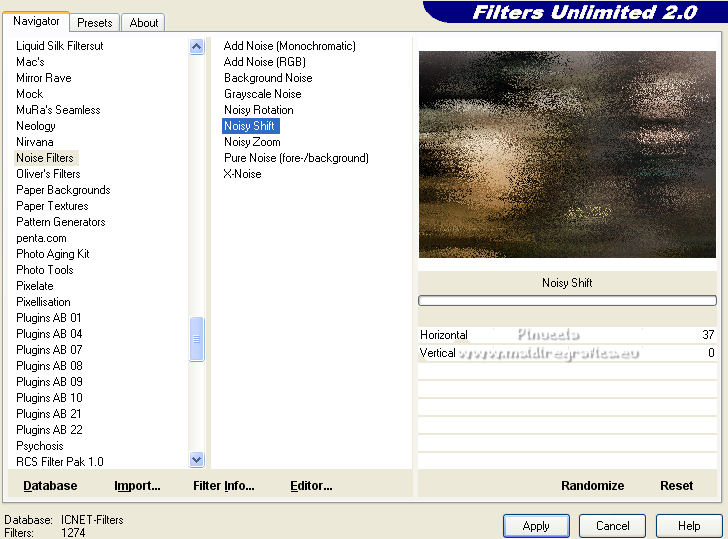
14. Effects>Plugins>Filters Unlimited 2.0 - Noise Filter - Noisy Shift, default settings
Effects>Plugins>Filters Unlimited 2.0 - Edges, Round - Round Edge 6.
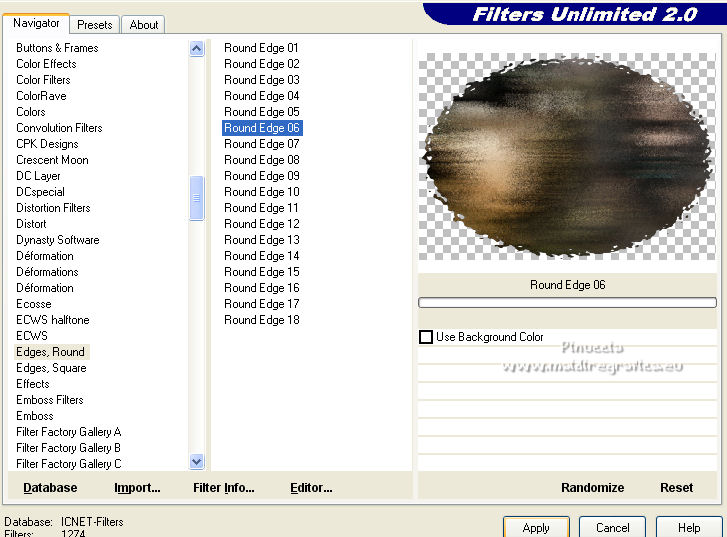
Change the Blend Mode of this layer to Luminance and reduce the opacity to 22%.

15. Layers>Merge>Merge visible.
Image>Resize, to 80%, resize all layers checked.
Adjust>Sharpness>Sharpen.
Edit>Copy.
(for caution Edit>Paste>Paste as new image).
16. Image>Add borders, 1 pixel, symmetric, color #d6ccc3.
Image>Add borders, 1 pixel, symmetric, color #101108.
Image>Add borders, 1 pixel, symmetric, color #d6ccc3.
Image>Add borders, 20 pixels, symmetric, whatever color.
Activate your Magic Wand Tool 
and click on the last border to select it.
Edit>Paste into Selection.
Adjust>Blur>Gaussian Blur - radius 10.

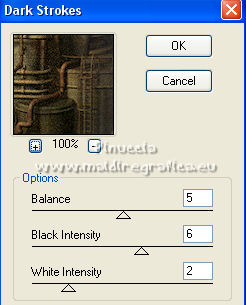
17. Effects>Plugins>Brush Strokes - Dark Strokes, default settings.
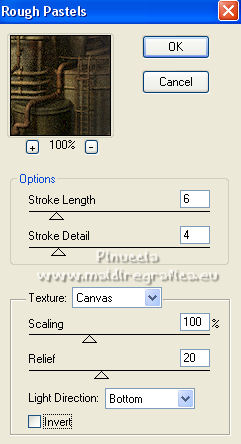
Effects>Plugins>Artistic - Rough Pastel, default settings.
If you use the french version of this layer (the result doesn't change):
Artistiques>Pastels.
Selections>Invert.
Effects>3D Effects>Drop Shadow, color #000000.

Selections>Select None.
18. Image>Add borders, 1 pixel, symmetric, color #d6ccc3.
Image>Add borders, 1 pixel, symmetric, color #101108.
Image>Add borders, 1 pixel, symmetric, color #d6ccc3.
Image>Add borders, 50 pixels, symmetric, whatever color.
Select the last border with your Magic Wand Tool 
Layers>New Raster Layer.
Edit>Paste into Selection (the image of step 15 is still in memory).
Image>Flip.
Effects>Plugins>Graphics Plus - Cross Shadow, default settings.

Selections>Invert.
Effects>Modules Externes>Alien Skin Eye Candy 5 Impact - Perspective Shadow.
Drop Shadow Blurry, same settings

Repeat the Effect another time.
Again apply the Effect Perspective Shadow, Drop Shadow Blurry,
but Center Offset Direction 312
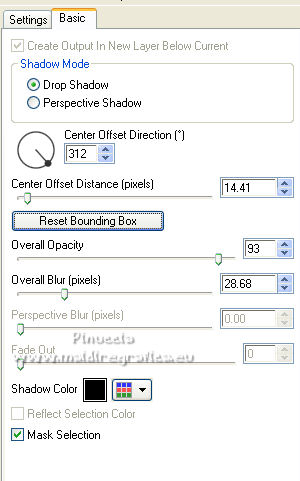
Repeat this Effect another time.
19. Image>Add borders, 1 pixel, symmetric, color #d6ccc3.
Image>Add borders, 1 pixel, symmetric, color #101108.
Image>Add borders, 1 pixel, symmetric, color #d6ccc3.
20. Sign your work on a new layer.
Add, if you want, the author's and translator's watermarks.
Layers>Merge>Merge All and save as jpg.
Version with images found on the net
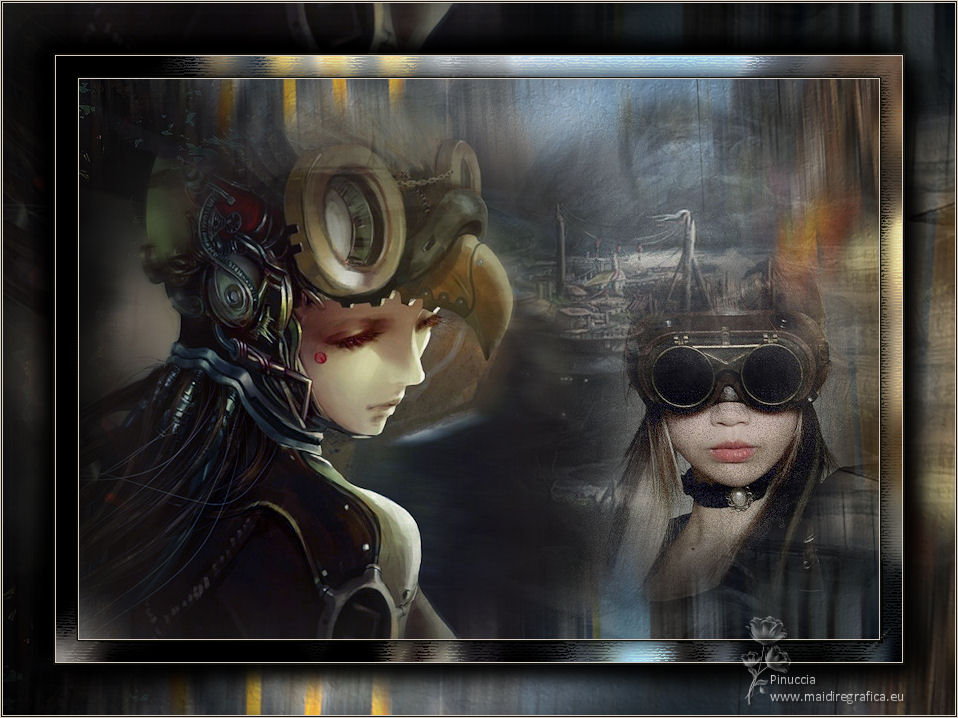
 Your versions here Your versions here

If you have problems or doubts, or you find a not worked link, or only for tell me that you enjoyed this tutorial, write to me.
27 May 2022

|

