|
PRINCESSE

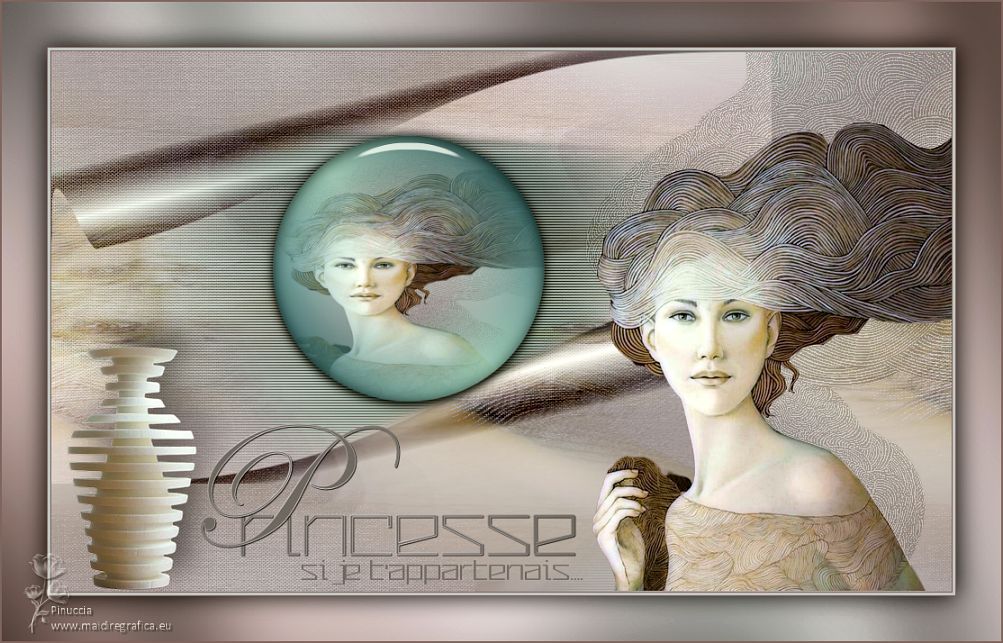
Thanks Ligia for your invitation to translate your tutorial

This tutorial was translated with PSPX7, but it can also be made using other versions of PSP.
Since version PSP X4, Image>Mirror was replaced with Image>Flip Horizontal,
and Image>Flip with Image>Flip Vertical, there are some variables.
In versions X5 and X6, the functions have been improved by making available the Objects menu.
In the latest version X7 command Image>Mirror and Image>Flip returned, but with new differences.
See my schedule here
 French translation here French translation here
 your versions ici your versions ici
For this tutorial, you will need:
Material here
The material is by Ligia
(you find here the links to the material authors' sites)
Plugins
consult, if necessary, my filter section here
Filters Unlimited 2.0 here
&<Bkg Designer sf10III> - SE Shiver (to import in Unlimited) here
Alien Skin Eye Candy 5 Impact - Glass here
AP 01 [Innovations] - Lines SilverLining here
Graphics Plus - Cross Shadow here
Optional - AAA Filters - Custom here
Filters Graphics Plus can be used alone or imported into Filters Unlimited.
(How do, you see here)
If a plugin supplied appears with this icon  it must necessarily be imported into Unlimited it must necessarily be imported into Unlimited

You can change Blend Modes according to your colors.
In the newest versions of PSP, you don't find the foreground/background gradient (Corel_06_029).
You can use the gradients of the older versions.
The Gradient of CorelX here
Copy the preset  in the folder of the plugin Alien Skin Eye Candy 5 Impact>Settings>Glass. in the folder of the plugin Alien Skin Eye Candy 5 Impact>Settings>Glass.
One or two clic on the file (it depends by your settings), automatically the preset will be copied in the right folder.
why one or two clic see here

Colors

1. Set your foreground color to color 1 #c0c1c6
and your background color to color 2 #7f696c
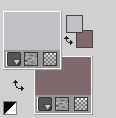
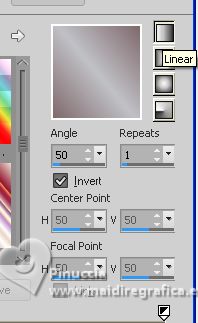
Set your foreground color to a Foreground/Background Gradient, style Linear.
2. Open a new transparent image 1000 x 600 pixels.
3. Selections>Select All.
Open the tube misted_moca_li 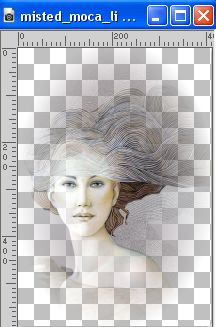
Edit>Copy.
Go back to your work and go to Edit>Paste into Selection.
Selections>Select None.
4. Effects>Image Effects>Seamless Tiling, side by side

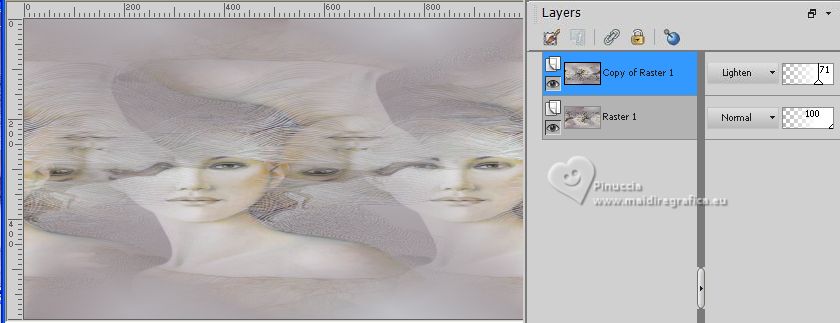
5. Layers>Duplicate.
Image>Mirror.
Image>Flip.
Change the Blend Mode of this layer to Lighten and reduce the opacity to 71%
(or according to your colors)
6. Activate the layer below, Raster 1.
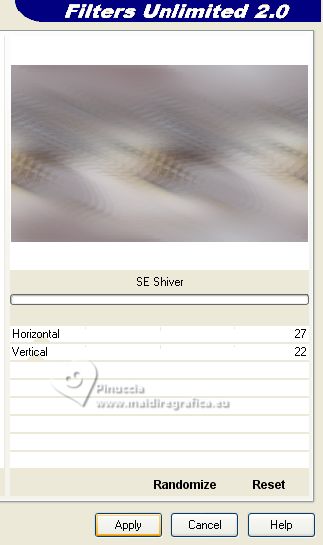
Effects>Plugins>Filters Unlimited 2.0 - &<Bkg Designer sf10III> - SE Shiver, default settings
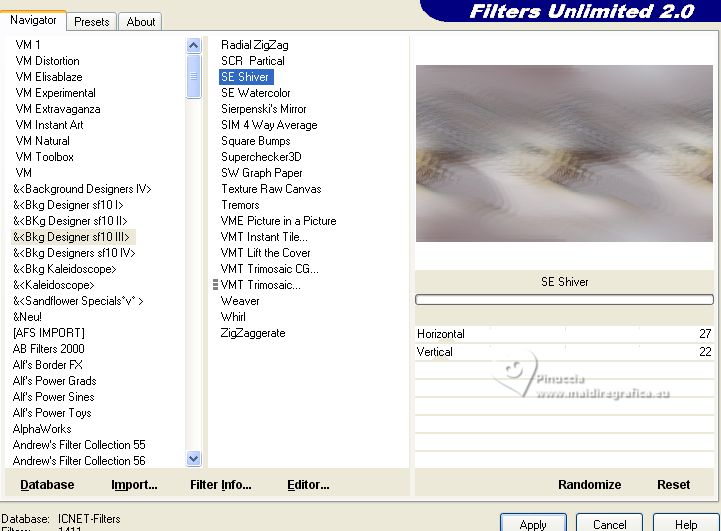
Repeat the Effect another time.
7. Activate the layer above, Copy of Raster 1.
Effects>Plugins>Filters Unlimited 2.0 - Paper Textures - Canvas Fine, default settings.
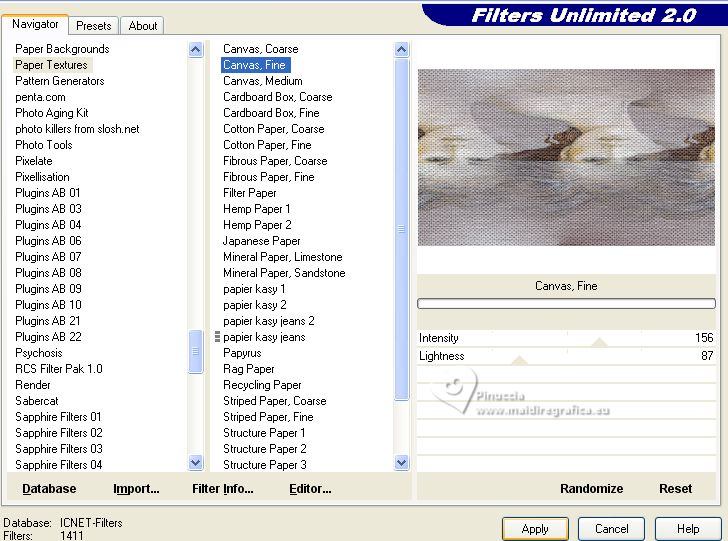
Layers>Merge>Merge visible.
8. Layers>Duplicate.
Image>Resize, to 80%, resize all layers not checked.
9. Objects>Align>Top.
Objects>Align>Left.
Or activate your Pick Tool 
and set Position X and Y to 0,00.

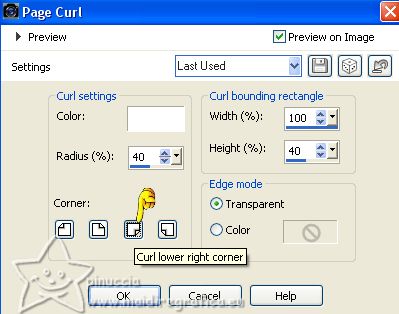
10. Effects>Image Effects>Page Curl.
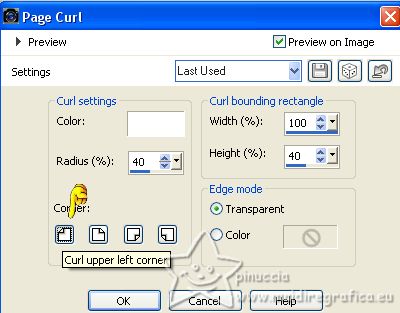
Repeat Effects>Image Effects>Page Curl, this time lower right corner checked.
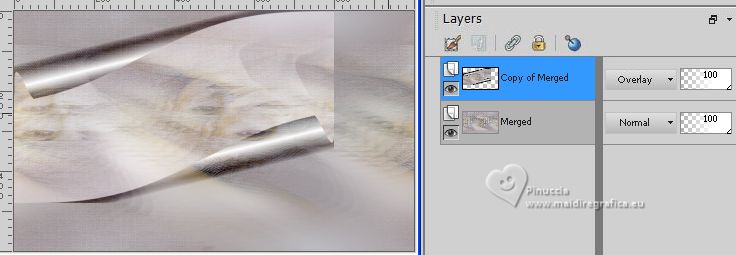
Change the Blend Mode of this layer to Overlay (or according to your colors).
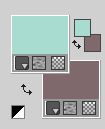
11. Set your foreground color to color 3 #a8dcd0
and your background color to color 4 #134357
Keep your foreground color with the Linear Gradient, same settings.
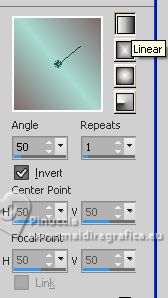
Layers>New Raster Layer.
Selections>Load/Save Selection>Load Selection from Disk.
Look for and load the selection circ_li
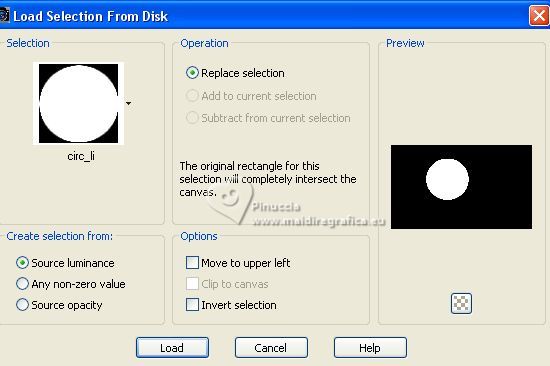
Flood Fill  the selection with your gradient. the selection with your gradient.
12. Edit>Paste into Selection (the tube misted_moca_li is still in memory)
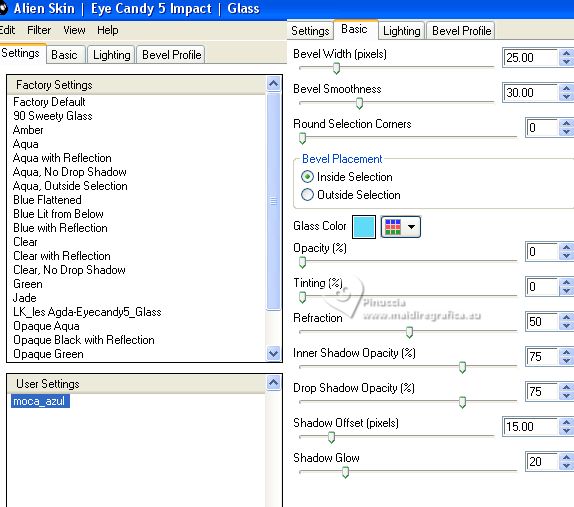
Effects>Plugins>Alien Skin Eye Candy 5 Impact - Glass.
Select the preset Moca azuland ok.
13. Effects>3D Effects>Drop Shadow, color black.
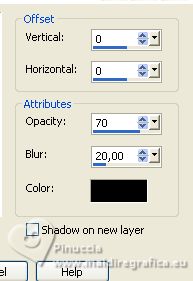
Selections>Select None.
14. Layers>Duplicate.
Activate the layer below of the original.
Adjust>Blur>Radial Blur.
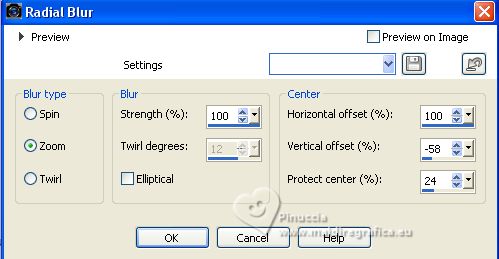
Change the Blend Mode of this layer to Darken (the result must be darker)
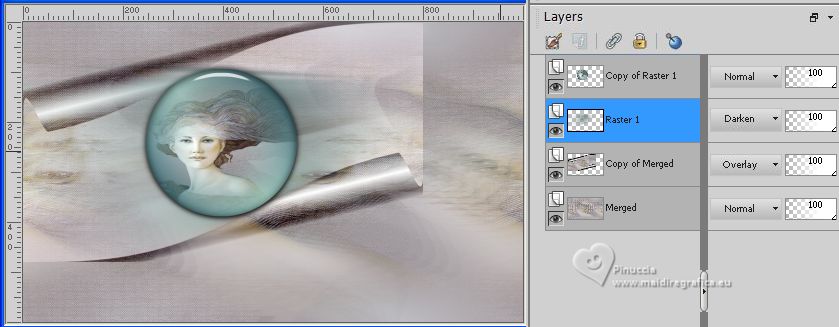
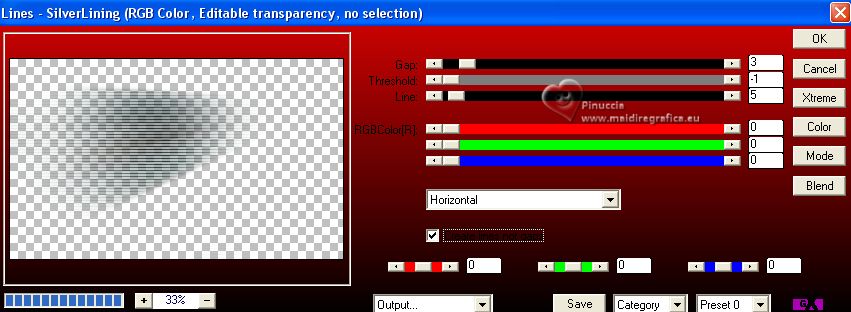
15. On this layer:
Effects>Plugins>AP 01 [Innovations] - Lines SilverLining.
16. Open the tube tube_moca_li 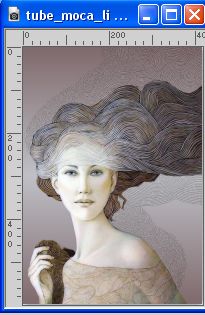
Edit>Copy.
Go back to your work and go to Edit>Paste as new layer.
Move  the tube at the bottom right. the tube at the bottom right.
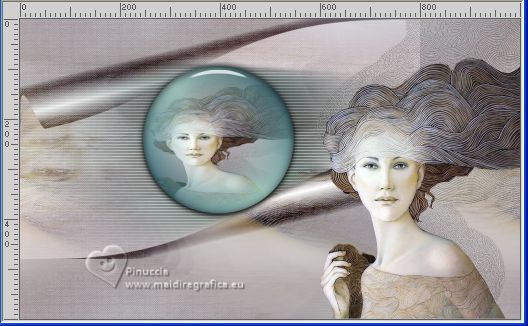
17. Set your foreground and background color with the initial colors (color 1 #c0c1c6 and color 2 #7f696c)
And keep your foreground color with the Linear Gradient.
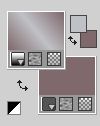
Image>Add borders, 1 pixel, symmetric, background color #7f696c 
Image>Add borders, 3 pixels, symmetric, foreground color #c0c1c6 
Image>Add borders, 1 pixel, symetric, background color #7f696c 
Selections>Select All.
Image>Add borders, 50 pixels, symmetric, foreground color #c0c1c6 
Selections>Invert.
Flood Fill  the selection with your Gradient. the selection with your Gradient.
Effects>Plugins>Graphics Plus - Cross Shadow.
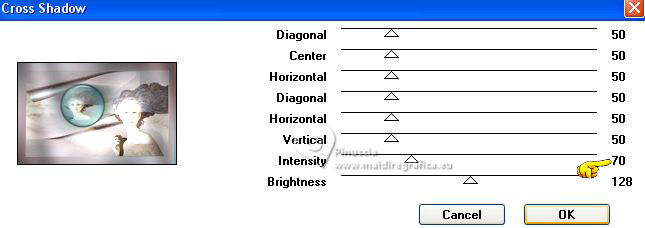
Selections>Invert.
Effects>3D Effects>Drop Shadow, color black.
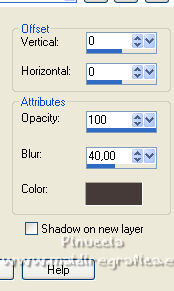
Image>Add border, 1 pixel, symmetric, background color #7f696c  . .
18. Open deco_li 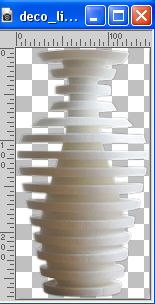
Edit>Copy.
Go back to your work and go to Edit>Paste as new layer.
19. Activate your Pick Tool 
and set Position X: 73,00 and Position Y: 383,00.

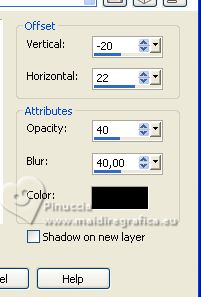
20. Effects>3D Effects>Drop Shadow, color black.
21. Open the text texto 
Edit>Copy.
Go back to your work and go to Edit>Paste as new layer.
Set Position X: 221,00 and Position Y: 469,00.

22. Image>Add borders, 1 pixel, symmetric, background color.
23. Sign your work on a new layer.
Add the author watermar, without forgetting the translator's.
24. Layers>Merge>Merge All.
Image>Resize, to 90%, resize all layers checked.
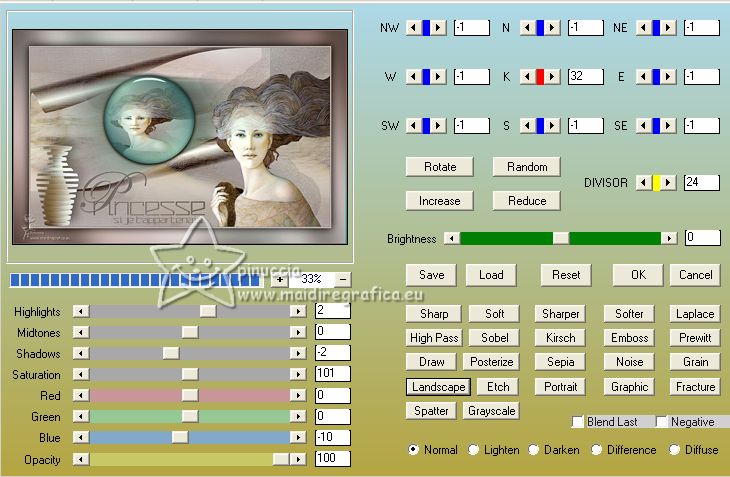
25. (Optional) Effects>Plugins>AAA Filters - Custom - Landscape and ok.
Save as jpg.
For the tubes of this version thanks Silvie and NaiseM
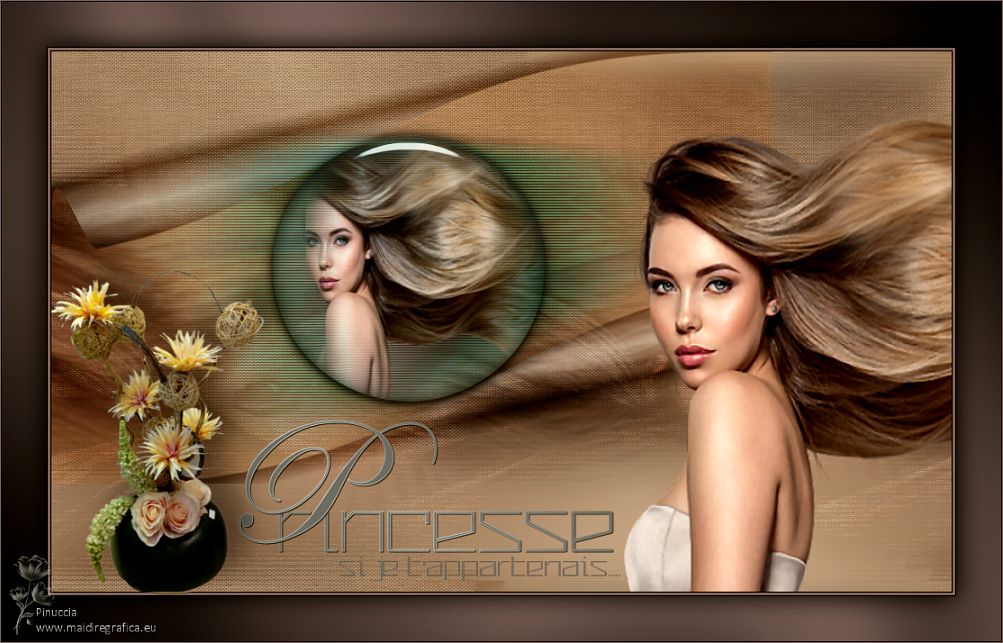
 Your versions here Your versions here

If you have problems or doubts, or you find a not worked link, or only for tell me that you enjoyed this tutorial, write to me.
2 July 2023

|

