|
PRIMAVERA

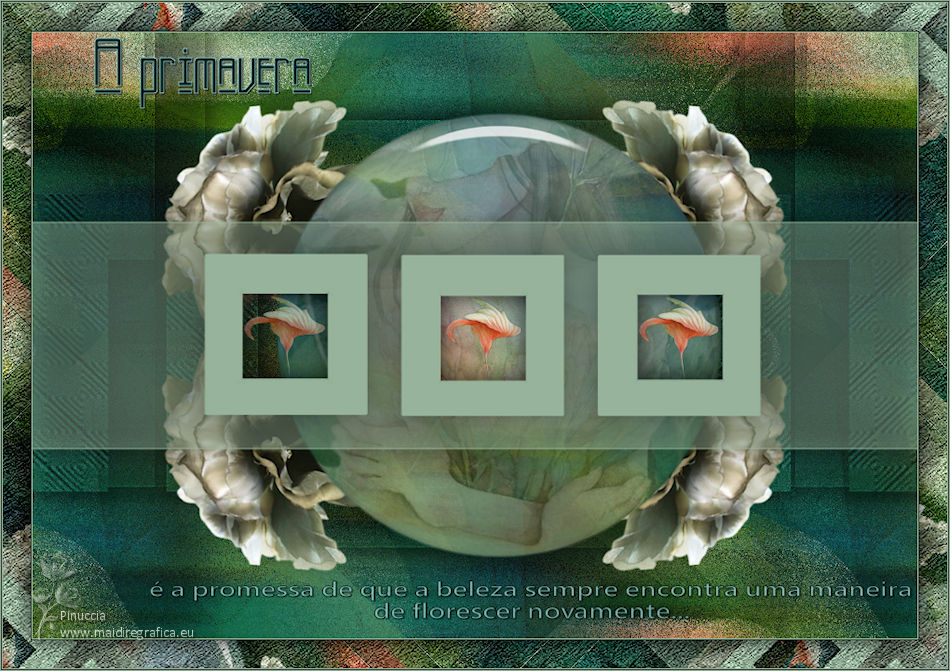
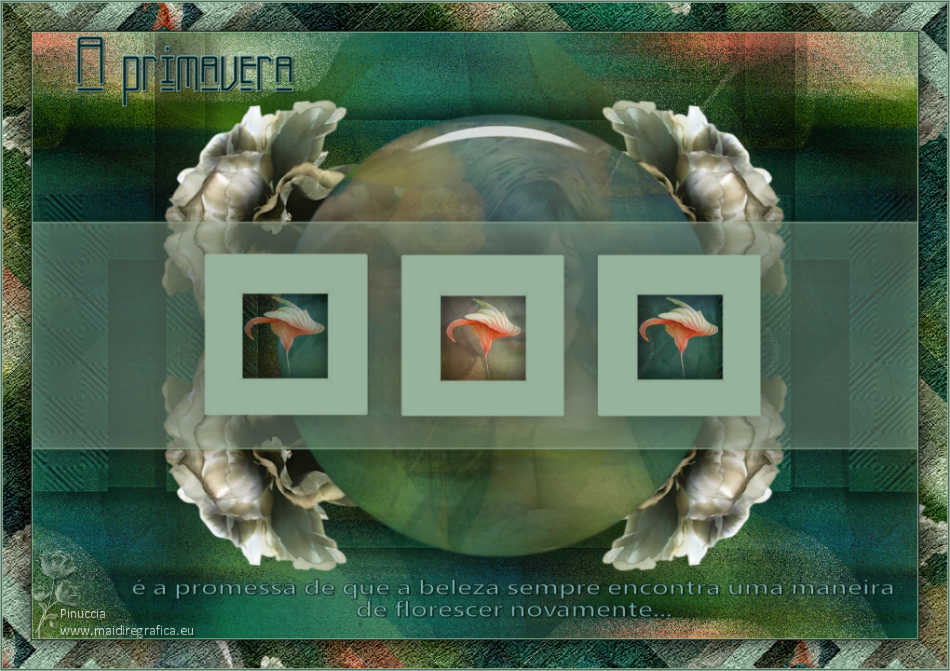
Thanks Ligia for your invitation to translate your tutorial

This tutorial was translated with PSPX7, but it can also be made using other versions of PSP.
Since version PSP X4, Image>Mirror was replaced with Image>Flip Horizontal,
and Image>Flip with Image>Flip Vertical, there are some variables.
In versions X5 and X6, the functions have been improved by making available the Objects menu.
In the latest version X7 command Image>Mirror and Image>Flip returned, but with new differences.
See my schedule here
 French translation here French translation here
 your versions ici your versions ici
For this tutorial, you will need:
Material here
For a mask thanks Cameron.
The rest of the material is by Ligia
(you find here the links to the material authors' sites)
Plugins
consult, if necessary, my filter section here
Filters Unlimited 2.0 here
&<Background Designers IV> - sf10 Slice N Dice (to import in Unlimited) ici
VM Natural - Speed ici
Alien Skin Eye Candy 5 Impact - Glass ici
Filters VM Natural can be used alone or imported into Filters Unlimited.
(How do, you see here)
If a plugin supplied appears with this icon  it must necessarily be imported into Unlimited it must necessarily be imported into Unlimited

You can change Blend Modes according to your colors.

Copy the selection in the Selections Folder.
Open the masks in PSP and minimize them with the rest of the material.
1. Open a new transparent image 950 x 650 pixels.
2. Selections>Select All.
Open the image fundo 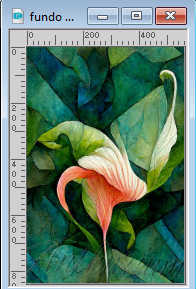
Edit>Copy.
Go back to your work and go to Edit>Paste into Selection.
Selections>Select None.
3. Effects>Plugins>VM Natural - Speed, default settings
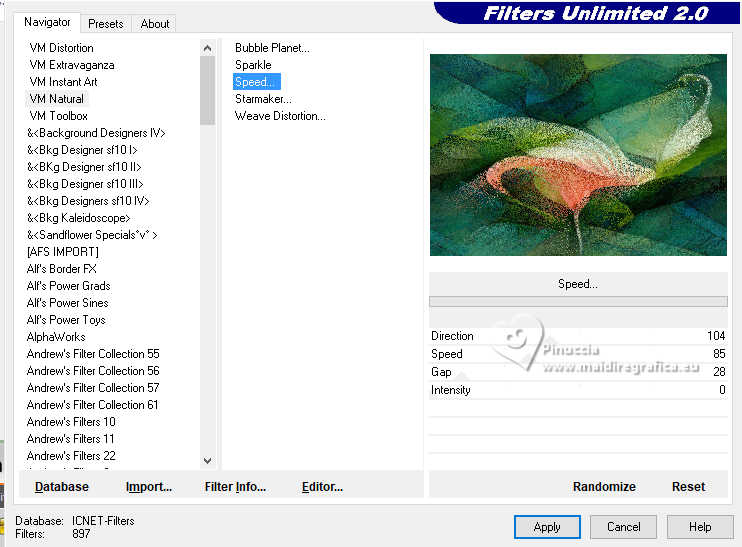
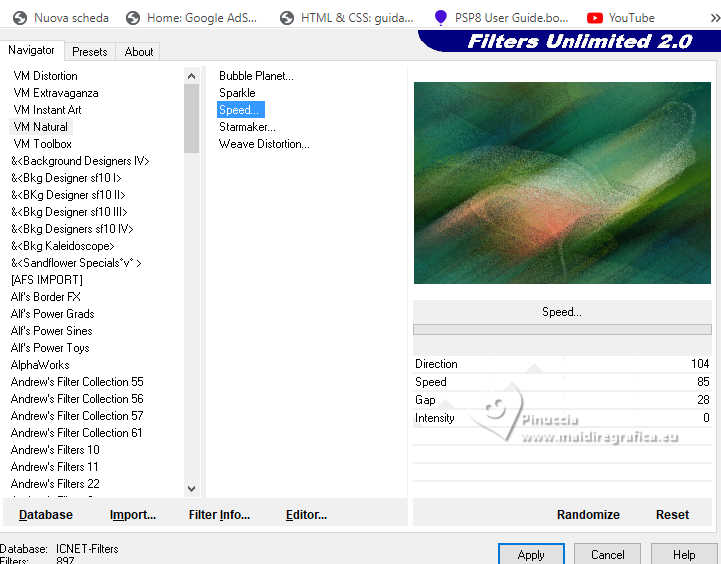
Repeat this Effect two times (for a total of 3).
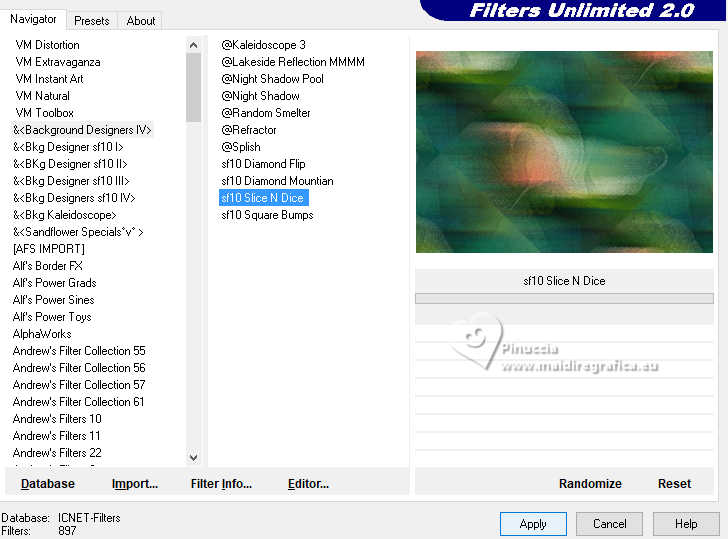
4. Effects>Plugins>&<Background Designers IV> - sf10 Slice N Dice
5. Layers>Duplicate.
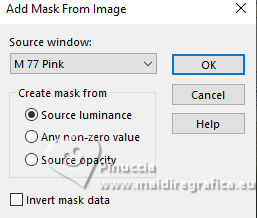
6. Layers>New Mask layer>From image
Open the menu under the source window and you'll see all the files open.
Select the mask M77 pink
Effects>Edge Effects>Enhance.
Layers>Merge>Merge Group.
Don't worry if you feel like you can't see anything.
7. Effects>3D Effects>Drop Shadow, color #000000
(always according to the colors you use in your version.
if you use dark tones, then change the color of the drop shadow to a light color)
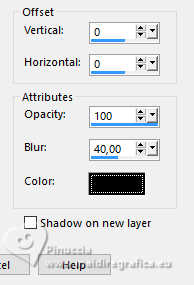
Edit>Repeat Drop Shadow.
8. Activate the layer Raster 1.
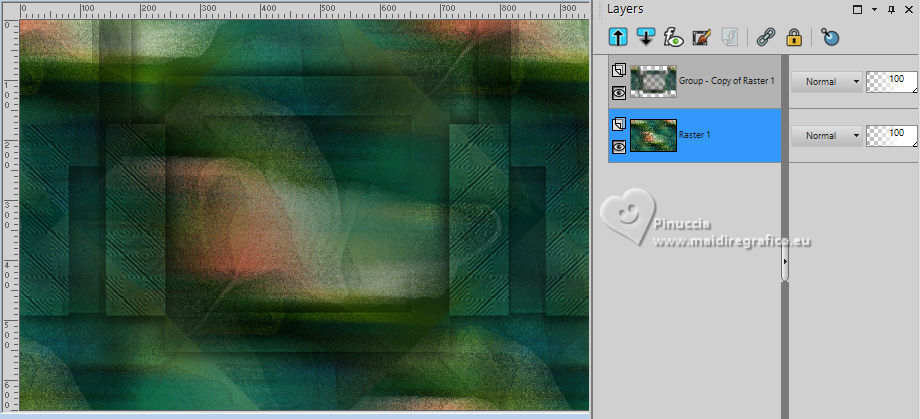
Edit>Copy.
Layers>New Raster Layer.
Selections>Load/Save Selection>Load Selection from Disk.
Look for and load the selection Isabella 3 Christ
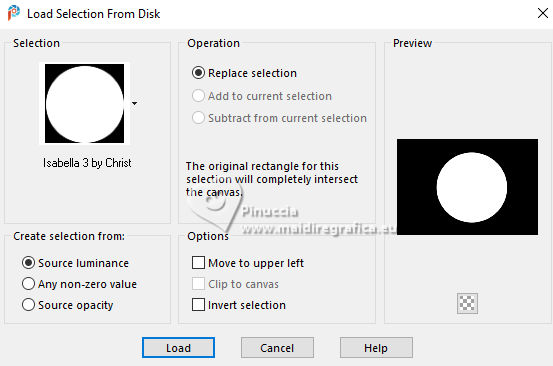
Edit>Paste into Selection.
9. Stay on this layer.
Open the image misted_moca_li 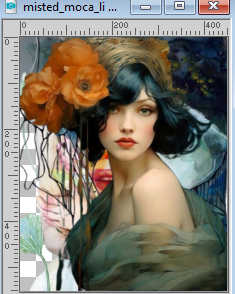
Choose one of the images and activate its layer.
Edit>Copy.
Go back to your work and go to Edit>Paste as new layer.
Place  correctly the tube on the selection. correctly the tube on the selection.
Selections>Invert.
Press CANC on the keyboard 
Again Selections>Invert.
Reduce the opacity of this layer to 40%.
Layers>Merge>Merge Down.
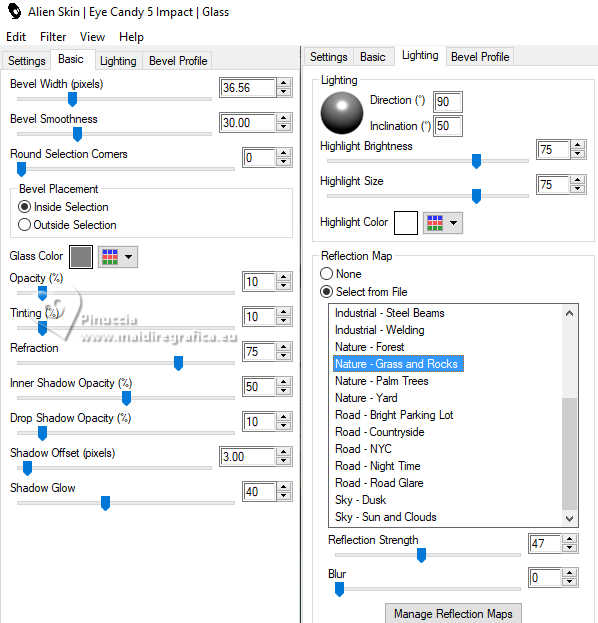
10. Effects>Plugins>Alien Skin Eye Candy 5 Impact - Glass.
Glass Lighting Nature-Grass and Rocks - Basic with these settings
Selections>Select None.
11. Layers>Arrange>Bring to Top.
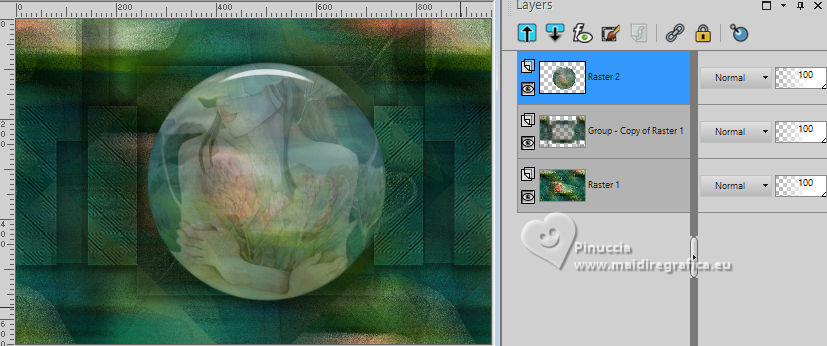
12. Set your foreground color to a light color of your work;
for me #97b39b  . .
Layers>New Raster Layer.
Flood Fill  with your foreground color #97b39b with your foreground color #97b39b
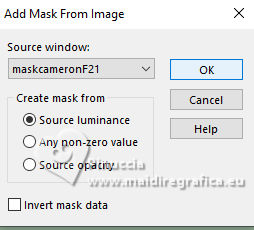
Layers>New Mask layer>From image
Open the menu under the source window
Select the mask maskcameron F21
Layers>Merge>Merge Group.
13. Activate your Magic Wand Tool 
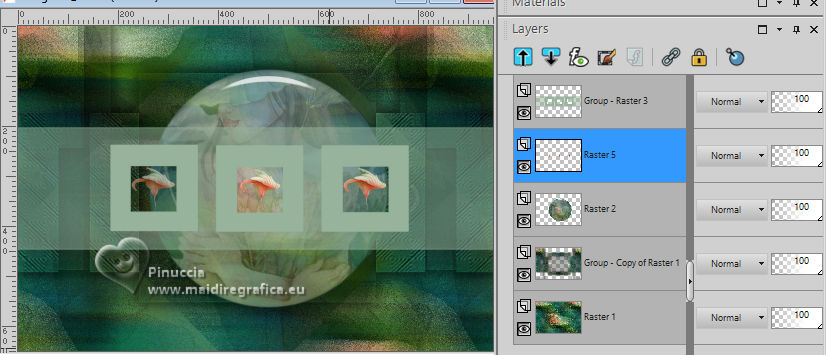
and click in the first frame to select it.
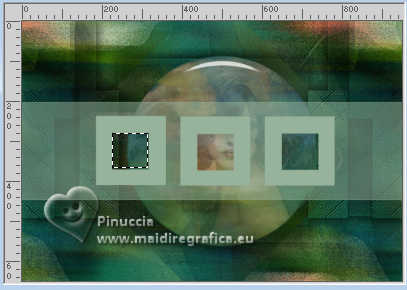
Layers>New Raster Layer.
Open flor_li 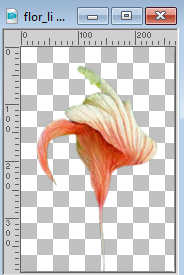
Edit>Copy.
Go back to your work and go to Edit>Paste into Selection.
Reduce the oopacity of this layer to 57%.
Selections>Select None.
Activate again the layer of the mask.
Select the second frame with your Magic Wand Tool 
Layers>New Raster Layer.
Edit>Paste into Selection - the tube is still in memory.
Reduce the opacity of this layer to 85%.
Selections>Select None.
Activate again the layer of the mask.
Select the third frame with your Magic Wand Tool 
Layers>New Raster Layer.
Edit>Paste into Selection - the tube is always in memory.
Reduce the opacity of this layer to 81%.
(this opacity will depend on the colors and image you use, to give a similar effect between them)
Selections>Select None.
Activate your top layer.
Layers>Merge>Merge Down - 2 times.
Layers>Arrange>Move Down (under the mask's layer).
14. Activate the layer of the mask.
Effects>3D Effects>Drop Shadow, color black.

15. Open the tube primavera_li 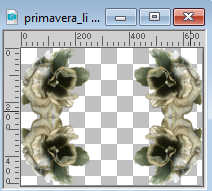
Edit>Copy.
Go back to your work and go to Edit>Paste as new layer.
Layers>Arrange>Move Down - 3 times (over the first mask).
Activate your Erase Tool 
Gently erase the excess of this layer in the rectangles to highlight the flower,
depending on the colors you use, you should change the opacity a little (optional).
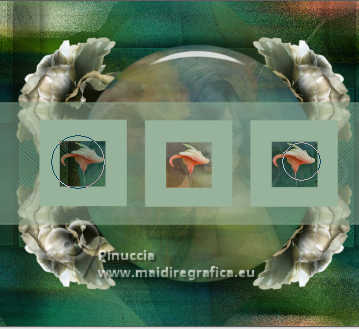
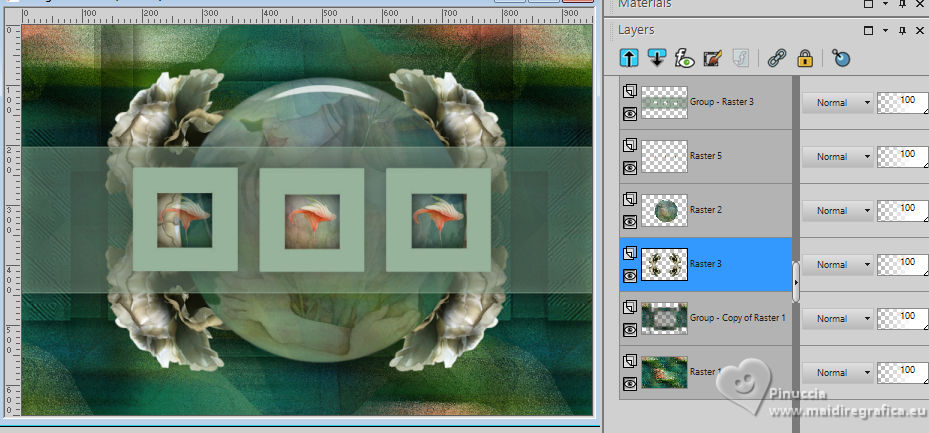
16. Layers>Merge>Merge visible.
Edit>Copy
Image>Add borders, 1 pixel, symmetric, light color.
Image>Add borders, 1 pixel, symmetric, dark color.
Selections>Select All.
Image>Add borders, 30 pixels, symmetric, color white.
Selections>Invert.
Edit>Paste into Selection
Adjust>Blur>Gaussian Blur - radius 40.

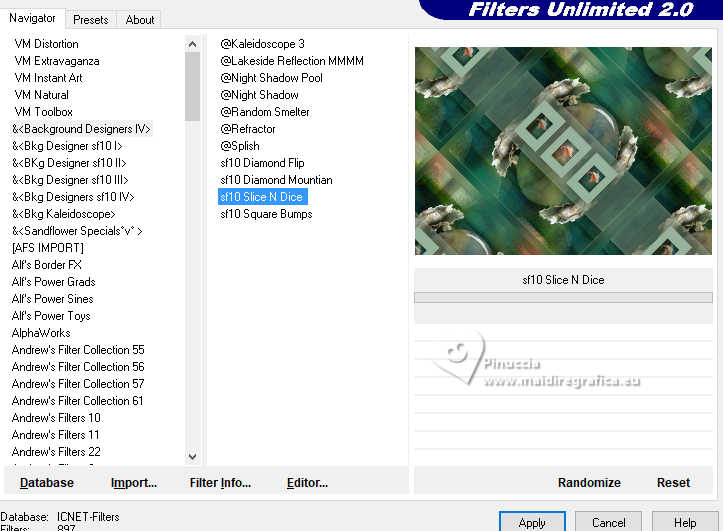
Effects>Plugins>Filters Unlimited 2.0 - &<M;Background Designers IV> - sf10 Slice N Dice.
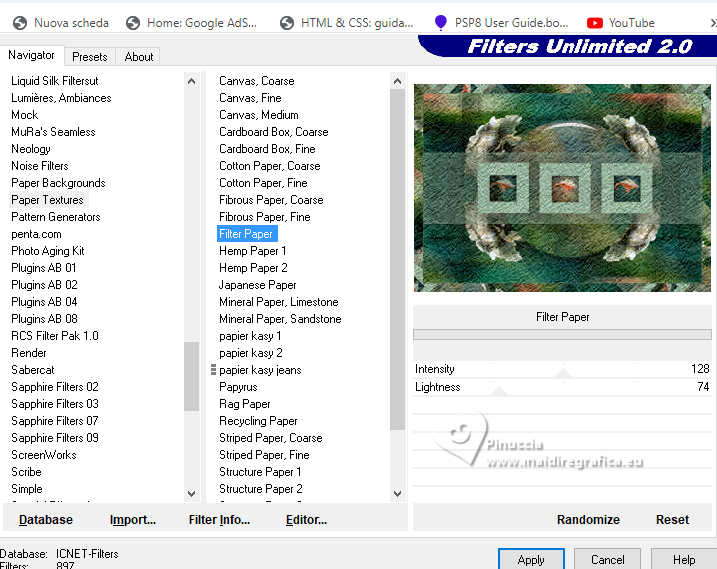
Effects>Plugins>Filters Unlimited 2.0 - Paper Texture - Filter Paper, default settings, 2 times.
Selections>Invert.
Effects>3D Effects>Drop Shadow, same settings.
Selections>Select None.
17. Open the texte 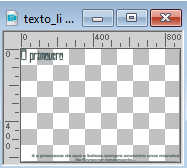
Edit>Copy.
Go back to your work and go to Edit>Paste as new layer.
Reduce the opacity if necessary.
Place  correctly the text, see my example. correctly the text, see my example.
Image>Add borders, 1 pixel, symmetric, light color.
Image>Add borders, 1 pixel, symmetric, dark color.
Image>Add borders, 1 pixel, symmetric, light color.
18. Sign your work and save as jpg.
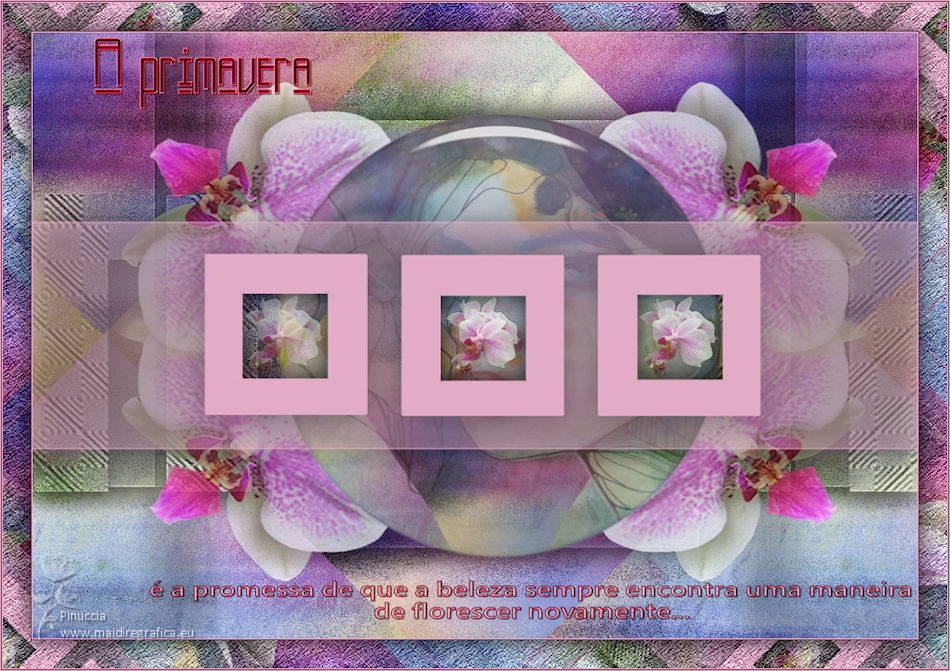
 Your versions here Your versions here

If you have problems or doubts, or you find a not worked link, or only for tell me that you enjoyed this tutorial, write to me.
28 August 2024
|

