|
MULHERES OUTONAIS
 AUTUMNAL WOMEN AUTUMNAL WOMEN

Thanks Ligia for your invitation to translate your tutorial

This tutorial was translated with PSPX7, but it can also be made using other versions of PSP.
Since version PSP X4, Image>Mirror was replaced with Image>Flip Horizontal,
and Image>Flip with Image>Flip Vertical, there are some variables.
In versions X5 and X6, the functions have been improved by making available the Objects menu.
In the latest version X7 command Image>Mirror and Image>Flip returned, but with new differences.
See my schedule here
 French translation here French translation here
 your versions ici your versions ici
For this tutorial, you will need:
Material here
Thanks for the tubes Jewel and Tatie.
The rest of the material is by Ligia.
(you find here the links to the material authors' sites)
Plugins
consult, if necessary, my filter section here
AAA Filters - AAA Multifilter, Blot and Smudges here

You can change Blend Modes according to your colors.
In the newest versions of PSP, you don't find the foreground/background gradient (Corel_06_029).
You can use the gradients of the older versions.
The Gradient of CorelX here

Copy the Selections in the Selections Folder.
Open the mask in PSP and minimize it with the rest of the material.
1. Open a new transparent image 950 x 650 pixels.
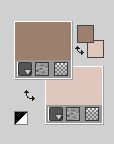
2. Choose two colors from your tube or your misted; for me:
foreground color #9d7f6d.
background color #e0c7be.
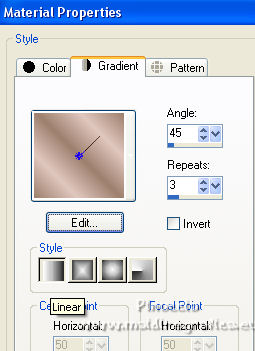
Set your foreground color to a Foreground/Background Gradient, style Linear.
Flood Fill  the transparente image with your Gradient. the transparente image with your Gradient.
3. Layers>New Raster Layer.
Selections>Select All.
Open the misted by Jewel and go to Edit>Copy.
Go back to your work and go to Edit>Paste into Selection.
Selections>Select None.
4. Effects>Image Effects>Seamless Tiling, default settings.

Repeat Effects>Image Effects>Seamless Tiling, Shutter Diagonal.
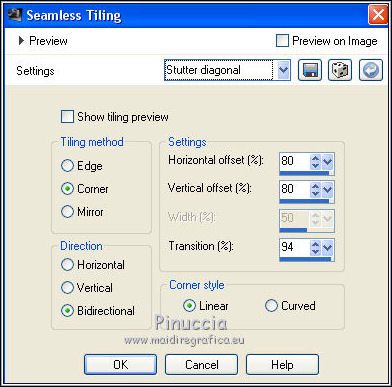
Change the Blend Mode of this layer to Screen or modify according to your colors:
For my first version, I made Image>Mirror.
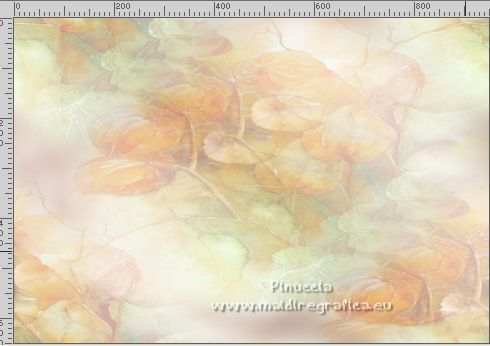
5. Layers>New Raster Layer.
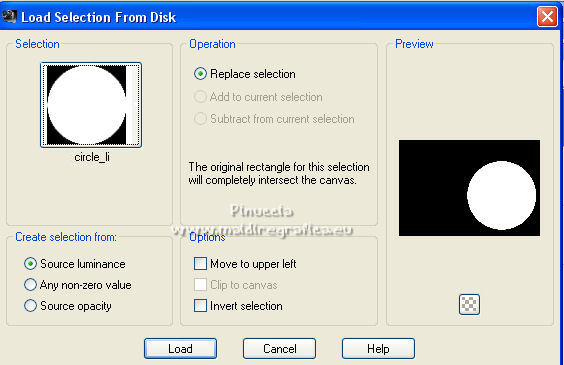
Selections>Load/Save Selection>Load Selection From disk.
Look for and load the selection circle_li
6. Edit>Paste into Selection (the misted by Jewel is still in memory).
Optional:
For my first version, before pasting the misted, I actived it again to make:
Image Flip.
7. Effects>Plugins>AAA Filters - AAA Multifilter
Select multiply-darken et ok
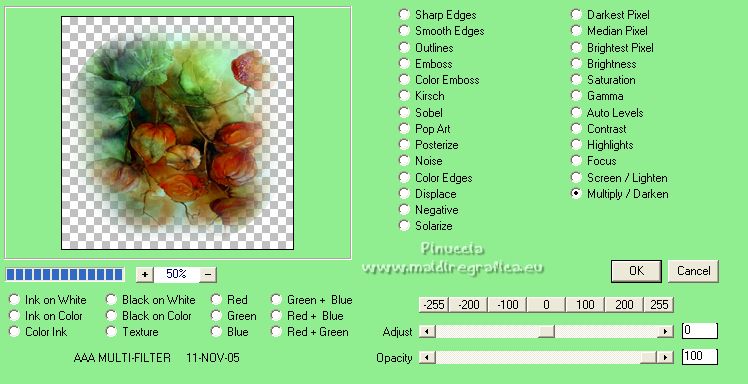
Keep selected.
Effects>Plugins>AAA Filters - Blot and Smudge, default settings.
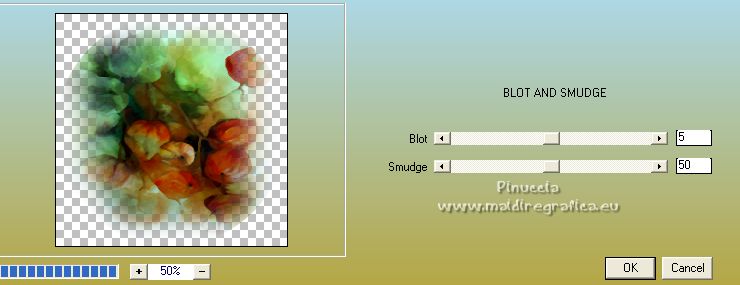
Selections>Select None.
8. Layers>New Mask layer>From image
Open the menu under the source window and you'll see all the files open.
Select the mask AF1.
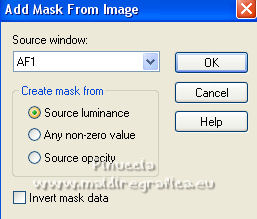
Layers>Merge>Merge Group.
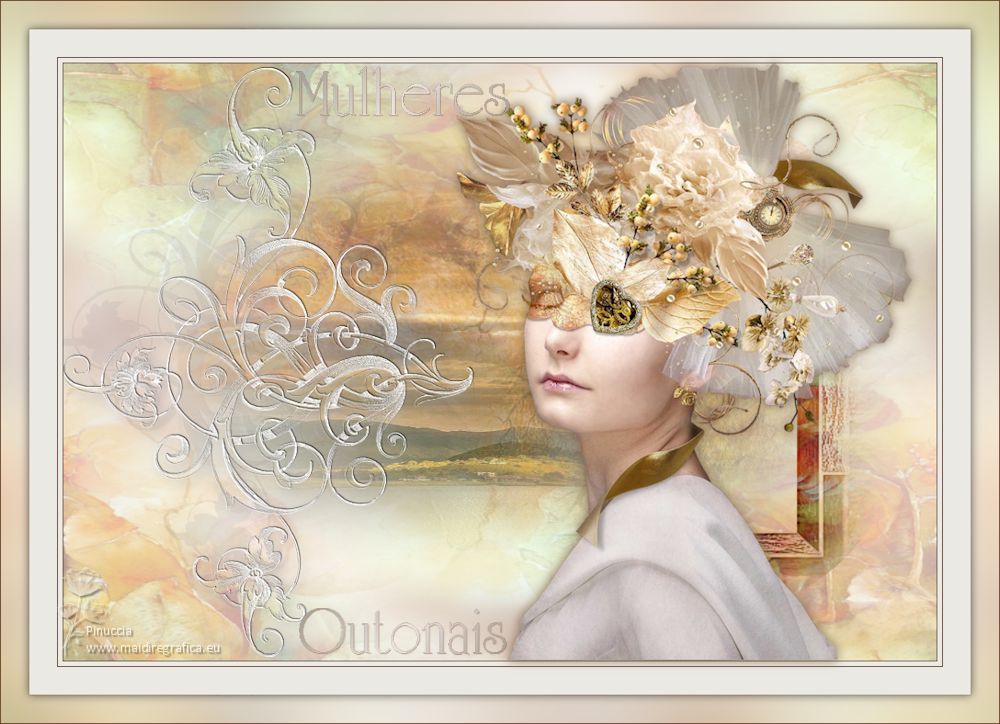
Result
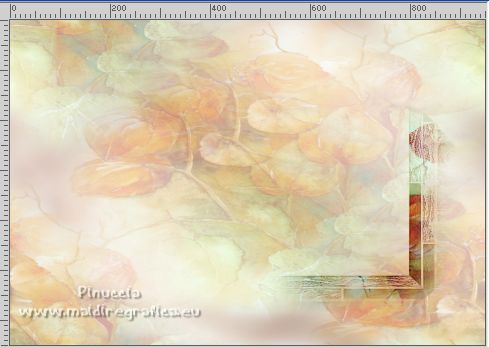
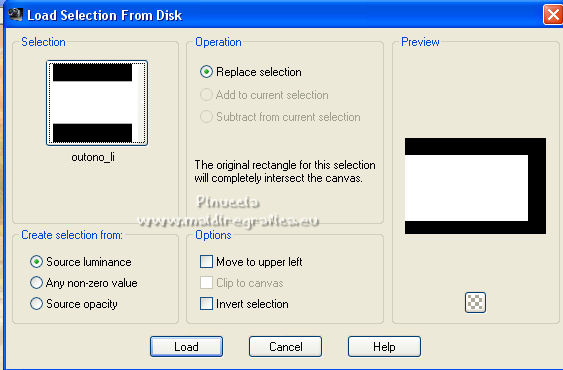
9. Selections>Load/Save Selection>Load Selection From disk.
Look for and load the selection outono_li
10. Open the misted fundo_li and go to Edit>Copy.
Go back to your work and go to Edit>Paste as new layer.
Place  the tube to your liking. the tube to your liking.
Selections>Invert.
Press CANC on the keyboard 
Layers>Arrange>Move Down.
Reduce the opacity of this layer to 71%.
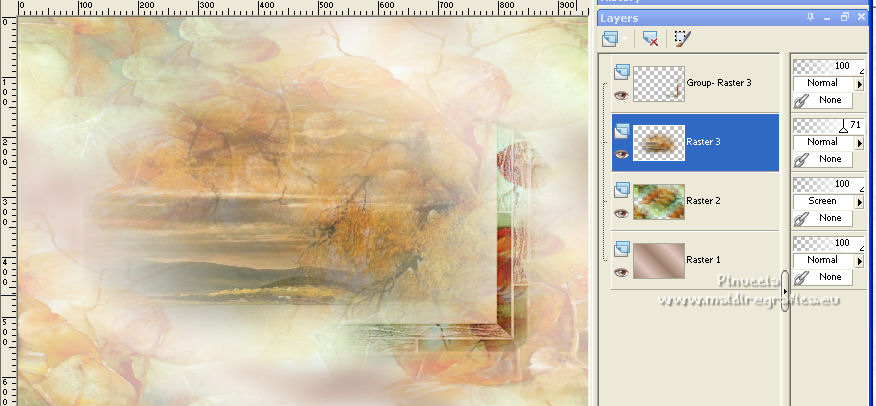
11. Activate your top layer.
Open the tube occhiBlu_deco and go to Edit>Copy.
Go back to your work and go to Edit>Paste as new layer.
Optional (according to your colors, you can colorize it):
Image>Negative Image.
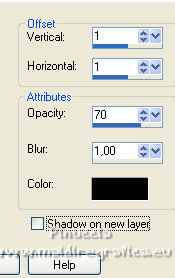
Effects>3D Effects>Drop Shadow, color #000000.
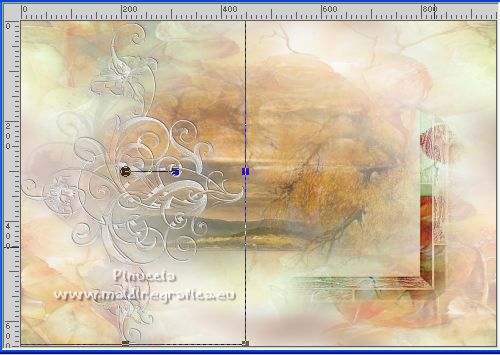
12. Image>Free Rotate - 90 degrees to left.

Activate your Pick Tool 
and set Position X: -33,00 and Position Y: -48,00

13. Layers>Merge>Merge All.
Edit>Copy.
14. for the borders, set your foreground color to #673a23,
and your background color to #eae9e4.
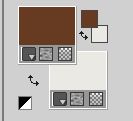
Image>Add borders, 1 pixel, symmetric, foreground color #673a23.
Image>Add borders, 5 pixels, symmetric, background color #eae9e4.
Image>Add borders, 1 pixel, symmetric, color #673a23.
Image>Add borders, 30 pixels, symmetric, color #eae9e4.
Image>Add borders, 1 pixel, symmetric, color #673a23.
Image>Add borders, 30 pixels, symmetric, whatever color.
15. Activate your Magic Wand Tool 
and click on the last border to select it.
Edit>Paste into Selection.
Adjust>Blur>Gaussian Blur - radius 30.

Selections>Invert.
Effects>3D Effects>Drop Shadow.
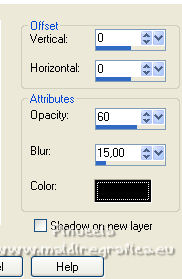
Selections>Select None.
16. Open your main tube copiaTubeTatie and go to Edit>Copy.
Go back to your work and go to Edit>Paste as new layer.
Don't move it.
17. Effects>Image Effects>Offset.
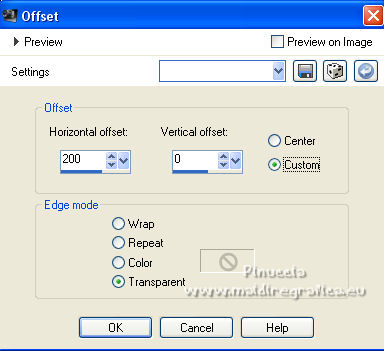
18. Effects>3D Effects>Drop Shadow, color #82684e.
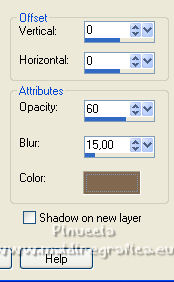
Edit>Repeat Drop Shadow (or other).
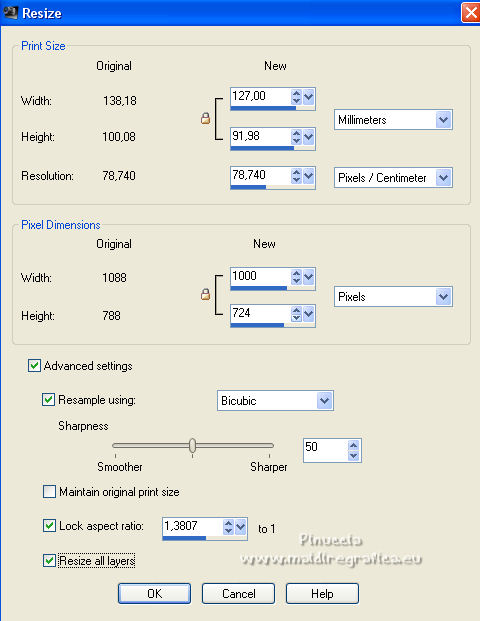
19. Image>Add borders, 1 pixel, symmetric, color #673a23.
Image>Resize, 1000 pixels width, resize all layers checked.
20. Open text1 and go to Edit>Copy.
Go back to your work and go to Edit>Paste as new layer.
Effects>Image Effects>Offset.
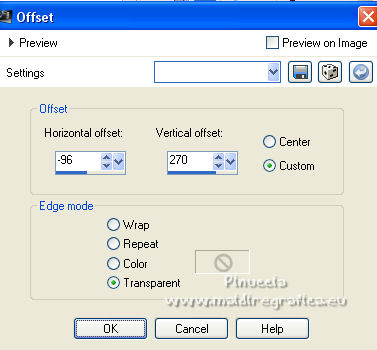
21. Open text2 and go to Edit>Copy.
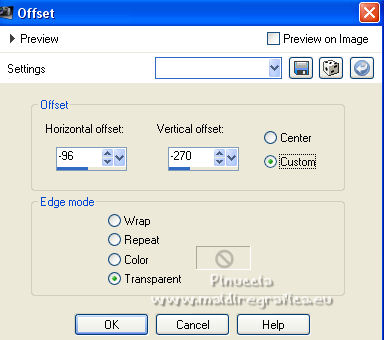
Go back to your work and go to Edit>Paste as new layer.
Effects>Image Effects>Offset.
22. Sign your work on a new layer.
Layers>Merge>Merge All and save as jpg.
For the tubes of this version thanks Beatriz et Jewel
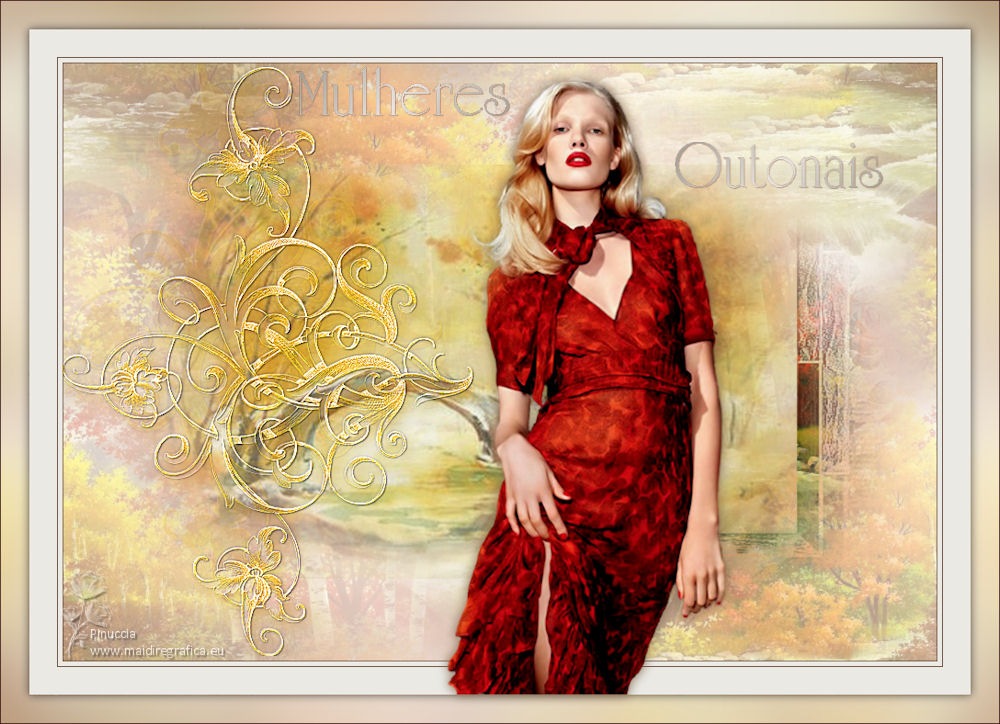
 Your versions here Your versions here

If you have problems or doubts, or you find a not worked link, or only for tell me that you enjoyed this tutorial, write to me.
23 April 2022

|
 AUTUMNAL WOMEN