|
TOP PRECIOUS
 ENGLISH VERSION ENGLISH VERSION
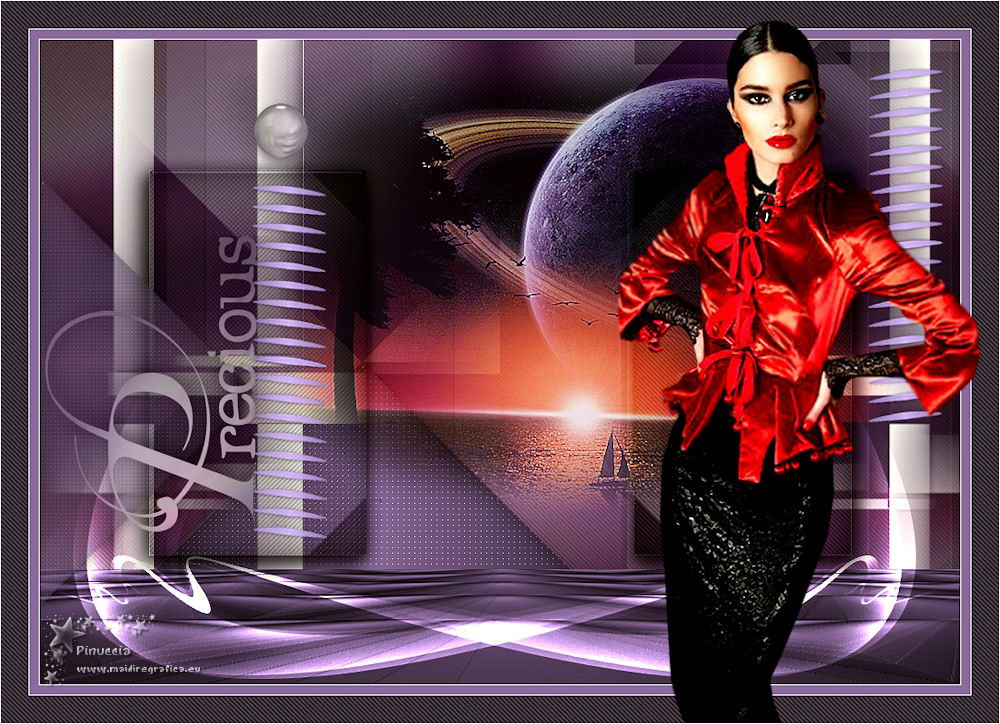
Here you find the original of this tutorial:

This tutorial was created with PSPX8 and translated with PSPX3, but it can also be made using other versions of PSP.
Since version PSP X4, Image>Mirror was replaced with Image>Flip Horizontal,
and Image>Flip with Image>Flip Vertical, there are some variables.
In versions X5 and X6, the functions have been improved by making available the Objects menu.
In the latest version X7 command Image>Mirror and Image>Flip returned, but with new differences.
See my schedule here
French translation here
your versions ici
For this tutorial, you will need:
Material here
Thanks: for the tubes Luz Cristina (5104-luzcristina), Narah (Scenery_04-14-2018), Naise (NAISEM_MULHERES_659);
for the decos Ildiko
(you find here the links to the material authors' sites)
Plugins
consult, if necessary, my filter section here
Filters Unlimited 2.0 here
&<Bkg Designer sf10I> - Barcode Generator (to import in Unlimited) here
Simple - Half Wrap, Pizza Slice Mirror here
Alien Skin Eye Candy 5 Impact - Glass here
Carolaine and Sensibility - CS-DLines, CS-LDots here
VanDerLee - Unplugged X here
Two Moon - VerticalChopBlur here
Mura's Meister - Perspective Tiling here
Nik Software - Color Efex Pro here
Optional: AAA Filters - Custom here
Filters Simple and Two Moon can be used alone or imported into Filters Unlimited.
(How do, you see here)
If a plugin supplied appears with this icon  it must necessarily be imported into Unlimited it must necessarily be imported into Unlimited

You can change Blend Modes according to your colors.
In the newest versions of PSP, you don't find the foreground/background gradient (Corel_06_029).
You can use the gradients of the older versions.
The Gradient of CorelX here
Copy the preset  in the folder of the plugins Alien Skin Eye Candy 5. in the folder of the plugins Alien Skin Eye Candy 5.
One or two clic on the file (it depends by your settings), automatically the preset will be copied in the right folder.
why one or two clic see here
Copy the preset Emboss 3 in the Presets Folder.
1. Set your foreground color to #241d2b,
and your background color to #8a6fa3.
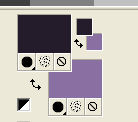
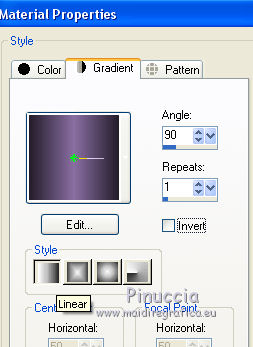
Set your foreground color to a Foreground/Background Gradient, style Linear.
Open a new transparent image 1000 x 700 pixels.
Flood Fill  the transparent image with your Gradient. the transparent image with your Gradient.
2. Selections>Select All.
Open the tube TUBES-NAISEM_MULHERES_659 and go to Edit>Copy.
Go back to your work and go to Edit>Paste into Selection.
Selections>Select None.
Note the tube that you'll use (here I did not use the same of the tutorial:
I needed to look for a tube with light colors to enhance the effect).
3. Effects>Image Effects>Seamless Tiling, default settings.

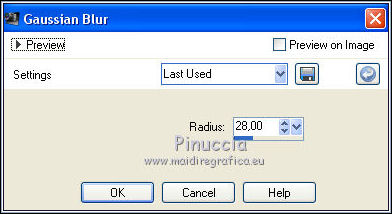
Adjust>Blur>Gaussian Blur, radius 28.
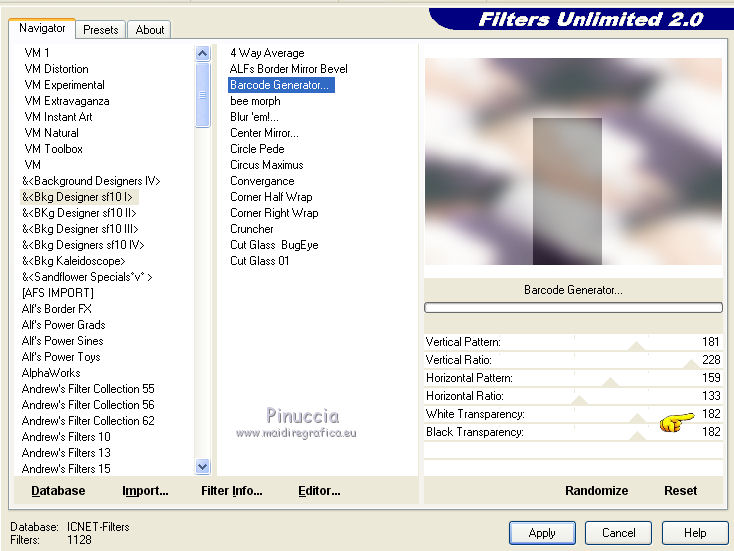
4. Effects>Plugins>Filters Unlimited 2.0 - &<Bkg Designer sf10I> - Barcode Generator
White Transparency to 182 and ok
5. Effects>Plugins>Simple - Pizza Slice Mirror.
Layers>Duplicate.
Effects>Plugins>Simple - Half Wrap.
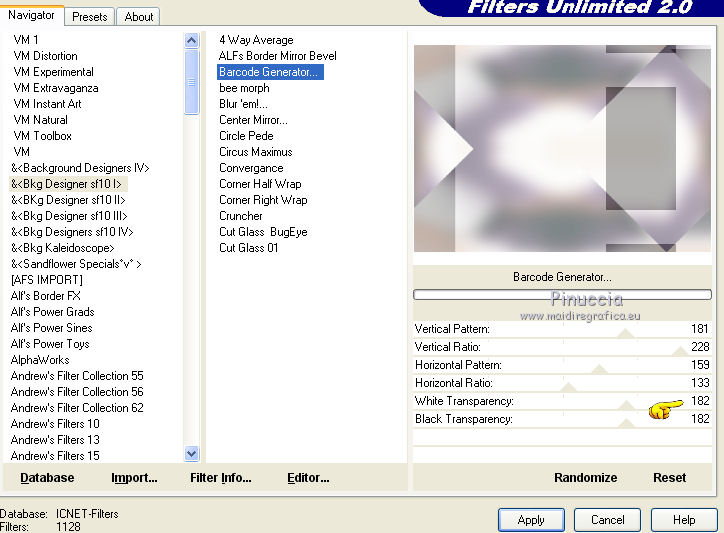
6. Repeat Effects>Plugins>Filters Unlimited 2.0 - &<Bkg Designer sf10I> - Barcode Generator
attention: Unlimited doesn't keep in memory the settings: you have to set again White Transparency to 182.
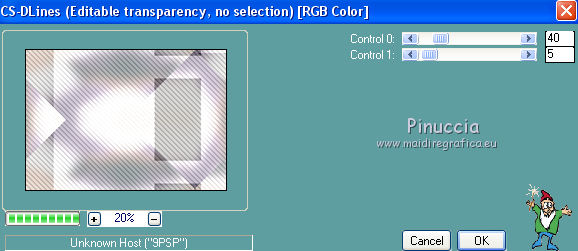
7. Effects>Plugins>Carolaine and Sensibility - CS-DLines
8. Layers>New Raster Layer.
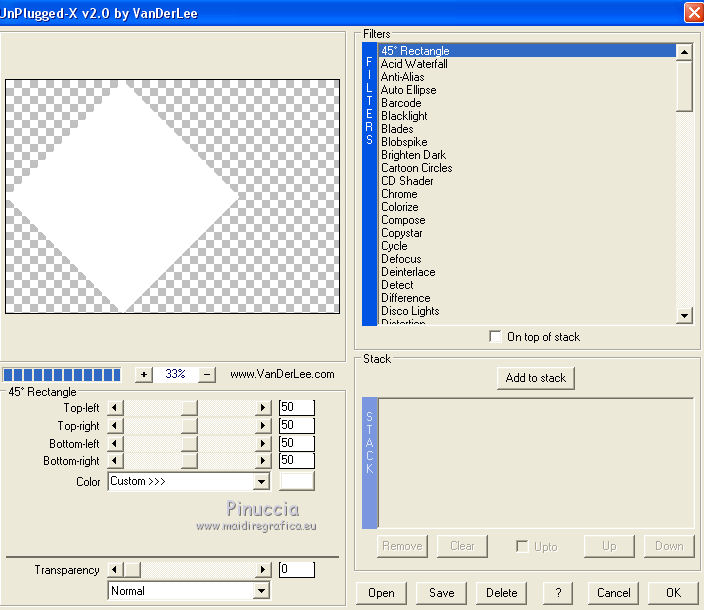
Effects>Plugins>VanDerLee - Unplugged-X - 45° Rectangle
color #ffffff
9. Activate your Magic Wand Tool  tolerance and feather 0, tolerance and feather 0,
anche click on the outside to select it
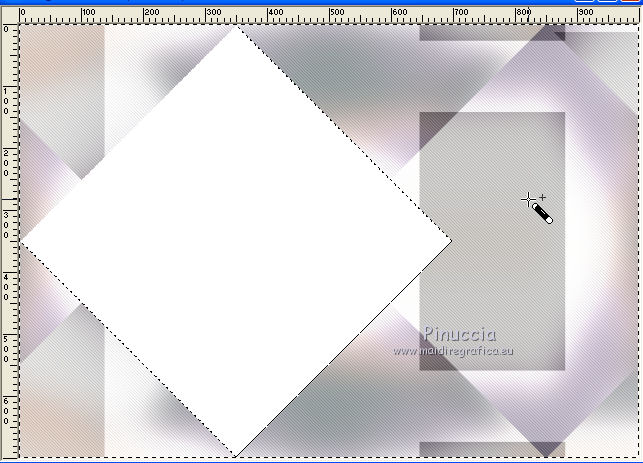
Selections>Invert.
Flood Fill  the selection with your Gradient. the selection with your Gradient.
10. Effects>Plugins>Carolaine and Sensibility - CS-LDots
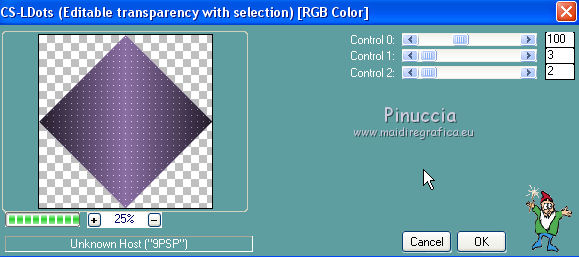
Selections>Select None.
11. Effects>3D Effets>Drop Shadow, color #000000.
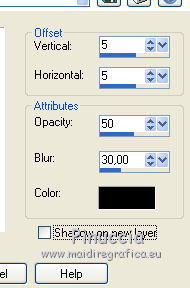
Layers>Duplicate.
Image>Resize, to 70%, resize all layers not checked.
Close the layer Raster 2.
12. Activate the top layer.
Effects>Image Effects>Offset.
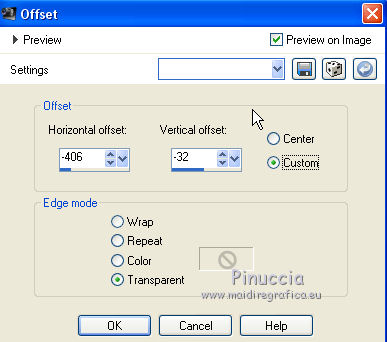
Reduce the opacity of this layer to 51%.
13. Open and activate the layer Raster 2.
Effects>Image Effects>Offset.
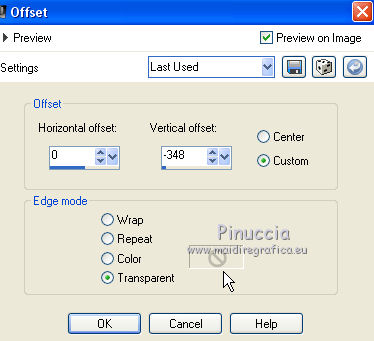
14. On this layer (Raster 2) and on the layer of the copy (Copy of Raster 2):
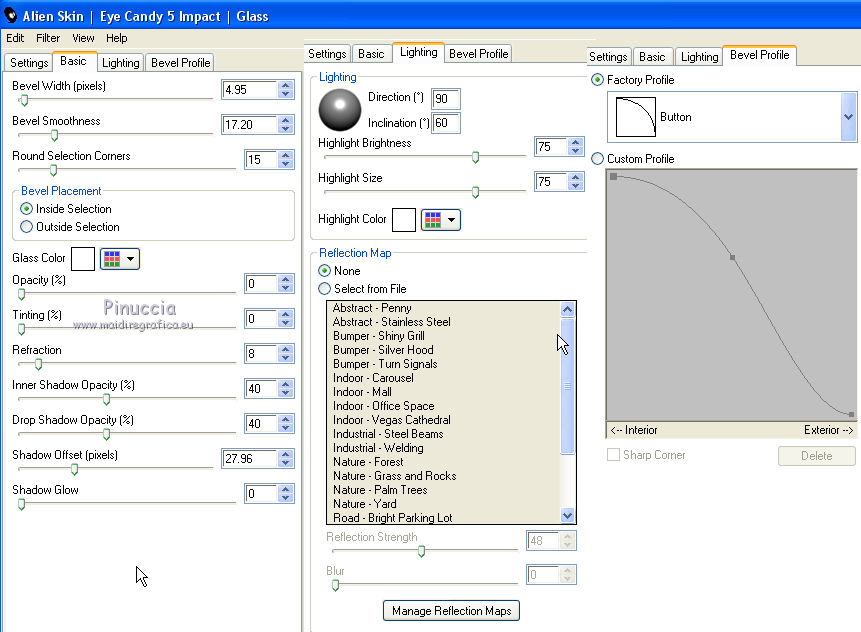
Effects>Plugins>Alien Skin Eye Candy 5 Impact - Glass.
Select the preset katrina and ok.
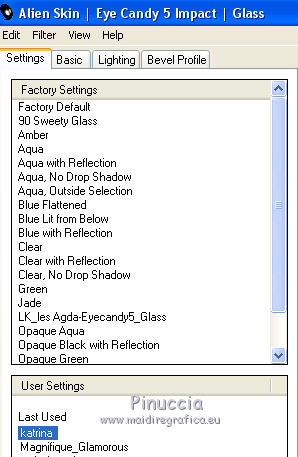
Here below the settings, in case of problems with the preset
15. Activate the layer Raster 2.
Layers>New Raster Layer.
Selections>Select All.
Open Ildiko_create_deco (133) and go to Edit>Copy.
Go back to your work and go to Edit>Paste into Selection.
Selections>Select None.
16. Activate the layer Copy of Raster 1.
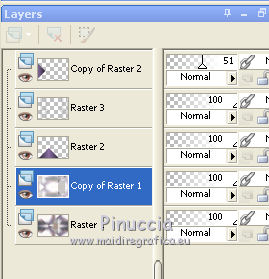
Activate the Selection Tool 
, rectangle,
and select the effect, as below
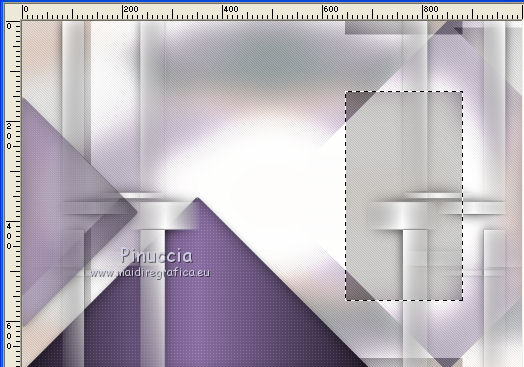
Selections>Promote Selection to Layer.
17. Effects>Plugins>Alien Skin Eye Candy 5 Impact - Glass - same settings.

Selections>Select None.
Effects>3D Effects>Drop Shadow, color #000000.

Layers>Arrange>Move Up - 2 times.
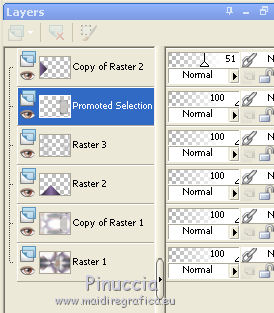
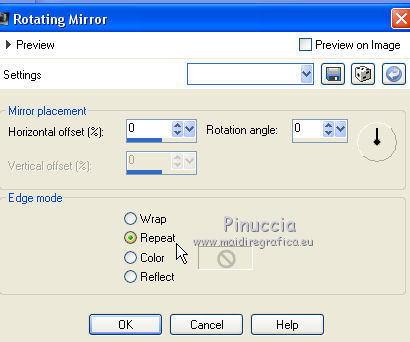
18. Effects>Reflection Effects>Rotating Mirror.
19. Layers>New Raster Layer.
Layers>Arrange>Send to Bottom.
20. Change the settings of your Gradient, style Sunburst.
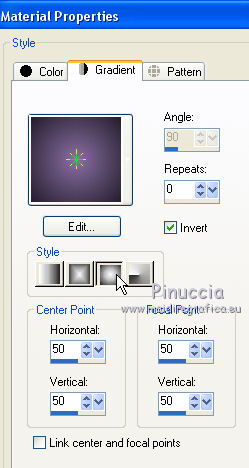
Flood Fill  the layer with your Gradient. the layer with your Gradient.
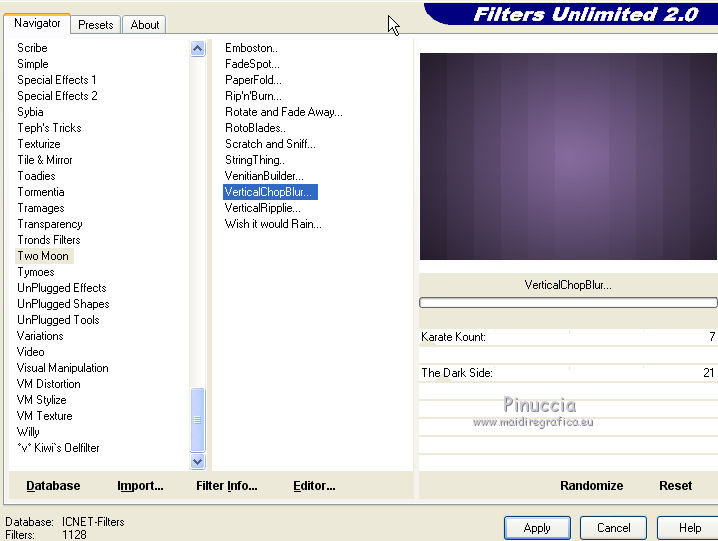
21. Effects>Plugins>Filters Unlimited 2.0 - Two Moon - VerticalChopBlur
Effects>User Defined Effects - select the preset Emboss 3 and ok.

Layers>Duplicate.
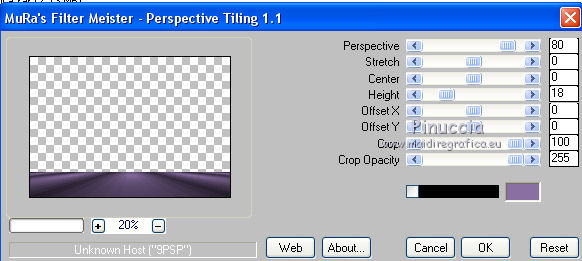
22. Effects>Plugins>Mura's Meister - Perspective Tiling.
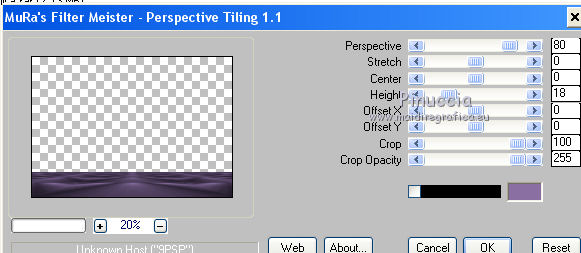
Repeat Effects>Plugins>Mura's Meister - Perspective Tiling, same settings
Effects>User Defined Effects - Emboss 3 and ok.

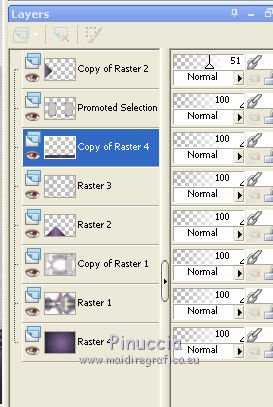
Move the layer over the layer Raster 3.
23. Activate the layer Raster 1.
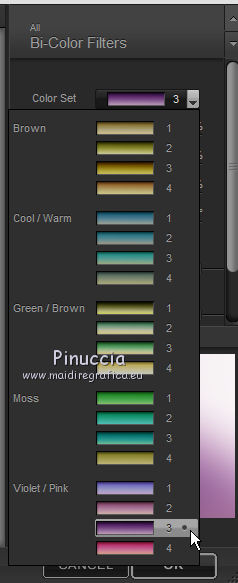
Effects>Plugins>Nik Software - Color Efex Pro
Bi-Color Filters - to the right Color set Violet/Pink 3 (or at your choice)
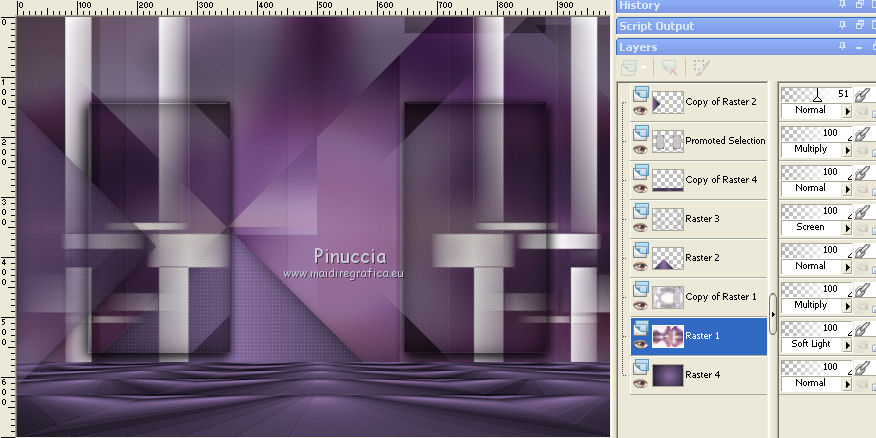
Change the Blend Mode of this layer to Soft Light
and change the other layer as below
24. Activate the top layer.
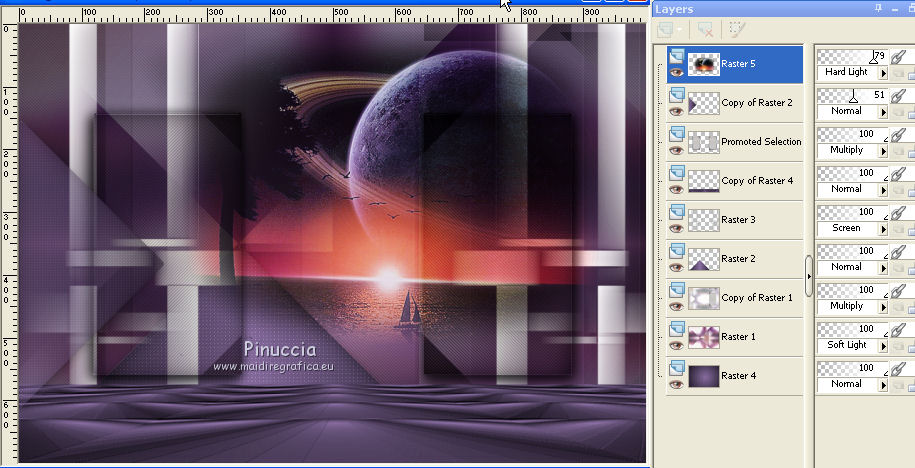
Open the tube Narah_Scenery_04-14-2018 and go to Edit>Copy.
Go back to your work and go to Edit>Paste as new layer.
Image>Redimensionner, à 80%, redimensionner tous les calques décoché.
Place  rightly the tube. rightly the tube.
Adjust>Sharpness>Sharpen More.
Réglage>Netteté>Davantage de netteté.
Adjust>One Step Photo Fix.
Change the Blend Mode of this layer to Hard Light and reduce the opacity to 79%.
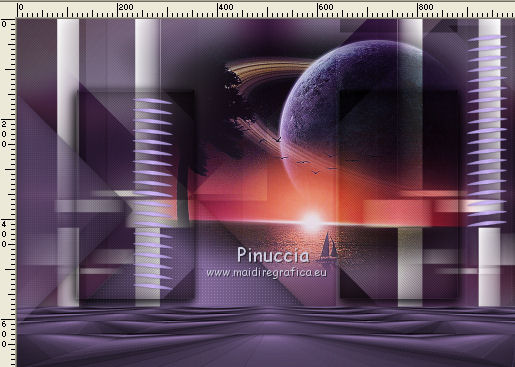
25. Open the tube Ildiko_create_deco (157), activate the layer Raster 2 and go to Edit>Copy.
Go back to your work and go to Edit>Paste as new layer.
Adjust>One Step Photo Fix.
Move  the tube to the left side. the tube to the left side.
Layers>Duplicate.
Image>Mirror.
Place  rightly the tube to the right side. rightly the tube to the right side.
26. Open brush-arquivo and go to Edit>Copy.
Go back to your work and go to Edit>Paste as new layer.
Move  the image down. the image down.
Move this layer over the layer Perspective Tiling.
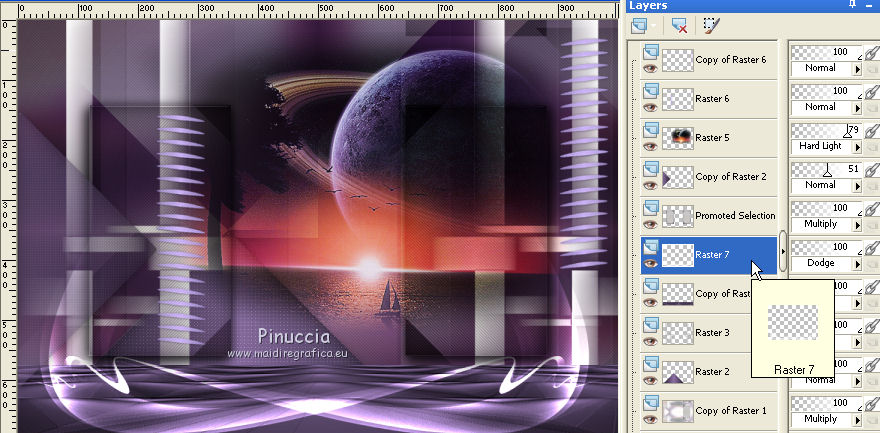
27. Open text-01-0_75eba and go to Edit>Copy.
Go back to your work and go to Edit>Paste as new layer.
Image>Free Rotate - 90 degrees to left.

Place  rightly the text. rightly the text.
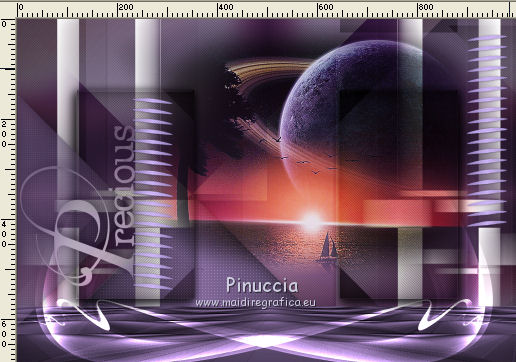
Keep the Blend Mode of this layer to Luminance (legacy).
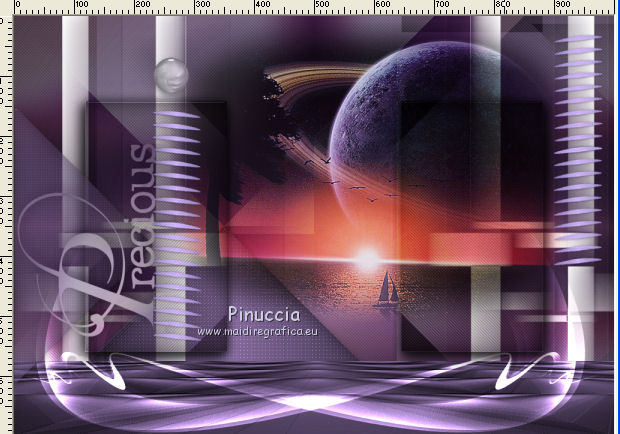
28. Open the tube Ildiko_Desings_Created@Deco (2) and go to Edit>Copy.
Go back to your work and go to Edit>Paste as new layer.
Place  the tube at your choice, the tube at your choice,
or see my example
Change the Blend Mode of this layer to Luminance (legacy).
29. Image>Add borders, 1 pixel, symmetric, color #ffffff.
Image>Add borders, 10 pixels, symmetric, background color #8a6fa3.
Image>Add borders, 1 pixel, symmetric, color #ffffff.
Selections>Select All.
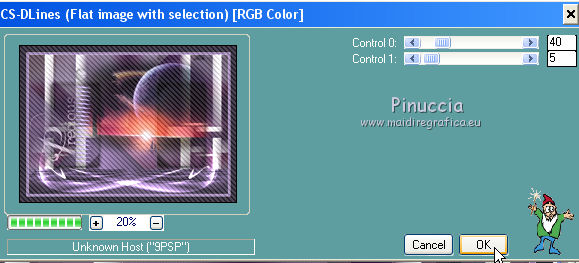
Image>Add borders, 30 pixels, symmetric, foreground color #241d2b.
Selections>Invert.
Effects>Plugins>Carolaine and Sensibility - CS-DLines, same settings
Selections>Select None.
27. Open the tube 5104-luzcristina and go to Edit>Copy.
Go back to your work and go to Edit>Paste as new layer.
Image>Mirror.
Move  the tube to the right side. the tube to the right side.
28. Sign your work on a new layer.
little note about the watermark:
I don't ask to put watermark on the versions made by my translations.
But if you decide to use the watermark supplied by the author, I would appreciate that my work as translator was also respected.
For that, I added my watermark to the material (english and french).
29. Image>Add borders, 1 pixel, symmetric, color #ffffff.
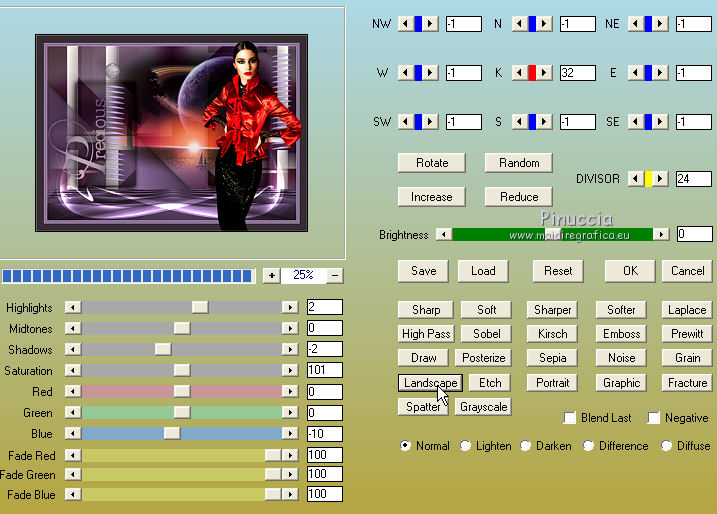
30. Optional: Effects>Plugins>AAA Filters - Custom - click on Landscape and ok.
31. Image>Resize to 1000 pixels width, resize all layers checked.
Save as jpg.
The tube of this layer is by Wieskes
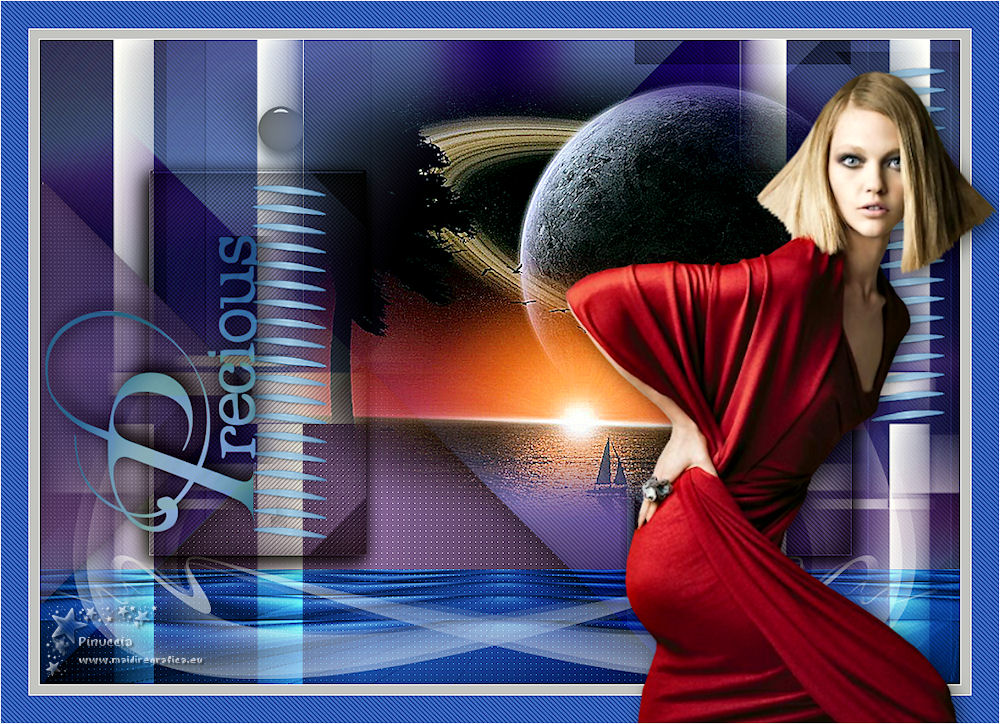
Your versions here

If you have problems or doubts, or you find a not worked link, or only for tell me that you enjoyed this tutorial, write to me.
My mail is in the menu on the top of the page.
28 January 2019
|
 ENGLISH VERSION

 ENGLISH VERSION
