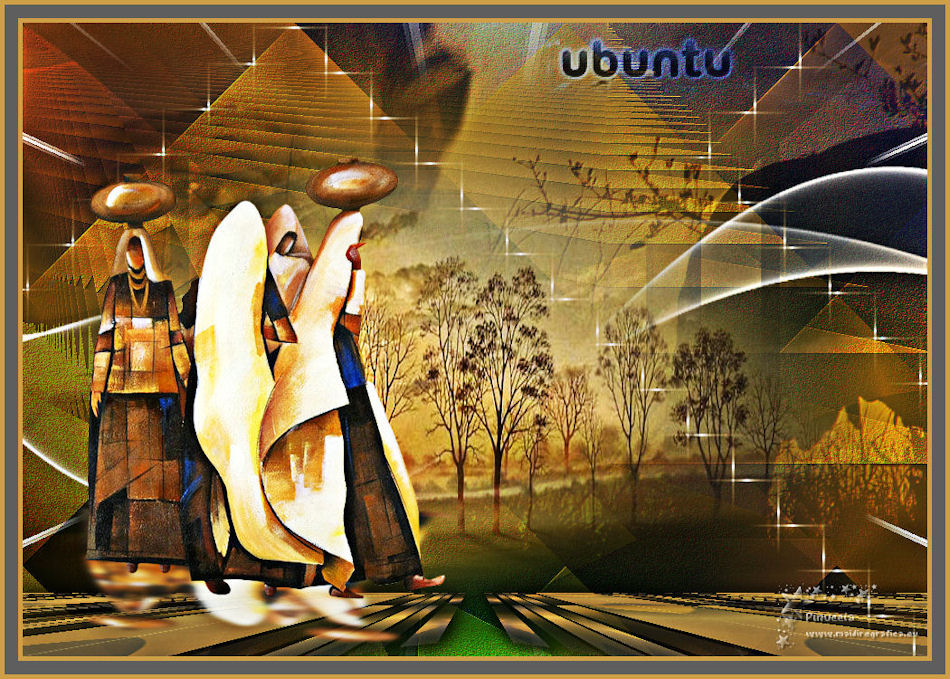
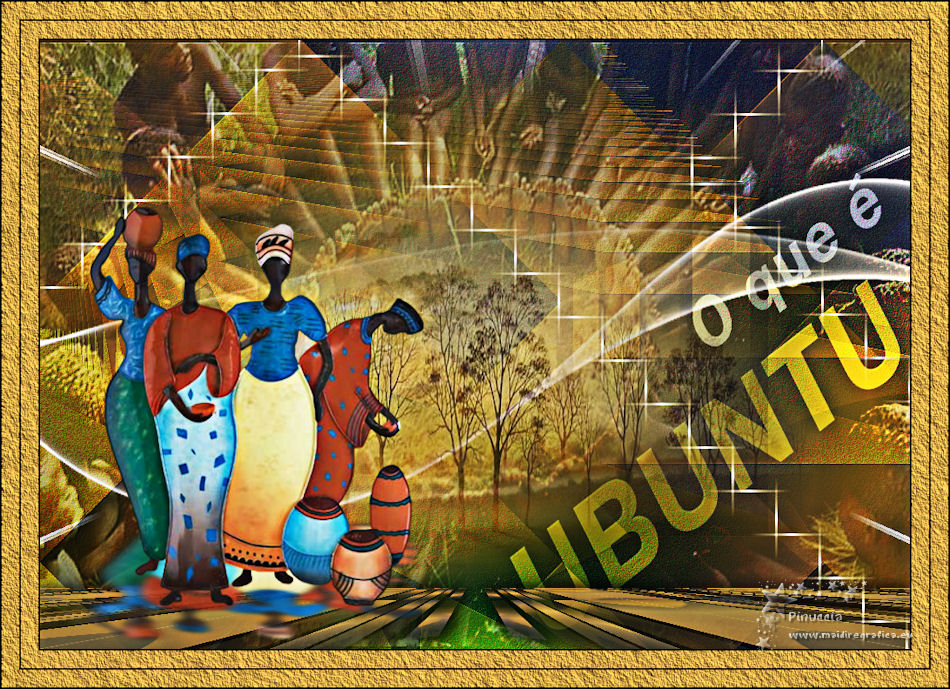
|
TOP UBUNTU
 ENGLISH VERSION ENGLISH VERSION
Ubuntu is an ideology of sub-Saharan Africa thaf focuses on the loyalty and mutual relations of people.
It is an expression in the Bantu language that indicates "goodwill towards others".
It is a rule of life, based on compassion, respect for other.
"I am what I am by virtue of what we all are".
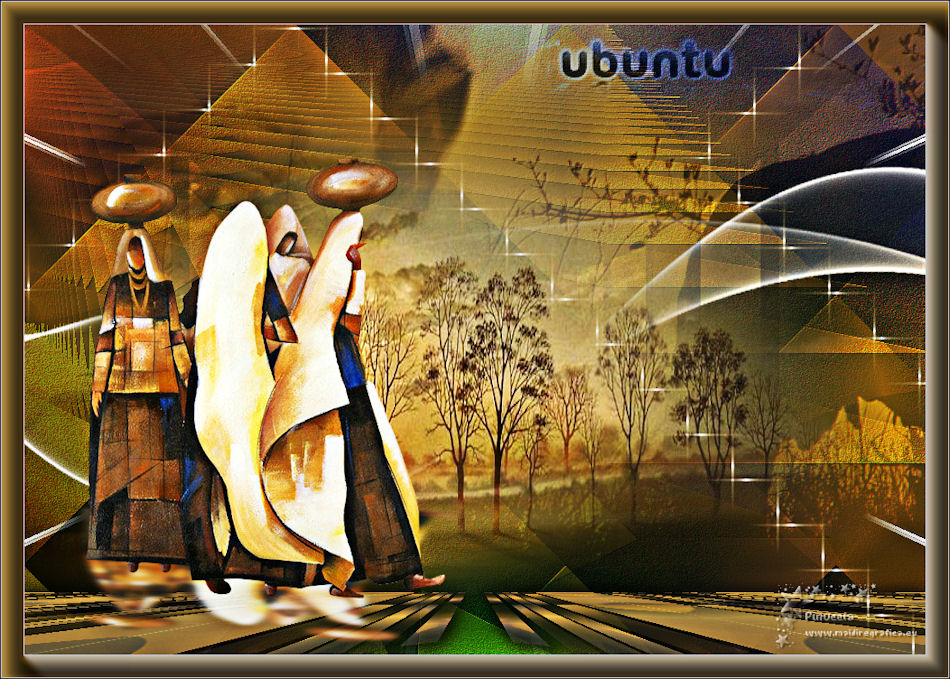
Thanks Lica Cida for your invitation to translate your tutorial

This tutorial was created with PSPX8 and translated with PSPX3, but it can also be made using other versions of PSP.
Since version PSP X4, Image>Mirror was replaced with Image>Flip Horizontal,
and Image>Flip with Image>Flip Vertical, there are some variables.
In versions X5 and X6, the functions have been improved by making available the Objects menu.
In the latest version X7 command Image>Mirror and Image>Flip returned, but with new differences.
See my schedule here
French translation here
your versions ici
For this tutorial, you will need:
Material here
The image Ubuntu found on Internet.
Thanks for the tubes Nicole: nicole-afrique (1) - nicole-mist-paysage7-2013 (1),
and for a mask Narah: Narah_Mask_1222\ 2020.
The rest of the material is by Lica Cida.
(you find here the links to the material authors' sites)
Plugins
consult, if necessary, my filter section here
Filters Unlimited 2.0 here
Alien Skin Eye Candy 5 Impact - Perspective Shadow here
Graphics Plus - Emboss here
Plugins AB07 (to import in Unlimited) here
Mehdi - Sorting Tiles, Weaver here
Mura's Meister - Perspective Tiling here
FM Tile Tools - Blend Emboss here
Filters Graphics Plus can be used alone or imported into Filters Unlimited.
(How do, you see here)
If a plugin supplied appears with this icon  it must necessarily be imported into Unlimited it must necessarily be imported into Unlimited

You can change Blend Modes according to your colors.
In the newest versions of PSP, you don't find the foreground/background gradient (Corel_06_029).
You can use the gradients of the older versions.
The Gradient of CorelX here
Copy the preset  in the folder of the plugins Alien Skin Eye Candy 5 Impact>Settings>Glass in the folder of the plugins Alien Skin Eye Candy 5 Impact>Settings>Glass
One or two clic on the file (it depends by your settings), automatically the preset will be copied in the right folder.
why one or two clic see here
Copy the preset Preset_Light_Riviera in the Presets Folder.
Open the masks in PSP and minimize them with the rest of the material.
1. Set your foreground color to #5e5e5e,
and your background color to #ce9f44.
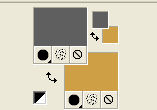
Set your foreground color to a Foreground/Background Gradient, style Linear.
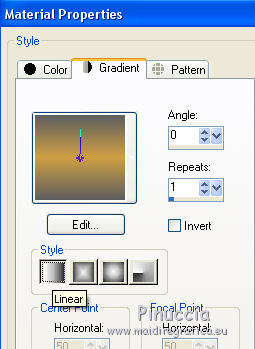
Open a new transparent image 1000 x 700 pixels.
Flood Fill  the transparent image with your Gradient. the transparent image with your Gradient.
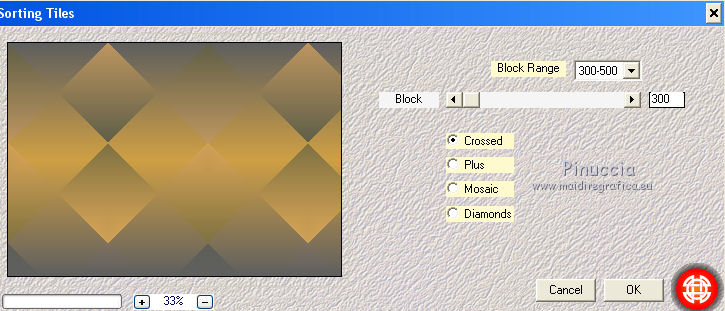
2. Layers>Duplicate.
Effects>Plugins>Mehdi - Sorting Tiles.
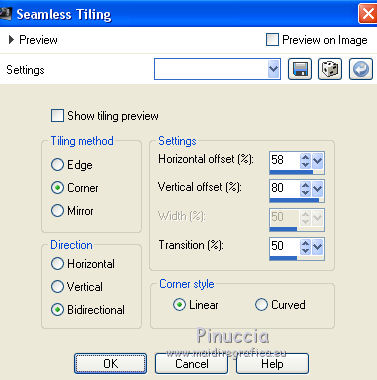
3. Effects>Image Effects>Seamless Tiling.
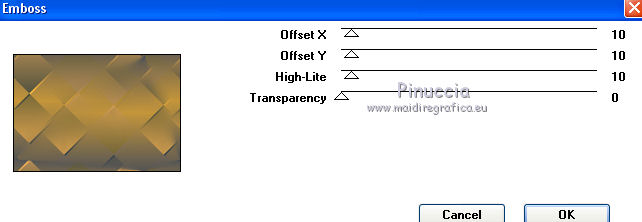
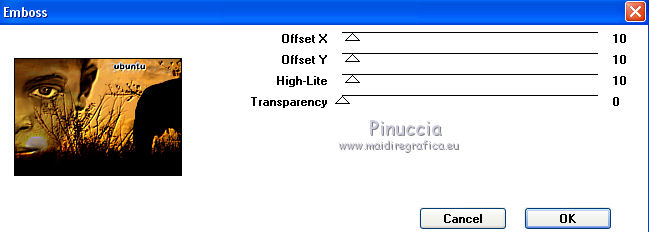
4. Effects>Plugins>Graphics Plus - Emboss.
5. Change the Gradient settings, style Sunburst.
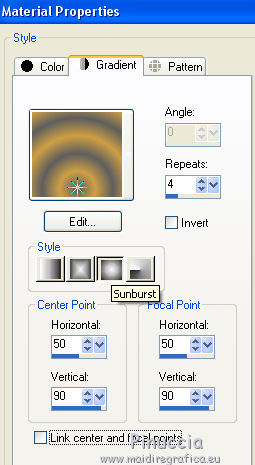
Layers>New Raster Layer.
Flood Fill  the layer with the new Gradient. the layer with the new Gradient.
6. Effects>Plugins>Mehdi - Sorting Tiles, same settings
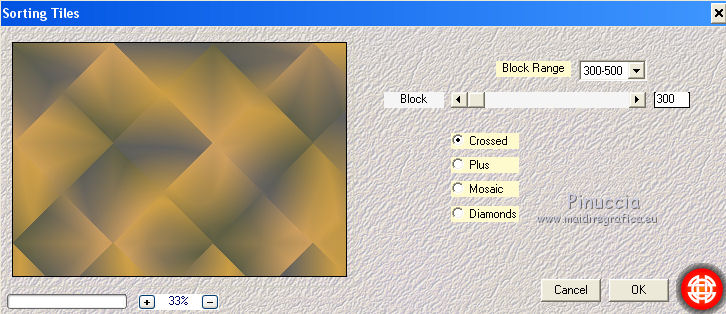
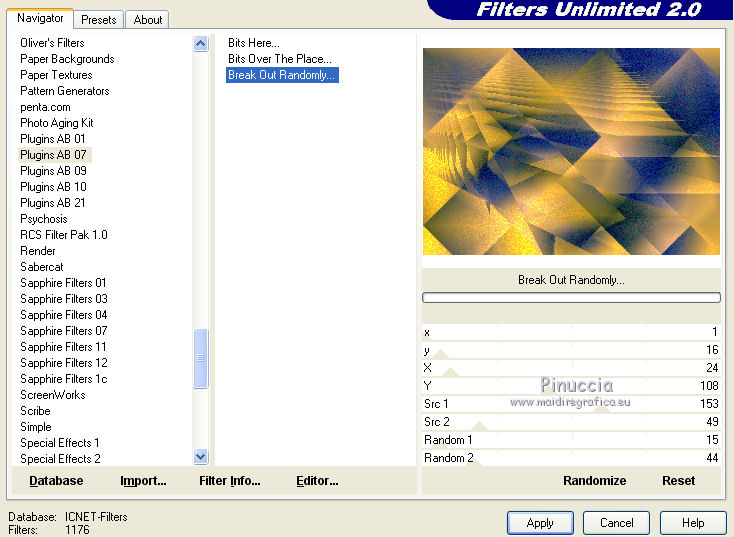
7. Effects>Plugins>Filters Unlimited 2.0 - Plugins AB07 - Break Out Randomly, default settings.
8. Effects>Plugins>Graphics Plus - Emboss.
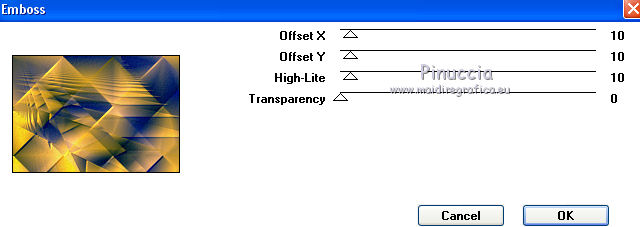
9. Close the layer Raster 2,
and activate the layer copy of Raster 1.
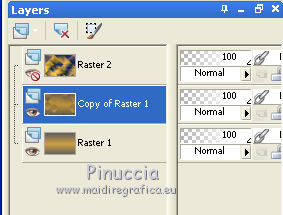
Layers>New Mask layer>From image
Open the menu under the source window and you'll see all the files open.
Select the mask 65:
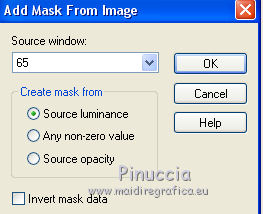
Layers>Merge>Merge group.
10. Effets>Effets géométriques>Perspective Horizontale.
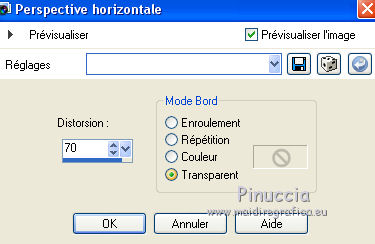
Effets>Effets de distorsion>Cintrage.

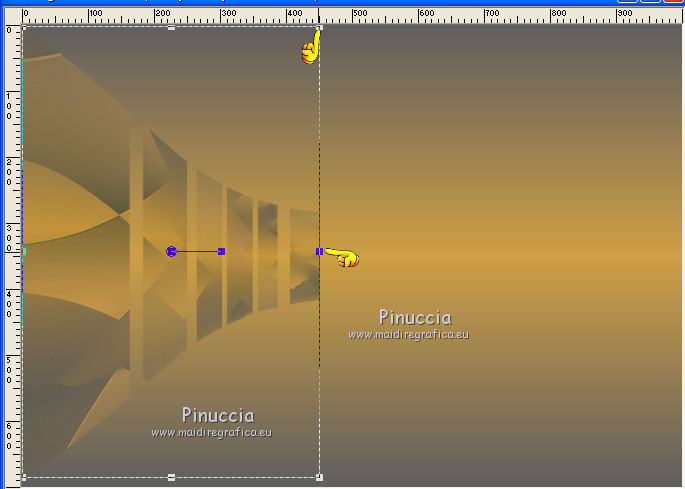
11. Activer l'outil Sélecteur 
en mode Échelle 
pousser le noeud central de droite vers la gauche, jusqu'à 450 pixels.
12. Layers>Duplicate.
Image>Miroir.
Calques>Fusionner>Fusionner le calque de dessous.
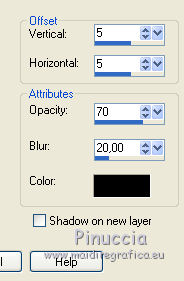
13. Effects>3D Effects>Drop Shadow, color #000000.
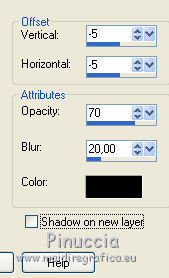
Repeat Drop Shadow, vertical and horizontal -5.
Layers>Arrange>Bring to Top.
14. Layers>Duplicate.
Effects>Plugins>Mura's Meister - Perspective Tiling.
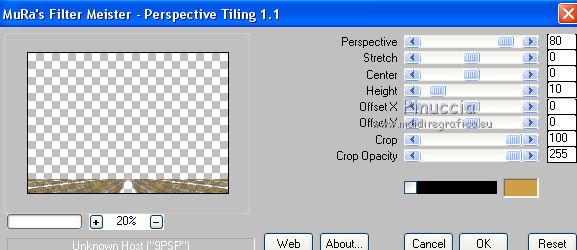
15. Effects>3D Effects>Drop Shadow, same settings.

Repeat Drop Shadow, vertical and horizontal 5.

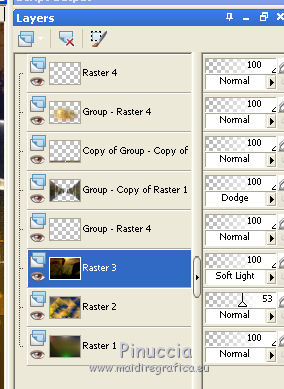
Change the Blend Mode of the layer below of the original to Dodge.
16. Open again and activate the layer Raster 2.
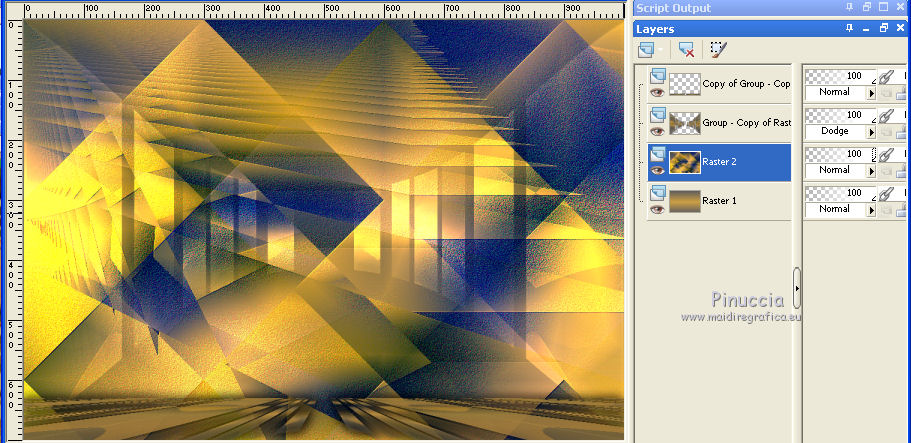
Reduce the opacity of this layer to 53%.
Layers>New Raster Layer.
Selections>Select All.
Open the image imagen_ubuntu and go to Edit>Copy.
Go back to your work and go to Edit>Paste into Selection.
Selections>Select None.
Change the Blend Mode of this layer to Soft Light.
17. Effects>Plugins>Graphics Plus - Emboss, same settings.
18. Set your foreground color to #ffffff.
Layers>New Raster Layer.
Flood Fill  the layer with color #ffffff. the layer with color #ffffff.
(close the layers above to see better)
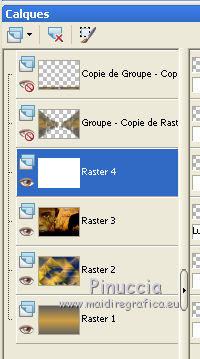
Layers>New Mask layer>From image
Open the menu under the source window
and select the mask Narah_Mask_1222:
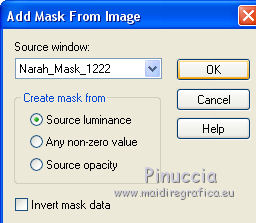
Layers>Merge>Merge group.
19. Effects>Plugins>Graphics Plus - Emboss, same settings.
20. Open again the two layers above
and activate the top layer.
Layers>New Raster Layer.
Selections>Select All.
Open the tube nicole-mist-paysage7-2013 (1) and go to Edit>Copy.
Go back to your work and go to Edit>Paste into Selection.
Selections>Select None.
21. Layers>New Mask layer>From image
Open the menu under the source window and select the mask 20-20.
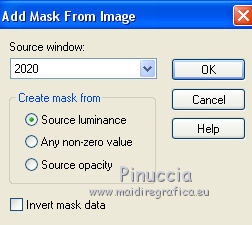
Layers>Merge>Merge group.
22. Layers>New Raster Layer (Raster 4).
Activate your Pen Tool 
Line Style: Solid
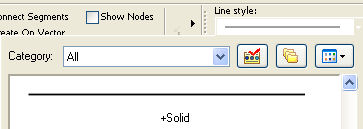
Create on Vector, width 2,00 pixels

Draw the lines with color white, as below.
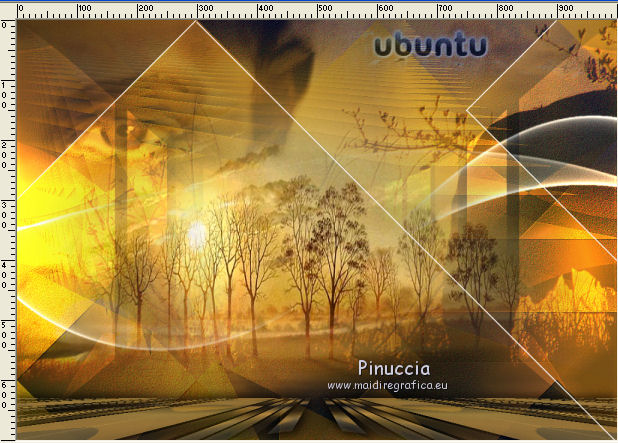
Layers>Convert to Raster Layer - Raster 4.
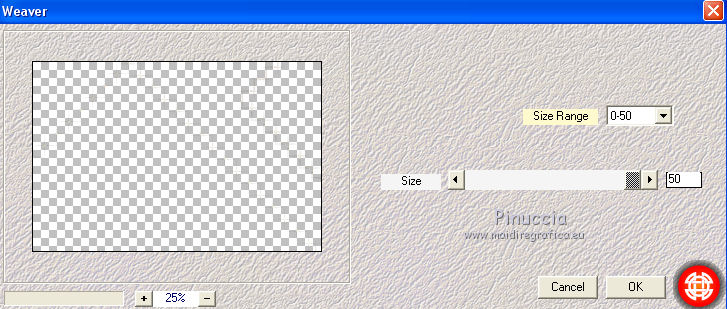
23. Effects>Plugins>Mehdi - Weaver.
24. Activate the layer Raster 1.
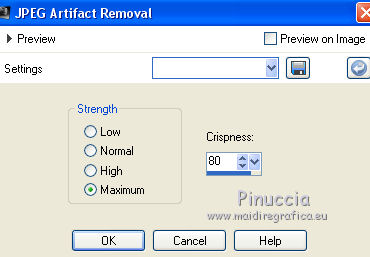
Adjust>Add/Remove Noise>JPEG Artifact Removal
25. Effects>Plugins>FM Tile Tools - Blend Emboss, default settings.

26. Effects>Illumination Effects>Lights.
Select the preset Lights_riviera and ok.
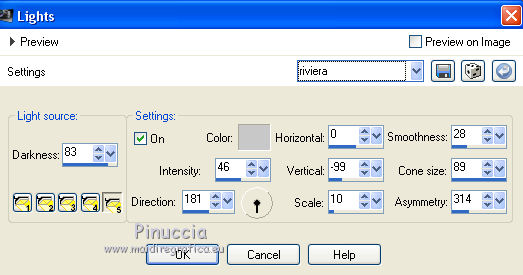
Repeat the Effect Lights on the layer Raster 3 and Group-Copy of Raster 4.
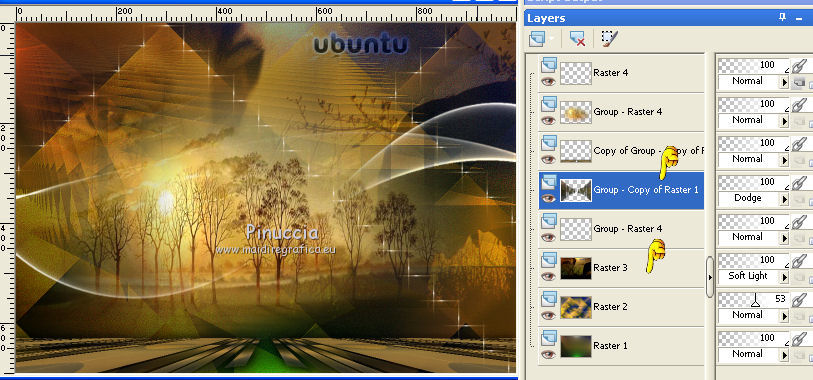
27. Activate the layer Raster 3.
Open the tube decolc and go to Edit>Copy.
Go back to your work and go to Edit>Paste as new layer.
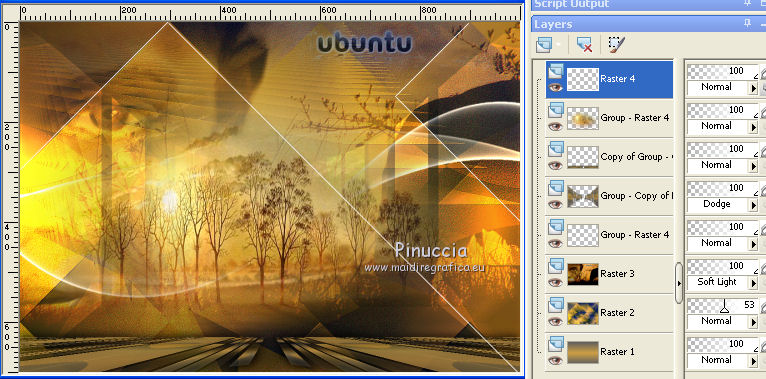
28. Activate the top layer, Raster 4.
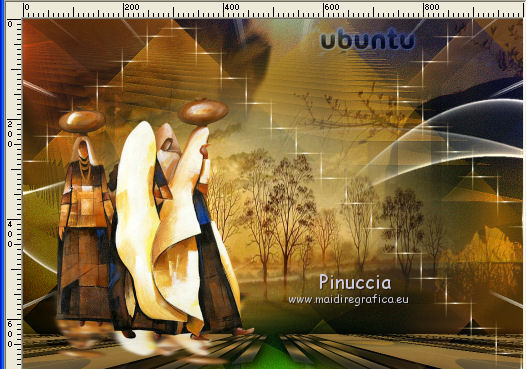
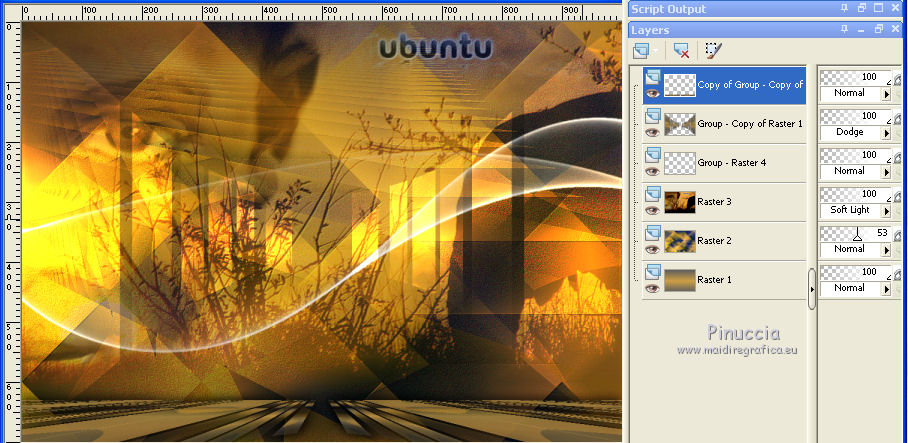
The tag and the layers:
Set Blend mode and opacity according to your work.
Open the tube nicole-afrique (1) and go to Edit>Copy.
Go back to your work and go to Edit>Paste as new layer.
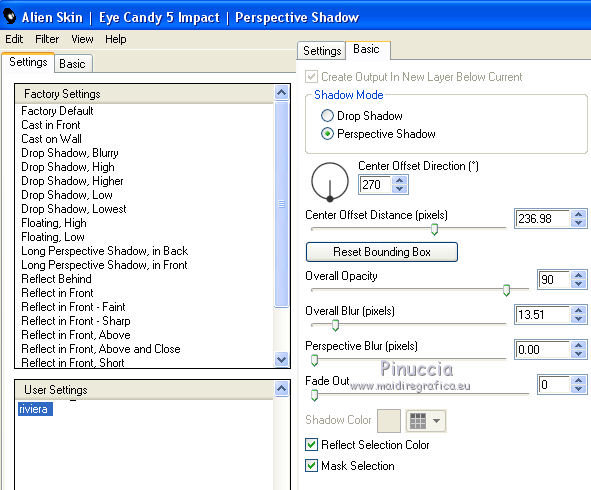
29. Effects>Plugins>Alien Skin Eye Candy 5 Impact - Perspective Shadow.
Select the preset riviera and ok.
Image>Resize, to 90%, resize all layers not checked.
Move  the tube to the left side. the tube to the left side.

30. Layers>Merge>Merge visible.
31. Layers>Duplicate.
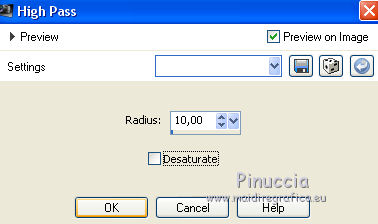
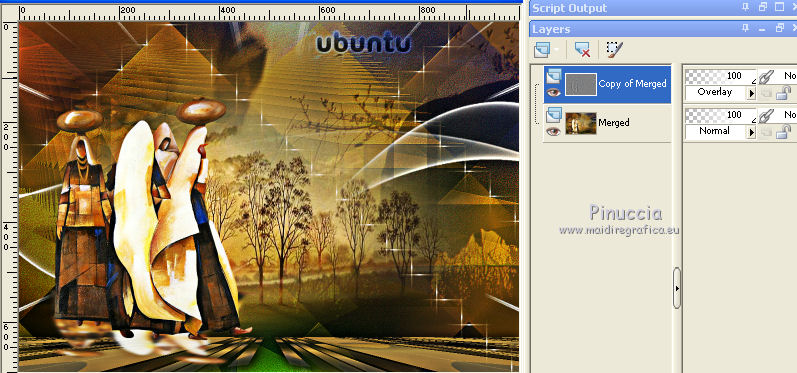
Effects>Edge Bords>High-Pass .

Change the Blend mode of this layer to Overlay.

Finish your work at your choice.
32. Image>Resize, 1000 pixels width, resize all layers checked.
Sign your work on a new layer.
little note about the watermark:
I don't ask to put watermark on the versions made by my translations.
But if you decide to use the watermark supplied by the author, I would appreciate that my work as translator was also respected.
For that, I added my watermark to the material (english and french).
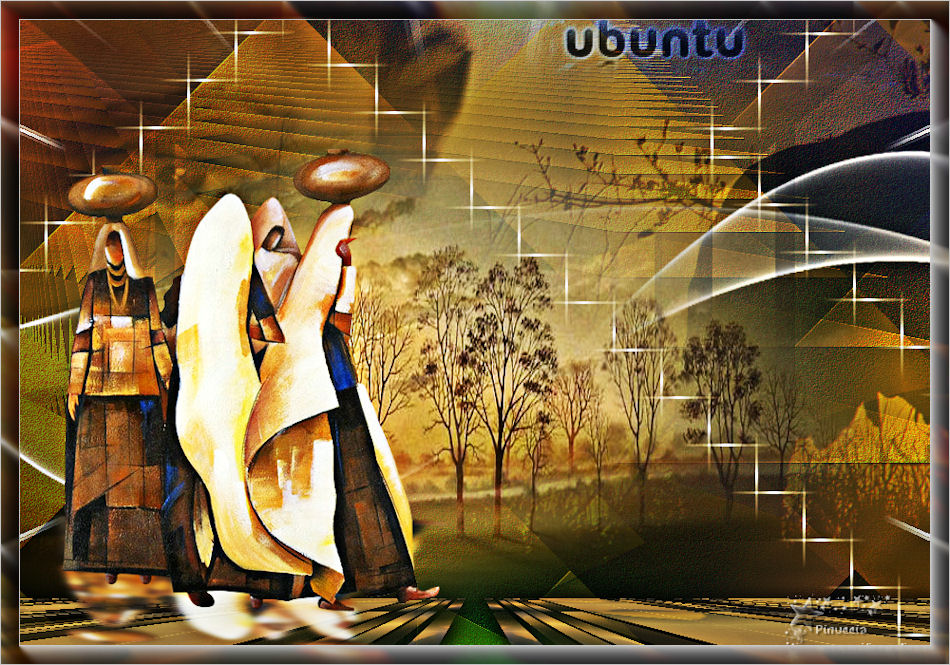
33. Layers>Merge>Merge All and save as jpg


The tube of this version is by Sonja

Your versions here

If you have problems or doubts, or you find a not worked link, or only for tell me that you enjoyed this tutorial, write to me.
24 April 2019
|
 ENGLISH VERSION


 the transparent image with your Gradient.


 the tube to the left side.