|
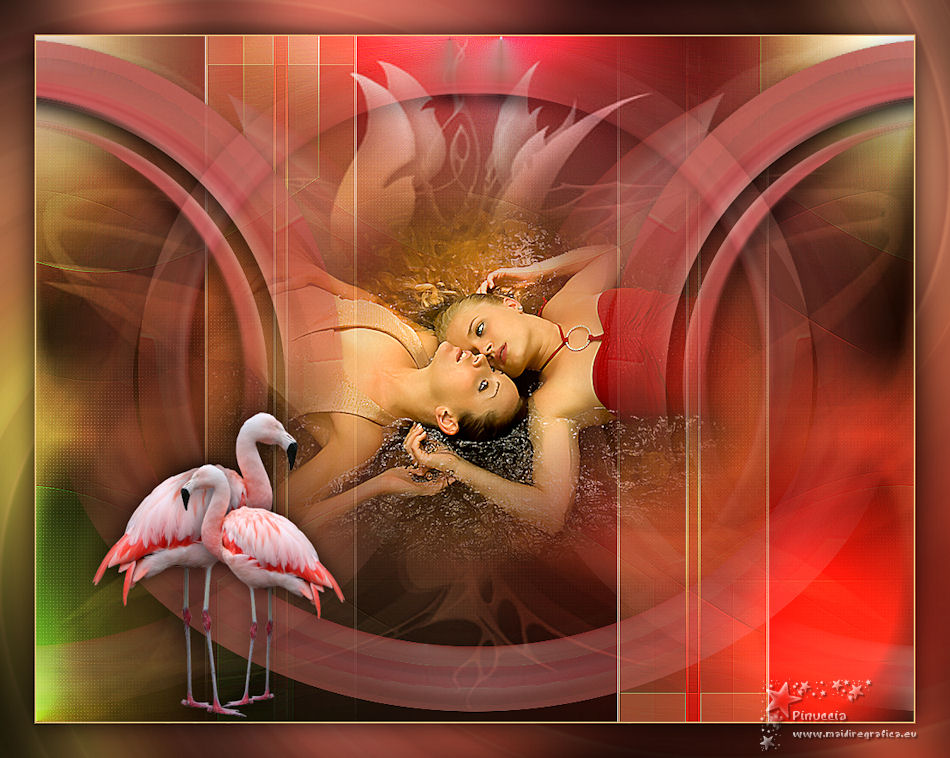
TOP TWINS

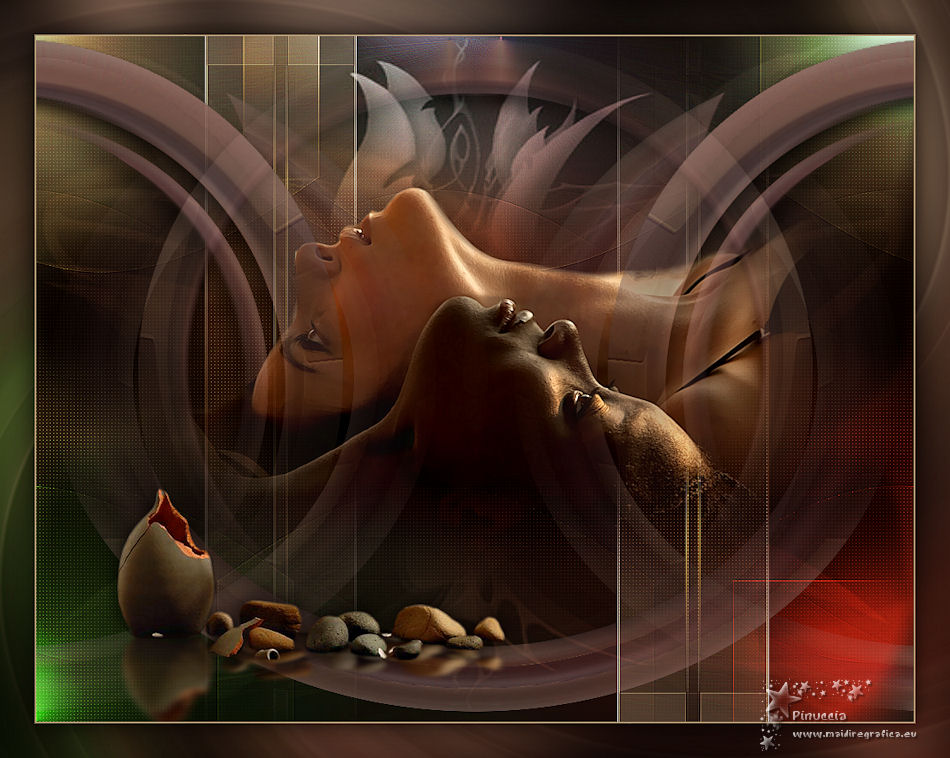
Thanks Lica Cida for your invitation to translate your tutorial

This tutorial was created with PSPX9 and translated with PSPX2 and PSPX3, but it can also be made using other versions of PSP.
Since version PSP X4, Image>Mirror was replaced with Image>Flip Horizontal,
and Image>Flip with Image>Flip Vertical, there are some variables.
In versions X5 and X6, the functions have been improved by making available the Objects menu.
In the latest version X7 command Image>Mirror and Image>Flip returned, but with new differences.
See my schedule here
 French translation here French translation here
 your versions ici your versions ici
For this tutorial, you will need:
Material here
Tube PSPCYBERTUBES-tube2011-548
Image: billed4
Déco: vase et roche (je ne connais pas l'auteur)
(you find here the links to the material authors' sites)
Plugins
consult, if necessary, my filter section here
Filters Unlimited 2.0 here
Sapphire Plugins - Sapphire_0290 - dans le matériel
Toadies - What are you here
Filter Factory Gallery J - Drink to me here
Filter Factory Gallery B - Circulator here
Graphics Plus - Cross Shadow here
Alien Skin Eye Candy 5 Impact - Perspective Shadow here
AAA Filters - Custom here
Filters Sapphire, Factory Gallery and Graphics Plus can be used alone or imported into Filters Unlimited.
(How do, you see here)
If a plugin supplied appears with this icon  it must necessarily be imported into Unlimited it must necessarily be imported into Unlimited

You can change Blend Modes according to your colors.
Copy the preset Preset_Lights_lc15mp in the Presets Folder.
Copy the script expandPspScript in the Script Restricted.
Open the masks in PSP and minimize them with the rest of the material.
1. Open a new transparent image 1024 x 800 pixels.
Set your foreground color to #1a1814,
and your background color to #bea780.
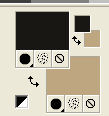
Set your foreground color to a Foreground/Background Gradient, style Linear.

Flood Fill  the transparent image with your Gradient. the transparent image with your Gradient.
2. Selections>Select All.
Open the tube PSPCYBERTUBES-tube2011-548 and go to Edit>Copy.
Go back to your work and go to Edit>Paste into Selection.
Selections>Select None.
Adjust>Blur>Gaussian Blur - radius 32.

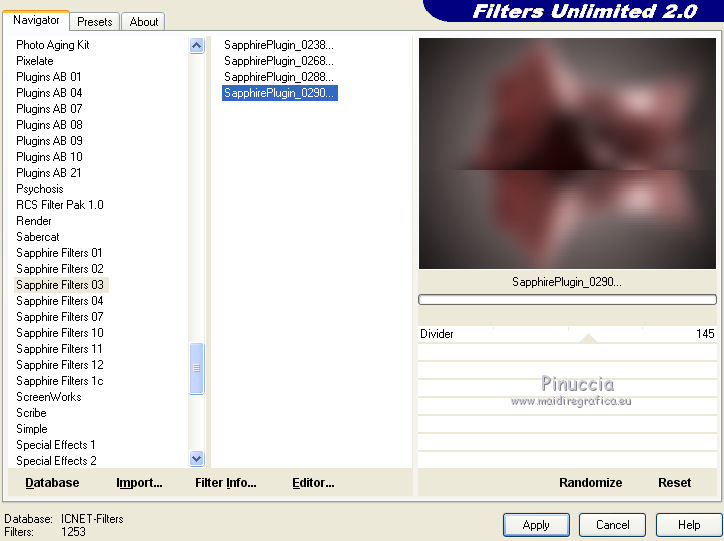
3. Effects>Plugins>Filters Unlimited 2.0 - Sapphire_0290.
4. Effects>Distortion Effects>Wave
color #cdbc9e (lighter color than your background color)

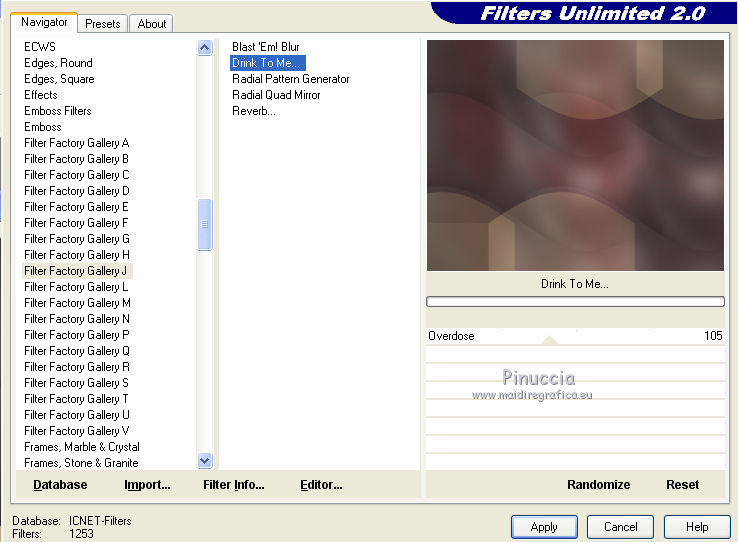
5. Effects>Plugins>Filters Unlimited 2.0 - Filter Factory Gallery J - Drink to me
6. Effects>Image Effects>Seamless Tiling - Side by side.

Effects>Edge Effects>Enhance More.
Layers>Duplicate.
Image>Resize, to 80%, resize all layers not checked.
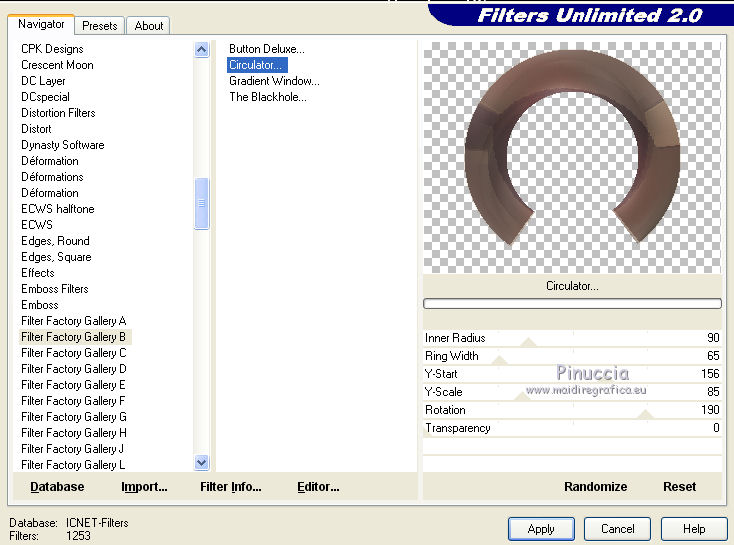
7. Effects>Plugins>Filters Unlimited 2.0 - Filter Factory Gallery B - Circulator.
8. Activate the layer Raster 1.

Layers>Duplicate.
Image>Resize, to 80%, resize all layers not checked.
Activate your Pick Tool 
in mode Perspective 
pull the top left node to the right
(the opposite node will move simmetrically)
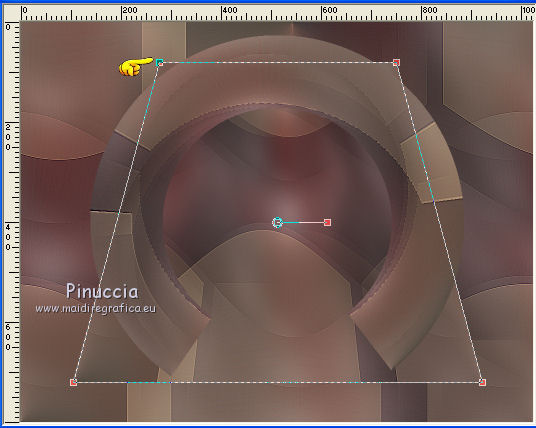
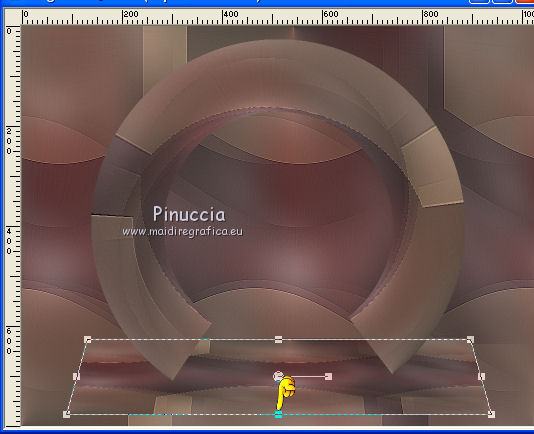
in mode Scale 
pull the top central node down as below
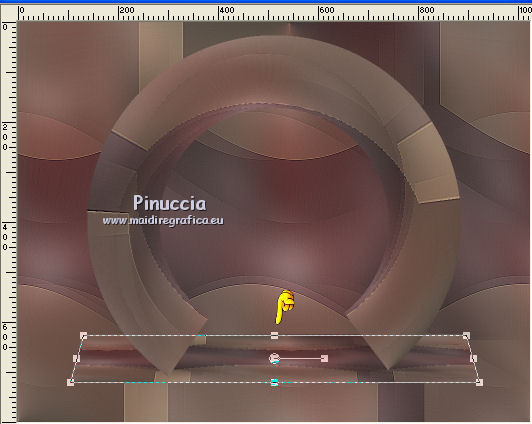
and the bottom central node down as below
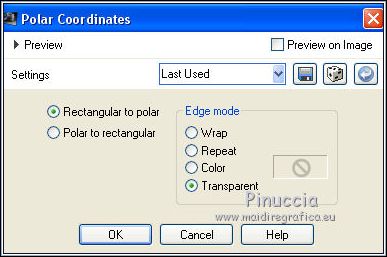
9. Effects>Distortion Effects>Polar Coordinates
10. Activate again the layer Raster 1.
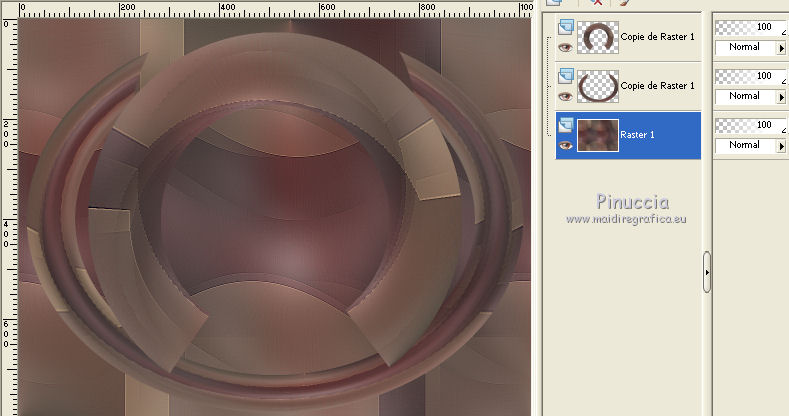
Edit>Paste as new layer (the tube PSPCYBERTUBES-tube2011-548 is always in memory)
(don't resize, keep it in its original size)
Layers>Duplicate.
11. Activate the layer below of the original, Raster 2.
Effects>Image Effects>Seamless Tiling, same settings.

12. Adjust>Blur>Radial Blur

13. Effects>Texture Effects>Weave
weave color: foreground color
gap color: background color

Change the Blend Mode of this layer to Overlay.
14. Activate the top layer, Copy of Raster 1.

If you don't see the Script Bar, View>Toolbars>Script
Open the menu and select the scropt expand

Click on the arrow to run the script.
If you are working with a previous version, you'll have this message

Click ok to go on
If all went well, you should have this
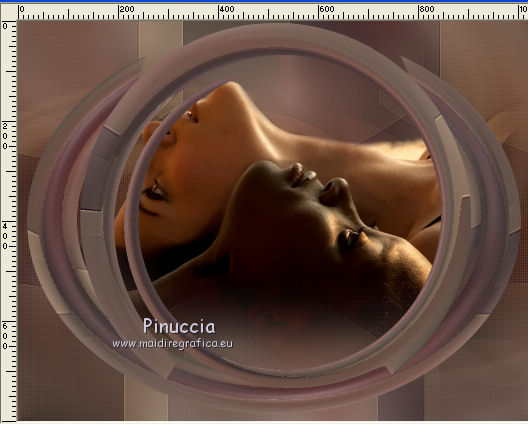
If you are problems with the script,
copy/paste as new layer the file "script" that you find in the material
Activate the layer of the tube.
Image>Resize, to 80%, resize all layers not checked.
Adjust>Sharpness>Sharpen More.
15. Activate the bottom layer, Raster 1.
Selection Tool 
(no matter the type of selection, because with the custom selection your always get a rectangle)
clic on the Custom Selection 
and set the following settings.

Layers>New Raster Layer
Reduce the opacity of your Flood Fill Tool to 50%
Flood Fill  the selection with your Gradient. the selection with your Gradient.
16. Selections>Modify>Select Selection Borders

Layers>New Raster Layer.
Set again the opacity of your Flood Fill tool to 100,
Flood Fill  the border with your Gradient. the border with your Gradient.
Selections>Select None.
Layers>Merge>Merge Down.
17. Effects>Image Effects>Seamless Tiling - Side by Side

18. Effects>Plugins>Toadies - What are you, default settings.
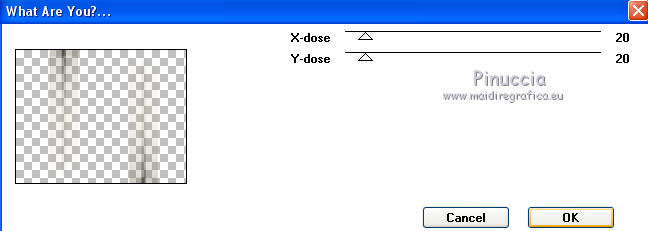
Adjust>Edge Effects>Enhance More.
Change the Blend Mode of this layer to Screen

19. Open the image billed4. On this image:
Layers>New Mask layer>From image
Open the menu under the source window and you'll see all the files open.
Select the mask 20-20.

Layers>Merge>Merge Group.
Edit>Copy.
Go back to your work.
Activate the layer Raster 1.
Layers>New Raster Layer.
Selections>Select All.
Edit>Paste into Selection.
Selections>Select None.
Change the Blend mode of this layer to Overlay
you can close the image without saving the changes
20. Again activate the layer Raster 1.
Effects>Illumination Effects>Lights
select the preset lc15 and ok

21. Activate the top layer.
Layers>New Mask layer>From image
Open the menu under the source window
and select the mask 002 gradientedworisch.

Layers>Duplicate - 2 times.
Layers>Merge>Merge Group.
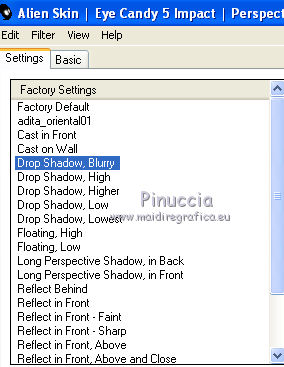
22. Effects>Plugins>Alien Skin Eye Candy 5 Impact - Perspective Shadow.
Select the preset Drop Shadow Blurry and ok
Effects>Image Effects>Seamless Tiling - side by side
Effects>Reflection Effects>Rotating Mirror, default settings.

23. Activate the layer below
Repeat:
Effects>Plugins>Alien Skin Eye Candy 5 Impact - Perspective Shadow, Drop Shadow Blurry.
Effects>Image Effects>Seamless Tiling, Side by side.
Effects>Reflection Effects>Rotating Mirror, default settings.
Change the Blend Mode of this layer to Lighten and reduce the opacity to 55%.

24. Activate the top layer.
Open the tube vase et roche
(the tube is selected in order to copy the two elements separately)
Edit>Copy.
Go back to your work and go to Edit>Paste as new layer.
Place  the tube as you like the tube as you like
25. Image>Add borders, 2 pixels, symmetric, background color.
Edit>Copy.
Image>Add borders, 40 pixels, symmetric, color #ffffff.
Activate your Magic Wand Tool 
and click on the white border to select it.
Edit>Paste into Selection.
Adjust>Blur>Radial Blur, same settings.

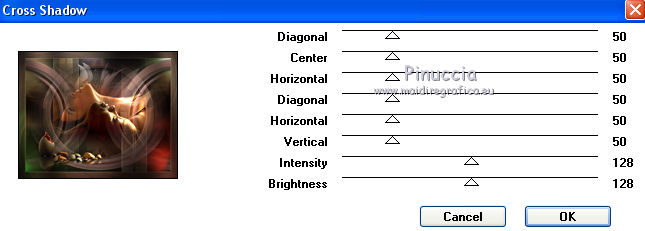
Effects>Plugins>Graphics Plus - Cross shadow, default settings.
Selections>Invert.
Effects>3D Effects>Drop Shadow, color #000000.

Selections>Select None.
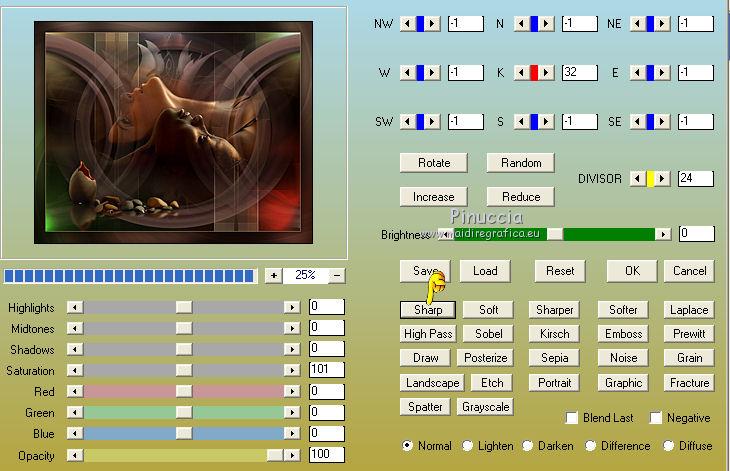
26. Optional: Effects>Plugins>AAA Filters - Custom - click on Sharp and ok.
27. Image>Resize, 1024 pixels width, resize all layers checked.
Sign your work on a new layer.
little note about the watermark:
I don't ask to put watermark on the versions made by my translations.
But if you decide to use the watermark supplied by the author, I would appreciate that my work as translator was also respected.
For that, I added my watermark to the material.
28. Layers>Merge>Merge All and save as jpg.
Version with tubes by La Manouche et Coly
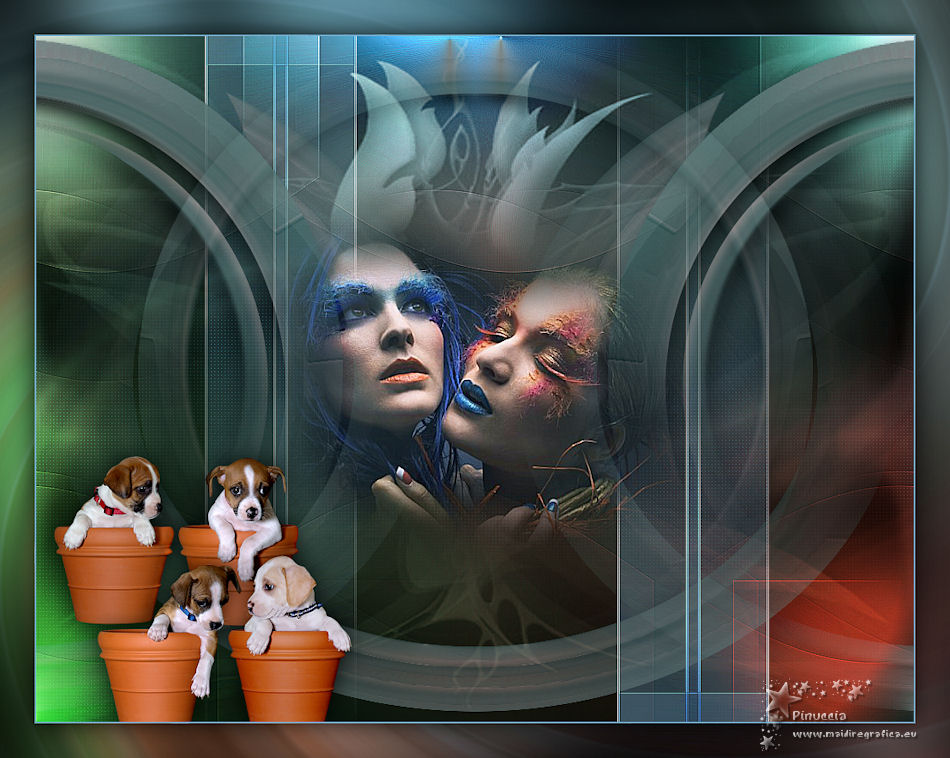
Version with tubes by Gerry and woman tube non signed
 Your versions here Your versions here

If you have problems or doubts, or you find a not worked link, or only for tell me that you enjoyed this tutorial, write to me.
7 July 2020
|

