|
TOP TRANQUILITY

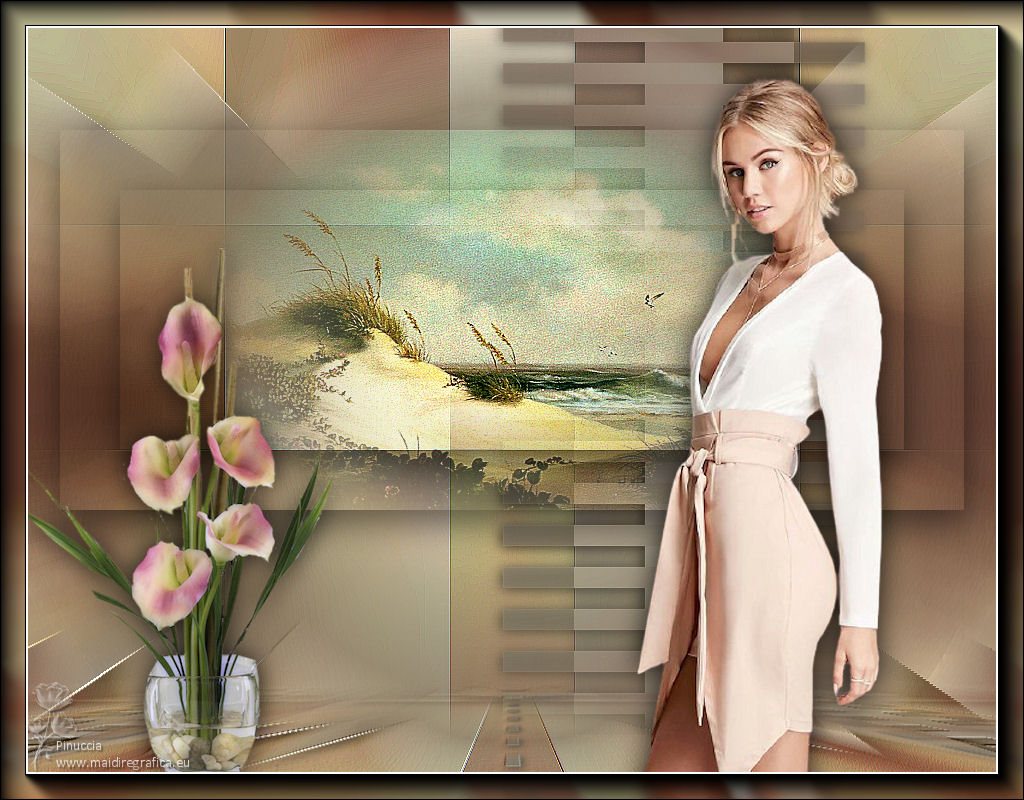
Thanks Lica Cida for your invitation to translate your tutorial

This tutorial was created with PSPX9 and translated with PSPX2 and PSPX3 and PSPX7, but it can also be made using other versions of PSP.
Since version PSP X4, Image>Mirror was replaced with Image>Flip Horizontal,
and Image>Flip with Image>Flip Vertical, there are some variables.
In versions X5 and X6, the functions have been improved by making available the Objects menu.
In the latest version X7 command Image>Mirror and Image>Flip returned, but with new differences.
See my schedule here
 French translation here French translation here
 your versions here your versions here
For this tutorial, you will need:
Material here
Thanks for the tubes cickadesign-2021@ and Callygraph.
The rest of the material is by Lica Cida.
(you find here the links to the material authors' sites)
Plugins
consult, if necessary, my filter section here
Filters Unlimited 2.0 here
VM Stylize - Zoom Blur here
Mehdi - Sorting Tiles here
DSB Flux - Linear Transmission here
AAA Frames - Foto Frame / AAA Filters - Custom here
Mura's Meister - Perspective Tiling here
Filters VM Stylize can be used alone or imported into Filters Unlimited.
(How do, you see here)
If a plugin supplied appears with this icon  it must necessarily be imported into Unlimited it must necessarily be imported into Unlimited

You can change Blend Modes according to your colors.
In the newest versions of PSP, you don't find the foreground/background gradient (Corel_06_029).
You can use the gradients of the older versions.
The Gradient of CorelX here
Copy the preset Emboss 3 in the Presets Folder.
Open the mask in PSP and minimize it with the rest of the material.
1. Set your foreground color to #11050d,
and your background color to #e58681.
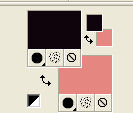
Set your foreground color to a Foreground/Background Gradient, style Sunburst.

2. Open a new transparent image 1024 x 800 pixels.
Flood Fill  the transparent image with your Gradient. the transparent image with your Gradient.
2. Selections>Selectionner tout.
Ouvrir le tube zDqLROkv93byy7vJ1eAxXcRaLzc and go to Edit>Copy.
Go back to your work and go to Edit>Paste into Selection.
Selections>Select None.
Effects>Image Effects>Seamless Tiling, default settings.

3. Adjust>Blur>Radial Blur

4. Effects>Plugins>Filters Unlimited 2.0 - Tile & Mirror - Mirror (vertical).
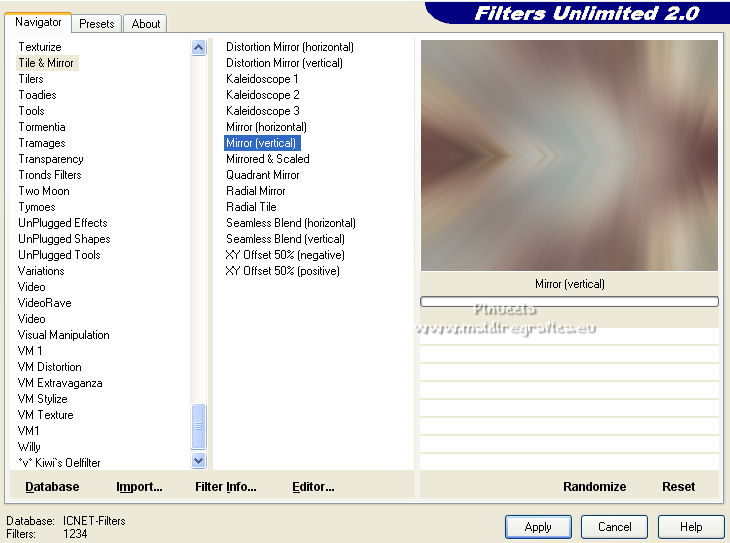
Layers>Duplicate.
5. Selection Tool 
(no matter the type of selection, because with the custom selection your always get a rectangle)
clic on the Custom Selection 
and set the following settings.

Selections>Invert.
Press CANC on the keyboard 
Selections>Invert.
6. Selections>Modify>Contract - 60 pixels.
7. Edit>Paste as new layer (the tube zDqLROkv93byy7vJ1eAxXcRaLzc is still in memory).
Adjust>Sharpness>Sharpen More.
Selections>Invert.
Press CANC on the keyboard.
Selections>Invert.
Effects>3D Effects>Drop Shadow, color #000000.

8. On the same layer.
Selections>Modify>Contract - 60 pixels.
Effects>3D Effects>Drop Shadow, same settings.

Selections>Select None.
Effects>Plugins>AAA Filters - Custom - click on Landscape and ok.
Effects>Plugins>AAA Filters - Custom - click on Grain and ok.
9. Activate the layer Raster 1.
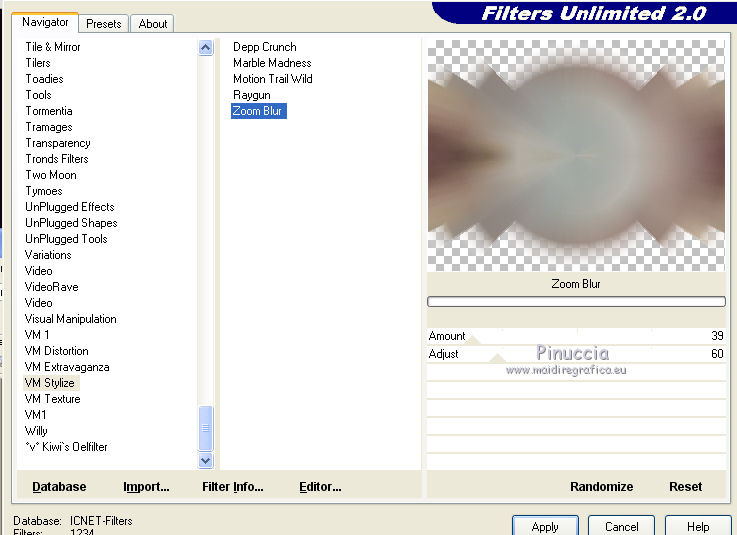
Effects>Plugins>Filters Unlimited 2.0 - VM Stylize - Zoom Blur, default settings.
10. Layers>New Mask layer>From image
Open the menu under the source window and you'll see all the files open.
Select the mask 20-20.

Layers>Merge>Merge Group.
Effects>3D Effects>Drop Shadow, same settings.

Effects>User Defined Filter - select the preset Emboss 3 and ok.

11. Activate the layer Raster 2.
Effects>Image Effects>Offset.

12. Activate the layer Raster 1.
Effects>Plugins>Mehdi - Sorting Tiles.
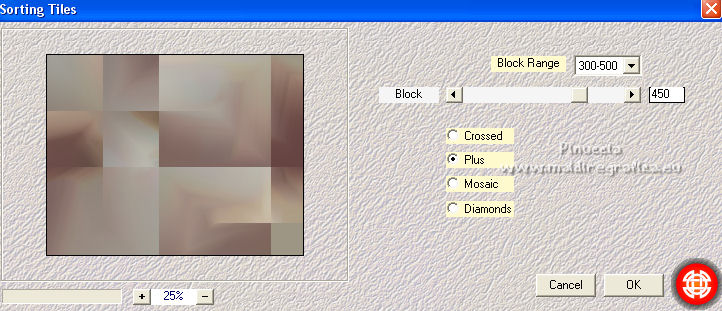
13. Effects>Plugins>Filters Unlimited 2.0 - Tile & Mirror - Mirror (horizontal).
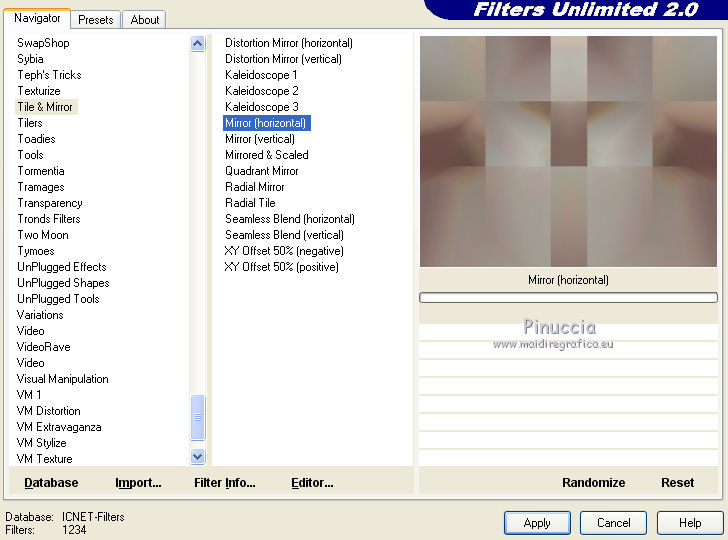
14. Custom Selection 

Selections>Promote Selection to layer.
Selections>Select None.
15. Effects>Plugins>DSB Flux - Linear Transmission.
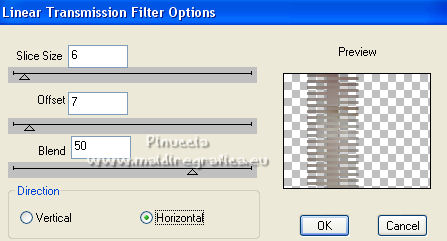
Effects>3D Effects>Drop Shadow, color #000000.

Image>Mirror.
16. Activate the layer Raster 1.
Effects>Edge Effects>Enhance More.
Effects>Plugins>AAA Filters - Custom - click on Landscape and ok
Repeat the Effect on all the layers.
17. Activate the layer Raster 1.
Layers>New Adjustment Layer>Fill Light/Clarity


Change the Blend Mode of this layer to Hard Light.

Layers>Merge>Merge Down.
18. Activate the top layer, Raster 2.
Edit>Copy Special>Copy Merged.
Edit>Paste as new layer.
19. Effects>Plugins>Mura's Meister - Perspective Tiling.
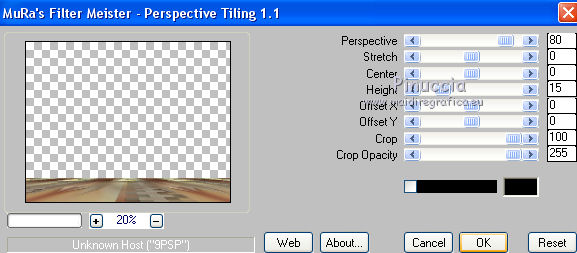
Effects>Reflection Effects>Rotating Mirror.

Activate your Magic Wand Tool  , feather 60, , feather 60,
and click on the transparent part to select it.
Press some times CANC on the keyboard to soften the effect.
Selections>Select None.
Effects>User Defined Filter - select the preset Emboss 3 and ok.

20. Open the tube cickadesign-2021@-_pi....1019 and go to Edit>Copy.
Go back to your work and go to Edit>Paste as new layer.
Image>Resize, if necessary,
and move  the tube to the right side, or to your liking. the tube to the right side, or to your liking.
Effects>3D Effects>Drop Shadow, at your choice.
21. Open the tube Callitubes-37flores (1) and go to Edit>Copy.
Go back to your work and go to Edit>Paste as new layer.
Image>Resize, if necessary and move  the tube to the left side, or to your liking. the tube to the left side, or to your liking.
Effects>3D Effects>Drop Shadow, at your choice.
Layers>Merge>Merge visible.
22. Effects>Plugins>AAA Frames - Foto Frame.
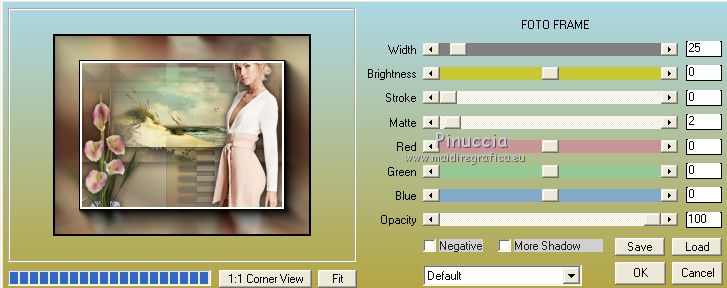
Repeat the Effect another time.
Sign your work on a new layer.
Add, if you want, the author's and translator's watermarks.
Layers>Merge>Merge All and save as jpg.
For the tubes of this version thanks Luz Cristina, Jewel and Nena Silva
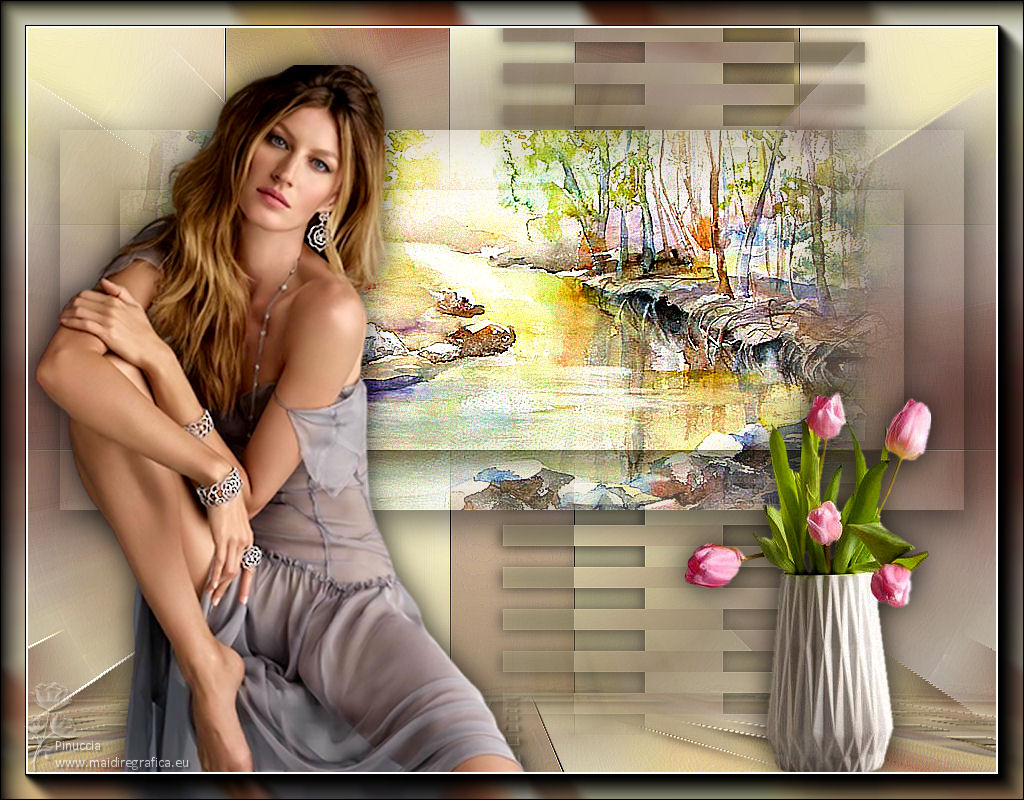
 Your versions here Your versions here

If you have problems or doubts, or you find a not worked link, or only for tell me that you enjoyed this tutorial, write to me.
12 February 2022

|


