|
TOP THATIANA

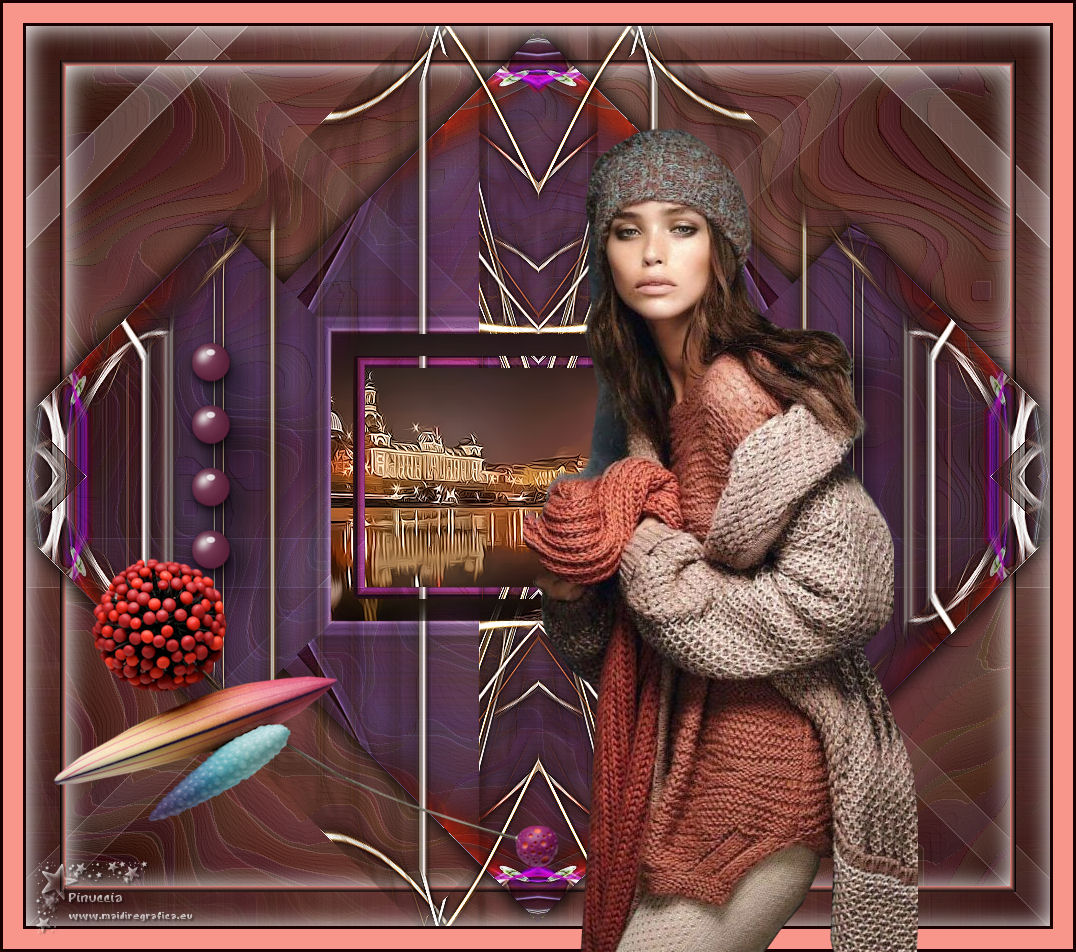
Thanks Lica Cida for your invitation to translate your tutorial

This tutorial was created with PSPX9 and translated with PSPX2 and PSPX3, but it can also be made using other versions of PSP.
Since version PSP X4, Image>Mirror was replaced with Image>Flip Horizontal,
and Image>Flip with Image>Flip Vertical, there are some variables.
In versions X5 and X6, the functions have been improved by making available the Objects menu.
In the latest version X7 command Image>Mirror and Image>Flip returned, but with new differences.
See my schedule here
 French translation here French translation here
 your versions ici your versions ici
For this tutorial, you will need:
Material here
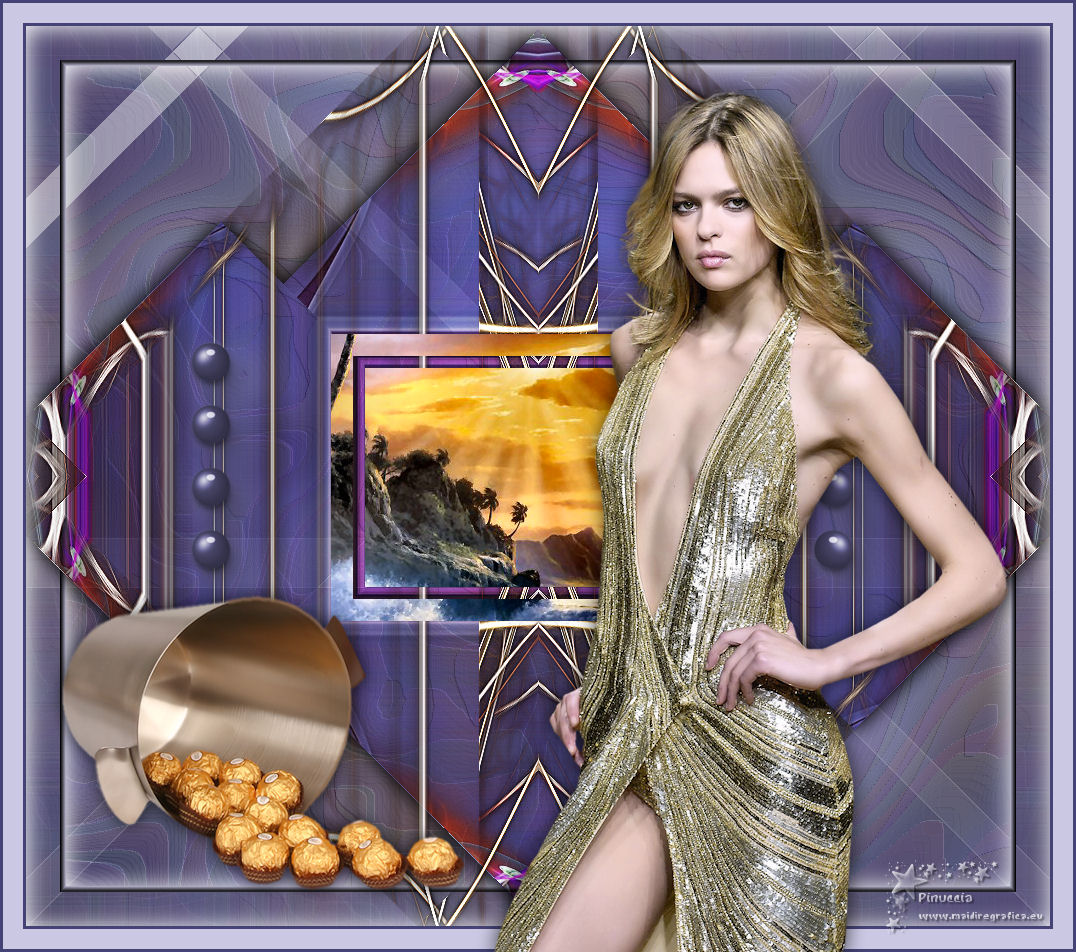
Tubes : vvs-tube feme1788 \ misted vvs-paisagem0468
Fractal : violet-fractals \ fractal1
Decos:calguisdevetblossomingradii24102011 - deco1lc
(you find here the links to the material authors' sites)
Plugins
consult, if necessary, my filter section here
Filters Unlimited 2.0 here
Italian Editors Effect - Effetto Fantasma here
Plugin Galaxy - Instant Mirror here
VanDerLee - Unplugged-X here
Simple - Pizza Slice Mirror, Top Left Mirror here
Filters Mura's Seamless and Transparency can be used alone or imported into Filters Unlimited.
(How do, you see here)
If a plugin supplied appears with this icon  it must necessarily be imported into Unlimited it must necessarily be imported into Unlimited

You can change Blend Modes according to your colors.
In the newest versions of PSP, you don't find the foreground/background gradient (Corel_06_029).
You can use the gradients of the older versions.
The Gradient of CorelX here
1. Open a new transparent image 1024 x 900 pixels.
Set your foreground color to #190101,
and your background color to #f9968b.
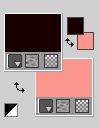
Set your foreground color to a Foreground/Background Gradient, style Sunburst.
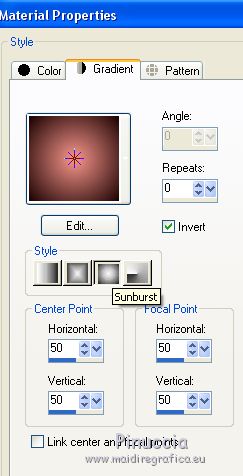
Flood Fill  the transparent image with your Gradient. the transparent image with your Gradient.
2. Layers>New Raster Layer.
Selections>Select All.
Open the image violet-fractals and go to Edit>Copy.
Go back to your work and go to Edit>Paste into Selection.
3. Selections>Modify>Contract - 60 pixels.
Press CANC on the keyboard 
Selections>Select None.
4. Effects>Geometric Effects>Skew.
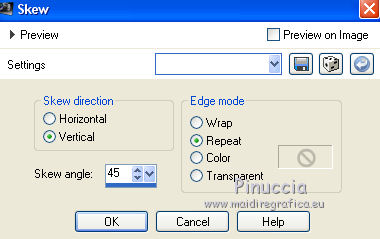
Layers>Duplicate.
Image>Mirror.
Layers>Merge>Merge Down.
Layers>Duplicate.
Image>Flip.
Layers>Merge>Merge Down.
5. Effects>Plugins>Plugin Galaxy - Instant Mirror.
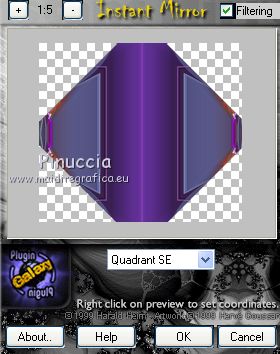
6. Effects>Plugins>Simple - Pizza Slice Mirror.
7. Effects>Plugins>Simple - Top Left Mirror.
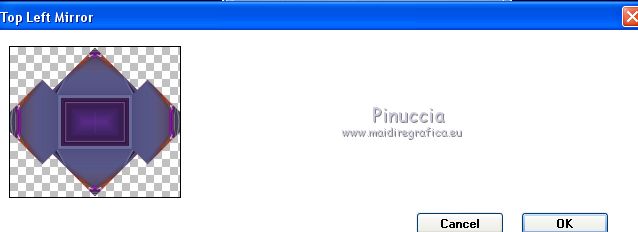
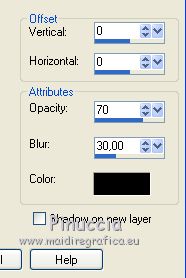
Effects>3D Effects>Drop Shadow, color #000000.
Change the Blend Mode of this layer to Hard Light.
8. Selection Tool 
(no matter the type of selection, because with the custom selection your always get a rectangle)
clic on the Custom Selection 
and set the following settings.
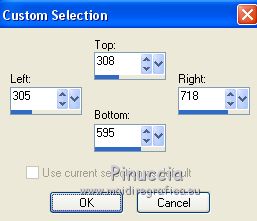
9. Open the misted vvs-paisagem0468 (le calque redimensionné copy of tube) and go to Edit>Copy.
Go back to your work and go to Edit>Paste as new layer.
Selections>Invert.
Press CANC on the keyboard.
Selections>Invert.
10. Selections>Modify>Contract - 22 pixels.
11. Selections>Modify>Select Selection Borders.
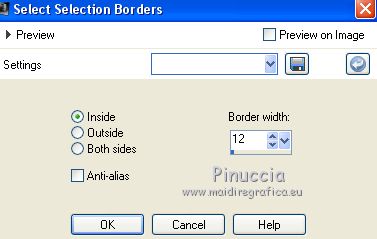
Press CANC on the keyboard.
Selections>Select None.
12. Layers>New Raster Layer.
Selections>Select All.
Open the image fractal1 and go to Edit>Copy.
Go back to your work and go to Edit>Paste into Selection.
13. Selections>Modify>Contract - 60 pixels.
Press CANC on the keyboard.
Selections>Select None.
14. Effects>Geometric Effects>Skew, same settings.

Layers>Duplicate.
Image>Mirror.
Layers>Merge>Merge Down.
Layers>Duplicate.
Image>Flip.
Layers>Merge>Merge Down.
15. Effects>Plugins>Plugin Galaxy - Instant Mirror, same settings.
Layers>Arrange>Move Down.
Effects>Edge Effects>Enhance.
16. Activate the layer Raster 1.
Custom Selection 
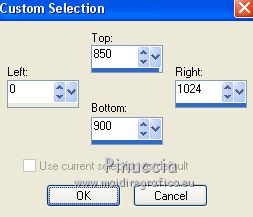
Layers>New Raster Layer.
Reduce the opacity of your Flood Fill Tool to 50%.
Flood Fill  the selection with your Gradient. the selection with your Gradient.
(don't forger to set again the opacity to 100)
17. Adjust>Hue and Saturation>Hue Map
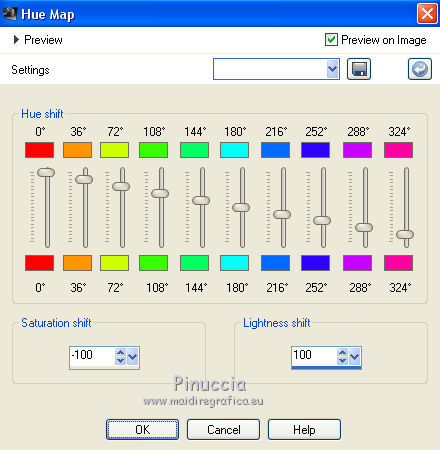
Selections>Select None.
18. Effects>Geometric Effects>Skew
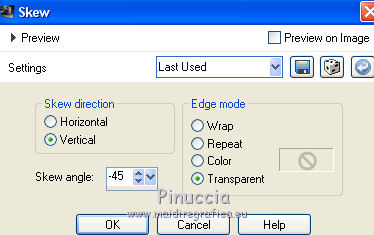
Layers>Duplicate.
Image>Mirror.
Layers>Merge>Merge Down.
Image>Flip.
19. Effects>Plugins>VanDerLee - Unplugged-X - Defocus.
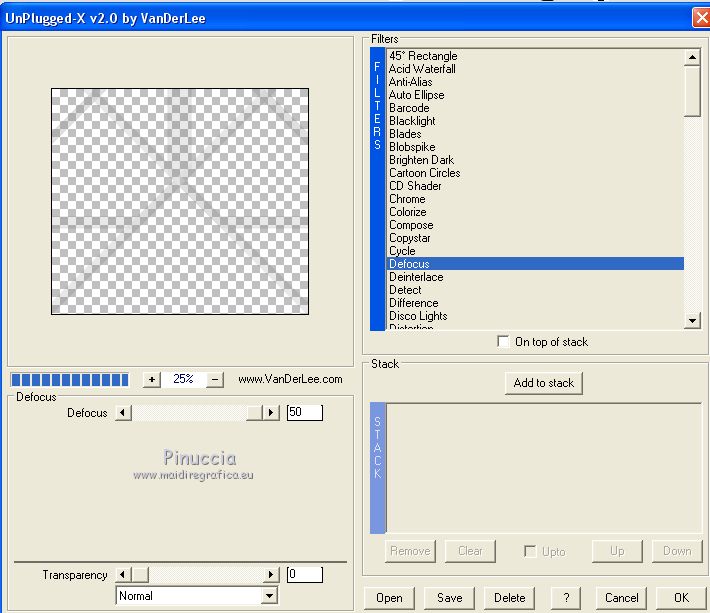
Effects>Edge Effects>Enhance More.
Change the Blend Mode of this layer to Screen.
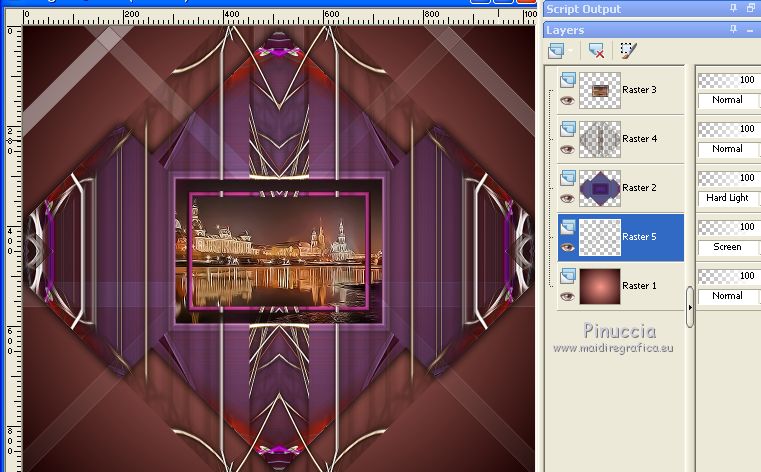
20. Activate again the layer Raster 1.
Selections>Select All.
Edit>Paste into Selection (the image fractal1 is still in memory).
Selections>Select None.
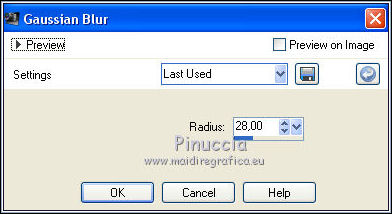
Adjust>Blur>Gaussian Blur - rayon 28.
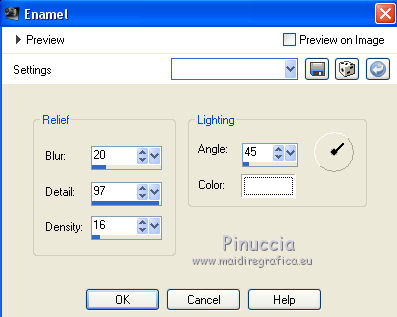
21. Effects>Artistic Effects>Enamel.
The tag and the layers
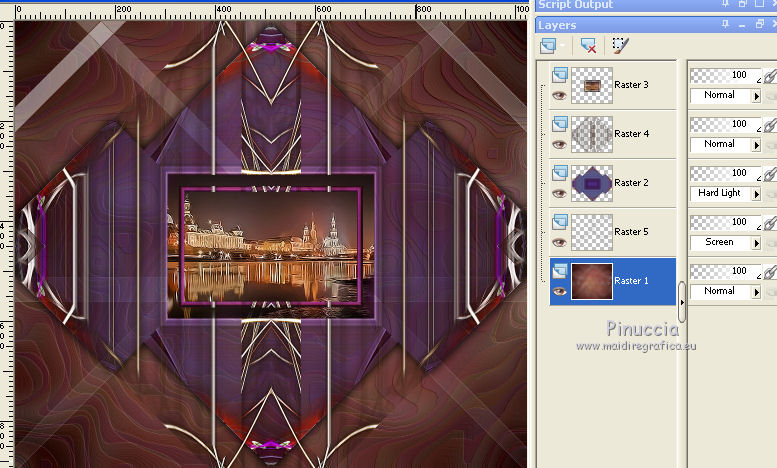
22. Stay on the layer Raster 1.
Selections>Select All.
Selections>Modify>Contract - 40 pixels.
Selections>Invert.
23. Effects>Plugins>Italian Editors Effect - Effetto Fantasma.
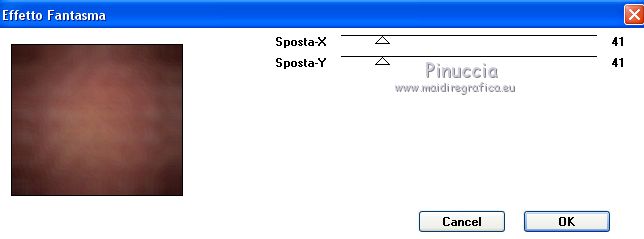
Repeat the Effect another time.
Selections>Invert.
Activate the layer above, Raster 5.
24. Layers>New Raster Layer.
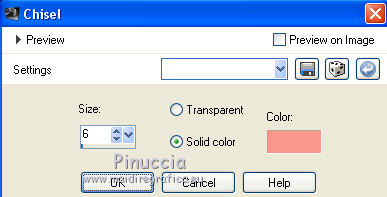
Effects>3D Effects>Chisel, background color.
25. Effects>3D Effects>Cutout, color #ffffff.
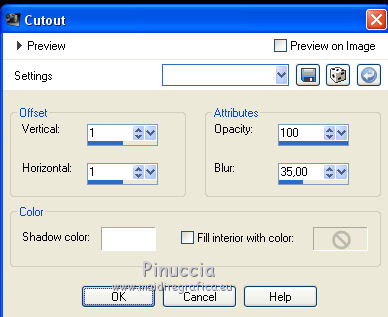
Selections>Select None.
Image>Add borders, 3 pixels, symmetric, foreground color.
Image>Add borders, 20 pixels, symmetric, background color.
Image>Add borders, 3 pixels, symmetric, foreground color.
26. Selections>Select All.
Selections>Modify>Contract - 26 pixels.
27. Effects>3D Effects>Cutout, same settings.
Selections>Select None.
28. Open the tube deco1lc and go to Edit>Copy.
Go back to your work and go to Edit>Paste as new layer.
29. Open the tube calguisdevetblossomingradii24102011 and go to Edit>Copy.
Go back to your work and go to Edit>Paste as new layer.
Move  the tube to the left side. the tube to the left side.
30. Open the tube vvs-tube feme1788 and go to Edit>Copy.
Go back to your work and go to Edit>Paste as new layer.
Move  the tube to the right side. the tube to the right side.
31. Image>Resize, 1000 pixels width, resize all layers checked.
Sign your work on a new layer.
little note about the watermark:
I don't ask to put watermark on the versions made by my translations.
But if you decide to use the watermark supplied by the author, I would appreciate that my work as translator was also respected.
For that, I added my watermark to the material.
32. Layers>Merge>Merge All and save as jpg.
Version with tubes by Azalée and Silvie
 Your versions here Your versions here

If you have problems or doubts, or you find a not worked link, or only for tell me that you enjoyed this tutorial, write to me.
5 June 2020
|

