|
TOP TESY

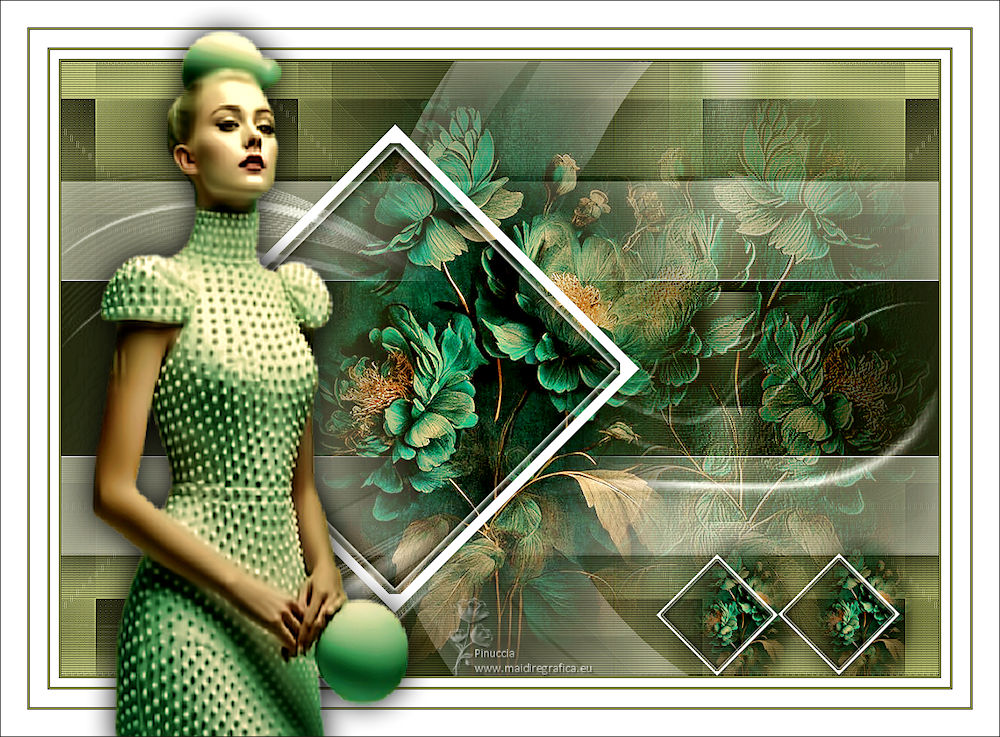
Thanks Lica Cida for your invitation to translate your tutorial

This tutorial was created with PSPX9 and translated with PSPX9 and PSP2020, but it can also be made using other versions of PSP.
Since version PSP X4, Image>Mirror was replaced with Image>Flip Horizontal,
and Image>Flip with Image>Flip Vertical, there are some variables.
In versions X5 and X6, the functions have been improved by making available the Objects menu.
In the latest version X7 command Image>Mirror and Image>Flip returned, but with new differences.
See my schedule here
 French translation here French translation here
 your versions here your versions here

For this tutorial, you will need:

Thanks for the tubes Callitubes, and for the mask Tine.
(you find here the links to the material authors' sites)

consult, if necessary, my filter section here
Filters Unlimited 2.0 here
Toadies - Weaver, What are you here
Simple - Quick Tile here
L&K's - L&K's - Raisa here
It@lian Editors Effect - Effetto Fantasma here
VanDerLee - Unplugged X here
Mura's Meister - Pole Transform here
Mura's Seamless - Emboss at Alpha here
AAA Filters - Custom here
Filters Toadies, Simple, It@lian Editors et Mura's Seamless can be used alone or imported into Filters Unlimited.
(How do, you see here)
If a plugin supplied appears with this icon  it must necessarily be imported into Unlimited it must necessarily be imported into Unlimited

You can change Blend Modes according to your colors.
In the newest versions of PSP, you don't find the foreground/background gradient (Corel_06_029).
You can use the gradients of the older versions.
The Gradient of CorelX here

Copy the preset Emboss 3 in the Presets Folder.
Open the mask, which will be used as a tube, in PSP and minimize it with the rest of the material.
1. Choose two colors to work.
Set your foreground color to #1c1e14,
and your background color to #8c905a.
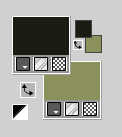
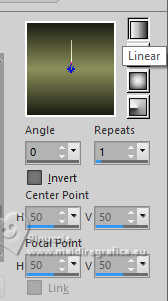
2. Set your foreground color to a Foreground/Background Gradient, style Linear.
3. Open Alpha_Tesy_bylica
This image, that will be the basis of your work, is not empty,
but contains the selections saved to alpha channel.
Flood Fill  the layer with your Gradient. the layer with your Gradient.
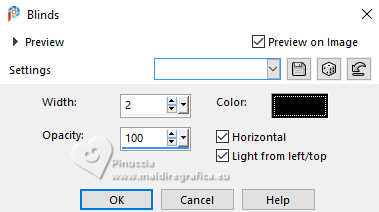
3. Effects>Texture Effects>Blinds - color #000000.
4. Effects>Plugins>Weaver, default settings.
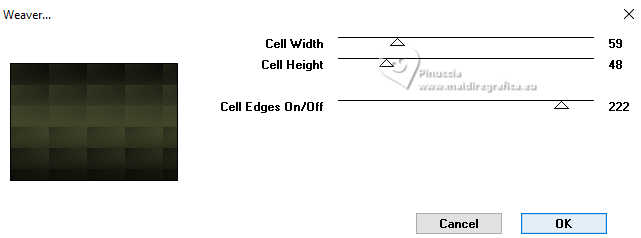
5. Effects>Plugins>Simple - Quick Tile.
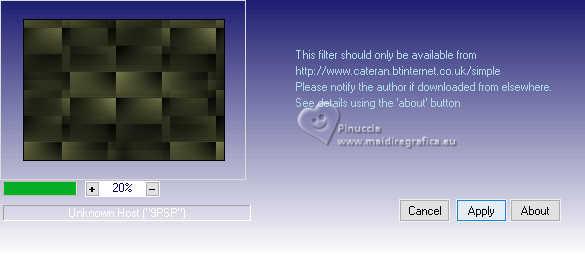
Effects>Reflection Effects>Rotating Mirror, default settings.

Adjust>Sharpness>Sharpen More.
6. Open decor1-lc 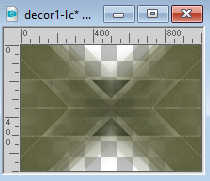
Edit>Copy.
Go back to your work and go to Edit>Paste as new layer.
Change the Blend Mode of this layer to Screen and reduce the opacity to 38%.
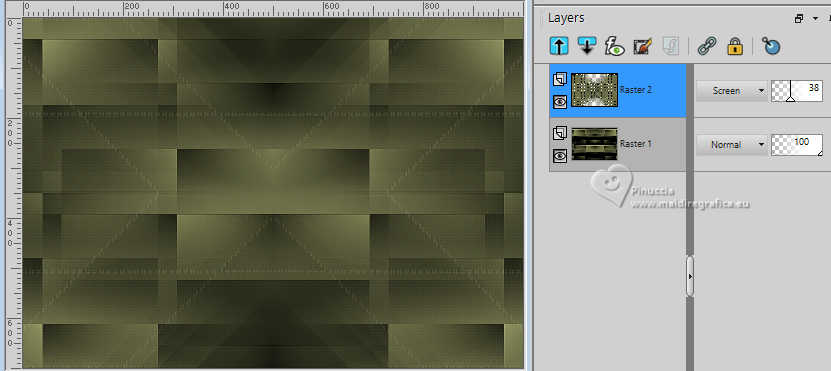
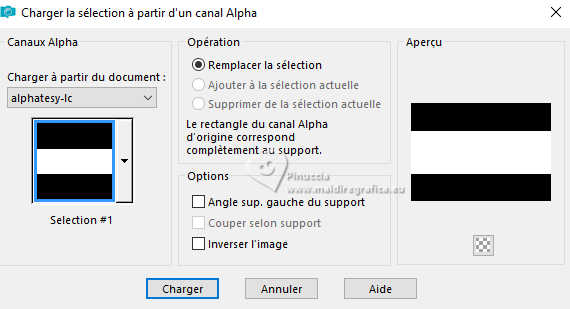
7. Selections>Load/Save Selection>Load Selection from Alpha Channel.
The selection Selection #1 is immediately available. You just have to click Load.
8. Layers>New Raster Layer.
Flood Fill  the selection with your Gradient. the selection with your Gradient.
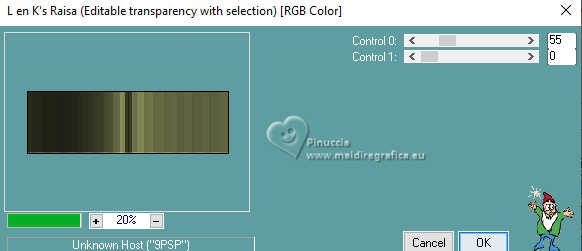
9. Effects>Plugins>L&K's - L&K's Raisa, default settings.
Effects>Reflection Effects>Rotating Mirror.

Selections>Select None.
Adjust>Sharpness>Sharpen More.
10. Effects>Plugins>It@lian Editors Effect - Effetto Fantasma, default settings.
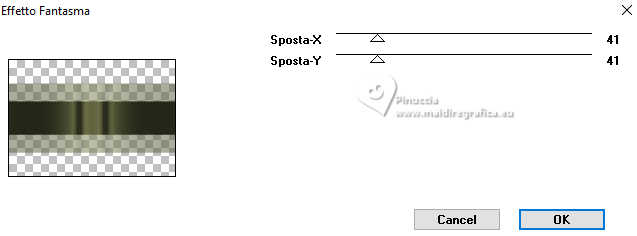
Select the light part of the effect;
for my example I use the Selection Tool 
if you want see better, close the other layers for a moment
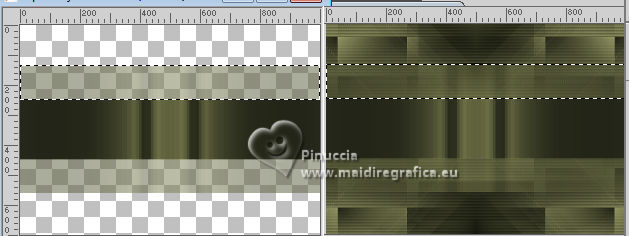
Selections>Promote Selection to Layer
11. Adjust>Hue and Saturation>Hue Map
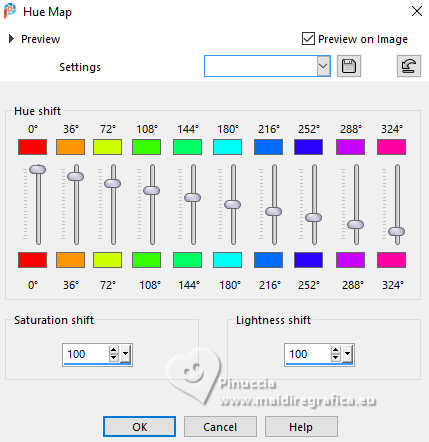
Selections>Select None.
Layers>Duplicate.
Image>Mirror>Mirror vertical.
Layers>Merge>Merge Down - 2 times.
Effects>3D Effects>Drop shadow, color #000000.

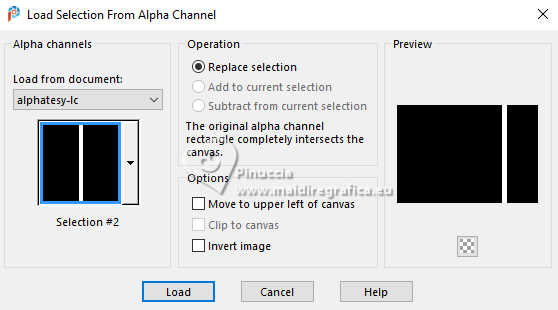
12. Selections>Load/Save Selection>Load Selection from Alpha Channel.
Open the Selections menu and load the selection Selection #2
13. Set your foreground color to #ffffff.
Layers>New Raster Layer.
Flood Fill  the layer with color white #ffffff. the layer with color white #ffffff.
Selections>Select None.
14. Effects>Plugins>Toadies - What are you, default settings
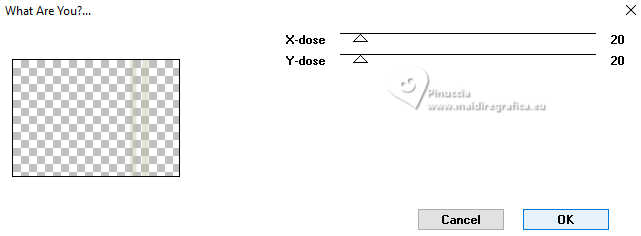
Repeat this Effect another time. Result
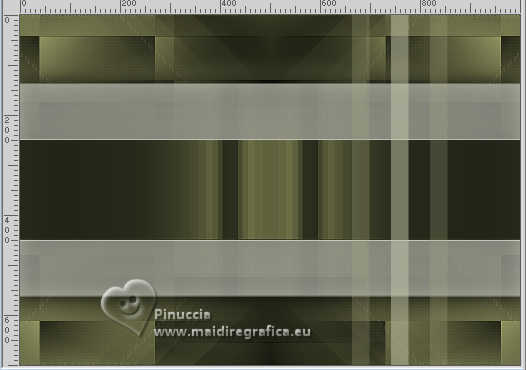
Adjust>Blur>Gaussian Blur - radius 20.

15. Effects>Plugins>Toadies - Weaver, same settings.
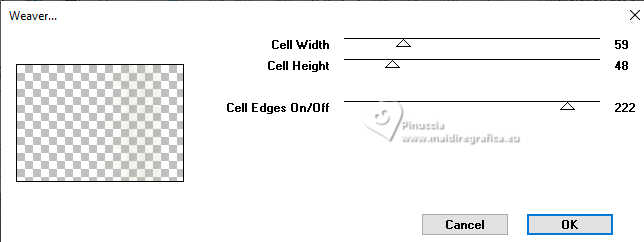
16. Effects>Texture Effects>Blinds, same settings.

Effects>User Defined Filter - select the preset Emboss 3 and ok.

Change the Blend Mode of this layer to Screen, opacity 100.
Layers>Duplicate.
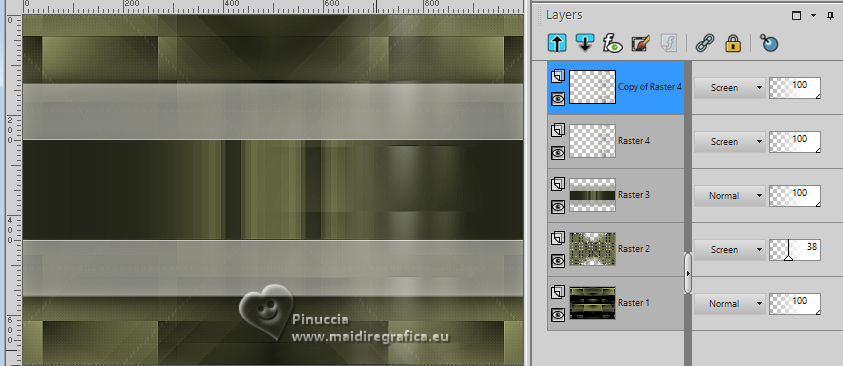
Layers>Merge>Merge Down.
17. Open the tube Callitubes-817flores 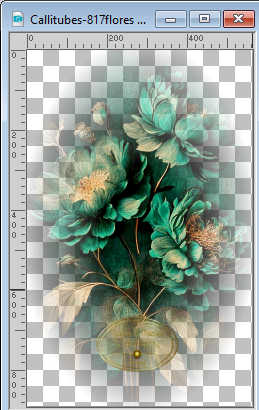
Edit>Copy.
Minimize the tube.
Go back to your work and go to Edit>Paste as new layer.
Image>Resize, to 80%, resize all layers not checked.
Objects>Align>Right.
Change the Blend Mode of this layer to Soft Light, opacity 100.
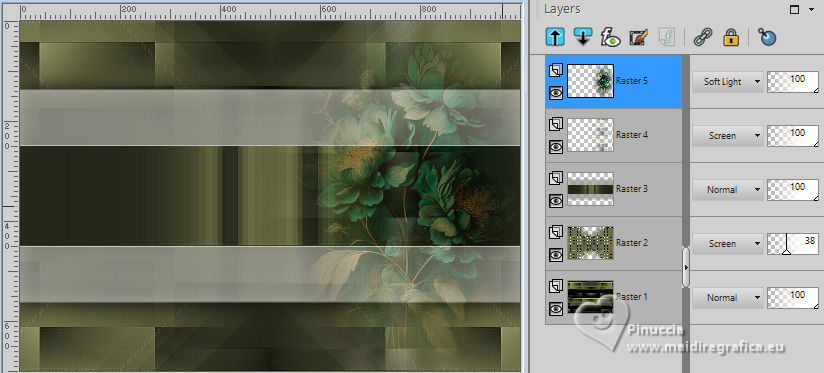
Effects>User Defined Filter - Emboss 3 .

18. Layers>New Raster Layer (raster 6).
Effects>Plugins>VanDerLee - Unplugged X - 45° rectangle.
color #ffffff
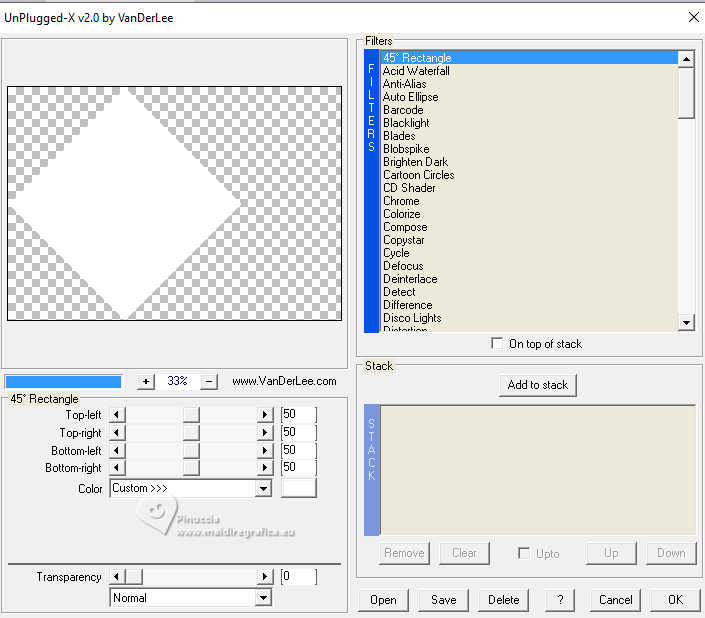
Image>Resize, to 80%, resize all layers not checked.
It is at its place.
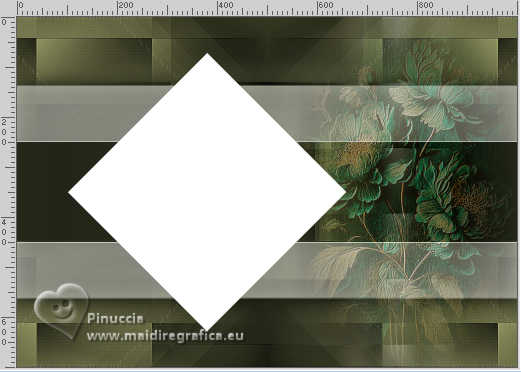
Activate your Magic Wand Tool  , tolerance and feather 0, , tolerance and feather 0,
and click in the white rectangle to select it.
19. Selections>Modify>Contract - 20 pixels.
Press CANC on the keyboard 
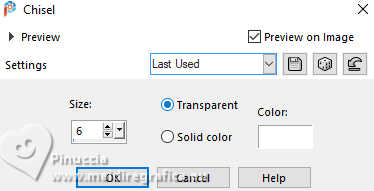
20. Effects>3D Effects>Chisel - color #ffffff.
Keep selected.
Activate again the tube Callitubes-817flores
Image>Mirror>Mirror horizontal.
Image>Resize, to 80%, resize all layers not checked.
21. Edit>Copy.
now you can close the tube, without save changes
Go back to your work and go to Edit>Paste as new layer (Raster 7).
Place  the tube as below. the tube as below.
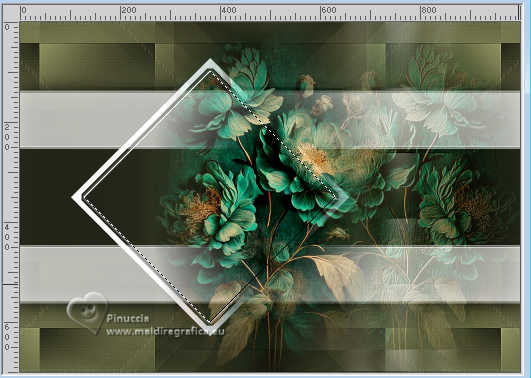
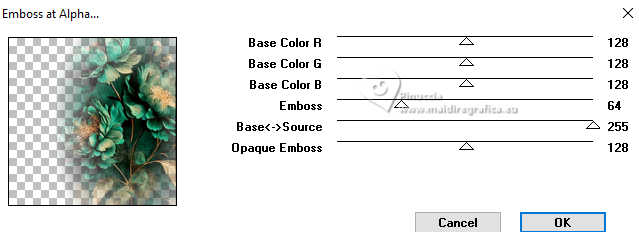
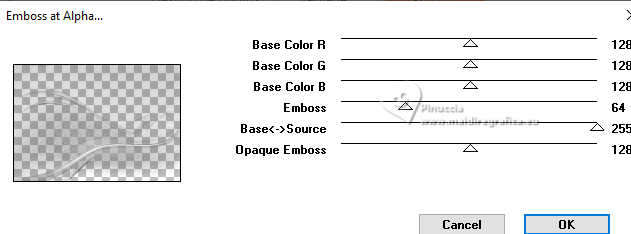
Effects>Plugins>Mura's Seamless - Emboss at Alpha, default settings.
22. Layers>New Raster Layer.
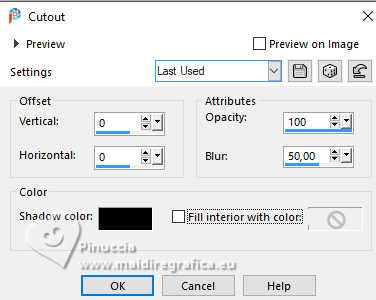
Effects>3D Effects>Cutout.
Selections>Select None.
Stay on this layer (Raster 8)
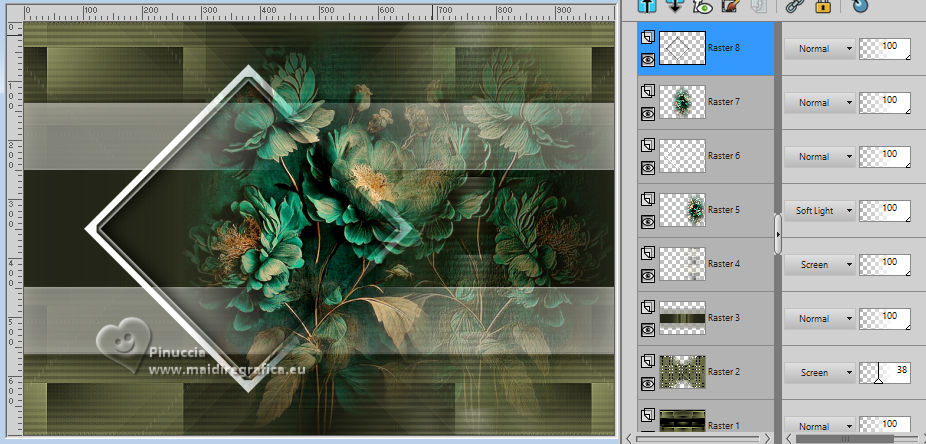
Layers>Merge>Merge Down.
Layers>Arrange>Move Down.
Activate your top layer.
Layers>Merge>Merge Down.
23. Layers>Duplicate.
Image>Resize, to 25%, resize all layers not checked.
Pick Tool 
Position X: 678,00 - Position Y: 544,00.

Layers>Duplicate.
Position X: 817,00 - Position Y: 543,00.

Layers>Merge>Merge Down.
Effects>3D Effects>Drop Shadow, color #000000.

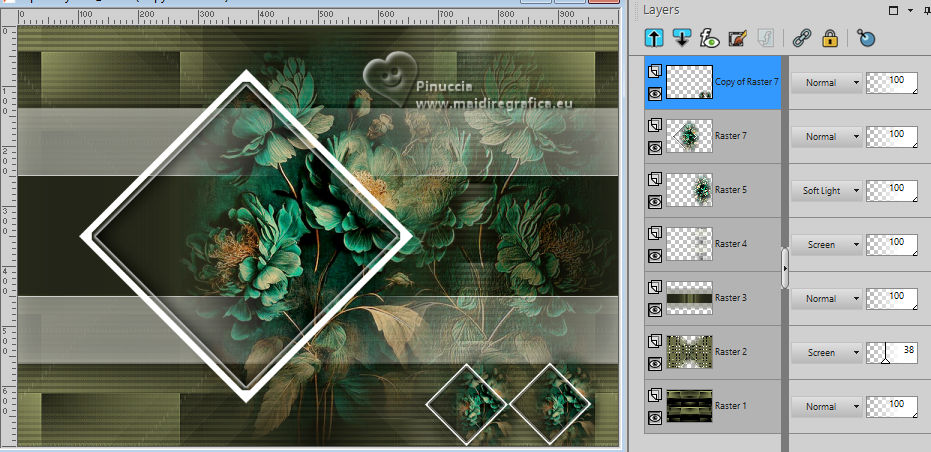
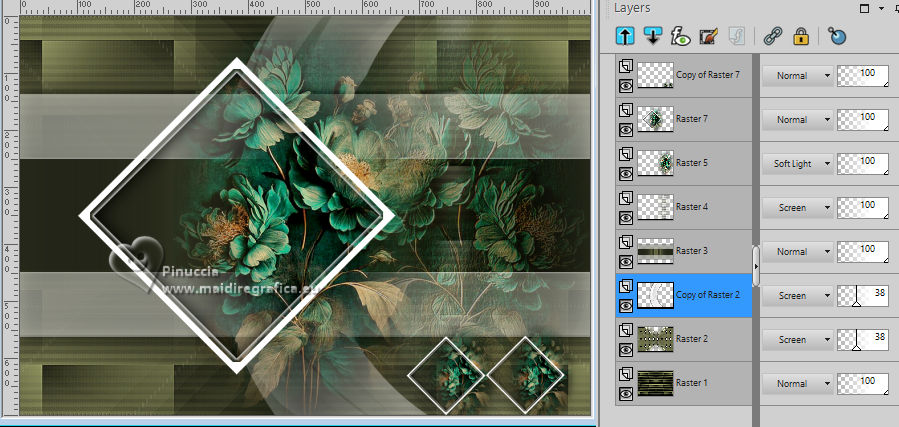
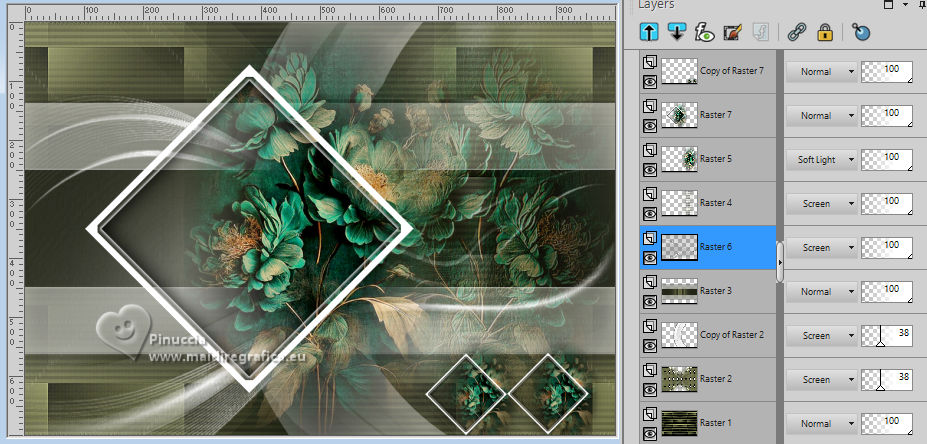
Your tag and the layers
24. Activate the layer Raster 2.
Layers>Duplicate.
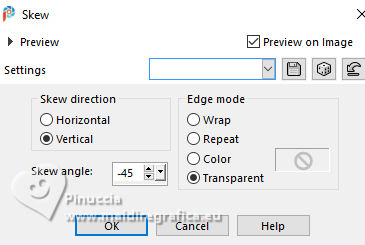
Effects>Geometric Effects>Skew.
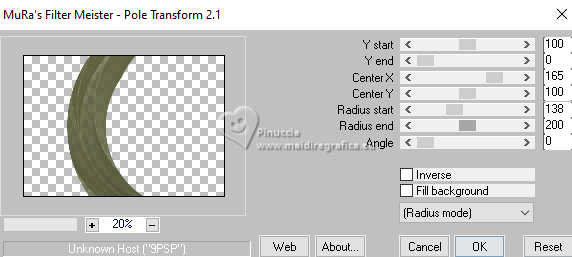
25. Effects>Plugins>Mura's Meister - Pole Transform.
26. Adjust>Hue and Saturation>Hue Map, same settings.

Keep the Blend Mode to Screen, opacity 38%.
Effects>3D Effects>Drop Shadow, same settings.

Pick Tool 
Position X: 300,00 - Position Y: 0,00.

27. Layers>New Raster Layer (raster 6).
Selections>Select All.
Activate the mask creation.tine_masque293 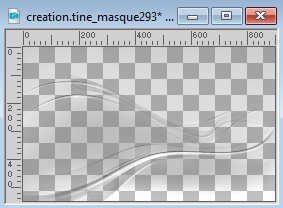
Edit>Copy.
Go back to your work and go to Edit>Paste into Selection.
Selections>Select None.
Layers>Arrange>Move Up.
Effects>Plugins>Mura's Seamless - Emboss at Alpha, default settings.
Change the Blend Mode of this layer to Screen.
28. For the borders, set again your foreground color to #1c1e14

Image>Add borders, 1 pixel, symmetric, foreground color #1c1e14.
Image>Add borders, 1 pixel, symmetric, background color #8c905a.
Image>Add borders, 1 pixel, symmetric, foreground color #1c1e14.
Image>Add borders, 10 pixels, symmetric, color white #ffffff.
Image>Add borders, 1 pixel, symmetric, foreground color #1c1e14.
Image>Add borders, 1 pixel, symmetric, background color #8c905a.
Image>Add borders, 1 pixel, symmetric, foreground color #1c1e14.
Image>Add borders, 20 pixels, symmetric, color white #ffffff.
Image>Add borders, 1 pixel, symmetric, foreground color #1c1e14.
Image>Add borders, 1 pixel, symmetric, background color #8c905a.
Image>Add borders, 1 pixel, symmetric, foreground color #1c1e14.
Image>Add borders, 30 pixels, symmetric, color white #ffffff.
29. Effects>Plugins>AAA Filters - Custom - Grain/Landscape.
30. Open the tube Callitubes-4538mulheres 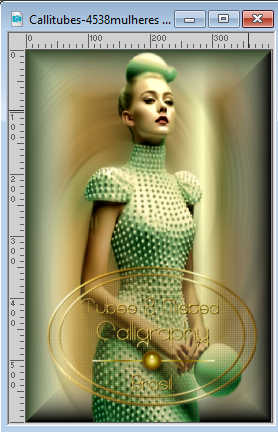
Edit>Copy.
Go back to your work and go to Edit>Paste as new layer.
Resize and place to your liking.
Effects>3D Effects>Drop Shadow, at your choice.
31. Image>Add borders, 1 pixel, symmetric, foreground color #1c1e14.
Image>Resize, 1000 pixels width, resize all layers checked.
32. Sign your work on a new layer.
Add the author and translator's watermarks.
Save as jpg.
For the tubes of this version thanks Renée
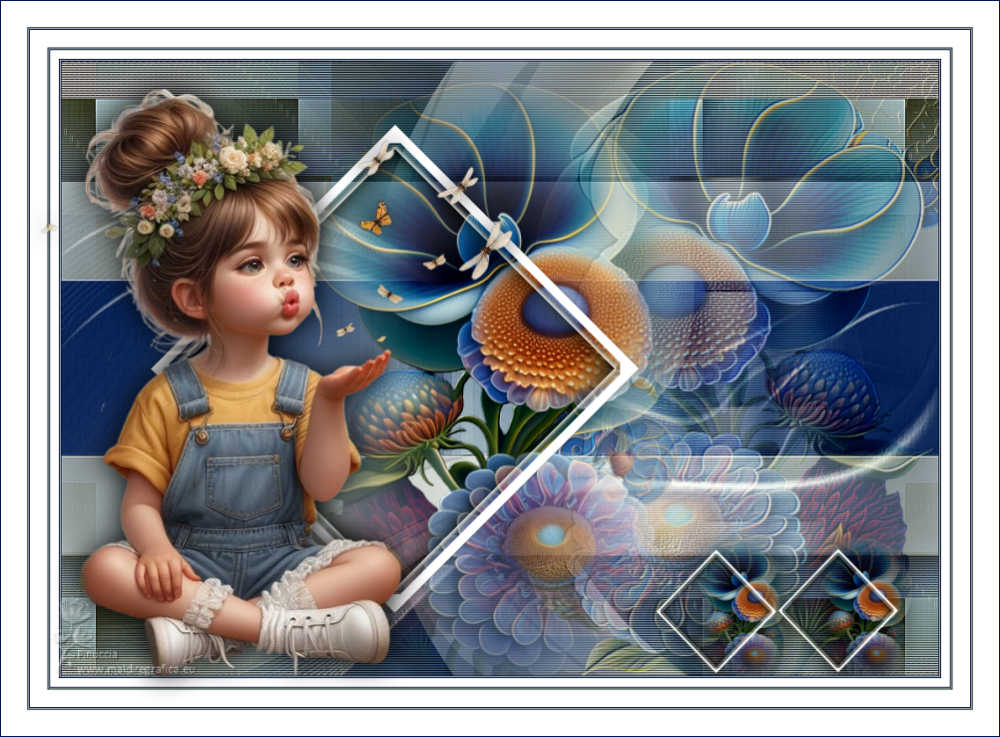
 Your versions here Your versions here

If you have problems or doubts, or you find a not worked link, or only for tell me that you enjoyed this tutorial, write to me.
11 Septembre 2024

|


