|
TOP SUZANA

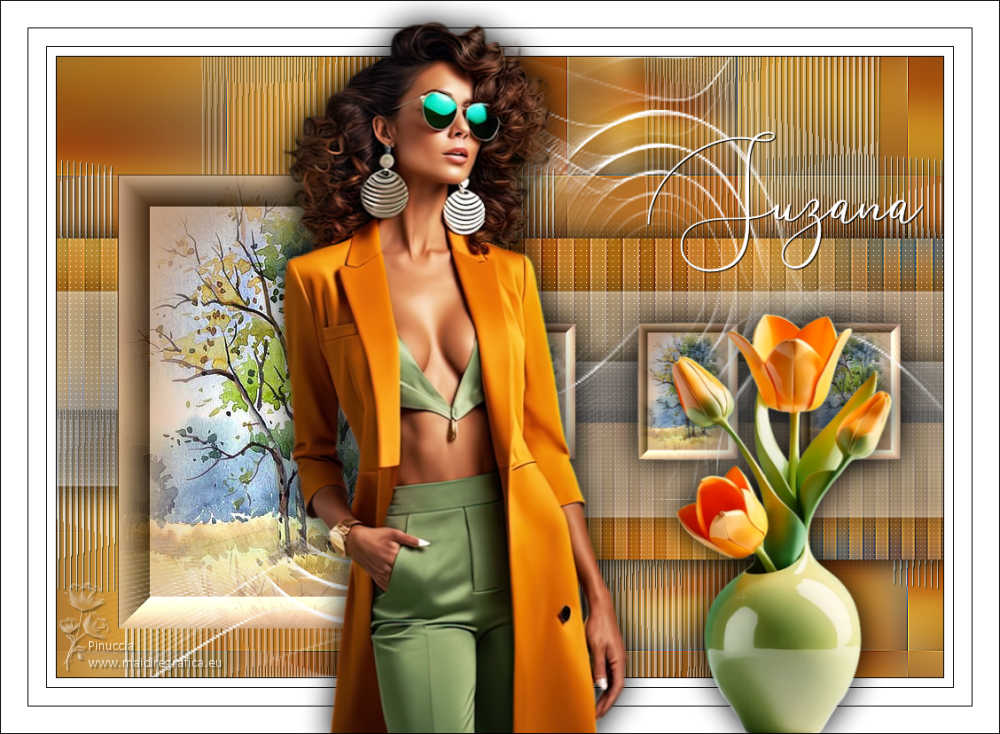
Thanks Lica Cida for your invitation to translate your tutorial

This tutorial was created with PSPX9 and translated with PSPX9 and PSP2020, but it can also be made using other versions of PSP.
Since version PSP X4, Image>Mirror was replaced with Image>Flip Horizontal,
and Image>Flip with Image>Flip Vertical, there are some variables.
In versions X5 and X6, the functions have been improved by making available the Objects menu.
In the latest version X7 command Image>Mirror and Image>Flip returned, but with new differences.
See my schedule here
 French translation here French translation here
 your versions here your versions here

For this tutorial, you will need:

Thanks for the tubes and the mask Kamil, Nicole and Narah.
(you find here the links to the material authors' sites)

consult, if necessary, my filter section here
Filters Unlimited 2.0 here
VM Distortion - Tilomat 2000 here
Carolaine and Sensibility - CS-HLines, CS-LDots here
Mura's Meister - Copies here
Filters VM Distortion can be used alone or imported into Filters Unlimited.
(How do, you see here)
If a plugin supplied appears with this icon  it must necessarily be imported into Unlimited it must necessarily be imported into Unlimited

You can change Blend Modes according to your colors.

1. Open a new transparent image 1000 x 700 pixels.
Selections>Select All.
Open backinicial-lc 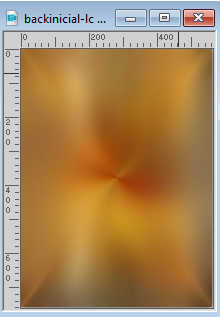
Edit>Copy.
Go back to your work and go to Edit>Paste into Selection.
Selections>Select None.
(colorize, if you are using other colors).
2. Adjust>Blur>Gaussian Bur - radius 30.

3. Effects>Plugins>Filters Unlimited 2.0 - VM Distortion - Tilomat 2000, default settings
A peculiarity of this filter is that, after importing into Unlimited,
it places some effects at the top of the list and others at the bottom of the list.
Tilomat 2000 is at the upper.
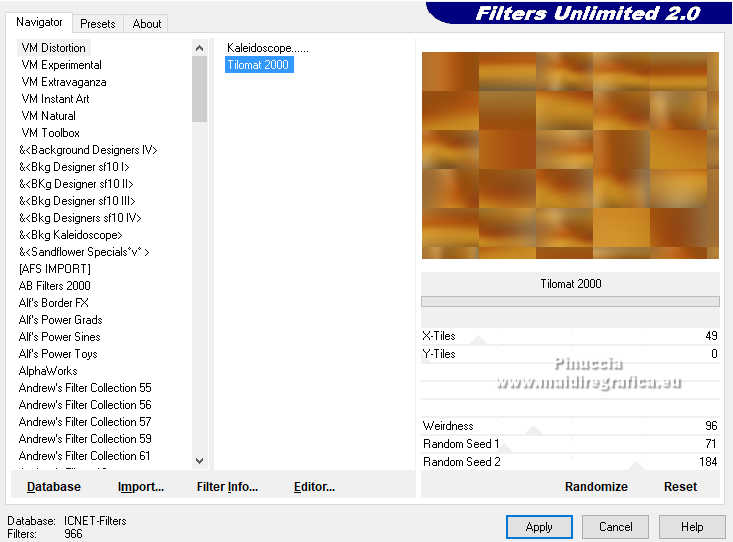
Effects>Edge Effects>Enhance More.
4. Activate your Selection Tool  , rectangle. , rectangle.

Select the squares as below
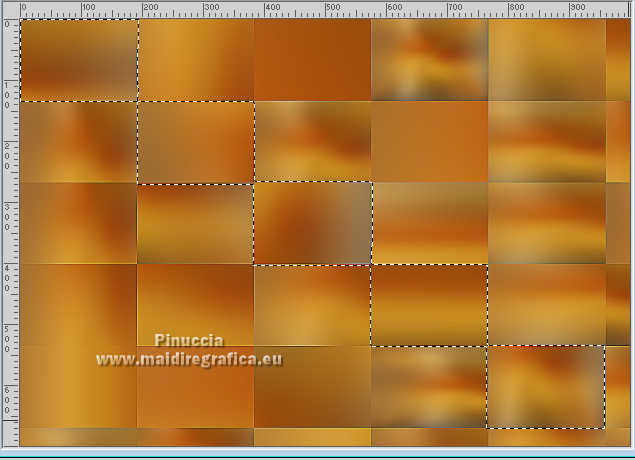
Selections>Promote Selection to Layer.
5. Effects>3D Effects>Inner Bevel.
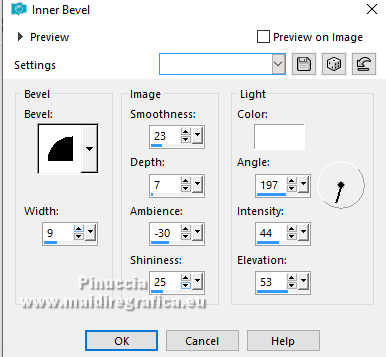
Selections>Select None.
6. Layers>Duplicate.
Effects>Distortion Effects>Wave.
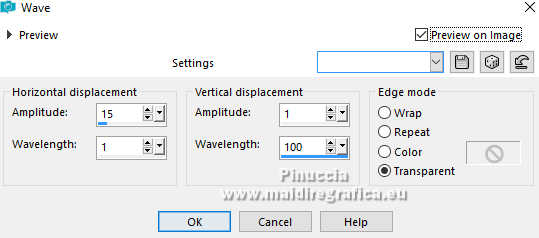
Image>Mirror>Mirror Horizontal.
7. Adjust>Hue and Saturation>Hue Map
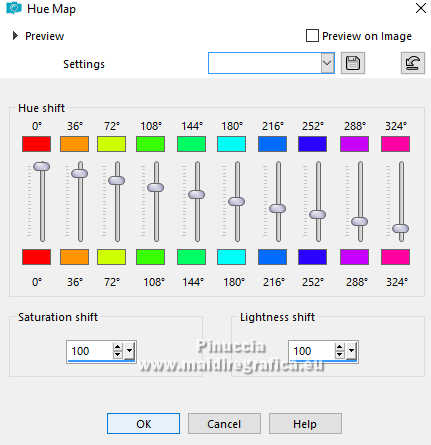
8. Image>Free Rotate - 90 degrees to right.

9. Effects>Image Effects>Seamless Tiling.

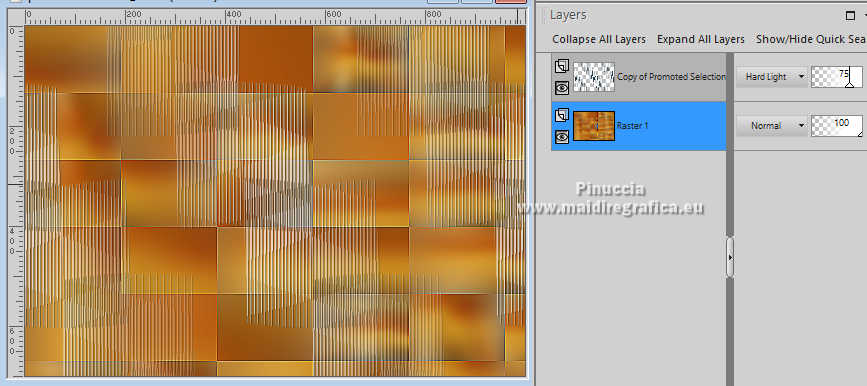
10. Change the Blend Mode of this layer to Hard Light and reduce the opacity to 75%.
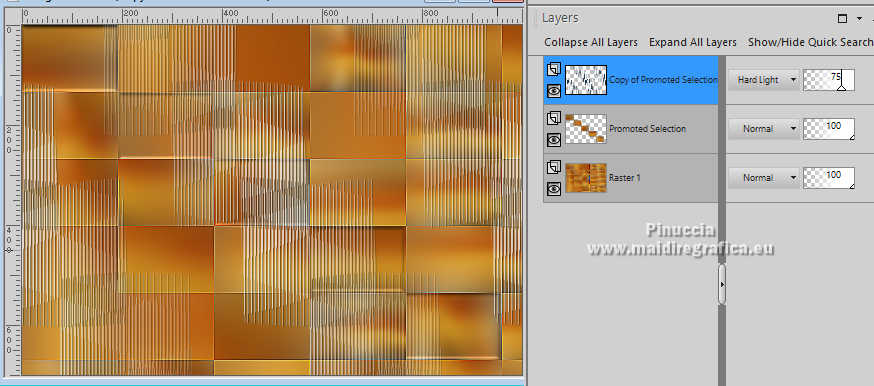
11. Effects>3D Effects>Drop Shadow, color #000000.

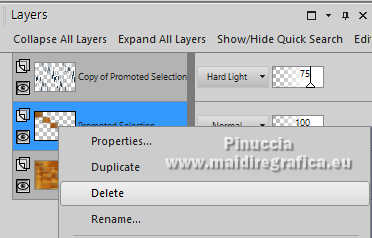
12. Activate the layer Promoted Selection.
Right mouse button on the layer and select Delete
13. Stay on the layer Raster 1.
Selection Tool 
(no matter the type of selection, because with the custom selection your always get a rectangle)
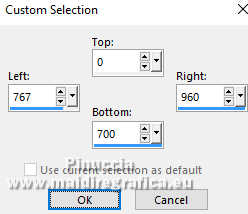
clic on the Custom Selection 
and set the following settings.
 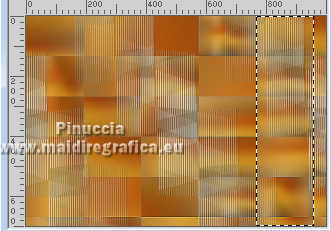
Selections>Promote Selection to Layer.
14. Adjust>Blur>Gaussian Blur - radius 30.

Layers>Arrange>Bring to Top.
15. Layers>New Raster Layer.
Set your foreground color to #ffffff.
Reduce the opacity of your Flood Fill Tool to 50%.
Flood Fill  the layer with color #ffffff. the layer with color #ffffff.
16. Activate the layer above, Promoted Selection.
Effects>Plugins>Carolaine and Sensibility - CS-HLines
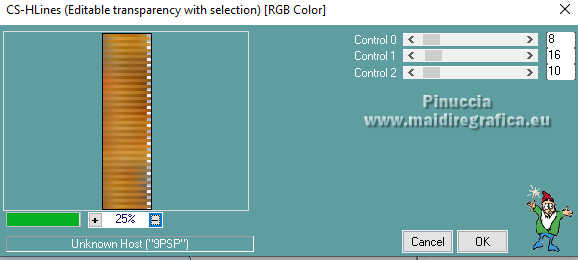
Effects>Edge Effects>Enhance More.
Selections>Select None.
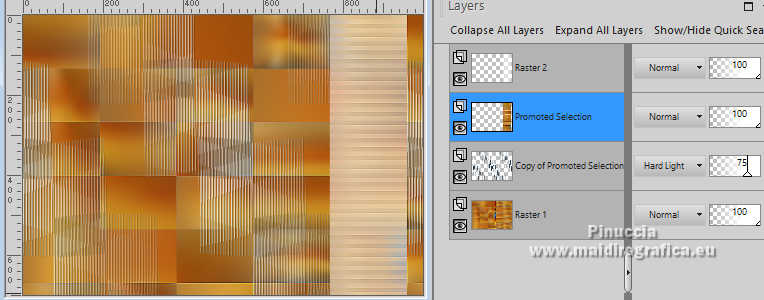
17. Activate your top layer, Raster 2.
Effects>Distortion Effects>Pinch

18. Effects>3D Effects>Drop Shadow, color #000000.

Layers>Merge>Merge Down.
Repeat Effects>3D Effects>Drop Shadow, same settings.

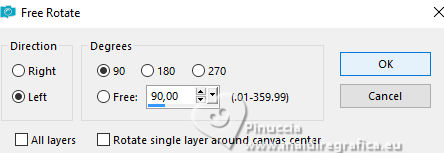
19. Image>Free Rotate - 90 degrees to left.
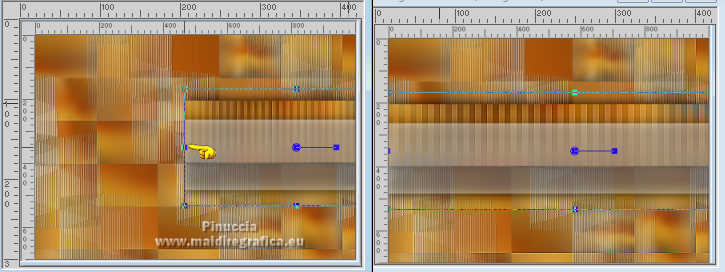
Activate your Pick Tool 
Pull the central left node until the border.
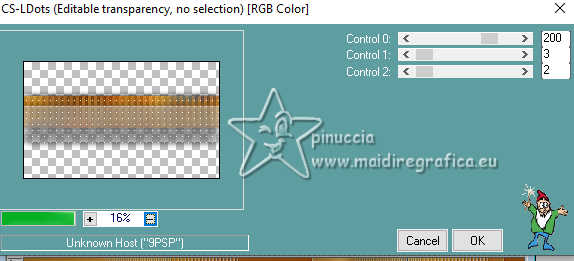
20. Effects>Plugins>Carolaine and Sensibility - CS-LDots.
21. Layers>Duplicate.
Image>Resize, to 80%, resize all layers not checked.
Image>Mirror>Mirror vertical (Image>Flip).
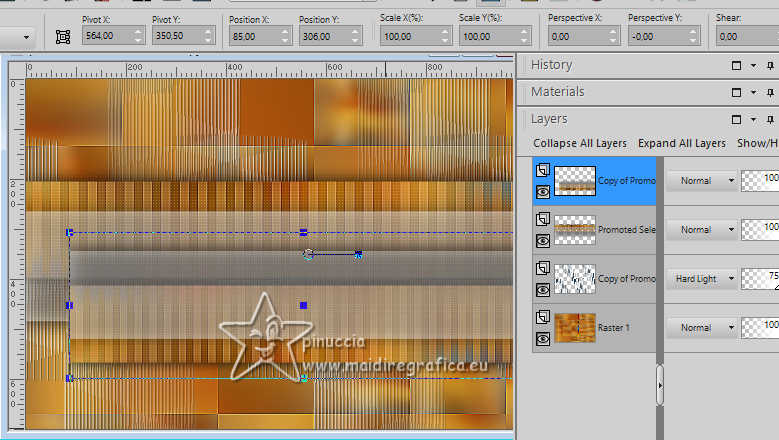
22. Pick tool 
Position X: 85,00 - Position Y: 306,00.
23. Activate the layer Raster 1.
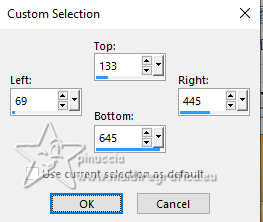
Custom Selection 
 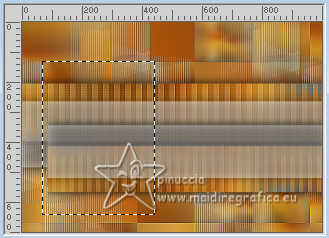
Selections>Promote Selection to Layer.
25. Adjust>Blur>Gaussian Bur - radius 30.

Layers>Arrange>Bring to Top.
26. Layers>New Raster Layer.
Flood Fill  the layer with color white #ffffff (opacity always to 50%) the layer with color white #ffffff (opacity always to 50%)
Now you can set again the opacity of your Flood Fill Tool to 100
27. Open nicole-mist-arbre-2015 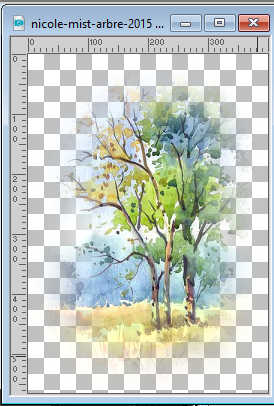
Edit>Copy.
Go back to your work and go to Edit>Paste as new layer.
Place  correctly the tube over the selection. correctly the tube over the selection.
Layers>Merge>Merge Down - 2 times.
28. Effects>Plugins>Filters Unlimited 2.0 - Buttons & Frames, default settings.
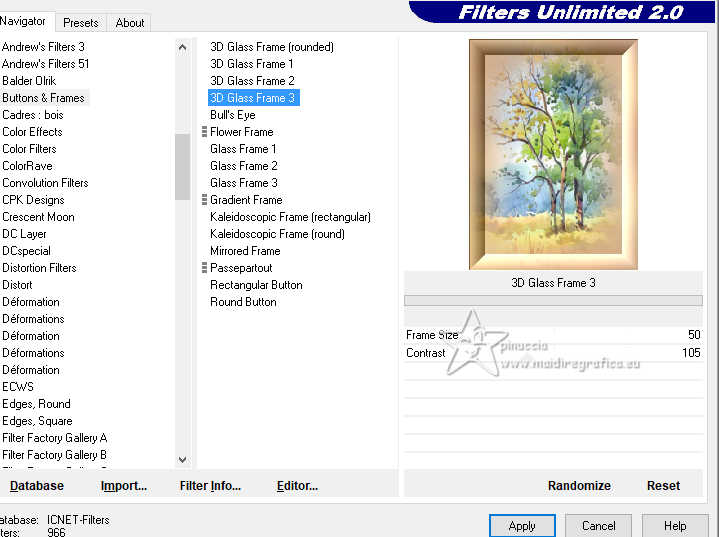
Selections>Select None.
Adjust>One Step Photo Fix.
29. Layers>Duplicate.
Image>Resize, to 30%, resize all layers not checked.
30. Pick Tool 
Position X: 465,00 - Position Y: 292,00.

31. Effects>Plugins>Mura's Meister - Copies.
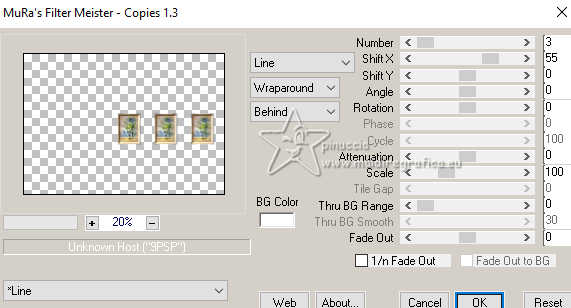
32. Effects>3D Effects>Drop Shadow, color #000000.

Your tag and the layers.
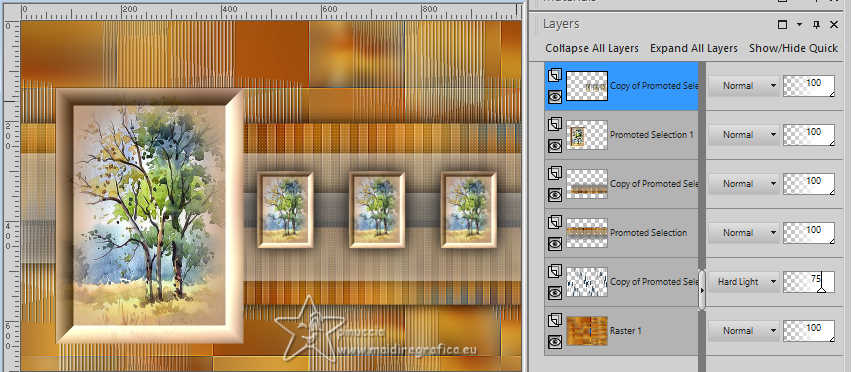
33. Open the mask NarahsMasks_1769 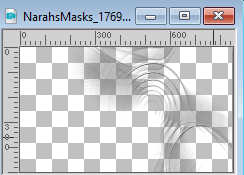
Edit>Copy.
Go back to your work and go to Edit>Paste as new layer.
Objects>Align>Right.
Objects>Align>Top
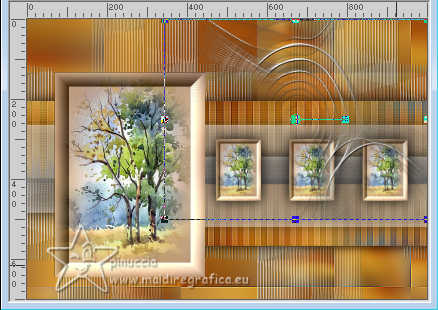
Layers>Duplicate.
Image>Mirror>Mirror vertical (Image>Flip).
Objects>Align>Left.
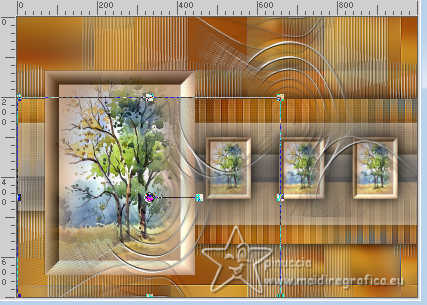
Layers>Merge>Merge Down.
Change the Blend Mode of this layer to Screen.
34. Open titulo-lc 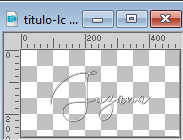
Edit>Copy.
Go back to your work and go to Edit>Paste as new layer.
Move  the text to your liking, or see my example. the text to your liking, or see my example.
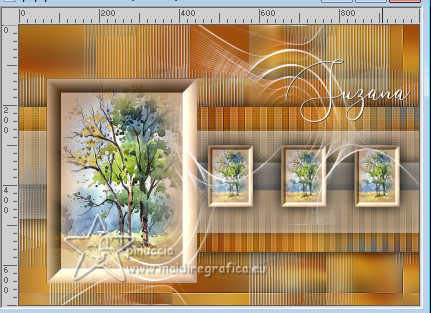
35. Image>Add borders, 1 pixel, symmetric, color #000000.
Image>Add borders, 10 pixels, symmetric, color #ffffff.
Image>Add borders, 1 pixel, symmetric, color #000000.
Image>Add borders, 20 pixels, symmetric, color #ffffff.
Image>Add borders, 1 pixel, symmetric, color #000000.
Image>Add borders, 30 pixels, symmetric, color #ffffff.
36. Open KamilTube-939 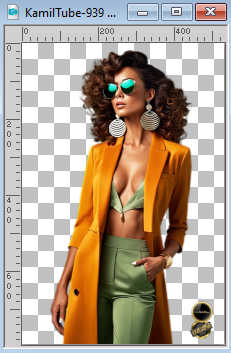
Erase the watermark and go to Edit>Copy.
Go back to your work and go to Edit>Paste as new layer.
Use the tube to your liking; for me:
Image>Resize, to 105%, resize all layers not checked.
Image>Mirror>Mirror horizontal.
Place  the tube in the center, or to your liking. the tube in the center, or to your liking.
Effects>3D Effects>Drop Shadow, at your choise, for me:

36. Open KamilTube-1096-Deco 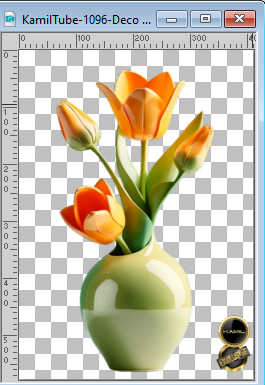
Erase the watermark and go to Edit>Copy.
Go back to your work and go to Edit>Paste as new layer.
Use to your liking; for me:
Image>Resize, to 90%, resize all layers not checked.
Move  the tube to the right, or to your liking. the tube to the right, or to your liking.
Effects>3D Effects>Drop Shadow, same settings.
37. Image>Add borders, 1 pixel, symmetric, color #000000.
Sign your work on a new layer.
Add, if you wish, the author's watermark, without forgetting that of the translator.
38. Image>Resize, 1024 pixels width, resize all layers checked.
Save as jpg.
For the tubes of this version thanks Luz Cristina, Ema and Nena Silva
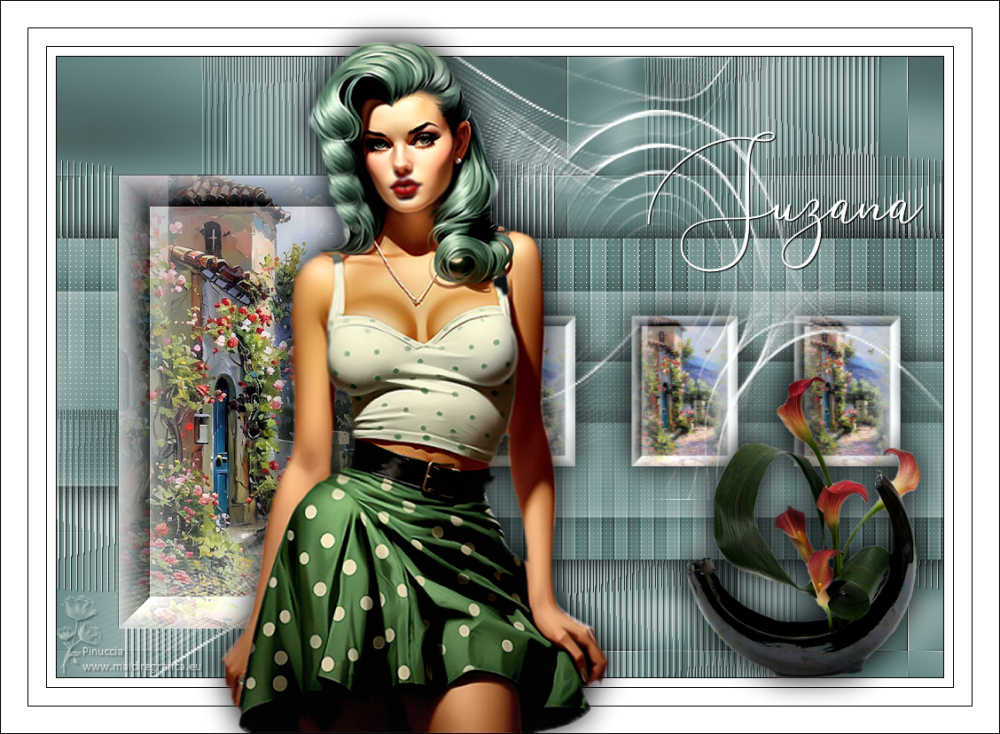
 Your versions here Your versions here

If you have problems or doubts, or you find a not worked link, or only for tell me that you enjoyed this tutorial, write to me.
15 October 2024

|

