|
TOP PURPLE

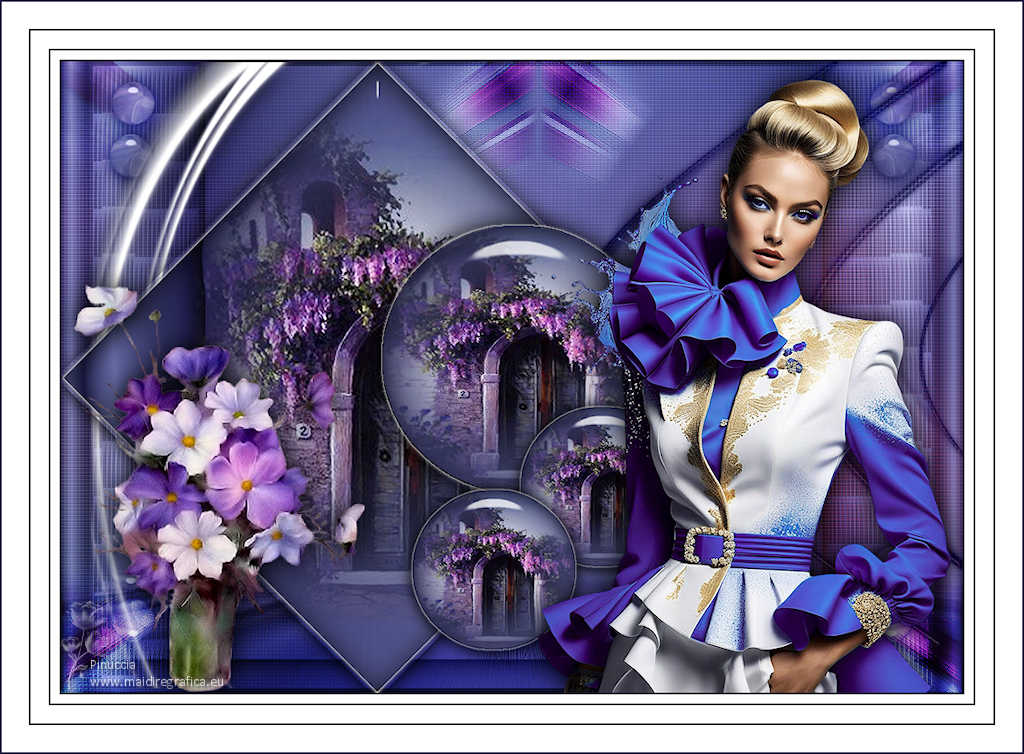
Thanks Lica Cida for your invitation to translate your tutorial

This tutorial was created with PSPX9 and translated with PSPX9 and PSP2020, but it can also be made using other versions of PSP.
Since version PSP X4, Image>Mirror was replaced with Image>Flip Horizontal,
and Image>Flip with Image>Flip Vertical, there are some variables.
In versions X5 and X6, the functions have been improved by making available the Objects menu.
In the latest version X7 command Image>Mirror and Image>Flip returned, but with new differences.
See my schedule here
 French translation here French translation here
 your versions here your versions here

For this tutorial, you will need:

Thanks for the tubes Suizabella, Callitubes and Luz Cristina.
(you find here the links to the material authors' sites)

consult, if necessary, my filter section here
Filters Unlimited 2.0 ici
&<Bkg Designer sf10II> - Picasso's Another Work (Ã importer dans Unlimited) ici
Mura's Seamless - Shift at Random ici
AAA Frames - Foto Frame ici
Alien Skin Eye Candy 5 Impact - Glass, Motion Trail ici
VanDerLee - Unplugged-X ici
Mura's Meister - Perspective Tiling ici
VM Stylize - Zoom Blur ici
Filters Mura's Seamless and VM Stylize can be used alone or imported into Filters Unlimited.
(How do, you see here)
If a plugin supplied appears with this icon  it must necessarily be imported into Unlimited it must necessarily be imported into Unlimited

You can change Blend Modes according to your colors.
In the newest versions of PSP, you don't find the foreground/background gradient (Corel_06_029).
You can use the gradients of the older versions.
The Gradient of CorelX here

Copy the preset lc11 in the Presets Folder.
1. Choose two colors to work.
Set your foreground color to #1f1d4c,
and your background color to #6a70aa.
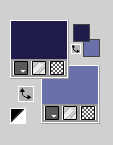
2. Set your foreground color to a Foreground/Background Gradient, style Linear.
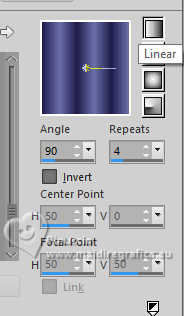
3. Open Alpha Channel_Purple_bylicacida
Window>Duplicate or, on the keyboard, shift+D to make a copy.

Close the original.
The copy, that will be the basis of your work, is not empty,
but contains the selections saved to alpha channel.
Layers>New Raster Layer.
Flood Fill  the layer with your Gradient. the layer with your Gradient.
4. Effects>Geometric Effects>Perspective Horizontal.
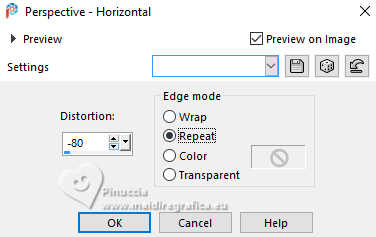
Edit>Repeat Perspective Horizontal.
5. Effects>Reflection Effects>Rotating Mirror.

6. Selections>Load/Save Selection>Load Selection from Alpha Channel.
The selection Selection #1 is immediately available. You just have to click Load.
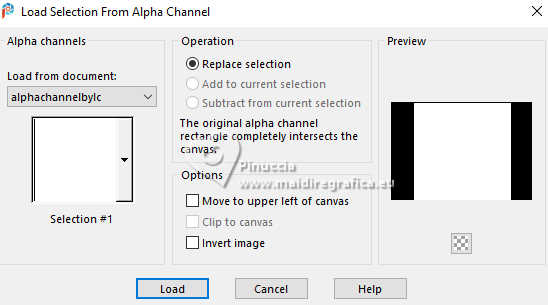
Selections>Promote Selection to Layer.
Effects>3D Effects>Drop Shadow, color #000000.
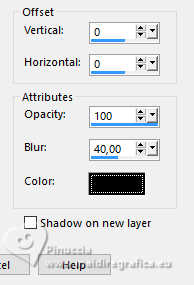
Edit>Repeat Drop Shadow.
Activate the layer below, Raster 1.
Edit>Repeat Drop Shadow.
Again Edit>Repeat Drop Shadow.
Activate your top layer (Promoted Selection).
7. Open Callitubes-303paisagens 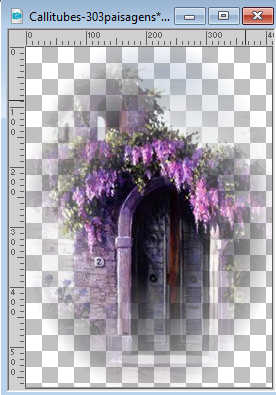
Edit>Copy.
Go back to your work and go to Edit>Paste into Selection.
Selections>Select None.
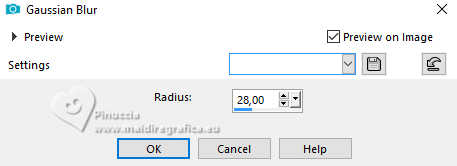
Adjust>Blur>Gaussian Blur - radius 28.
8. Effects>Plugins>Mura's Seamless - Shift at Random, default settings.
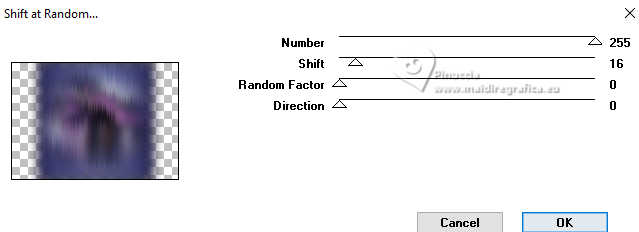
Effects>Edge Effects>Enhance.
9. Effects>Plugins>Mura's Meister - Perspective Tiling.
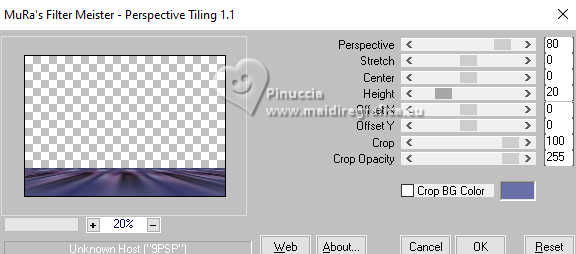
10. Effects>Reflection Effects>Rotating Mirror.

Activate your Magic Wand Tool  , tolerance 0 and feather 60 , tolerance 0 and feather 60

Click in the transparent part to select it.
Press 5-6 times CANC on the keyboard 
Selections>Select None.
Adjust>Sharpness>Sharpen More.
11. Effects>Plugins>AAA Frames - Foto Frame.
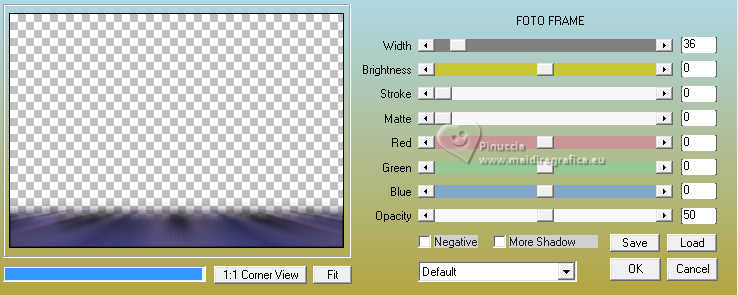
Edit>Repeat Foto Frame.
12. Activate your bottom layer, Background.
Effects>Artistic Effects>Halftone.
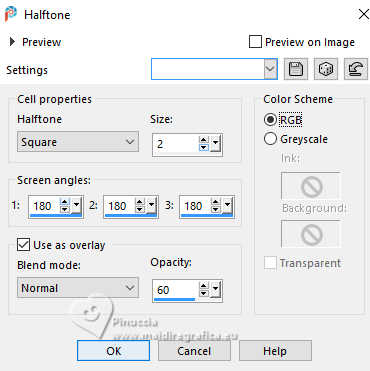
13. Effects>Plugins>VanDerLee - Unplugged-X - Interlace.
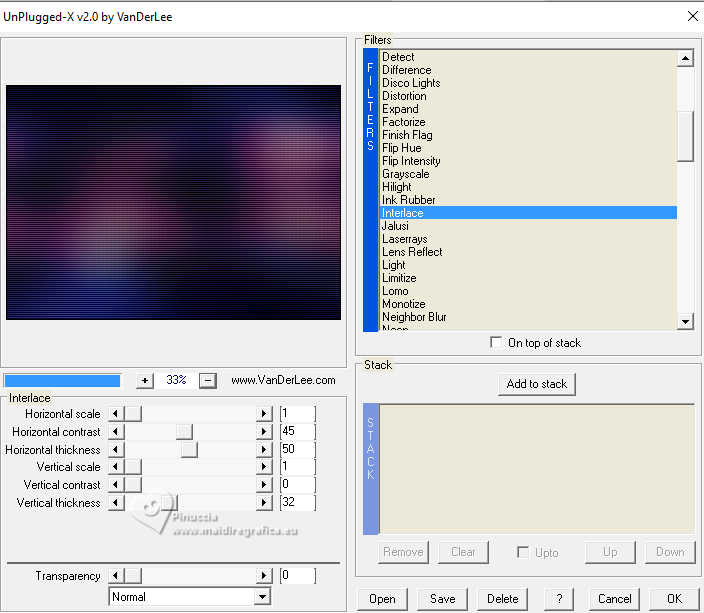
14. Activate again your bottom layer, Background.
Effects>Illumination Effects>Lights
select the preset lc11
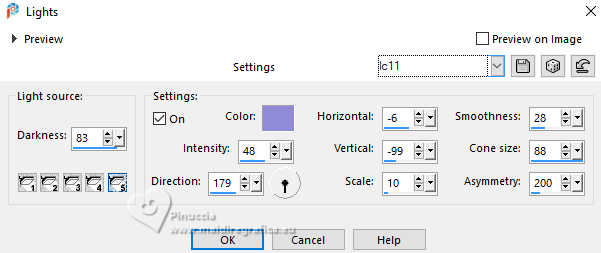
15. Layers>New Raster Layer.
Effects>Plugins>VanDerLee - Unplugged-X - 45° Rectangle, color #ffffff.
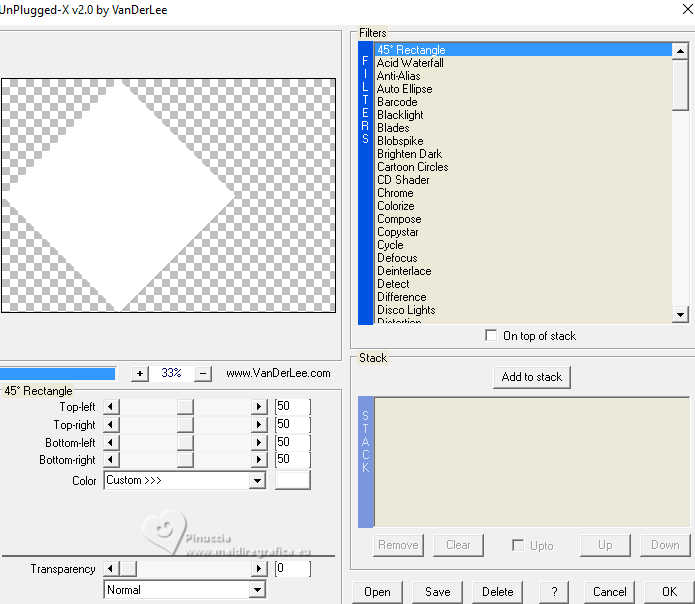
Layers>Arrange>Bring to Top.
16. Activate your Magic Wand Tool  , tolerance and feather 0, , tolerance and feather 0,
click in the rectangle to select it.
17. Activate the layer Raster 1.
Selections>Promote Selection to Layer.
Layers>Arrange>Bring to top.
Effects>3D Effects>Drop Shadow, color #000000.

18. Edit>Paste as new layer, the tube Callitubes-303paisagens is still in memory.
Place  correctly the tube on the rectangle. correctly the tube on the rectangle.
Adjust>Sharpness>Sharpen.
Layers>Merge>Merge Down.
19. Effects>Plugins>Alien Skin Eye Candy 5 Impact - Glass.
Select the preset Clear with these settings.
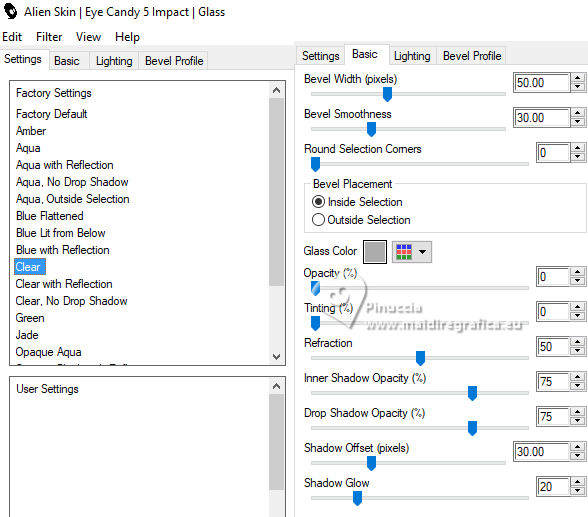
20. Effects>3D Effects>Chisel, color #ffffff.
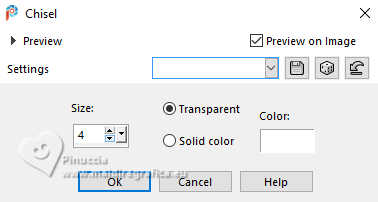
Selections>Select None.
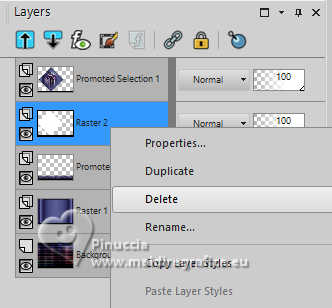
Delete the layer of the white rectangle, Raster 2: Layers>Delete.
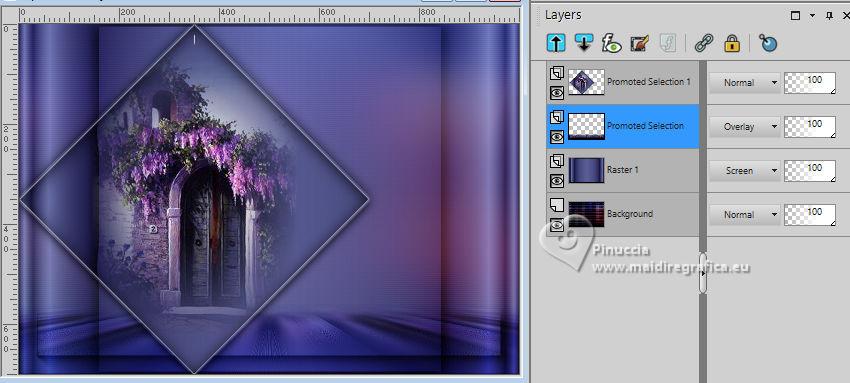
Your tag and the layers - adapt Blend Mode and opacity to your liking.
21. Activate your bottom Layer, Background.
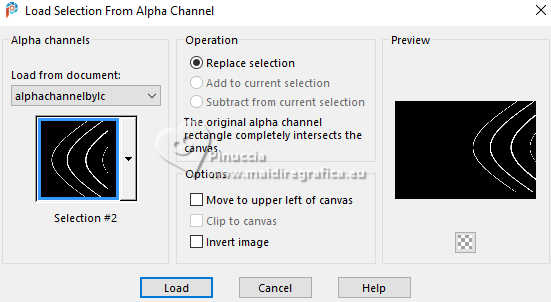
Selections>Load/Save Selection>Load Selection from Alpha Channel.
Open the selections menu and load the selection Selection #2
Selections>Promote Selection to Layer.
Layers>Arrange>Bring to Top.
22. Effects>3D Effects>Inner Bevel.
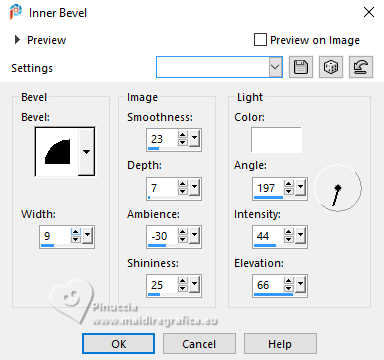
Selections>Select None.
23. Effects>Plugins>Alien Skin Eye Candy 5 Impact - Motion Trail.
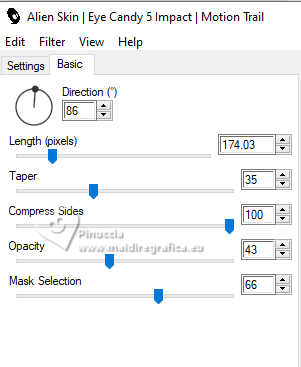
Change the Blend Mode of this layer to Luminance (legacy), opacity 100.
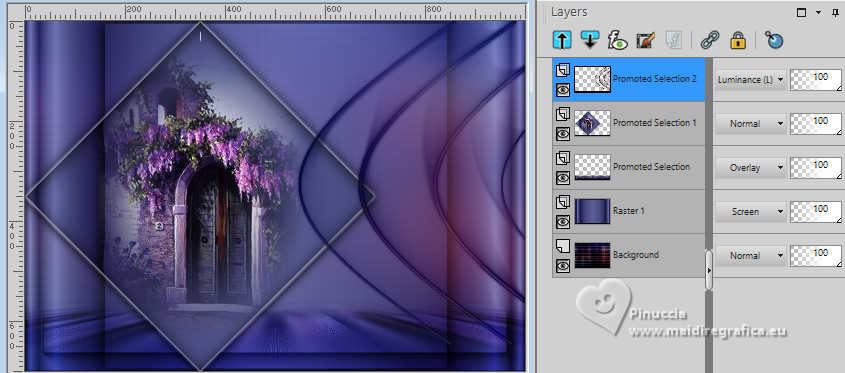
Activate the layer Raster 1.
24. Selections>Load/Save Selection>Load Selection from Alpha Channel.
Open the selections menu and load the selection Selection #3
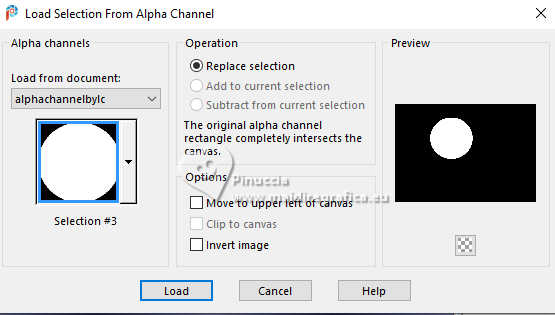
Selections>Promote Selection to Layer.
Layers>Arrange>Bring to Toip.
25. Edit>Paste into Selection - the tube Callitubes-303paisagens is always in memory.
Adjust>Sharpness>Sharpen.
26. Effects>Plugins>Alien Skin Eye Candy 5 Impact - Glass, same settings.

27. Effects>3D Effects>Chisel, same settings.

Selections>Select None.
Effects>3D Effects>Drop Shadow, color #000000.

28. K key to activate your Pick Tool 
Position X: 322,00 - Position Y: 149,00.
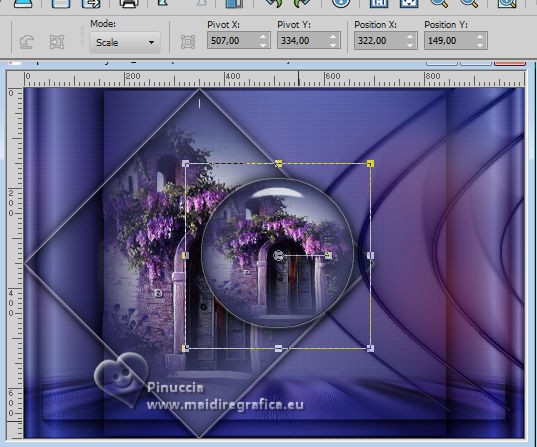
Layers>Duplicate.
Image>Resize, to 60%, resize all layers not checked.
29. Layers>Duplicate.
Place  correctly the circle to your liking. correctly the circle to your liking.
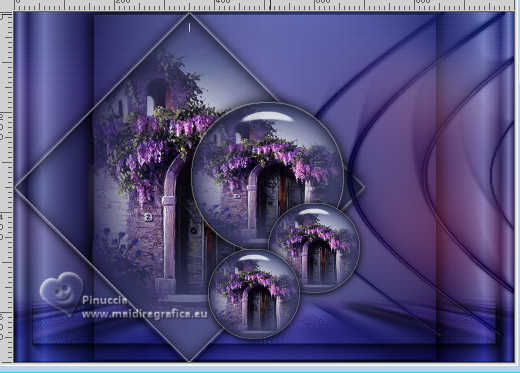
Activate your top layer.
Layers>Merge>Merge Down - 3 times.
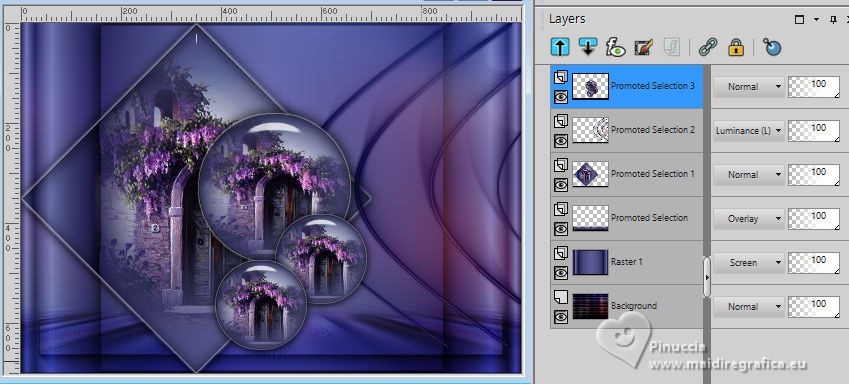
30. Activate the layer Raster 1.
Selections>Load/Save Selection>Load Selection from Alpha Channel.
Open the selections menu and load the selection Selection #4
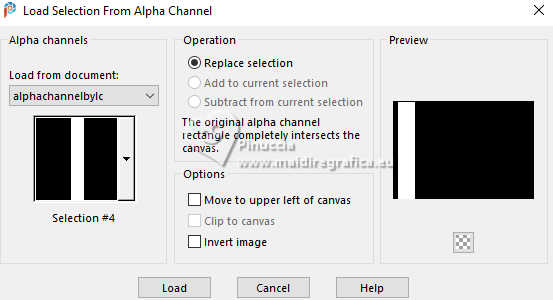
Selections>Promote Selection to Layer.
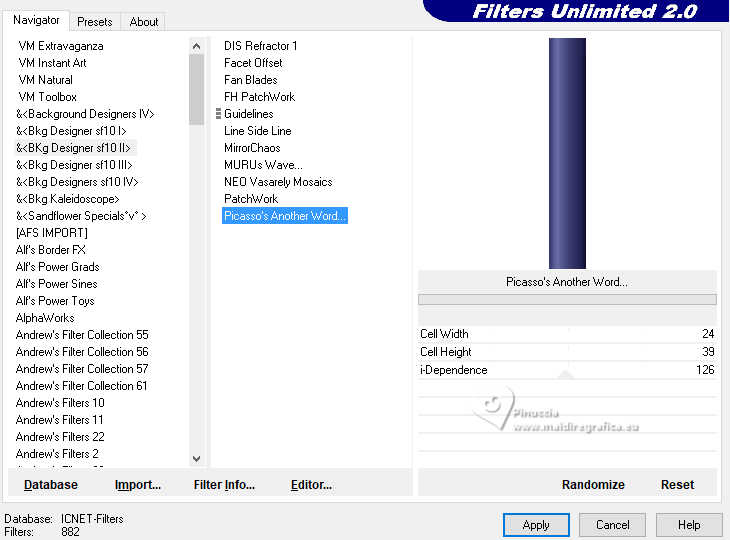
31. Effects>Plugins>Filters Unlimited 2.0 - &<Bkg Designer sf10II> - Picasso's Another Word, default settings.
Selections>Select None.
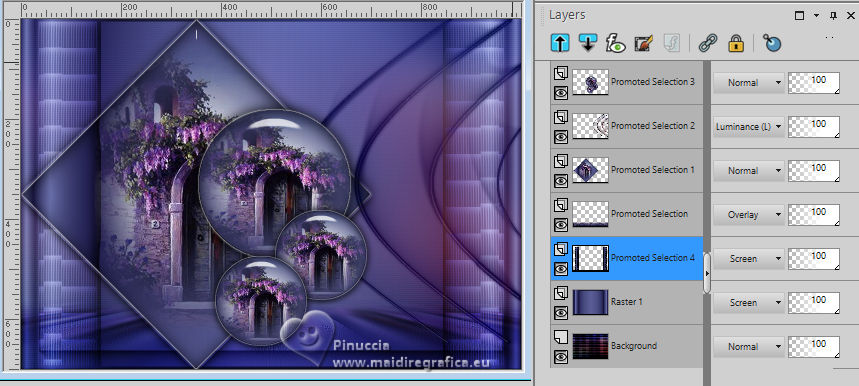
Change the Blend Mode of this layer to Screen.
32. Effects>Reflection Effects>Rotating Mirror.

Your tag and the layers - adapt Blend Mode and opacity to your liking.
33. Open deco1bylc 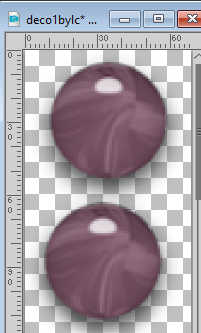
Edit>Copy.
Go back to your work and go to Edit>Paste as new layer.
Change the Blend Mode of this layer to Luminance (legacy).
34. Pick Tool 
Position X: 45,00 - Position Y: 17,00.

Effects>3D Effects>Drop Shadow, color #000000.

35. Effects>Reflection Effects>Rotating Mirror.

Layers>Duplicate.
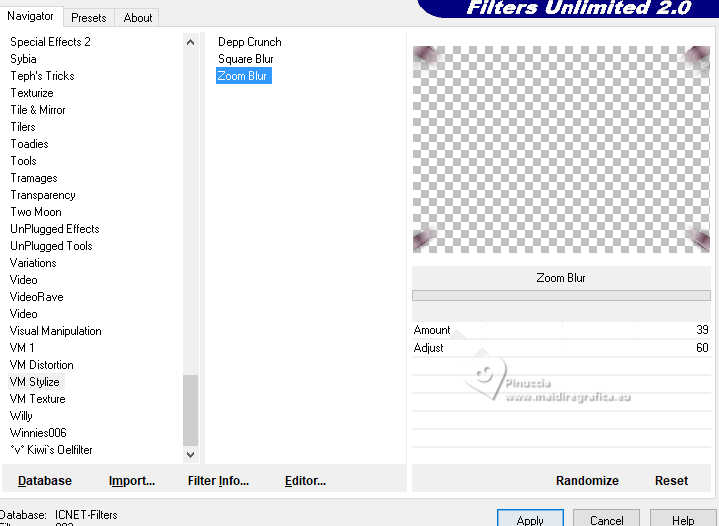
36. Effects>Plugins>Filters Unlimited 2.0 - VM Stylize - Zoom Blur, default settings.
Change the Blend Mode of this layer to Overlay.
Layers>Duplicate.
Effects>Image Effects>Seamless Tiling, Side by Side.

Change the Blend Mode of this layer to Overlay.
37. Open deco2bylc 
Edit>Copy.
Go back to your work and go to Edit>Paste as new layer.
Change the Blend Mode of this layer to Overlay.
Effects>Edge Effects>Enhance.
38. Open deco3bylc 
Edit>Copy.
Go back to your work and go to Edit>Paste as new layer.
Blend Mode and opacity to your liking.
Objects>Align>Left.
Move this layer under the rectangle's layer.
39. Activate your top layer.
Open SuizaBella_Ref_AG-004270 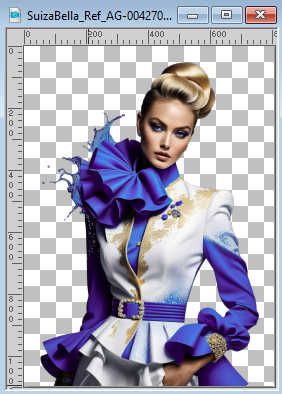
Edit>Copy.
Go back to your work and go to Edit>Paste as new layer.
Image>Resize, at your choice, resize all layers not checked.
Move  the tube to the right. the tube to the right.
Effects>3D Effects>Drop Shadow, at your choice.
40. Ouvrir 6518-Luz Cristina 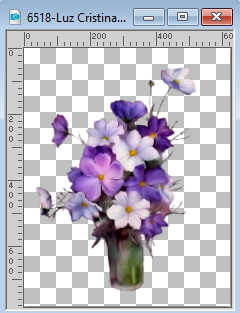
Edit>Copy.
Go back to your work and go to Edit>Paste as new layer.
Image>Mirror.
Image>Resize, at your choice, resize all layers not checked.
Move  the tube at the bottom left. the tube at the bottom left.
Effects>3D Effects>Drop Shadow, at your choice.
41. Image>Add borders, 2 pixels, symmetric, foreground color #1f1d4c.
Image>Add borders, 10 pixels, symmetric, couleur #ffffff
Image>Add borders, 2 pixels, symmetric, foreground color #1f1d4c
Image>Add borders, 20 pixels, symmetric, couleur #ffffff
Image>Add borders, 2 pixels, symmetric, foreground color #1f1d4c
Image>Add borders, 30 pixels, symmetric, couleur #ffffff
Image>Add borders, 2 pixels, symmetric, foreground color #1f1d4c
42. Image>Resize, to 1024 pixels width, resize all layers checked.
43. Add the author and the watermark's watermark.
Sign your work and save as jpg.
For the tubes of this version thanks Luz Cristina, Mentali and Laurette
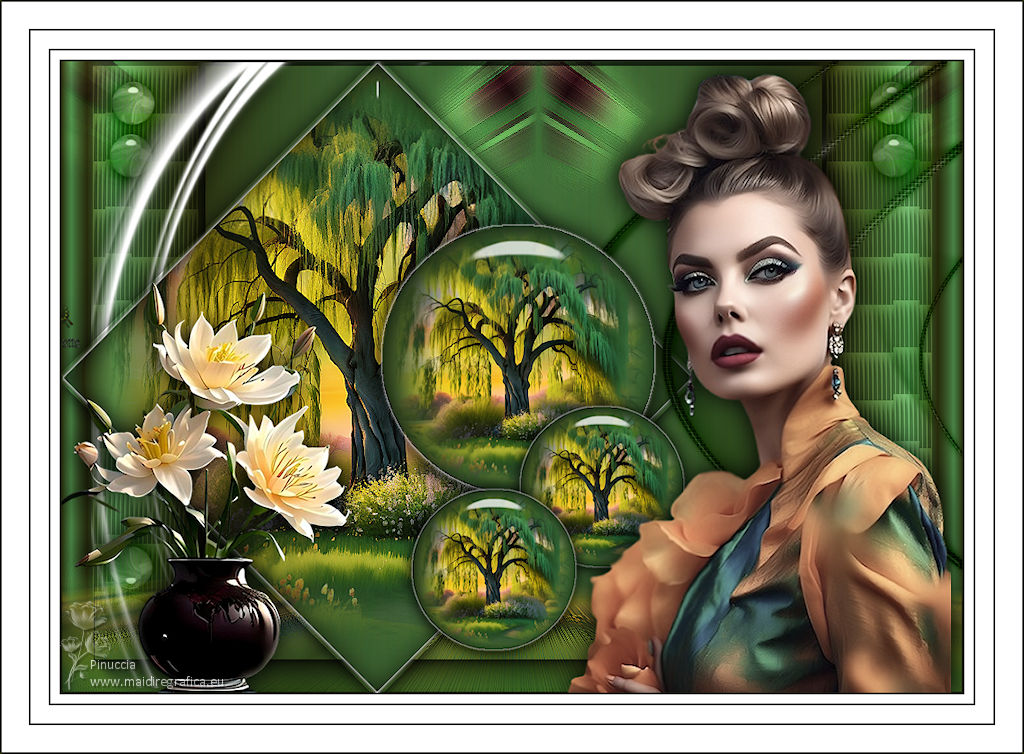
 Your versions here Your versions here

If you have problems or doubts, or you find a not worked link, or only for tell me that you enjoyed this tutorial, write to me.
16 Juillet 2024

|

