|
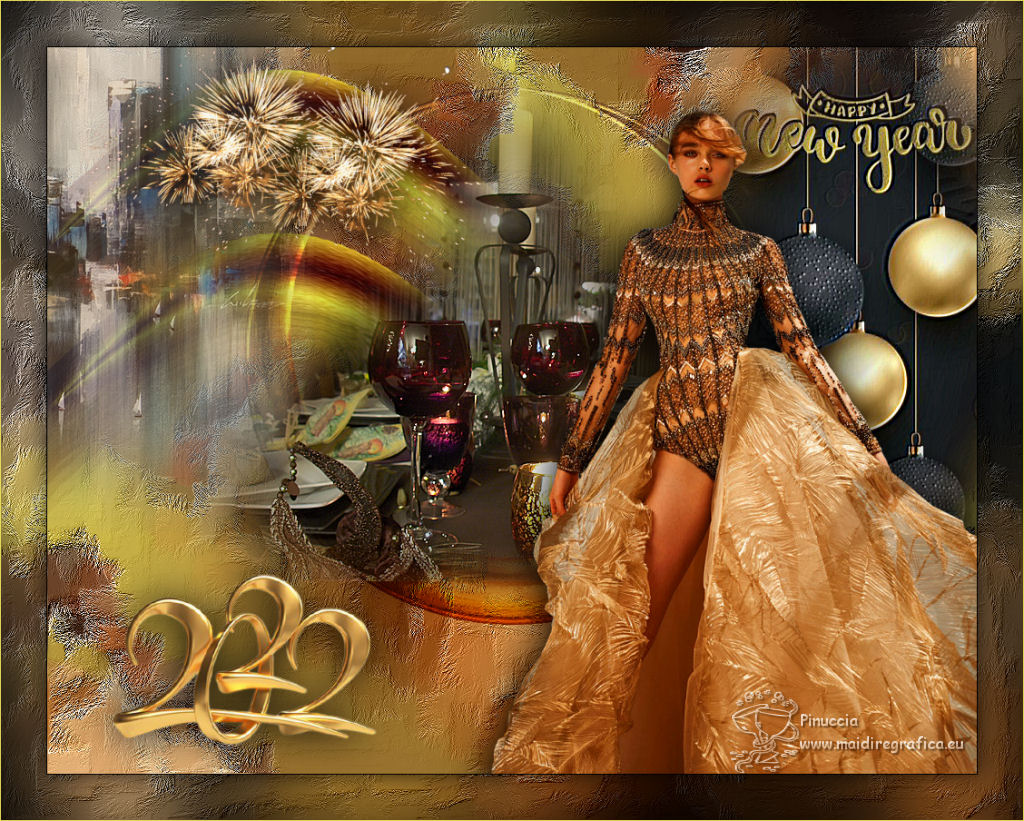
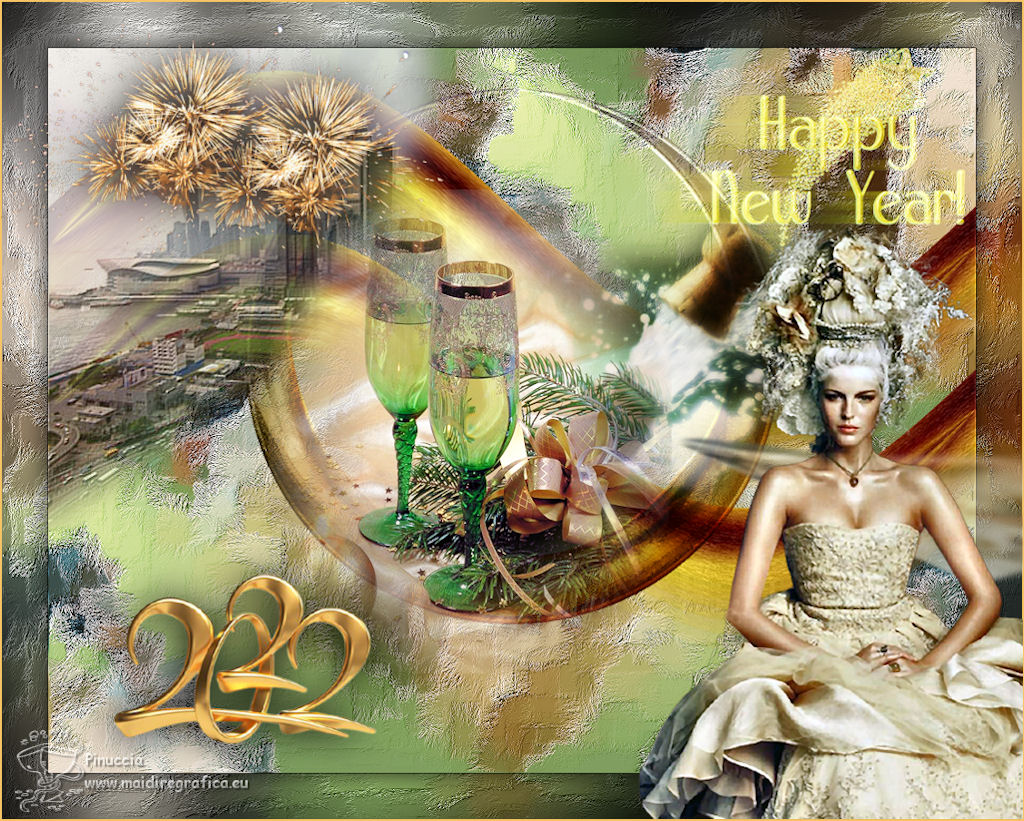
TOP HAPPY NEW YEAR 2022

Thanks Lica Cida for your invitation to translate your tutorial

This tutorial was created with PSPX9 and translated with PSPX2 and PSPX3 and PSPX7, but it can also be made using other versions of PSP.
Since version PSP X4, Image>Mirror was replaced with Image>Flip Horizontal,
and Image>Flip with Image>Flip Vertical, there are some variables.
In versions X5 and X6, the functions have been improved by making available the Objects menu.
In the latest version X7 command Image>Mirror and Image>Flip returned, but with new differences.
See my schedule here
 French translation here French translation here
 your versions here your versions here
For this tutorial, you will need:
Material here
For the tubes thanks Jewel (jewel 009), Callitubes (callitubes_439, Callitubes-41natal),
Nikita (nikita_noel, divers-nikita) and Suizabella (SuizaBella_Ref_AG-001700)
(you find here the links to the material authors' sites)
Plugins
consult, if necessary, my filter section here
Filters Unlimited 2.0 here
Mura's Meister - Copies here
Mura's Meister - Pole Transform here
Nik Software - Color Efex Pro here
Alien Skin Eye Candy 5 Impact - Perspective Shadow here
Graphics Plus - Cross Shadow here
Filters AFS IMPORT and Mura's Seamless can be used alone or imported into Filters Unlimited.
(How do, you see here)
If a plugin supplied appears with this icon  it must necessarily be imported into Unlimited it must necessarily be imported into Unlimited

You can change Blend Modes according to your colors.
In the newest versions of PSP, you don't find the foreground/background gradient (Corel_06_029).
You can use the gradients of the older versions.
The Gradient of CorelX here
Copy the preset Emboss 3 in the Presets Folder.
1. Set your foreground color to #eee35d,
and your background color to #440001.

Set your foreground color to a Foreground/Background Gradient, style Radial.

Open a new transparent image 1024 x 800 pixels.
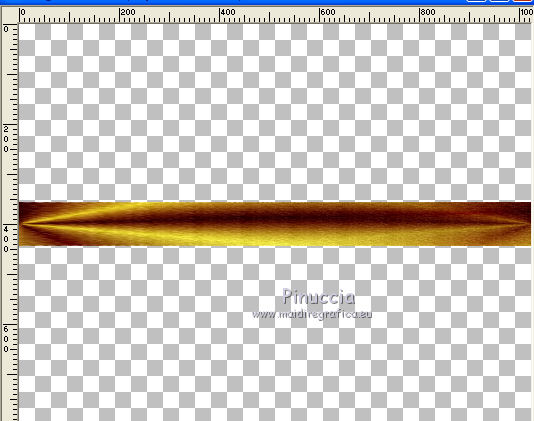
Flood Fill  the transparent image with your Gradient. the transparent image with your Gradient.
2. Layer>Duplicate.
Image>Mirror.
Change the Blend Mode of this layer to Soft Light.
Layers>Merge>Merge Down.
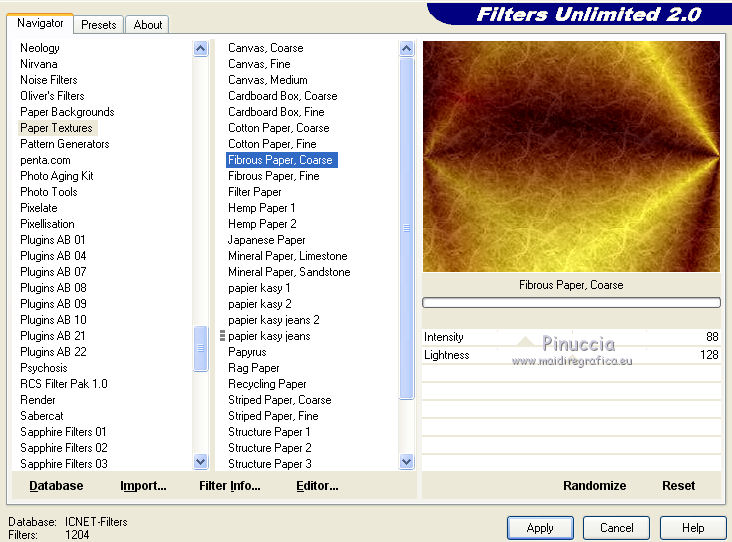
3. Effects>Plugins>Filters Unlimited 2.0 - Paper Textures - Fibrous Paper, Coarse, par défaut
Layers>Duplicate.
Close the layer Raster 1 and stay on the layer of the copy.
4. Effects>Geometric Effects>Perspective Horizontal.

Image>Mirror.
Repeat Effects>Geometric Effects>Perspective Horizontal, same settings.
5. Effects>3D Effects>Inner Bevel.

6. Layers>Duplicate.
Effects>Image Effects>Offset.

Layers>Merge>Merge Down.
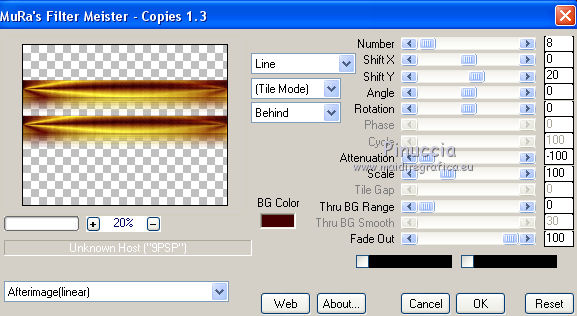
7. Effects>Plugins>Mura's Meister - Copies.
8. Effects>Distortion Effects>Wave.

9. Open and activate the layer Raster 1.
Selections>Select All.
Open the tube Paysage misted jewel 009, erase the watermark and go to Edit>Copy.
Minimize the tube; you'll use it later.
Go back to your work and go to Edit>Paste into Selection.
Selections>Select None.
(note that I used a misted of a city and with light colors)
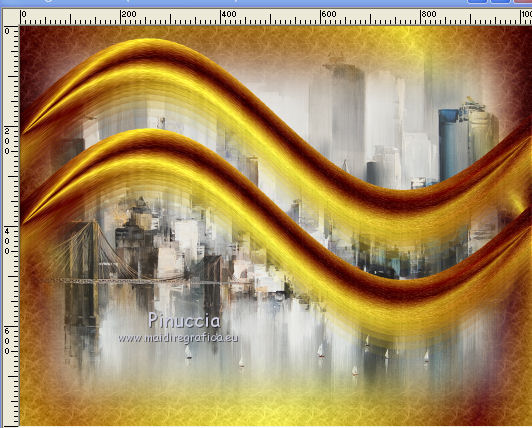
Adjust>Sharpness>Sharpen More.
10. Effects>Image Effects>Seamless Tiling, default settings.

Adjust>Blur>Gaussian Blur - radius 30

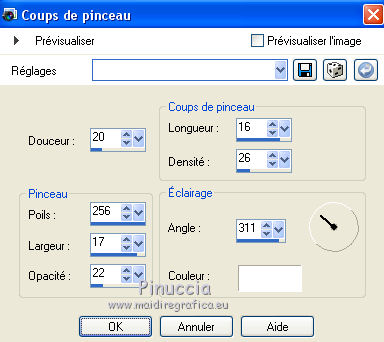
11. Effects>Art Media Effects>Brush Strokes.

12. Effects>Geometric Effects>Perspective Vertical.

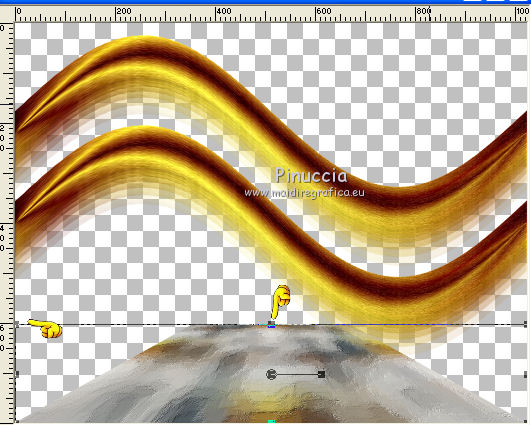
13. Activate your Pick Tool 
mode Scale 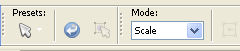
pull the central top node down, until 600 pixels.
(if you don't see the Rules: View>Rules).
Activate your Magic Wand Tool  , tolerance and feather 0, , tolerance and feather 0,
and click on the transparent zone to select it.
Selections>Invert.
Selections>Modify>Select Selection Borders.

14. Effects>3D Effects>Inner Bevel, same settings.
Edit>Repeat Inner Bevel.
Selections>Select None.
15. Effects>Plugins>Mura's Meister - Pole Transform.
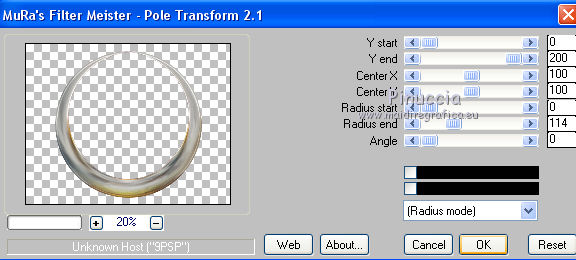
Image>Resize, to 80%, resize all layers not checked.
16. Effects>Image Effects>Offset.

17. Layers>New Raster Layer.
Layers>Arrange>Send to Bottom.
Change the settings of your Gradient, style Linear.

Flood Fill the layer with your Gradient.
18. Selections>Select All.
Open the tube callitubes_439 and go to Edit>Copy.
Minimize the tube.
Go back to your work and go to Edit>Paste into Selection.
Selections>Select None.
Adjust>Sharpness>Sharpen.
19. Effects>Image Effects>Seamless Tiling, default settings.
20. Effects>Art Media Effects>Brush Strokes, same settings.
21. Activate the layer Raster 1.
Change the Blend Mode of this layer to Multiply.
Layers>Duplicate.
Effects>Plugins>Nik Software - Color Efex Pro
Bi-Color User Defined, default settings.
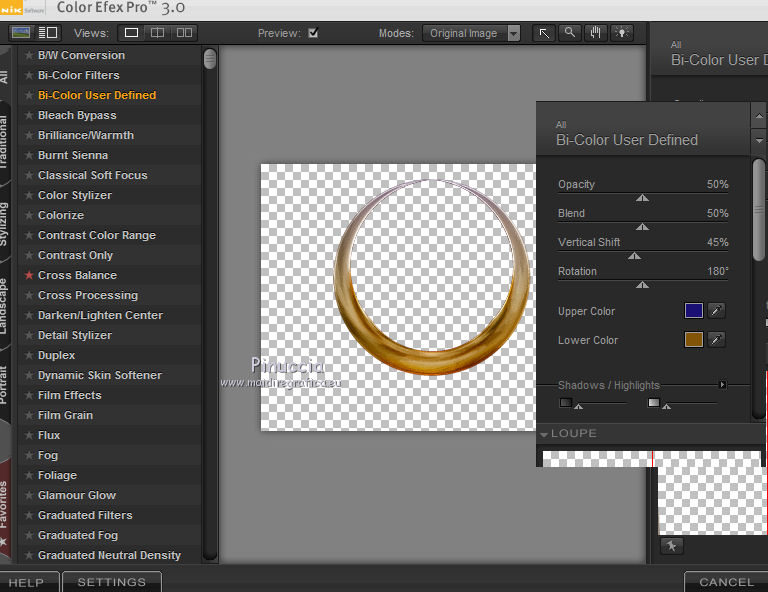
Change the Blend Mode of this layer to Overlay.
Activate the top layer, Copy of Raster 1.
22. For my example I skip this step.
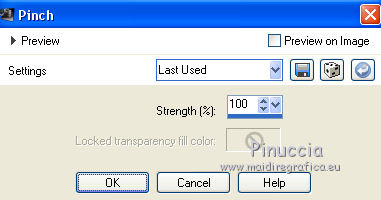
Effects>Distortion Effects>Pinch.
23. Layers>Arrange>Move Down - 2 times (over the background layer, Raster 2).

****
The layers with the step 22.

*****
24. Vous positionner sur le calque du haut de la pile.
Ouvrir le tube nikita_noel et Édition>Copier.
Revenir sur votre travail et Édition>Coller comme nouveau calque.
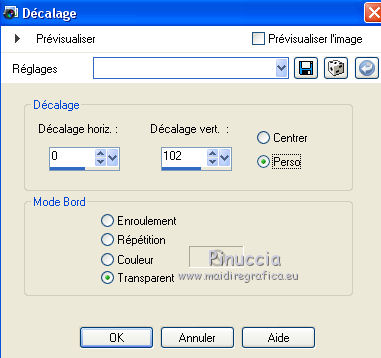
Effets>Effets d'image>Décalage.
Réglage>Netteté>Davantage de netteté.
Calques>Dupliquer.
Calques>Fusionner>Fusionner le calque de dessous.
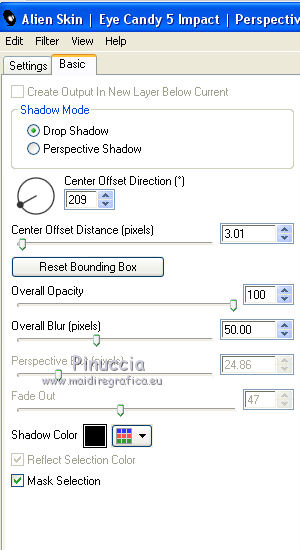
25. Effets>Modules Externes>Alien Skin Eye Candy5 Impact - Perspective shadow (ou autre, à votre goût).
27. Ouvrir le tube SuizaBella_Ref_AG-001700 et Édition>Copier.
Revenir sur votre travail et Édition>Coller comme nouveau calque.
Image>Redimensionner, à 80%, redimensionner tous les calques décoché.
Calques>Dupliquer.
Calques>Fusionner>Fusionner le calque de dessous.
Effets>Filtre personnalisé - sélectionner le preset Emboss 3 et ok.

Déplacer  le tube en haut à droite le tube en haut à droite

Pour tous les effets utilisés:
Effets>Modules Externes>Alien Skin Eye Candy5 Impact - Perspective shadow, comme précédemment (ou autre, à votre goût).
28. Ouvrir le tube callitubes_439 et Édition>Copier.
Revenir sur votre travail et Édition>Coller comme nouveau calque.
Image>Redimensionner, à 80%, redimensionner tous les calques décoché.
Réglage>Netteté>Netteté.
Déplacer le tube à droite

Effets>Modules Externes>Alien Skin Eye Candy5 Impact - Perspective shadow, comme précédemment, ou outre, à votre goût).
29. Calques>Nouveau calque raster.
Activer l'outil Pinceau Cloner 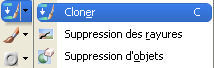

Activer à nouveau le tube du misted de Jewel et cliquer avec la touche droite de la souris
sur une partie du calque (j'ai utilisé la partie plus colorée).
 
Activer votre travail et appliquer le pinceau dans la partie en haut à gauche,
en cliquant avec la touche gauche de la souris
 
30. Ouvrir le tube divers-nikita et Édition>Copier.
Revenir sur votre travail et Édition>Coller comme nouveau calque.
Image>Redimensionner, 1 fois à 60% et 1 fois à 80%, redimensionner tous les calques décoché.
Déplacer le tube en haut à gauche.
Calques>Dupliquer.
Positionner bien ce tube.

Calques>Fusionner>Fusionner le calque de dessous.
Effets>Modules Externes>Alien Skin Eye Candy 5 Impact - Perspective Shadow, comme précédemment.
31. Ouvrir le tube Callitubes-41natal et Édition>Copier.
Revenir sur votre travail et Édition>Coller comme nouveau calque.
Image>Redimensionner, à 80%, redimensionner tous les calques décoché.
Déplacer le tube en bas à gauche
Effets>Modules Externes>Alien Skin Eye Candy 5 Impact - Perspective Shadow, comme précédemment.
32. Image>Ajouter des bordures, 1 pixel, symétrique, couleur noire.
Édition>Copier.
Sélections>Sélectionner tout.
Image>Ajouter des bordures, 50 pixels, symétrique, couleur #ffffff.
Sélections>Inverser.
Édition>Coller dans la sélection.
Réglage>Flou>Flou gaussien - rayon 30.

Effets>Effets de traits>Coups de pinceau, comme précédemment.
Effets>Modules Externes>Graphics Plus - Cross Shadow, par défaut.

Sélections>Inverser.
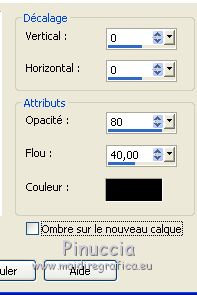
Effets>Effets 3D>Ombre portée, couleur noire.
Sélections>Désélectionner tout.
Image>Ajouter des bordures, 1 pixel, symétrique, couleur d'avant plan.
Image>Redimensionner, 1024 pixels de largeur, redimensionner tous les calques coché.
Signer votre travail sur un nouveau calque.
Ajouter, si vous voulez, les watermarks de l'auteur et du traducteur.
Enregistrer en jpg.
For the tubes of this version thanks Gabry, Patriy, Aclis
Your versions here

If you have problems or doubts, or you find a not worked link, or only for tell me that you enjoyed this tutorial, write to me.
5 Decembre 2021

|


