|
TOP NATURE

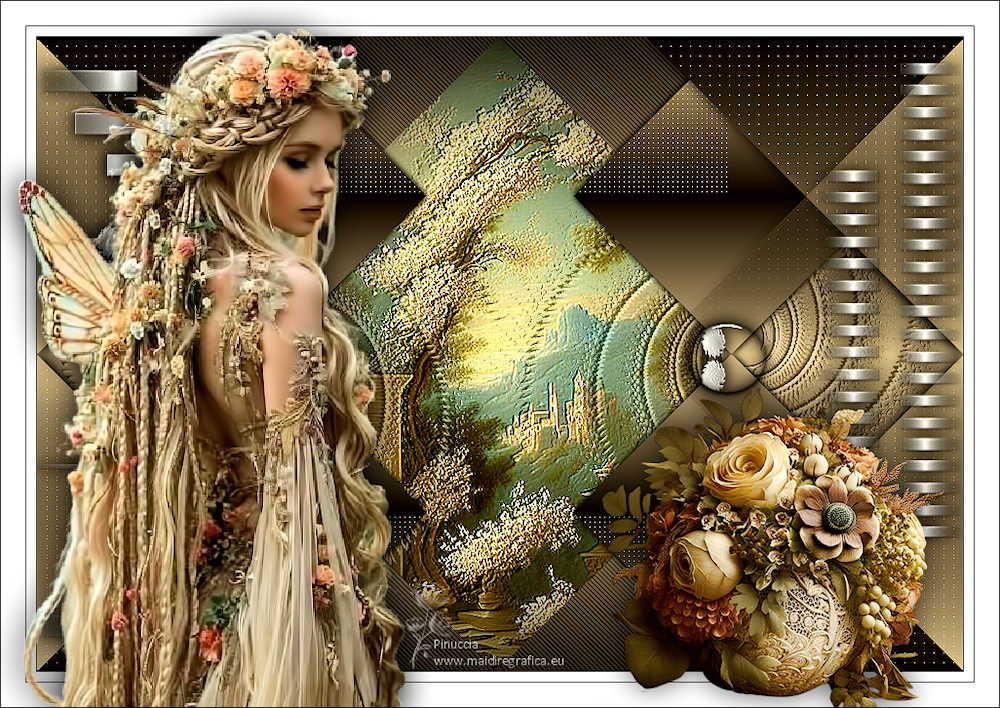
Thanks Lica Cida for your invitation to translate your tutorial

This tutorial was created with PSPX9 and translated with PSPX9 and PSP2020, but it can also be made using other versions of PSP.
Since version PSP X4, Image>Mirror was replaced with Image>Flip Horizontal,
and Image>Flip with Image>Flip Vertical, there are some variables.
In versions X5 and X6, the functions have been improved by making available the Objects menu.
In the latest version X7 command Image>Mirror and Image>Flip returned, but with new differences.
See my schedule here
 French translation here French translation here
 your versions here your versions here

For this tutorial, you will need:

For the tubes thanks Callitubes and Violette.
(you find here the links to the material authors' sites)

consult, if necessary, my filter section here
Filters Unlimited 2.0 here
AP 01 [Innovations] - Lines SilverLining here
Graphics Plus - Vertical Mirror here
Simple - Zoom out and flip here
Carolaine and Sensibility - CS-DLines here
AAA Filters - Custom here
Filters Graphics Plus and Simple can be used alone or imported into Filters Unlimited.
(How do, you see here)
If a plugin supplied appears with this icon  it must necessarily be imported into Unlimited it must necessarily be imported into Unlimited

You can change Blend Modes according to your colors.
In the newest versions of PSP, you don't find the foreground/background gradient (Corel_06_029).
You can use the gradients of the older versions.
The Gradient of CorelX here

Copy the preset Emboss 3 in the Presets Folder.
1. Choose 2 colors to work.
Set your foreground color to #dec698,
and your background color to #0e0704.
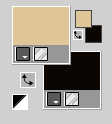
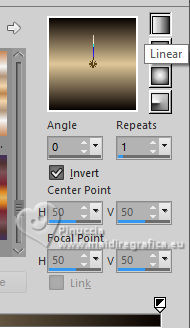
Set your foreground color to a Foreground/Background Gradient, style Linear.
2. Open Alpha_nature_by lica
Cette image, that will be the basis of your work, is not empty,
but contains the selections saved to alpha channel.
Flood Fill  the transparent image with your Gradient. the transparent image with your Gradient.
3. Layers>Duplicate.
Close the layer Raster 1 and stay on the layer of the copy.
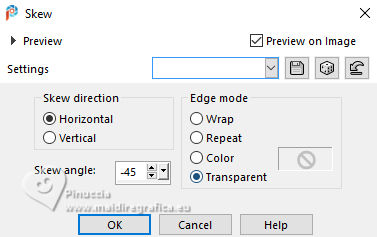
4. Effects>Geometric Effects>Skew.
5. Selections>Select All.
Selections>Float.
Selections>Defloat.
Press CANC on the keyboard 
6. Selections>Invert.
Flood Fill  the selection with your Gradient. the selection with your Gradient.
Selections>Select None.
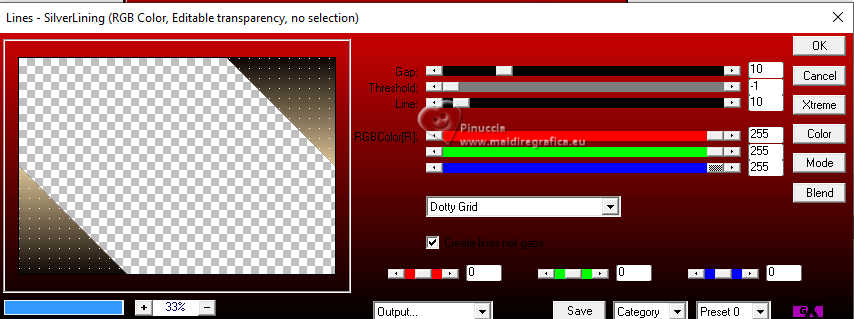
7. Effects>Plugins>AP 01 [Innovations] - Lines SilverLining.
8. Layers>Duplicate.
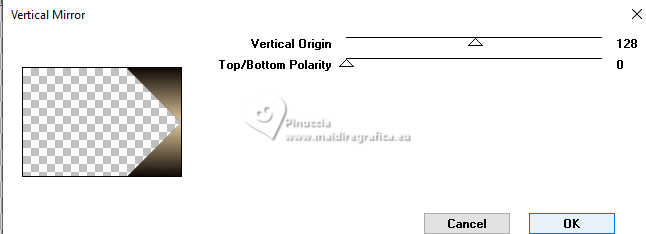
Effects>Plugins>Graphics Plus - Vertical Mirror, default settings.
9. Effects>Reflection Effects>Rotating Mirror, default settings.

10. Layers>Duplicate.
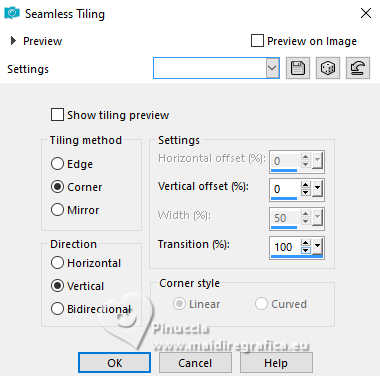
Effects>Image Effects>Seamless Tiling.
11. Effects>3D Effects>Drop Shadow, color #000000.

The Drop Shadow above will be used in the effects.
Apply the Drop Shadow to your liking.
12. Activate the layer Copy (2) of Raster 1.
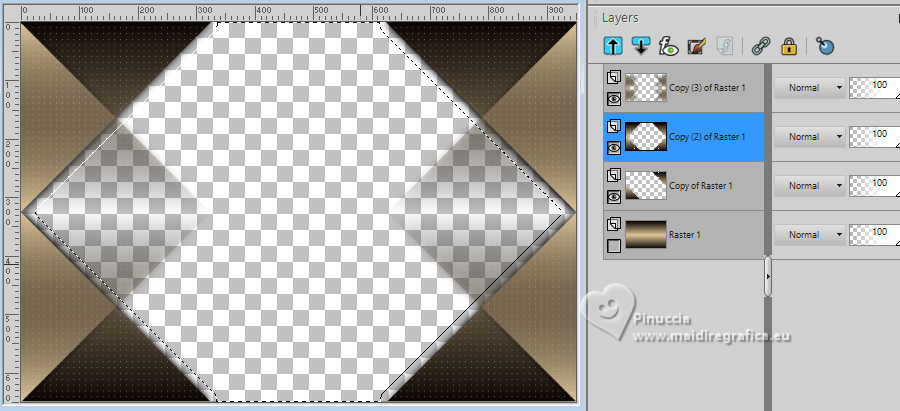
Activate your Magic Wand Tool  , default settings, , default settings,
and click in the center of the effect to select it.
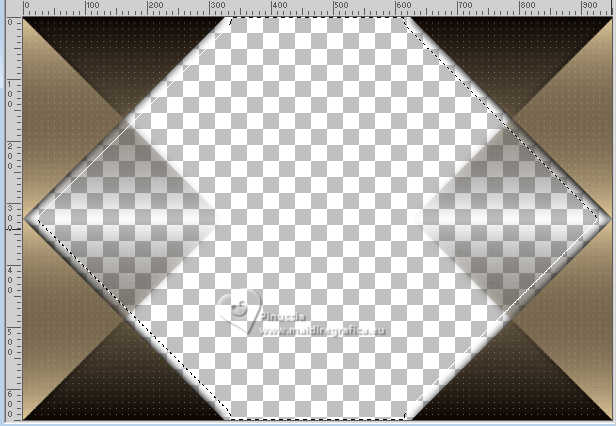
Open and activate the layer Raster 1.
Selections>Promote Selection to Layer.
Selections>Select None.
13. Activate again the layer Raster 1.
Selections>Load/Save Selection>Load Selection from Alpha Channel.
The selection Selection #1 is immediately available. You just have to click Load.
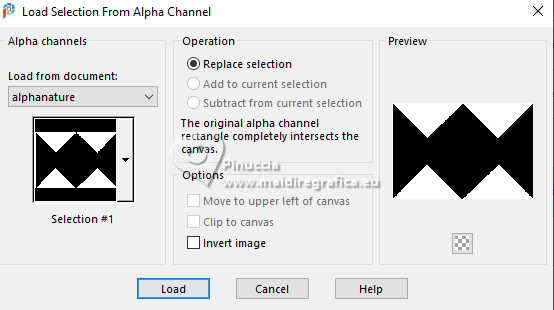
Selections>Promote Selection to Layer.
14. Effects>Plugins>Carolaine &Sensibility - CS-DLines.
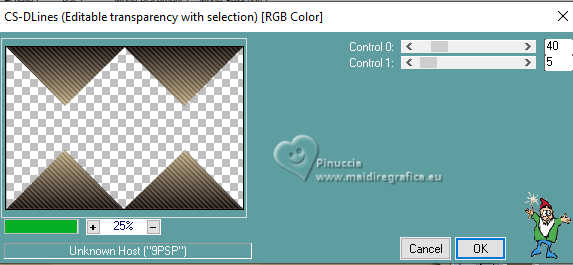
Selections>Select None.
Layers>Arrange>Move up - 2 times.
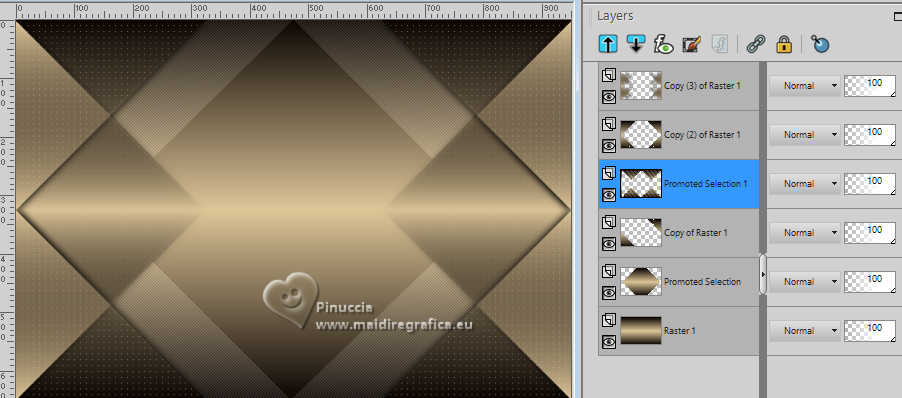
15. Activate the layer Copy (2) of Raster 1.
Layers>Duplicate.
Effects>Plugins>Simple - Zoom out and flip.
Thie Effect works without window; result
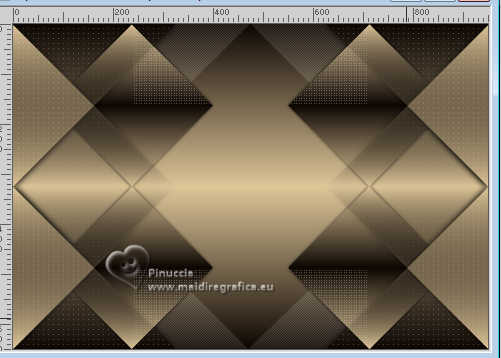
Layers>Arrange>Move Down.
Change the Blend Mode of this layer to Screen.
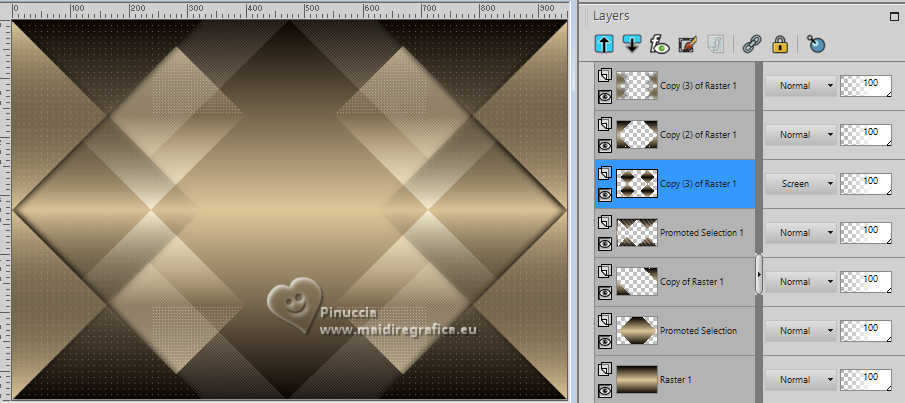
16. Layers>Duplicate.
Change the Blend Mode of this layer to Darken.
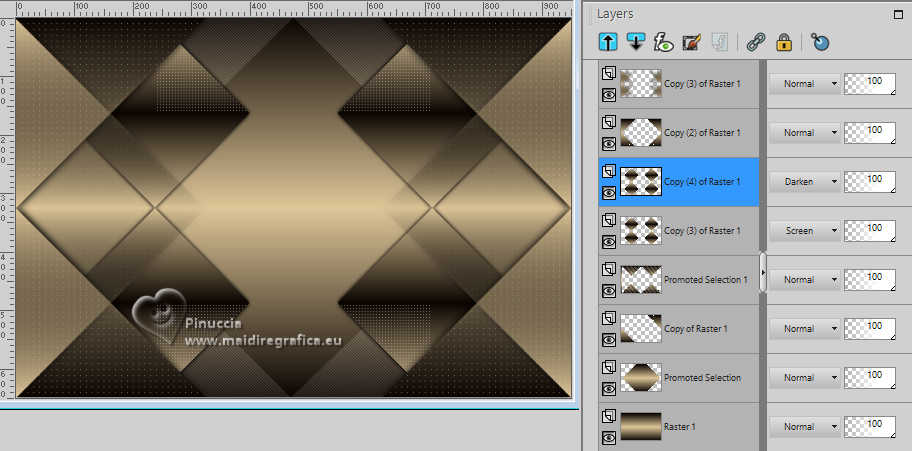
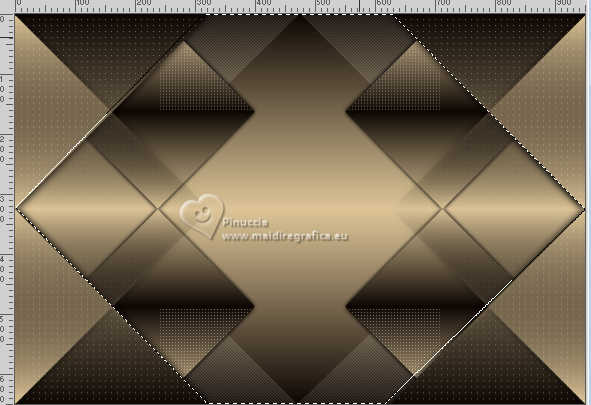
17. Activate the layer Promoted Selection (the layer above Raster 1).
Select this layer with your Magic Wand Tool 
click many times if necessary.
18. Open the tube Callitubes-111paisagens 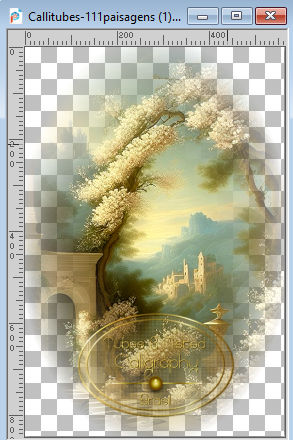
Edit>Copy.
Go back to your work and go to Edit>Paste as new layer.
Image>Resize, to 80%, resize all layers not checked.
Optional: Effects>User Defined Filter - preset Emboss 3.
If you don't use the preset Emboss 3: Adjust>Sharpness>Sharpen.
Selections>Select None.
19. Open decormask-C1qNCDLk3oz2FhJZ66sFevE5US4 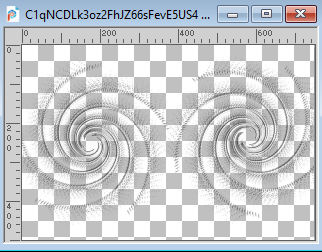
Edit>Copy.
Go back to your work and go to Edit>Paste as new layer.
Image>Resize, to 120%, resize all layers not checked.
Change the Blend Mode to Luminance (legacy).
Adjust>Sharpness>Sharpen.
20. Activate your top layer.
Open the folder MaskViolette_R05_Decor
Activate the tube deco1MaskViolette_R05 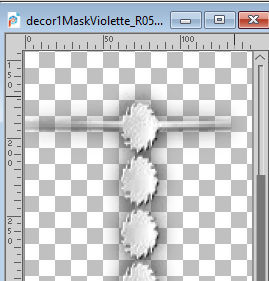
Edit>Copy.
Go back to your work and go to Edit>Paste as new layer.
Pick Tool 
keep Position X: 0,00 and set Position Y: 17,00.

Effects>3D Effects>Drop shadow, color #000000.

21. Activate decor2MaskViolette_R05 
Edit>Copy.
Go back to your work and go to Edit>Paste as new layer.
Pick Tool 
keep Position X: 791,00 and set Position Y: 10,00.

Effects>3D Effects>Drop shadow, color #000000.

22. Activate MaskViolette_R05 and activate the layer decor 3
Edit>Copy.
Go back to your work and go to Edit>Paste as new layer.
Pick Tool 
set Position X: 188,00 and Position Y: 276,00.

Effects>3D Effects>Drop Shadow, color #000000.

23. Effects>Reflection Effects>Rotating Mirror.

24. Image>Add borders, 1 pixel, symmetric, color #000000.
25. Effects>Plugins>AAA Filters - Custom - Landscape, default.
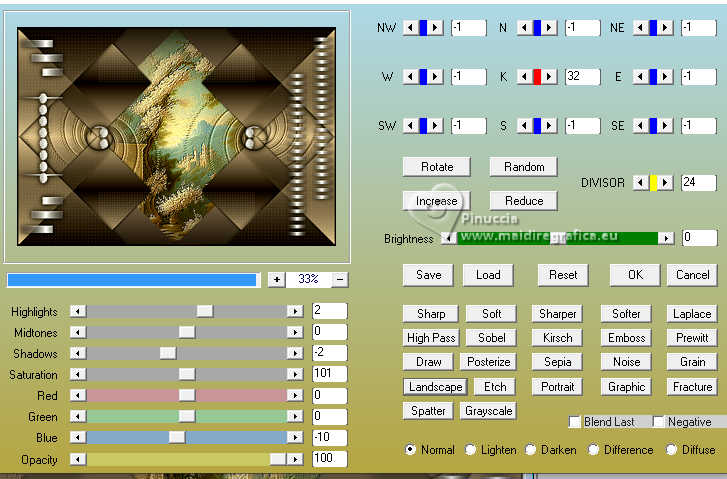
26. Image>Add borders, 10 pixels, symmetric, color #ffffff.
Image>Aadd borders, 1 pixel, symmetric, color #000000.
Image>Add borders, 25 pixels, symmetric, color #ffffff.
27. Open Callitubes-4532mulheres 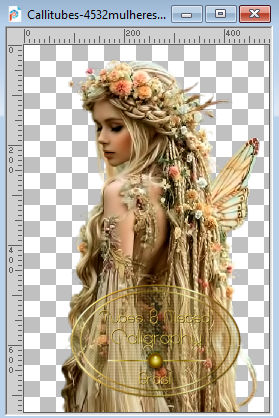
Edit>Copy.
Go back to your work and go to Edit>Paste as new layer.
Image>Mirror.
Move  the tube to the left. the tube to the left.
Effects>3D Effects>Drop Shadow, at your choice.
28. Open Callitubes-789flores 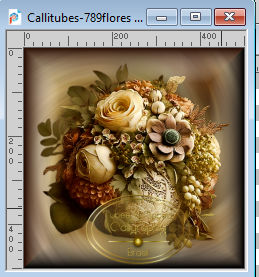
Edit>Copy.
Go back to your work and go to Edit>Paste as new layer.
Image>Resize, to 80%, resize all layers not checked.
Move  the tube at the bottom right. the tube at the bottom right.
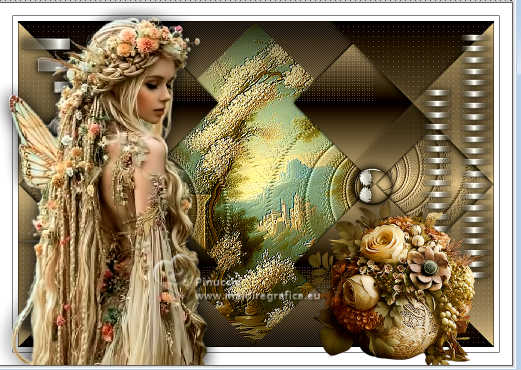
Effects>3D Effects>Drop Shadow, at your choice.
29. Image>Add borders, 1 pixel, symmetric, color #000000.
Sign your work on a new layer.
Add the authors and translator's watermarks.
Layers>Merge>Merge All and save as jpg.
For the tubes of this version thanks Silvie
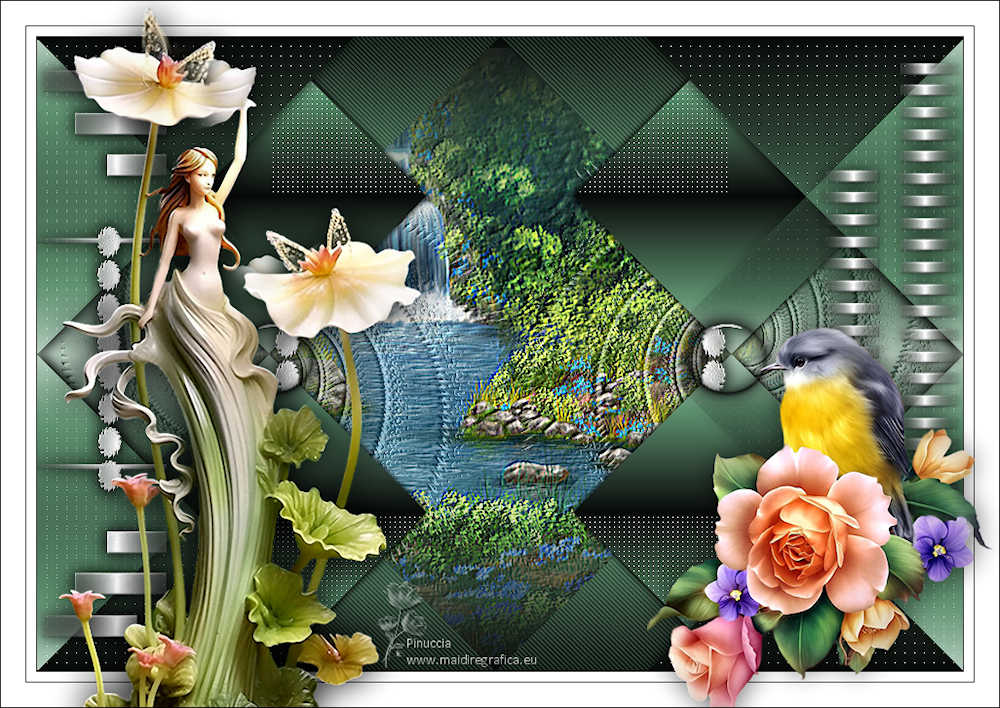
 Your versions here Your versions here

If you have problems or doubts, or you find a not worked link, or only for tell me that you enjoyed this tutorial, write to me.
30 May 2024

|


