|
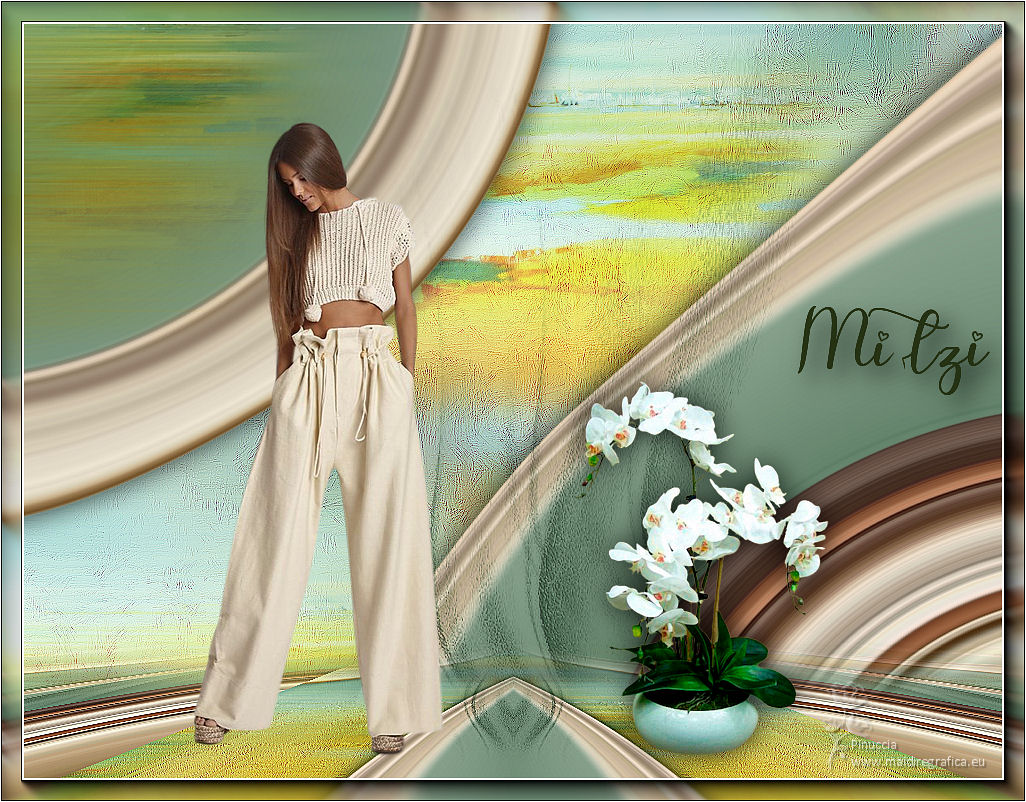
TOP MITZI

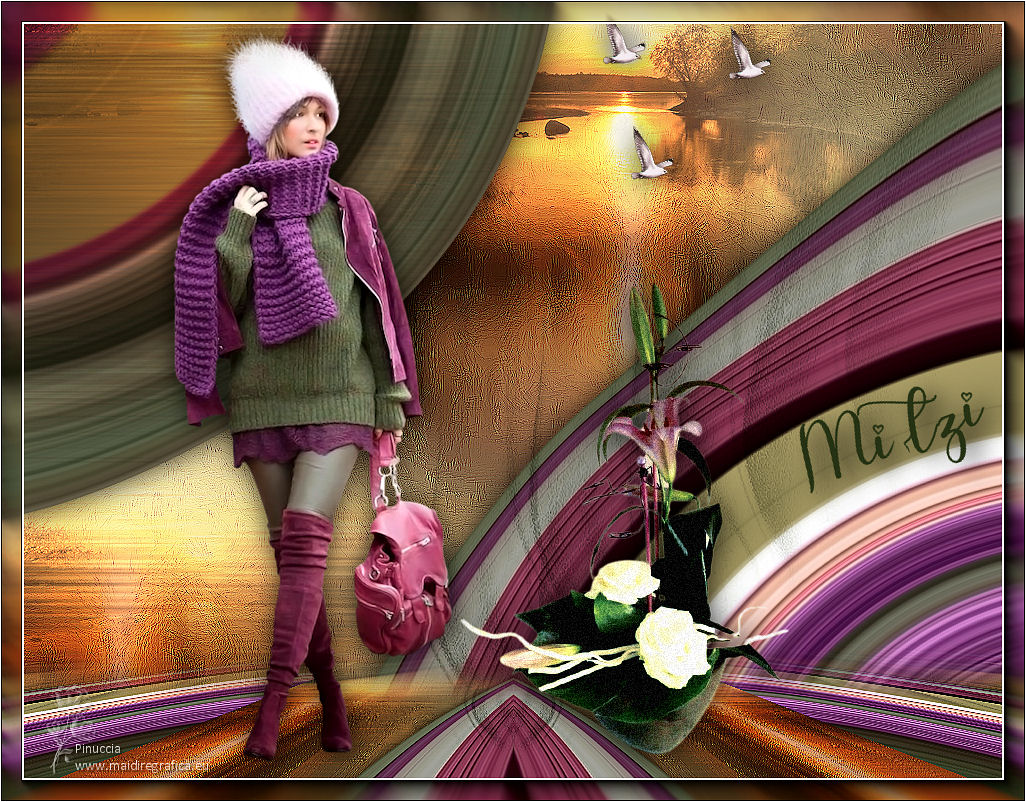
Thanks Lica Cida for your invitation to translate your tutorial

This tutorial was created with PSPX9 and translated with PSPX2 and PSPX3 and PSPX7, but it can also be made using other versions of PSP.
Since version PSP X4, Image>Mirror was replaced with Image>Flip Horizontal,
and Image>Flip with Image>Flip Vertical, there are some variables.
In versions X5 and X6, the functions have been improved by making available the Objects menu.
In the latest version X7 command Image>Mirror and Image>Flip returned, but with new differences.
See my schedule here
 French translation here French translation here
 your versions here your versions here
For this tutorial, you will need:
Material here
Thanks for the tubes Valy, Animabelle, Nikita and Callygraph,
for the text RobertaMaver and for the mask Casio.
The rest of the material is by Lica Cida.
(you find here the links to the material authors' sites)
Plugins
consult, if necessary, my filter section here
Filters Unlimited 2.0 here
Kiwi Oelfilters - Zig-Zack here
Mura's Seamless - Emboss at Alpha here
AAA Frames - Foto Frame / AAA Filters - Custom here
Mura's Meister - Perspective Tiling here
Filters Kiwi and Mura's Seamless can be used alone or imported into Filters Unlimited.
(How do, you see here)
If a plugin supplied appears with this icon  it must necessarily be imported into Unlimited it must necessarily be imported into Unlimited

You can change Blend Modes according to your colors.
In the newest versions of PSP, you don't find the foreground/background gradient (Corel_06_029).
You can use the gradients of the older versions.
The Gradient of CorelX here
Copy the presets Preset_CloneBrush_aplicatubelica and Preset_SmudgeBrush_flood_mara1 in the Presets Folder.
Open the mask in PSP and minimize it with the rest of the material.
1. Set your foreground color to #283216,
and you background color to #efdb95.
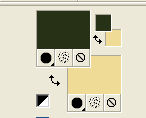
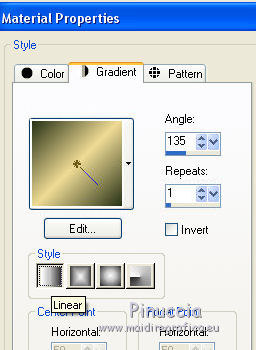
Set your foreground color to a Foreground/Background Gradient, style Linear.
Open a new transparent image 1024 x 800 pixels.
Flood Fill  the transparent image with your Gradient. the transparent image with your Gradient.
Layers>Duplicate.
Close this layer and activate the layer below of the original, Raster 1.
2. Selections>Select All.
Open your main tube, femmeVSP214, and go to Edit>Copy.
Go back to your work and go to Edit>Paste into Selection.
Selections>Select None.
Effects>Image Effects>Seamless Tiling, default settings.

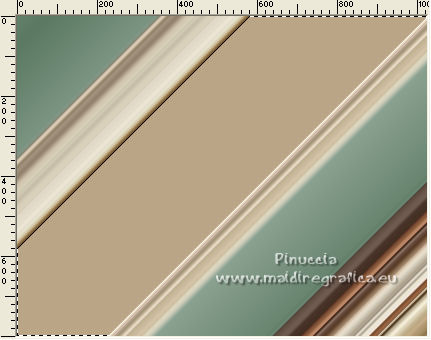
3. Effects>Plugins>Kiwi Oelfilters - Zig Zack
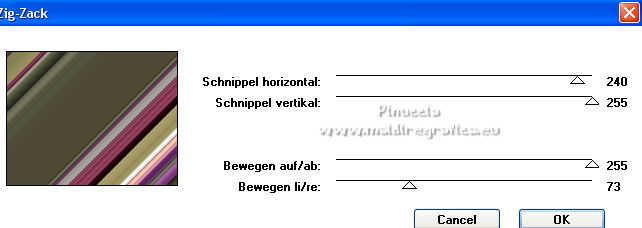
(the result changes according to the tube used; see my second version)
4. Activate your Magic Wand Tool  , tolerance 10, , tolerance 10,

and click in the colored part to select it.
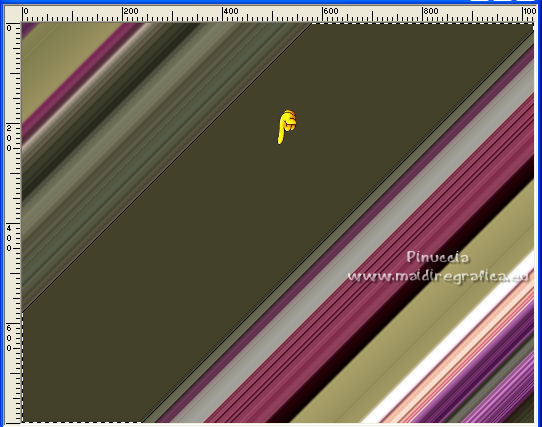
for my second version
Press CANC on the keyboard 
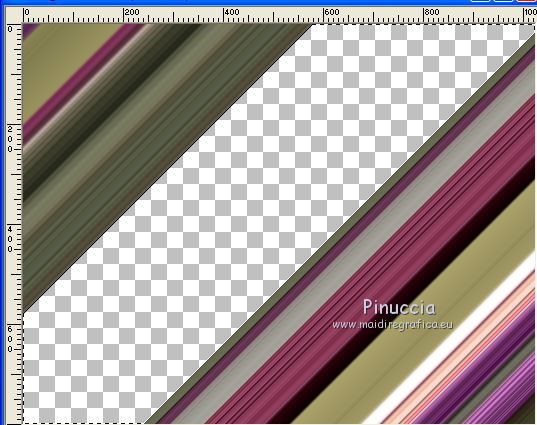
for my second version
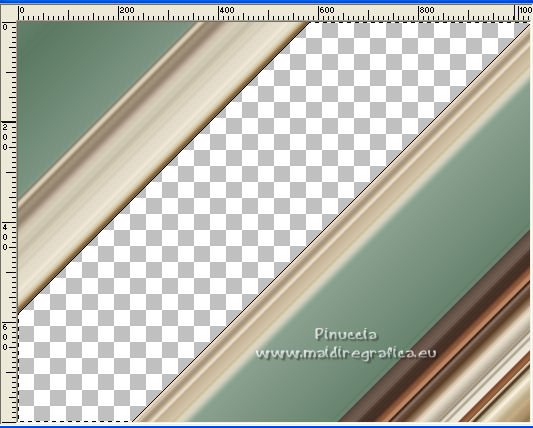
Open and activate the layer above of the copy.
5. Selections>Select All.
Open the tube 199_paysage_p3_animabelle and go to Edit>Copy.
Go back to your work and go to Edit>Paste into Selection.
Selections>Select None.
Effects>Image Effects>Seamless Tiling, default settings.

6. Adjust>Blur>Motion Blur - 3 times with these settings.
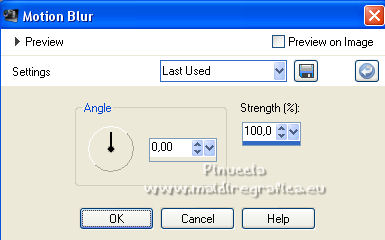
7. Effects>Art Media Effects>Brush Strokes, foreground color.
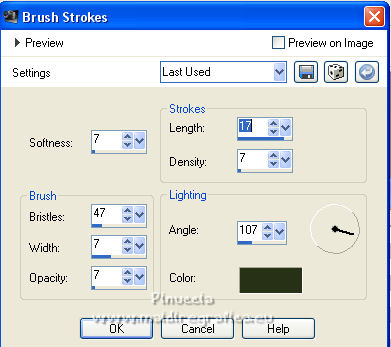
Effects>Edge Effects>Enhance More.
Layers>Arrange>Move Down.
8. Layers>New Raster Layer.
Activate your Clone Brush Tool 
open the presets menu and select the preset Preset_CloneBrush_aplicatubelica.
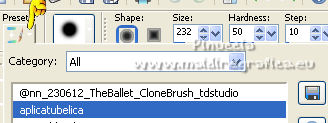
If you are using a previous version, you may receive an error message.
Don't vorry; just copy the capture settings

With the right mouse button click on the interested part of the landscape.
Go back to your work and apply the brush on the top using the left mouse button.
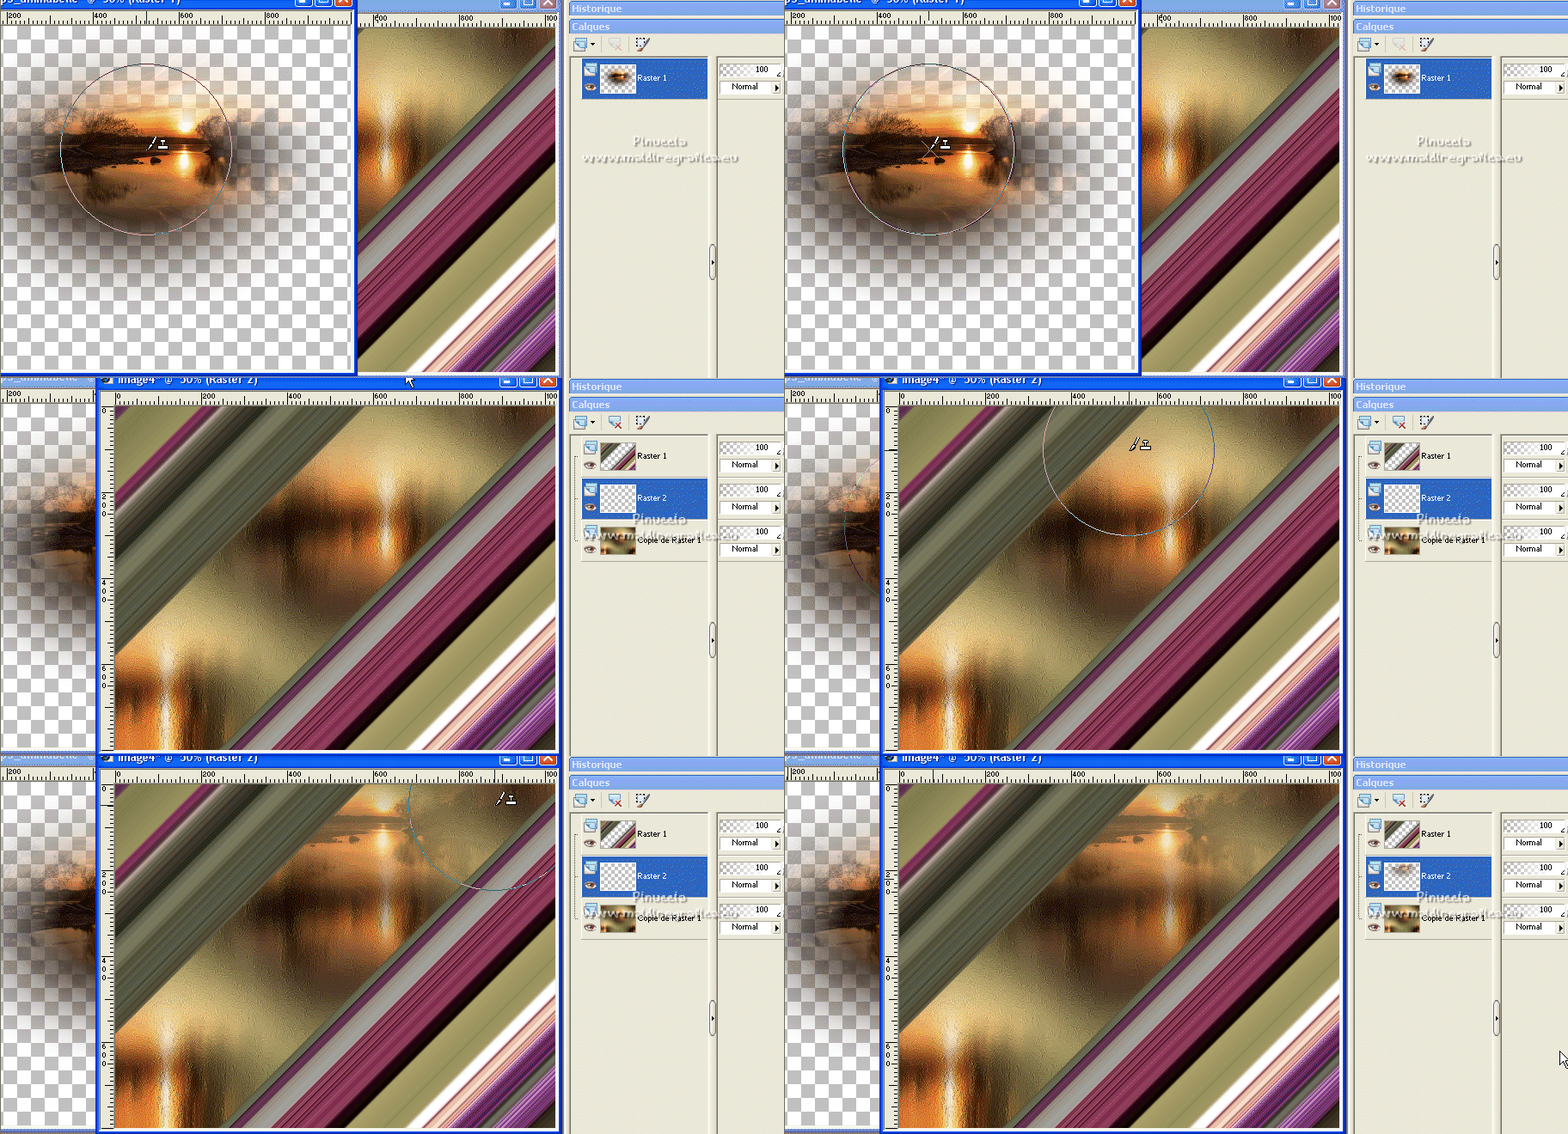
Layers>Duplicate,
and move  the image at the bottom left, ou where you like better. the image at the bottom left, ou where you like better.
9. Activate your Smudge Tool 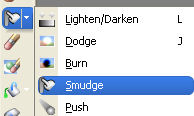
Open the presets menu and select the preset flood_mara1.
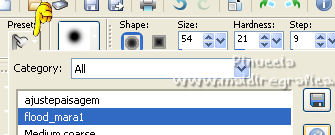

Soften the effect of the same landscape and complete the bottom
(use as you like /observe my example).
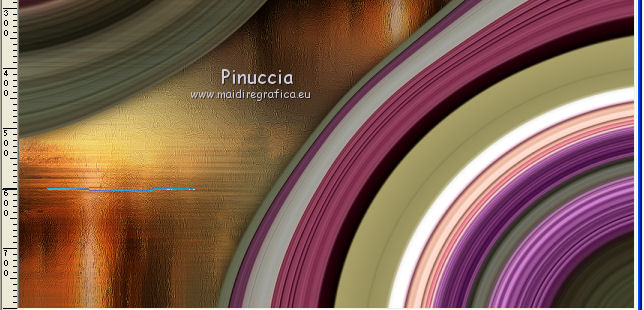
Layers>Duplicate.
Layers>Arrange>Bring to Top.
10. Move  the image at the upper left, or where you like better. the image at the upper left, or where you like better.
On the 3 landscape layers: Adjust>Sharpness>Sharpen,
and set the Blend Mode to Hard Light.
11. Activate the layer Raster 1.
Effects>Distortion Effects>Pinch.

Effects>3D Effects>Drop Shadow, color #000000.

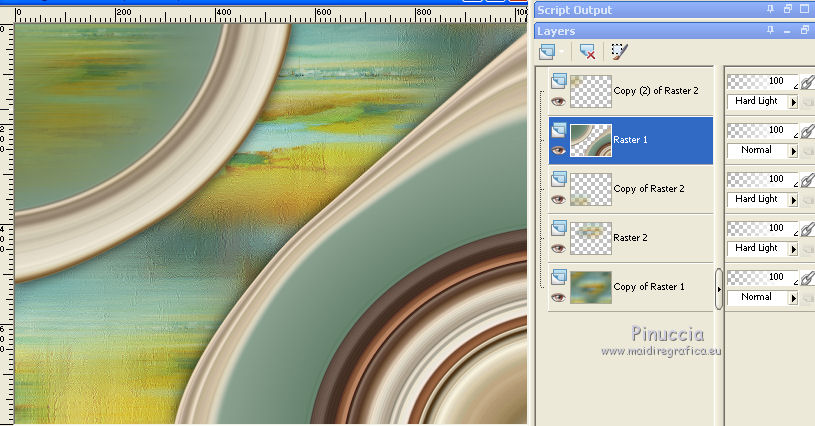
The layers, Blend Modes and opacities - to adapt according to your colors.
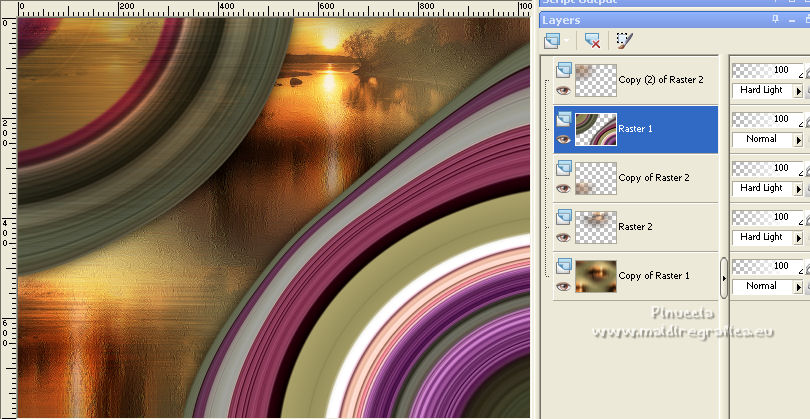
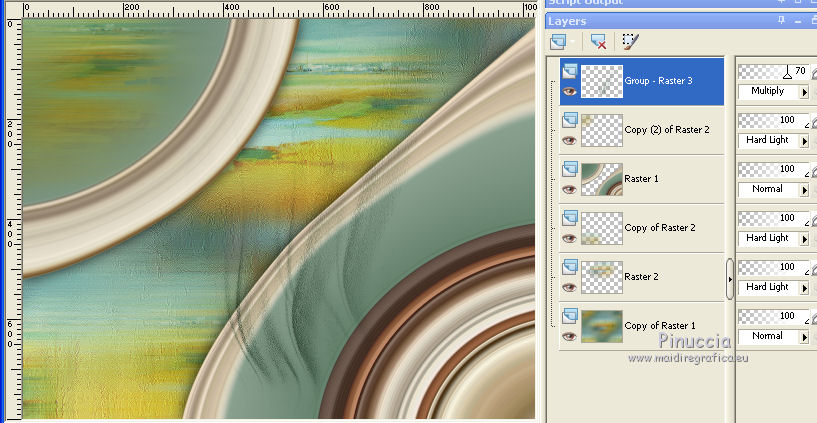
The layer of my second version
12. Activate your top layer.
Layers>New Raster Layer.
Set your foreground color to Color.
Flood Fill  the layer with your foreground color #283216. the layer with your foreground color #283216.
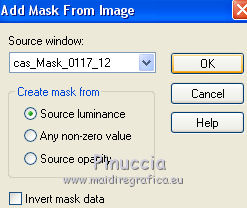
Layers>New Mask layer>From image
Open the menu under the source window and you'll see all the files open.
Select the mask cas_Mask_0117_12.
Effects>Edge Effects>Enhance.
Layers>Merge>Merge Group.
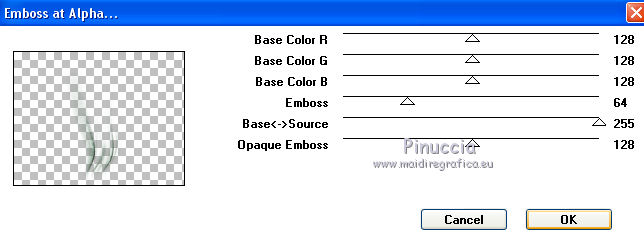
Effects>Plugins>Mura's Seamless - Emboss at Alpha, default settings.
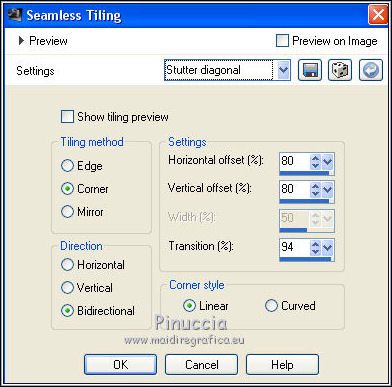
13. Effects>Image Effects>Seamless Tiling, Shutter diagonal - 3 times.
Image>Mirror.
Set the Blend Mode of this layer to Multiply and reduce the opacity to 70%.
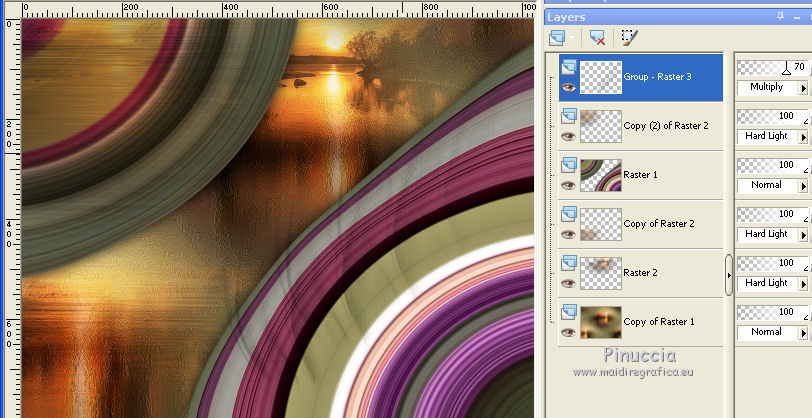
The layers of my second version
14. Edit>Copy Special>Copy Merged.
Edit>Paste as new layer.
15. Effects>Plugins>Mura's Meister - Perspective Tiling.
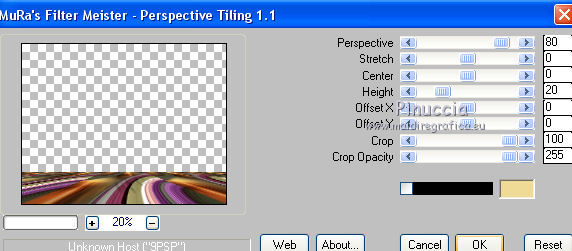
Effects>Reflection Effects>Rotating Mirror.

Activate your Magic Wand Tool  , feather 60, , feather 60,
and click on the transparent part to select it.
Click a few times CANC on the keyboard to soften the effect.
Selections>Select None.
Adjust>Sharpness>Sharpen More.
16. Activate the bottom layer, Copy of Raster 1.
Layers>Duplicate.
Change the Blend Mode of this layer to Screen.
17. Activate your top layer.
Open the text Mitzi and go to Edit>Copy.
Go back to your work and go to Edit>Paste as new layer.
Move  the text to your liking, or see my example. the text to your liking, or see my example.
18. Activate again the woman tube femmeVSP214 and go to Edit>Copy.
Go back to your work and go to Edit>Paste as new layer.
Move  the tube to the left side. the tube to the left side.
Effects>3D Effects>Drop Shadow, at your choice.
19. Open the tube Callitubes-151flores and go to Edit>Copy.
Go back to your work and go to Edit>Paste as new layer.
Move  the tube to the right side. the tube to the right side.
Effects>3D Effects>Drop Shadow, to your liking.
20. Open the birds tube and go to Edit>Copy.
Go back to your work and go to Edit>Paste as new layer.
Move  the tube at the upper right. the tube at the upper right.
Effects>3D Effects>Drop Shadow, at your choice.
Layers>Merge>Merge visible.
20. Effects>Plugins>AAA Frames - Foto Frame.
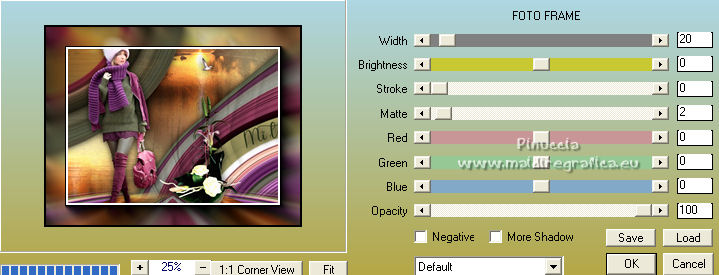
21. Effects>Plugins>AAA Filters - Custom - click on Sharp and ok.
22. Image>Add borders, 1 pixel, symmetric, color #ffffff.
Sign your work on a new layer.
Add, if you want, the author's and translator's watermarks.
Layers>Merge>Merge All and save as jpg.
For the tubes of this version thanks Beatriz, Animabelle and Nena Silva
 Your versions here Your versions here

If you have problems or doubts, or you find a not worked link, or only for tell me that you enjoyed this tutorial, write to me.
12 February 2022

|

