|
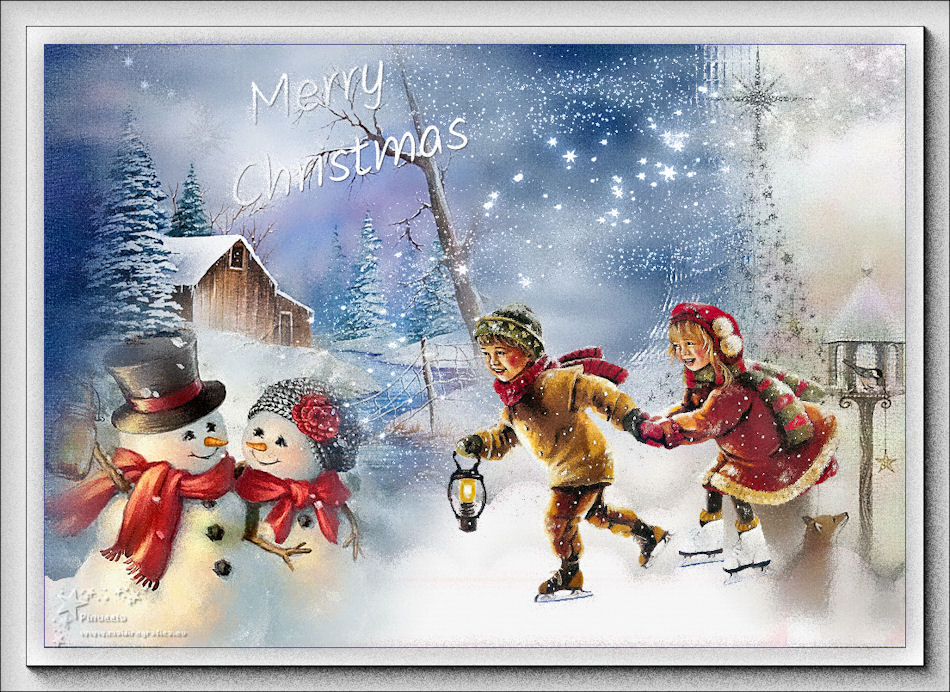
TOP MERRY CHRISTMAS

Thanks Lica Cida for your invitation to translate your tutorial
This tutorial was created with PSPX9 and translated with PSPX2 and PSPX3, but it can also be made using other versions of PSP.
Since version PSP X4, Image>Mirror was replaced with Image>Flip Horizontal,
and Image>Flip with Image>Flip Vertical, there are some variables.
In versions X5 and X6, the functions have been improved by making available the Objects menu.
In the latest version X7 command Image>Mirror and Image>Flip returned, but with new differences.
See my schedule here
 French translation here French translation here
 your versions ici your versions ici
For this tutorial, you will need:
Material here
graphsab_design18
misted_hiver3_tine_12.2020-133
misted_hiver3_tine_12.2020-133
misted_noel8_tine_11.2019
Fairy_Dust_Silvie_07.01.2019
kikirou1322_doux_moments_d_hiver
element 40_ arvore natal
misted_animaux3_tine_12.2019-41
nataesperancal_decor_naise
(you find here the links to the material authors' sites)
Plugins
consult, if necessary, my filter section here
Filters Unlimited 2.0 here
Mehdi - Weaver here
Graphics Plus - Emboss here
Virtual Painter 4 here
Ulead Effects - Particle here
Xero - Fuzzifier here
AAA Frames - Foto Frame here
Filters Graphics Plus can be used alone or imported into Filters Unlimited.
(How do, you see here)
If a plugin supplied appears with this icon  it must necessarily be imported into Unlimited it must necessarily be imported into Unlimited

You can change Blend Modes according to your colors.
In the newest versions of PSP, you don't find the foreground/background gradient (Corel_06_029).
You can use the gradients of the older versions.
The Gradient of CorelX here
Copy the script Airbrush and ink in the Restricted Scripts Folder.
If you have problems with this script, use the file "imagem com script rodado".
Begin the tutorial from this image.
1. Open a new transparent image 1000 x 700 pixels.
1. Set your foreground color to #ffffff,
and your background color to #7daad1.
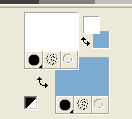
Set your foreground color to a Foreground/Background Gradient, style Radial.
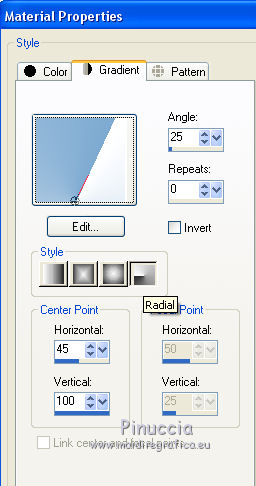
Flood Fill  the transparent image with your gradient. the transparent image with your gradient.
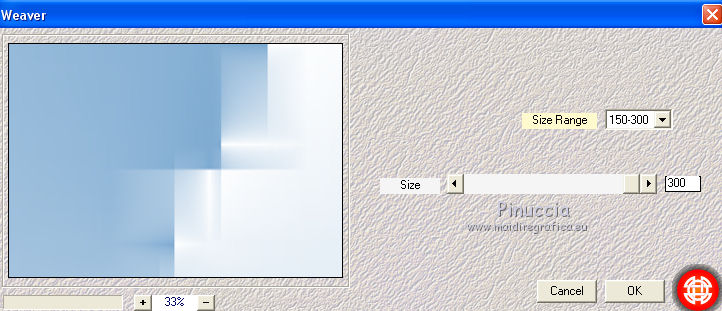
2. Effects>Plugins>Mehdi - Weaver.
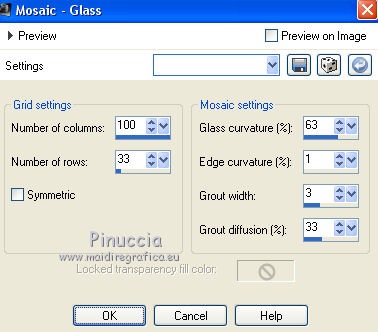
3. Effects>Texture Effects>Mosaic - Glass
Layers>Duplicate.
Image>Mirror.
Change the Blend mode of this layer to Overlay
and reduce the opacity to 50%.
Layers>Merge>Merge Down.
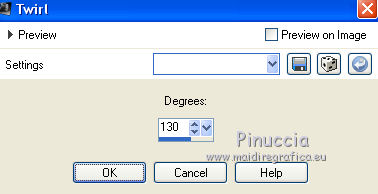
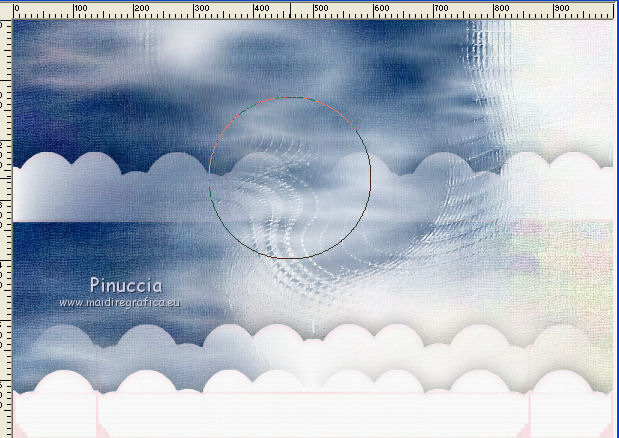
4. Effects>Distortion Effects>Twirl.
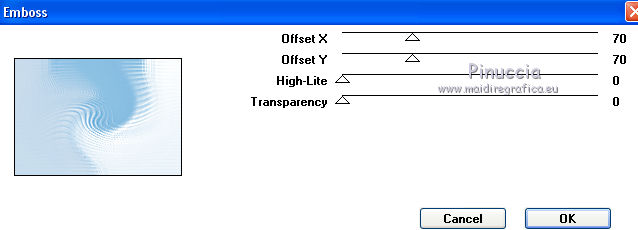
Effects>Plugins>Graphics Plus - Emboss
5. Effects>Plugins>Virtual Painter - Virtual Painter 4.
Filter: Oil Painting - Material: Canvas (Fine)

Layers>Duplicate.
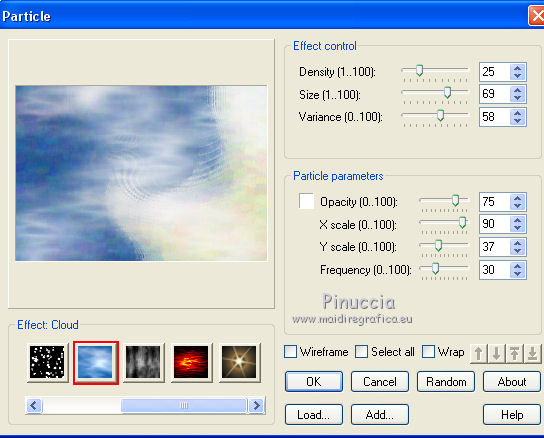
6. Effects>Plugins>Ulead Effects - Particle - Cloud, default settings.
7. Layers>New Raster Layer.
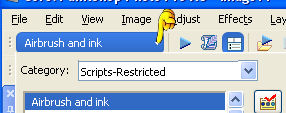
Display the script bar (View>Toolbars>Script)
Open the script menu and select the script Airbrush and ink
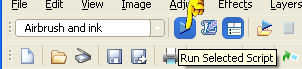
Click on the arrow to run the script
The script works without the possibility of intervening on the actions that compose it.
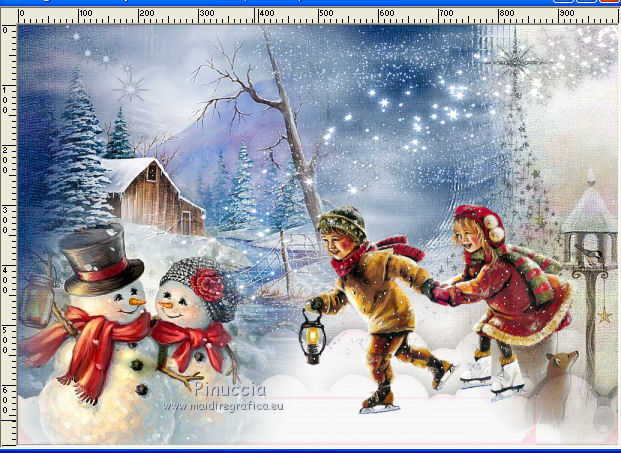
When the script finished working, this was my result.
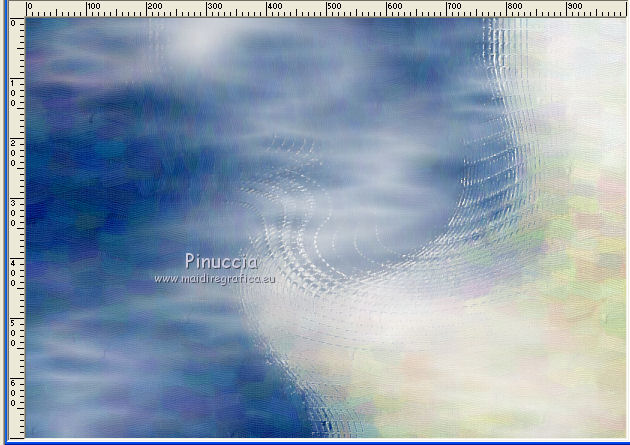
In case of problems with the script, you can start the tutorial from this image you find in the material.
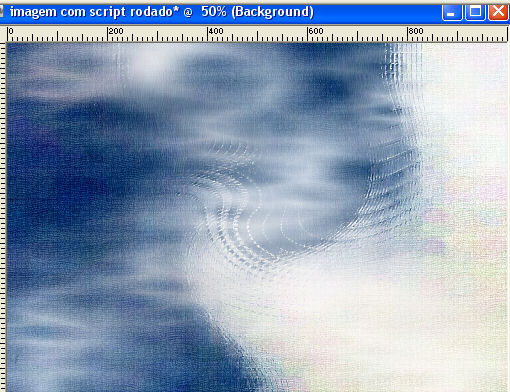
To follow the translation, I continued with this image.
8. Open graphsab_design18 and copy the layer Raster 3.
Go back to your work and go to Edit>Paste as new layer.
Objects>Align>Bottom.
Objects>Align>Left.
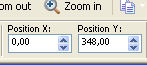
If you are working with a previous version that does not make the Objects menu available,
activate your Pick Tool 
and set Position X.: 0,00 and Position Y: 348.00
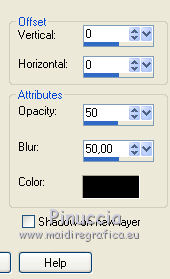
Effects>Reflection Effects>Rotating Mirror.

Effects>3D Effects>Drop Shadow, color #000000.
Layers>Duplicate.
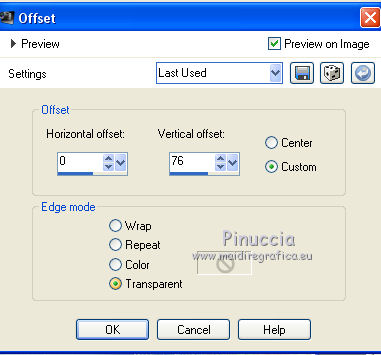
9. Effects>Image Effects>Offset.
Effects>Image Effects>Seamless Tiling

Delete  the central image on the background the central image on the background
(note that we will try to set up a base)
Layers>Merge>Merge Down.
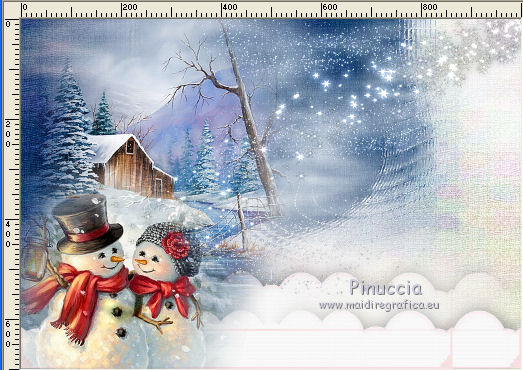
10. Open misted_hiver3_tine_12_2020-133, erase the watermark and go to Edit>Copy.
Go back to your work and go to Edit>Paste as new layer.
Image>Resize, 2 times to 80%, resize all layers not checked.
Adjust>Sharpness>Sharpen More.
Move  the tube to the left side. the tube to the left side.
11. Open misted_noel18_tine_11.2019, erase the watermark and go to Edit>Copy.
Go back to your work and go to Edit>Paste as new layer.
Move the tube at the bottom left.
Adjust>Sharpness>Sharpen More.
For my example, I made: Layers>Duplicate and Layers>Merge>Merge Down.
12. Open Fairy_Dust_Silvie_07.01.2019 and go to Edit>Copy.
Go back to your work and go to Edit>Paste as new layer.
Move the tube at the upper right.
Change the Blend Mode of this layer to Luminance (legacy).
13. Open kikirou1322_doux_moments_d_hiver and go to Edit>Copy.
Go back to your work and go to Edit>Paste as new layer.
Image>Mirror.
Move the tube to to right side.
14. Open element 40_arvore natal and go to Edit>Copy.
Go back to your work and go to Edit>Paste as new layer.
Move the tube at the upper right.
Change the Blend Mode of this layer to Luminance (legacy).
Layers>Arrange>Move Down.
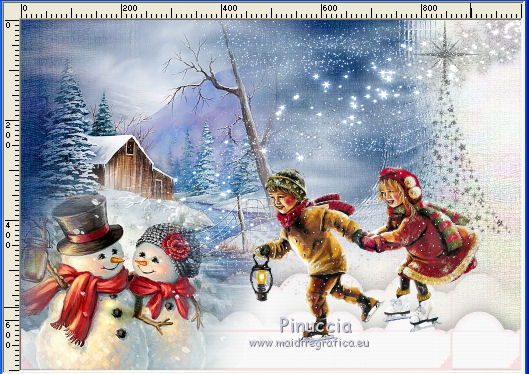
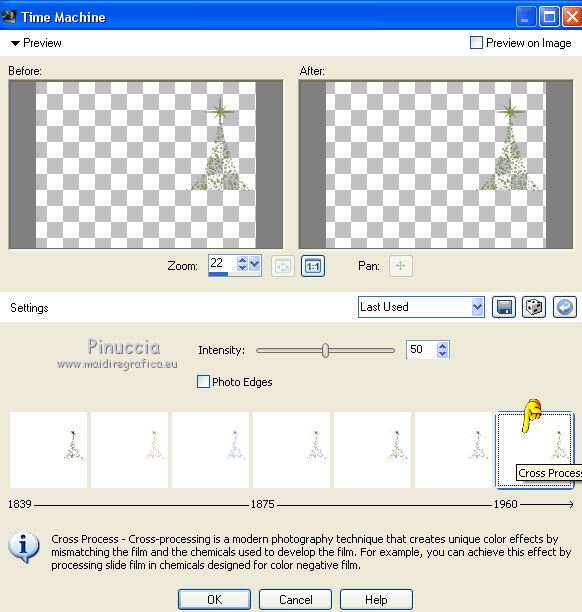
Effects>Photos Effects>Time Machine
Stay on this layer.
15. Open misted_animaux3_tine_12.2019-41, erase the watermark and go to Edit>Copy.
Go back to your work and go to Edit>Paste as new layer.
Adjust>Sharpness>Sharpen More.
Move the tube at the bottom right, a little outside the edges
(see my example).
Layers>Duplicate.
Layers>Arrange>move Down.
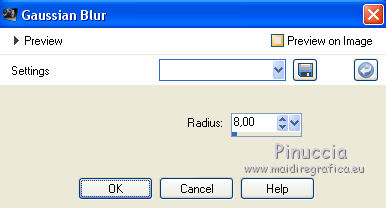
Adjust>Blur>Gaussian Blur - radius 8.
Change the Blend Mode of this layer to Multiply.
Activate the layer above of the original.
Layers>Merge>Merge Down.
16. Activate your top layer.
Open nataesperancal_decor_naise and go to Edit>Copy.
Go back to your work and go to Edit>Paste as new layer.
Move the tube at the upper left.
Change the Blend Mode of this layer to Luminance (legacy)
Activate the Text Tool  , choose a font, , choose a font,
background color #ffffff, and write Merry Christmas or what you like.
17. Image>Add borders, 1 pixel, symmetric, color #354781
(a color a little darker than your background color).
Selections>Select All.
Image>Add borders, 20 pixels, symmetric, color #ffffff.
Effects>3D Effects>Drop Shadow, color #000000.
Selections>Select None.
18. Image>Add borders, 1 pixel, symmetric, color #354581.
Image>Add borders, 30 pixels, symmetric, color #ffffff.
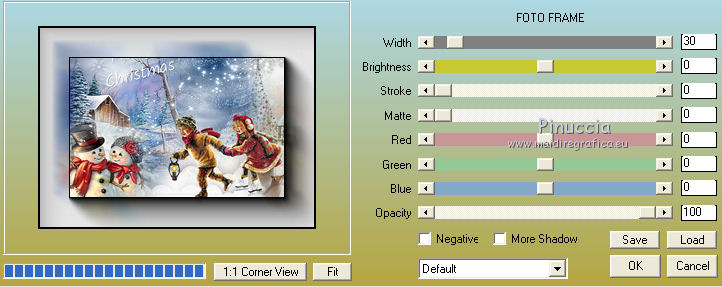
19. Effects>Plugins>AAA Frames - Foto Frame.
20. Effects>Plugins>Xero - Fuzzifier, par défaut.
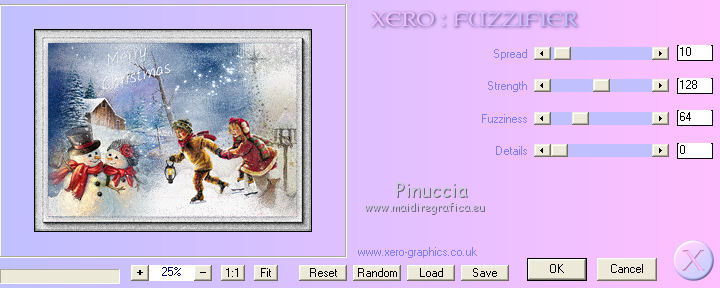
Optional: Repeat Fuzzifier another time.
21. Sign your work on a new layer.
Add, if you want, the watermarks of the author and of the translator.
Image>Resize, 1000 pixels width, resize all layers checked.
Save as jpg.
Version with tubes by Criss, Tine and Willeke

Your versions here

If you have problems or doubts, or you find a not worked link, or only for tell me that you enjoyed this tutorial, write to me.
12 December 2020
|


