|
TOP LECTURE 33
 ENGLISH VERSION ENGLISH VERSION
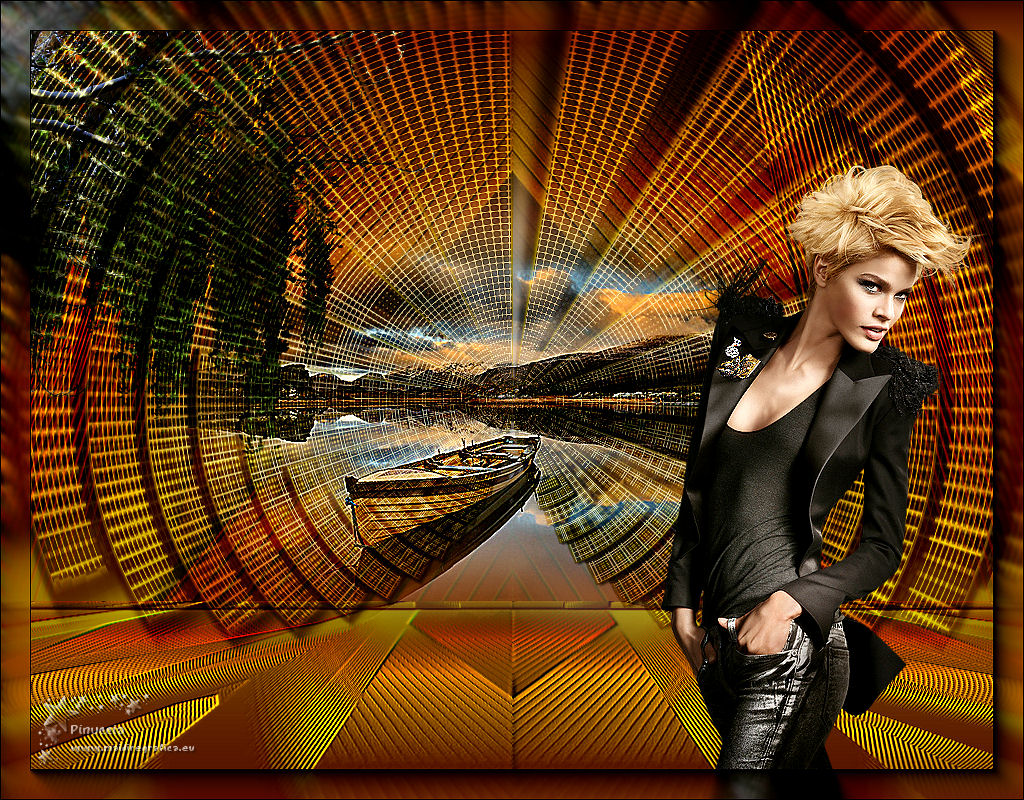
Thanks Lica Cida for your invitation to translate your tutorial

This tutorial was created with PSPX8 and translated with PSPX3, but it can also be made using other versions of PSP.
Since version PSP X4, Image>Mirror was replaced with Image>Flip Horizontal,
and Image>Flip with Image>Flip Vertical, there are some variables.
In versions X5 and X6, the functions have been improved by making available the Objects menu.
In the latest version X7 command Image>Mirror and Image>Flip returned, but with new differences.
See my schedule here
French translation here
your versions ici
For this tutorial, you will need:
Material here
For the tubes thanks Beatriz, Animabelle et DWorisch.
(you find here the links to the material authors' sites)
Plugins
consult, if necessary, my filter section here
Filters Unlimited 2.0 here
Andromeda - Designs here
Mura's Meister - Perspective Tiling here
Mura's Meister - Pole Transform here
FM Tile Tools - Saturation Emboss here
Transparency - Eliminate Black here
AAA Frames - Foto Frame / AAA Filters - Custom here
Filters Transparency can be used alone or imported into Filters Unlimited.
(How do, you see here)
If a plugin supplied appears with this icon  it must necessarily be imported into Unlimited it must necessarily be imported into Unlimited

You can change Blend Modes according to your colors.
In the newest versions of PSP, you don't find the foreground/background gradient (Corel_06_029).
You can use the gradients of the older versions.
The Gradient of CorelX here
Copy the Selections in the Selections Folder.
Copy the preset Preset_Lights_2bllc and the preset Emboss 3 in the Presets Folder.
Open the mask in PSP and minimize it with the rest of the material.
1. Set your foreground color to #af9d0b,
and your background color to #561902.
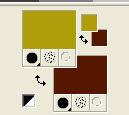
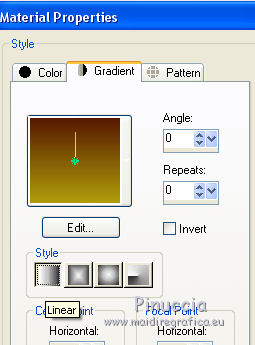
Set your foreground color to a Foreground/Background Gradient, style Linear.
Open a new transparent image 1024 x 800 pixels.
Flood Fill  the transparent image with your Gradient. the transparent image with your Gradient.
Layers>Duplicate.
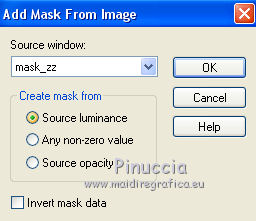
2. Layers>New Mask layer>From image
Open the menu under the source window and you'll see all the files open.
Select the mask mask_zz
Layers>Merge>Merge Group.
don't worry if you see nothing
Effects>3D Effects>Drop Shadow, color #000000.
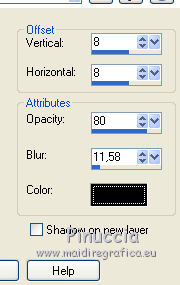
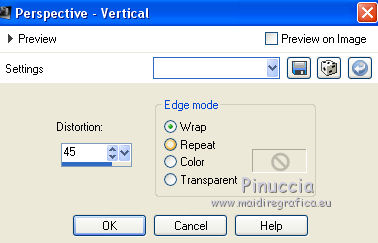
3. Effects>Geometric Effects>Perspective Vertical.
4. Effects>Plugins>FM Tile Tools - Saturation Emboss, default settings.

Repeat Saturation Emboss another time.
Image>Flip.
Effects>Reflection Effects>Rotating Mirror, default settings.

Layers>Merge>Merge Down.
Layers>Duplicate.
Image>Flip.
5. Effects>Plugins>Mura's Meister - Perspective Tiling.
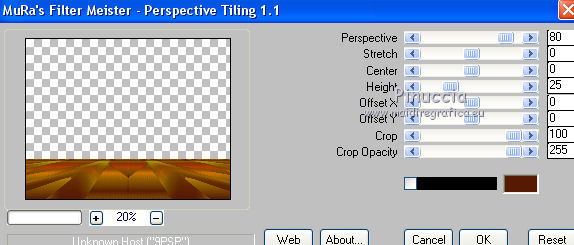
Effects>User Defined Filter, select the preset Emboss 3 and ok.

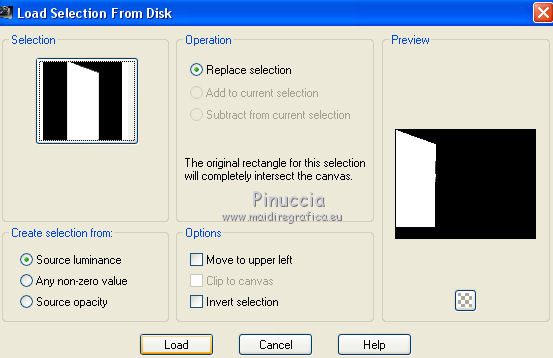
6. Selections>Load/Save selection>Load Selection from Disk.
Look for and load the selection sellateral1lc.PspSelection.
Layers>New Raster Layer.
Reduce the opacity of your Flood Fill Tool to 40%.
Flood Fill  the selection with your Gradient. the selection with your Gradient.
7. Effects>Plugins>Andromeda - Designs.
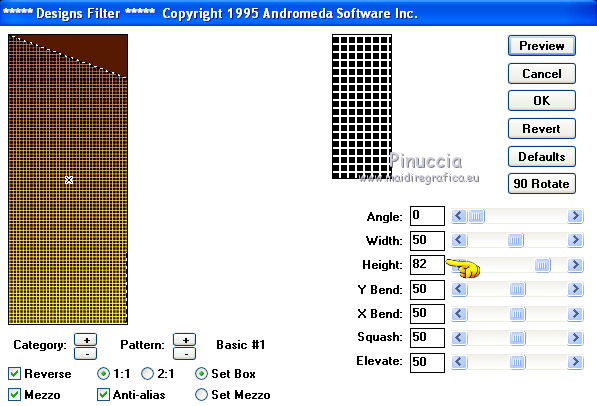
8. Effects>Plugins>Transparency - Eliminate Black.
9. Effects>3D Effects>Chisel, foreground color.
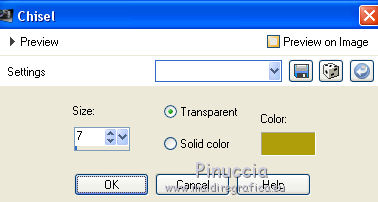
Effects>Edge Effects>Enhance.
Selections>Select None.
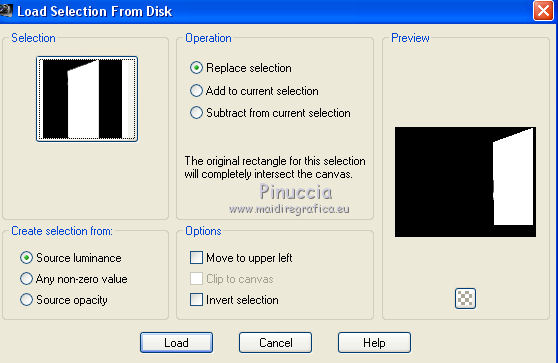
10. Selections>Load/Save selection>Load Selection from Disk.
Look for and load the selection sellateral2lc.PspSelection.
Layers>New Raster Layer.
Flood Fill  the selection with your Gradient, always opacity 40% the selection with your Gradient, always opacity 40%
(don't forget to set again the opacity to 100).
11. Effects>Plugins>Andromeda - Designs, same settings.
12. Effects>Plugins>Transparency - Eliminate Black.
13. Effects>3D Effects>Chisel, foreground color, same settings.

Effects>Edge Effects>Enhance.
Selections>Select None.
Layers>Merge>Merge Down.
Effects>3D Effects>Drop Shadow, same settings.
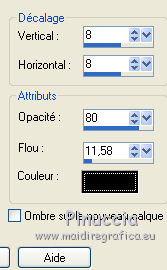
14. Effects>Reflection Effects>Feedback.
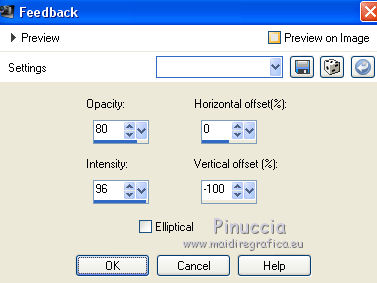
15. Effects>Plugins>Mura's Meister - Pole Transform, default settings.
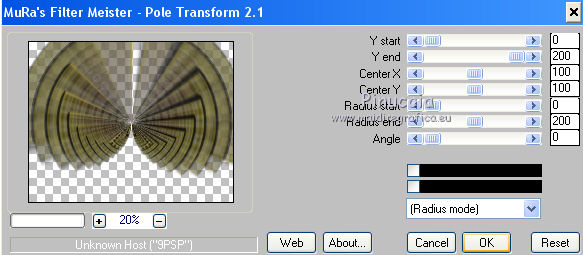
Change the Blend Mode of this layer to Overlay, or as you prefer.
for my second version, with my Pick Tool  , ,
I pulled the bottom node up, as below.
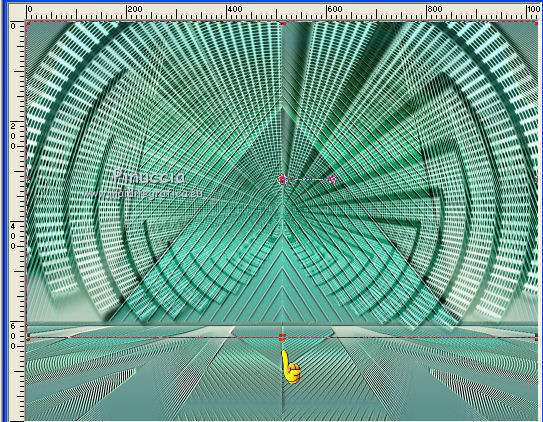
See, after the tutorial, the variation on the original version
16. Open the tube 1_paysage_p1_animabelle, erase the watermark and go to Edit>Copy.
Go back to your work and go to Edit>Paste as new layer.
Adjust>Sharpness>Sharpen More.
Layers>Arrange>Move Down.
17. Open the tube premade natureza beira rio2 dworisch and go to Edit>Copy.
Go back to your work and go to Edit>Paste as new layer.
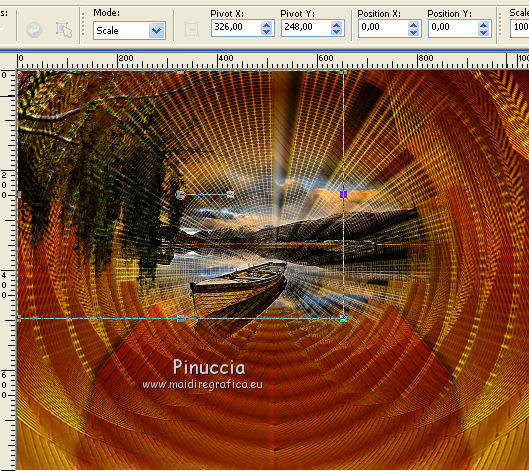
Objects>Align>Top and Objects>Align>Left
or Move  the tube at the upper left, the tube at the upper left,
or, with your Pick Tool  set Position X and Y to 0,00. set Position X and Y to 0,00.
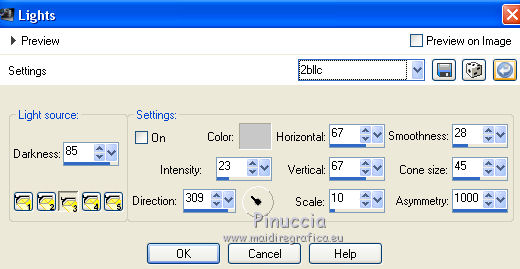
18. Effects>Illumination Effects>Lights.
Select the preset 2bllc and ok.
19. Activate the top layer.
Open the tube MR_Estel, erase the watermark and go to Edit>Copy.
Go back to your work and go to Edit>Paste as new layer.
Adjust>Sharpness>Sharpen.
Image>Mirror.
Move  the tube to the right side, ou at your choice. the tube to the right side, ou at your choice.
Your tag and your layers
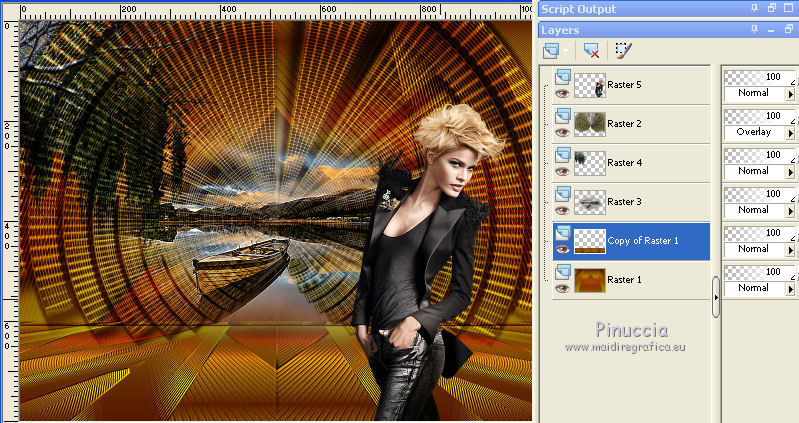
Layers>Merge>Merge visible.
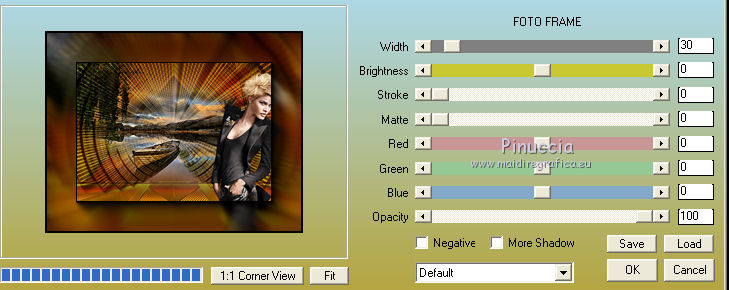
20. Effects>Plugins>AAA Frames - Foto Frame.
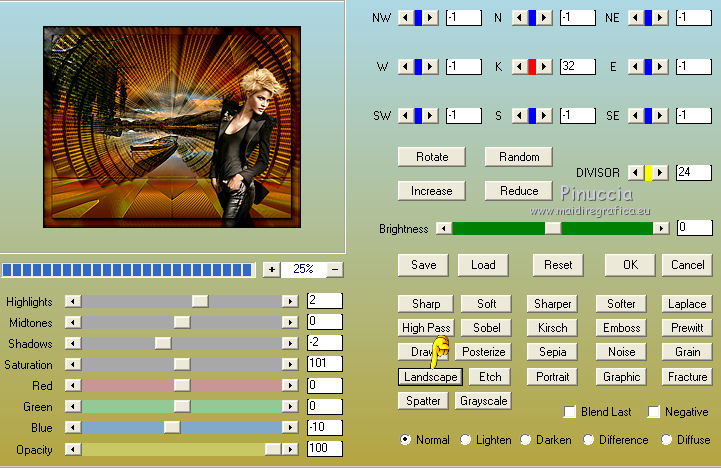
Optional: Effects>Plugins>AAA Filters - Custom - Landscape.
Sign your work on a new layer.
little note about the watermark:
I don't ask to put watermark on the versions made by my translations.
But if you decide to use the watermark supplied by the author, I would appreciate that my work as translator was also respected.
For that, I added my watermark to the material (english and french).
21. Layers>Merge>Merge All and save as jpg.
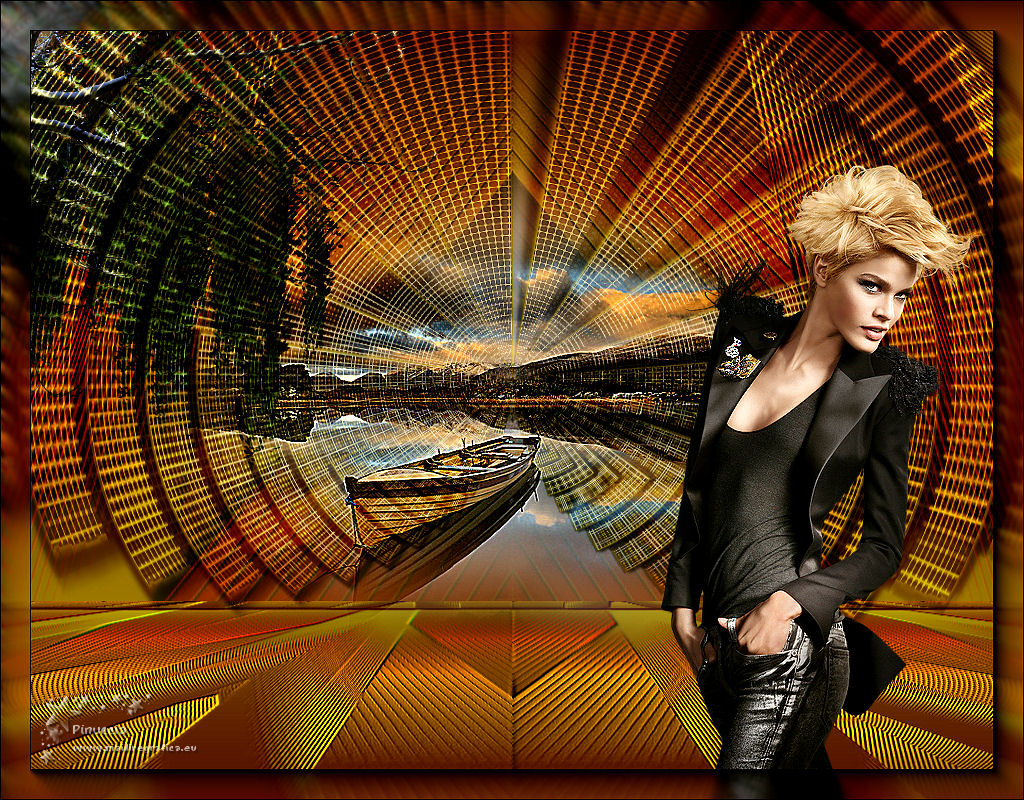
Version with tubes by Luz Cristina
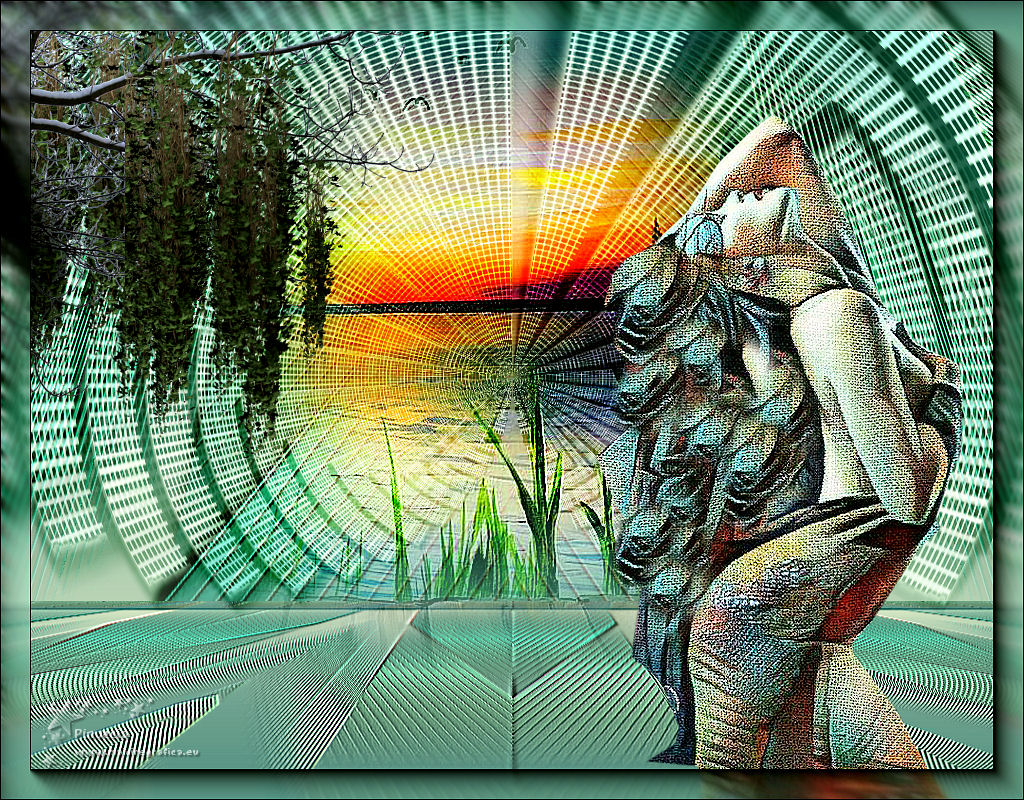
Version original with the variation at step 15
Your versions here

If you have problems or doubts, or you find a not worked link, or only for tell me that you enjoyed this tutorial, write to me.
7 August 2019
|
 ENGLISH VERSION