|
TOP MAMY ANNICK
 ENGLISH VERSION ENGLISH VERSION
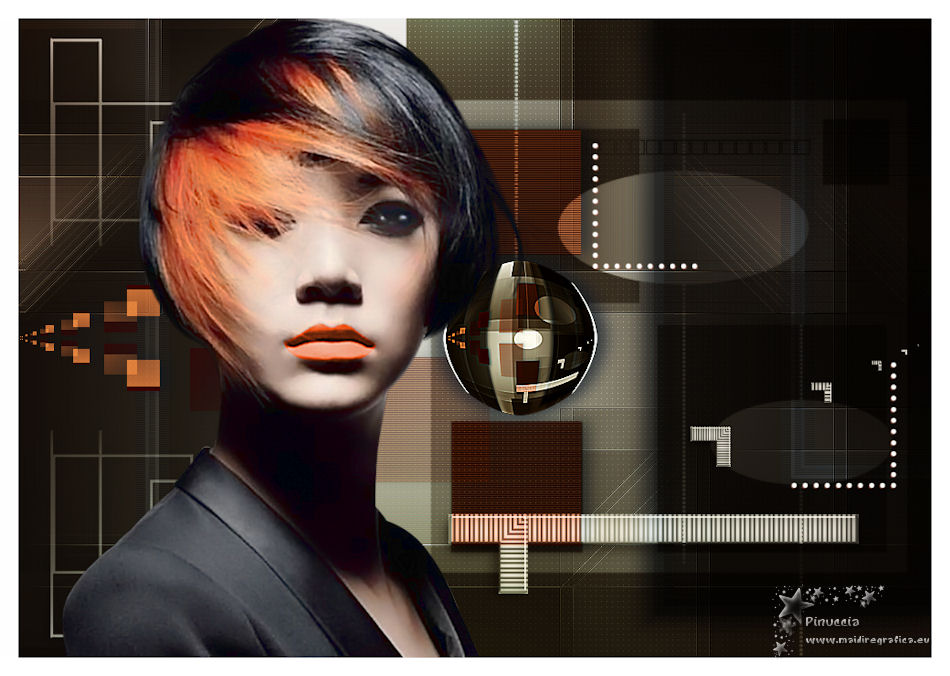
Thanks Lica Cida for your invitation to translate your tutorial

This tutorial was created with PSPX8 and translated with PSPX3, but it can also be made using other versions of PSP.
Since version PSP X4, Image>Mirror was replaced with Image>Flip Horizontal,
and Image>Flip with Image>Flip Vertical, there are some variables.
In versions X5 and X6, the functions have been improved by making available the Objects menu.
In the latest version X7 command Image>Mirror and Image>Flip returned, but with new differences.
See my schedule here
French translation here
your versions ici
For this tutorial, you will need:
Material here
Tube :femmeVSP137
Deco: @ildiko_create_deco_free_006 \@ildiko_create_deco_free_008
Mask:maskcameron
(you find here the links to the material authors' sites)
Plugins
consult, if necessary, my filter section here
Filters Unlimited 2.0 here
&<Bkg Designer sf10I> - Cruncher (to import in Unlimited) here
Richard Rosenman - Scanlines here
VanDerLee - Unplugged-X here
Alien Skin Eye Candy 5 Impact - Glass here
Mehdi - Sorting Tiles here
Carolaine and Sensibility - CS-LDots here
AAA Filters - Custom here

You can change Blend Modes according to your colors.
In the newest versions of PSP, you don't find the foreground/background gradient (Corel_06_029).
You can use the gradients of the older versions.
The Gradient of CorelX here
Copy the preset  in the folder of the plugins Alien Skin Eye Candy 5. in the folder of the plugins Alien Skin Eye Candy 5.
One or two clic on the file (it depends by your settings), automatically the preset will be copied in the right folder.
why one or two clic see here
Copy the preset Preset_Lights_alive in the Presets Folder.
Open the Mask in PSP and minimize it with the rest of the material.
1. Set your foreground color to #6d5e4f,
and your background color to #ffffff.
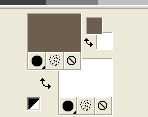
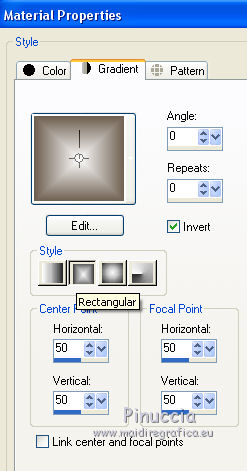
Set your foreground color to a Foreground/Background Gradient, style Rectangular.
Open alphachannel_annicklc.
Window>Duplicate, or on the keyboard shift+D, to make a copy.
Close the original.
Tha copy, which will be the basis of your work, is not empty,
but contains the selections saved on the alpha channel.
Rename the layer Raster 1.
Flood Fill  the transparent image with your Gradient. the transparent image with your Gradient.
2. Effects>Plugins>Mehdi - Sorting Tiles.
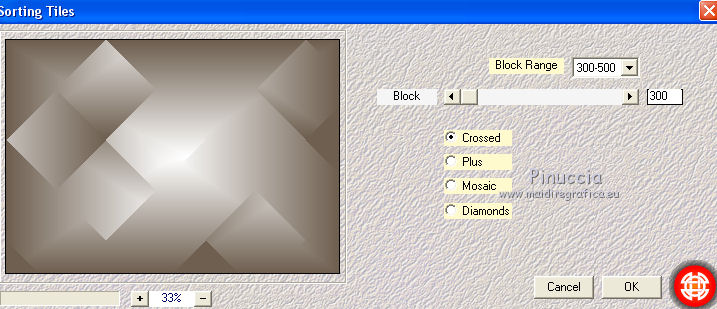
3. Effects>Plugins>Mehdi - Sorting Tiles, same settings, but Plus checked.
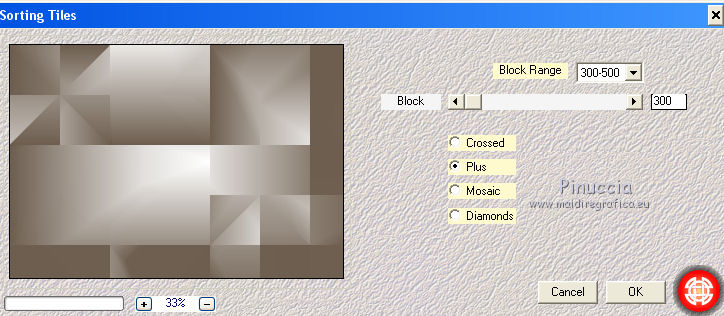
Effects>Edge Effects>Enhance.
4. Effects>Plugins>Filters Unlimited 2.0 - &<Bkg Designer sf10I> - Cruncher.
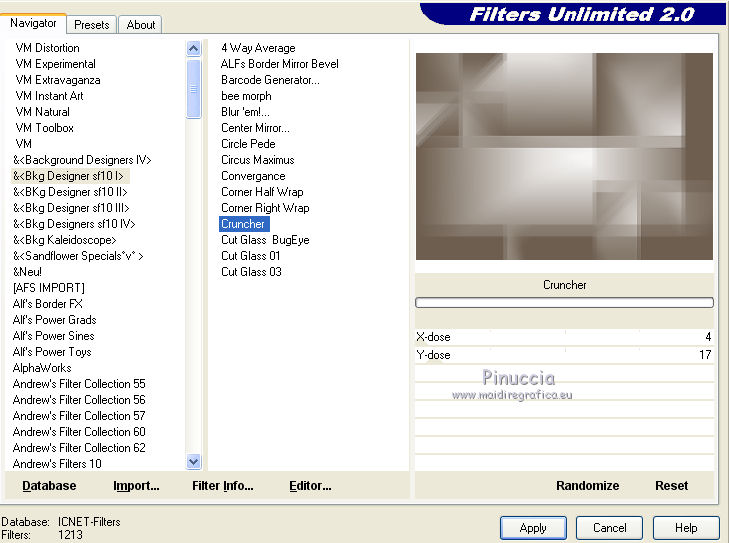
Effects>Edge Effects>Enhance.
5. Selections>Load/Save Selection>Load Selection from Alpha Channel.
The selection # 1 is immediately available. You just have to click Load.
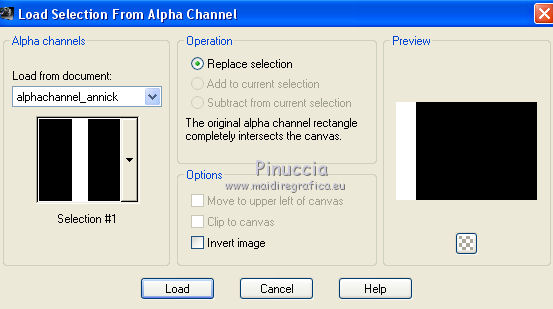
Selections>Promote Selection to Layer.
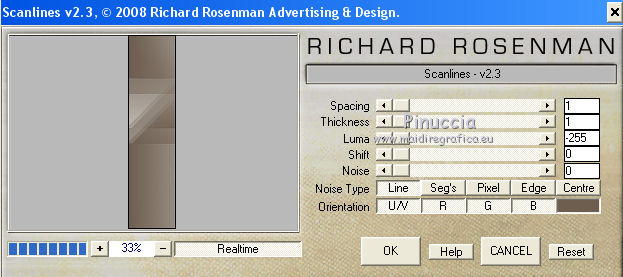
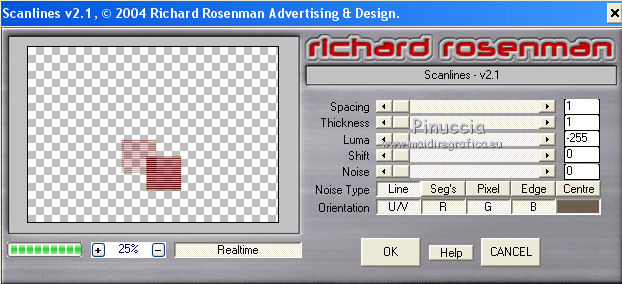
6. Effects>Plugins>Richard Rosenman - Scanlines - foreground color #6d5e4f.
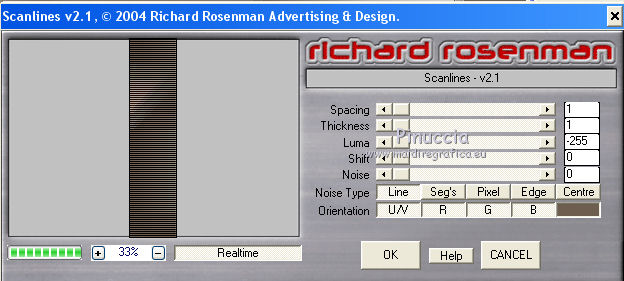
attention please, if you use the new version of this Effect,
the result will be a bit different
Selections>Select None.
7. Layers>Duplicate.
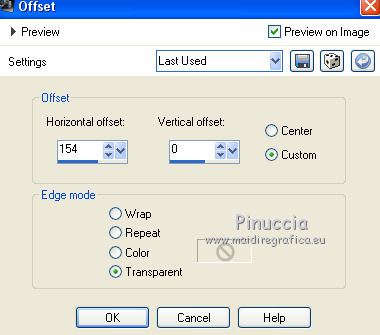
Effects>Image Effects>Offset.
Layers>Merge>Merge Down.
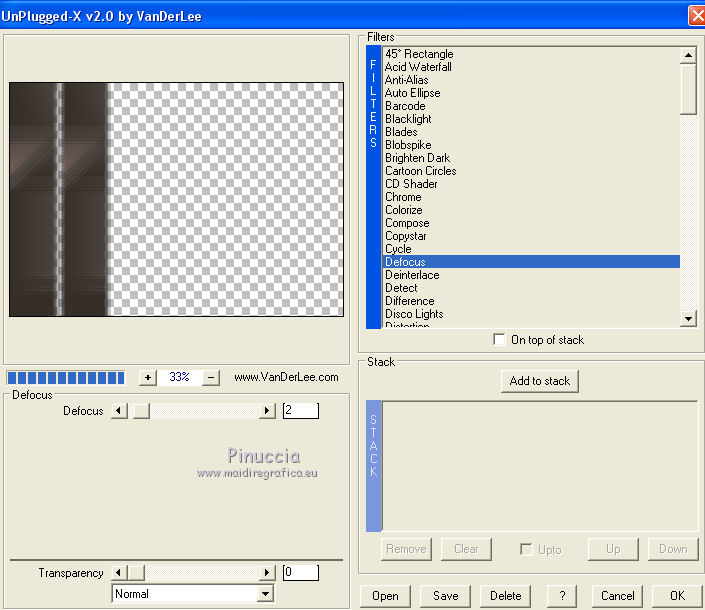
8. Effects>Plugins>VanDerLee - Unplugged-X - Defocus
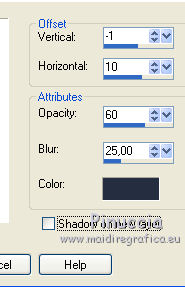
Effects>3D Effects>Drop shadow, color #000000.
9. Layers>Duplicate.
Effects>Geometric Effects>Skew.
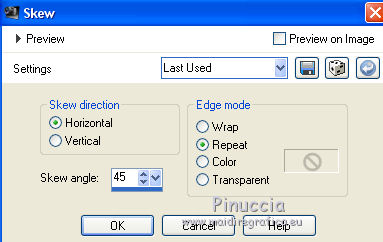
Image>Mirror.
10. Repeat Effects>Geometric Effects>Skew, same settings.

Effects>3D Effects>Drop shadow, color #0000000.
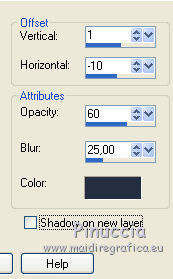
Layers>Merge>Merge down.
Change the Blend Mode of this layer to Multiply
and reduce the opacity to 83%, or at your choice.
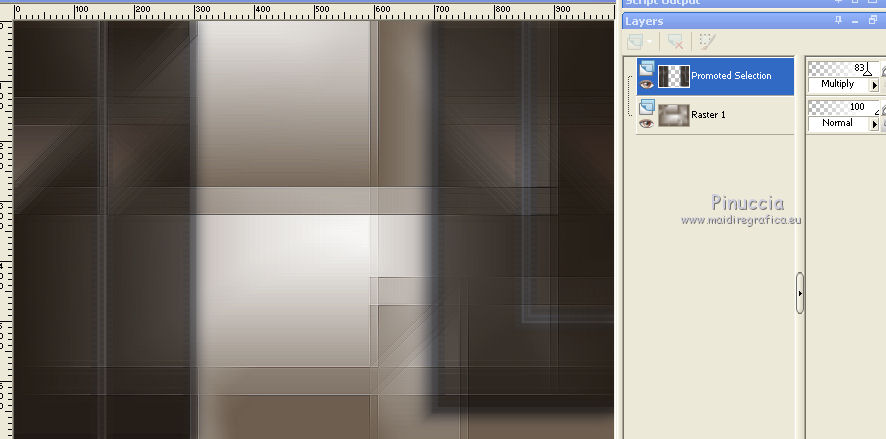
11. Layers>New Raster Layer.
Flood Fill  with your light background color. with your light background color.
Layers>New Raster Layer.
Set your foreground color to Color.
Flood Fill  with your dark foreground color. with your dark foreground color.
12. Layers>New Mask layer>From image
Open the menu under the source window and you'll see all the files open.
Select the mask maskcameron.
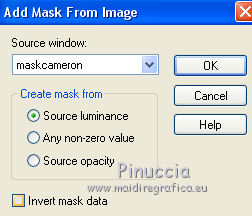
Layers>Merge>Merge Group.
Layers>Merge>Merge Down.
Change the Blend Mode of this layer to Multiply.
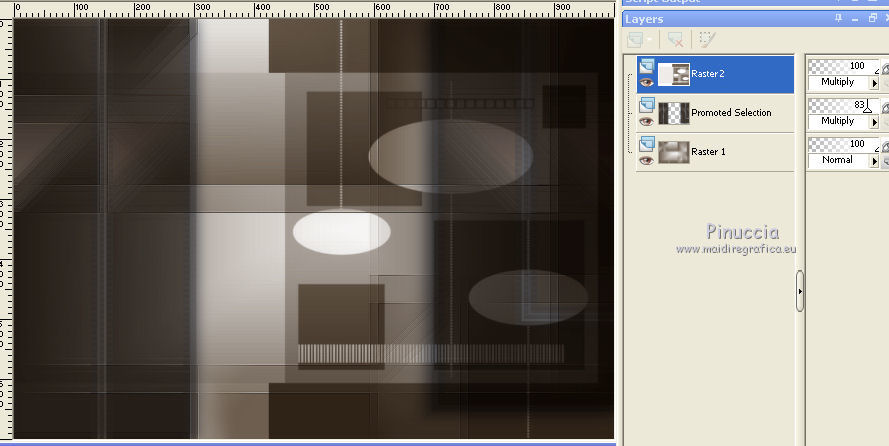
13. Selections>Load/Save Selection>Load Selection from Alpha Channel.
Open the Selections menu and load selection #2.
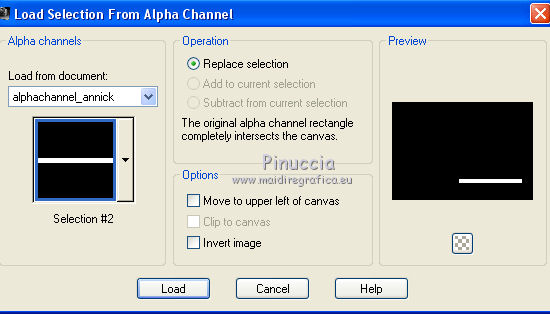
Selections>Promote Selection to Layer.
14. Effects>Plugins>Alien Skin Eye Candy 5 Impact - Glass
select the preset katrina and ok.
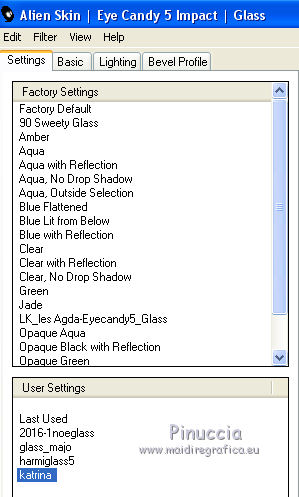
Here below the settings, in case of problems with the preset.
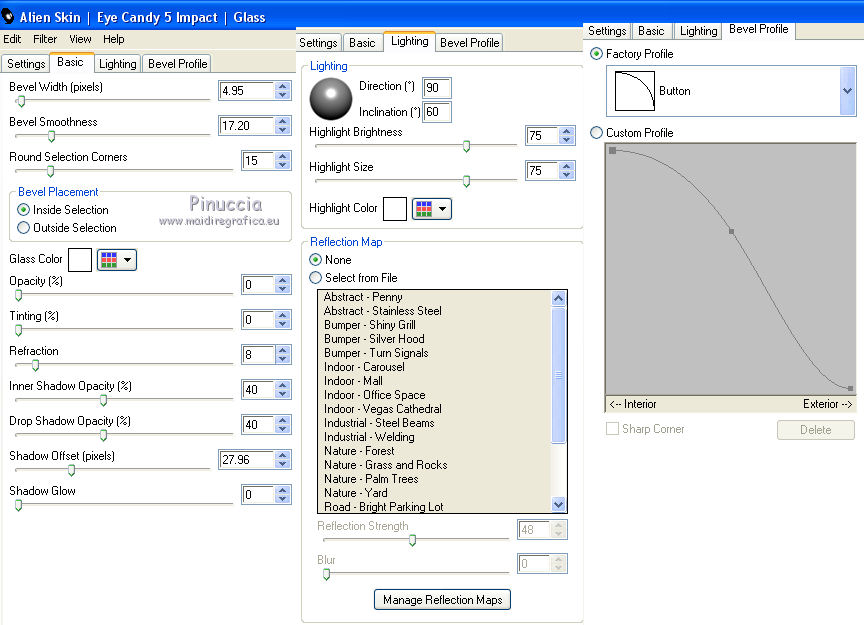
Selections>Select None.
Change the Blend Mode of this layer to Luminance (legacy).
15. Layers>Duplicate.
Effects>Reflection Effects>Rotating Mirror.
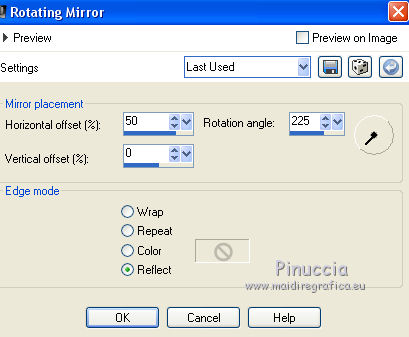
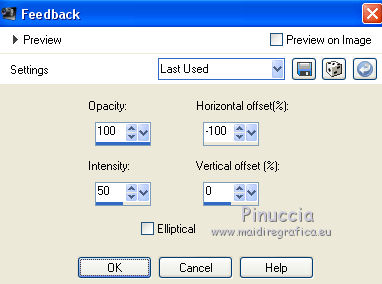
16. Effects>Reflection Effects>Feedback.
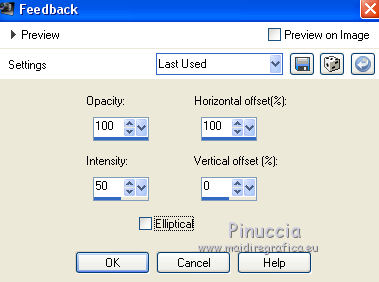
Layers>Merge>Merge Down.
17. Activate the layer Raster 2.
Selections>Load/Save Selection>Load Selection from Alpha Channel.
Open the Selections menu and load selection #3.
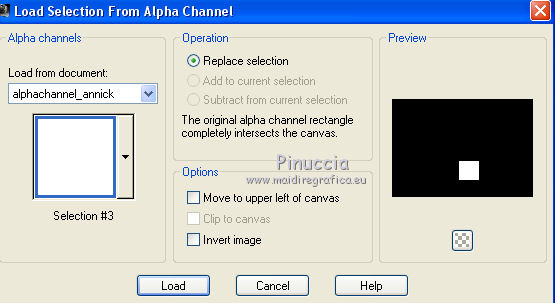
Selections>Promote Selection to Layer.
18. Set your foreground color with a different color choosen by your tube: #e88d5b.
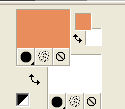
Flood Fill  the selection with your foreground color. the selection with your foreground color.
Selections>Select None.
Effects>Image Effects>Seamless Tiling, Stutter Diagonal
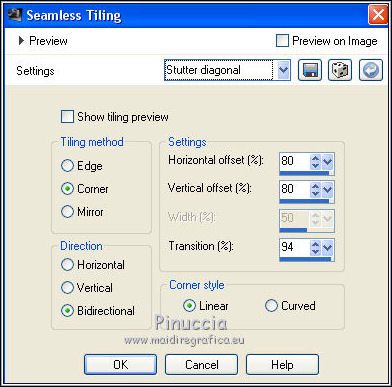
19. Effects>Plugins>Richard Rosenman - Scanlines, same settings.
20. Effects>Reflection Effects>Feedback.
Layers>Duplicate.
Image>Flip.
Layers>Merge>Merge Down.
Layers>Arrange>Move Down.
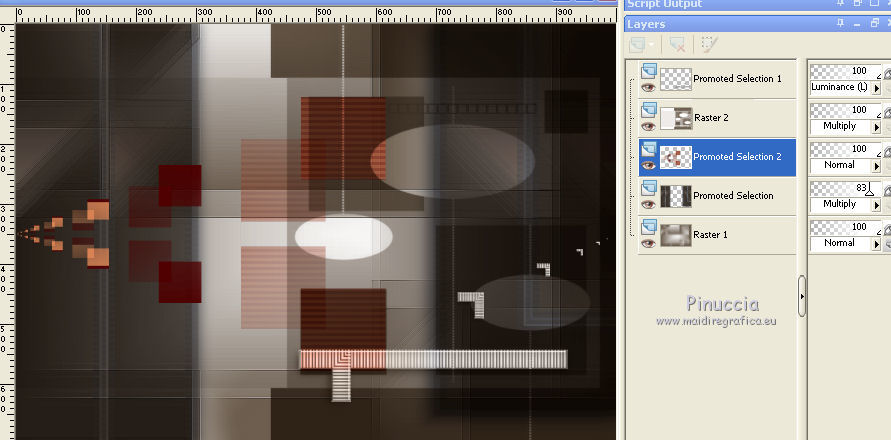
Effects>3D Effects>Drop shadow, color #0000000.

21. Activate the layer Raster 2.
Effects>Plugins>Carolaine and Sensibility - CS-LDots.
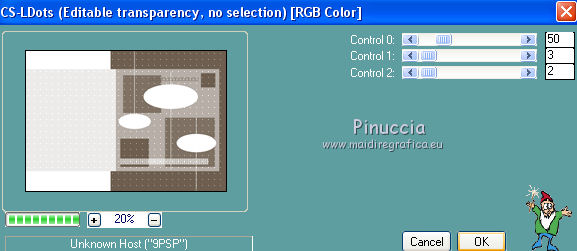
22. Image>Canvas Size - 1040 x 700 pixels.
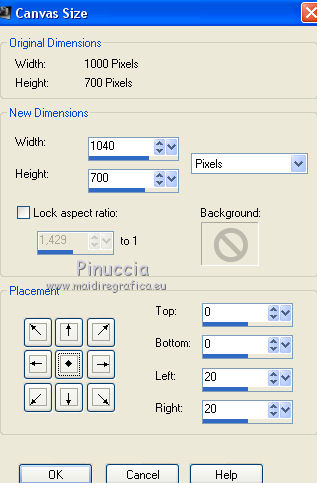
Match Mode of your Flood Fill tool to RGB Value
flood fill  with your background color #ffffff. with your background color #ffffff.
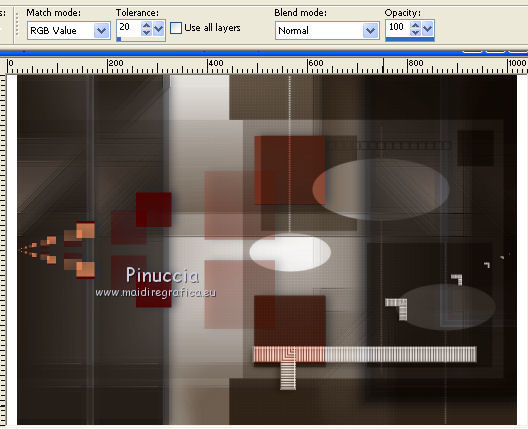
You should have this
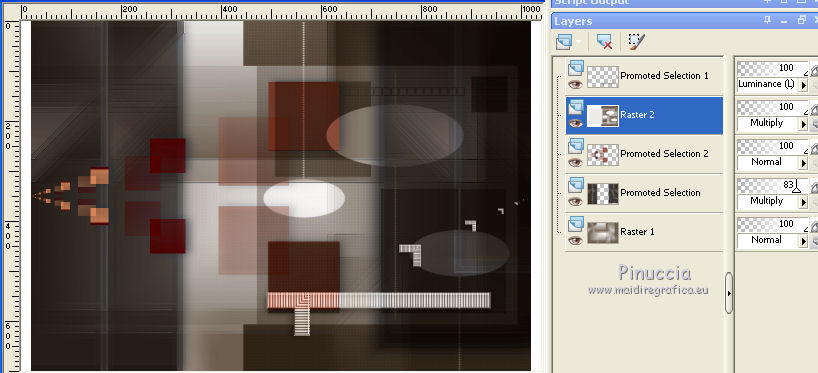
Layers>Merge>Merge visible.
Layers>Duplicate.
Image>Resize, to 60%, resize all layers not cheched.
23. Effects>Geometric Effects>Spherize
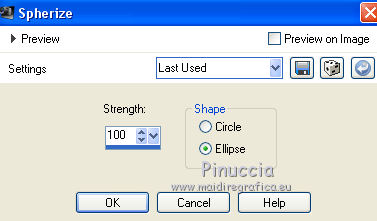
24. Effects>Geometric Effects>Circle.

Image>Resize, to 30%, resize all layers not checked.
Adjust>Sharpness>Sharpen More.
Effects>Image Effects>Offset.
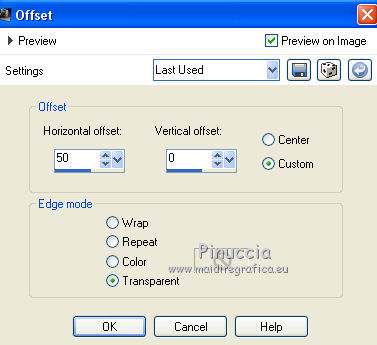
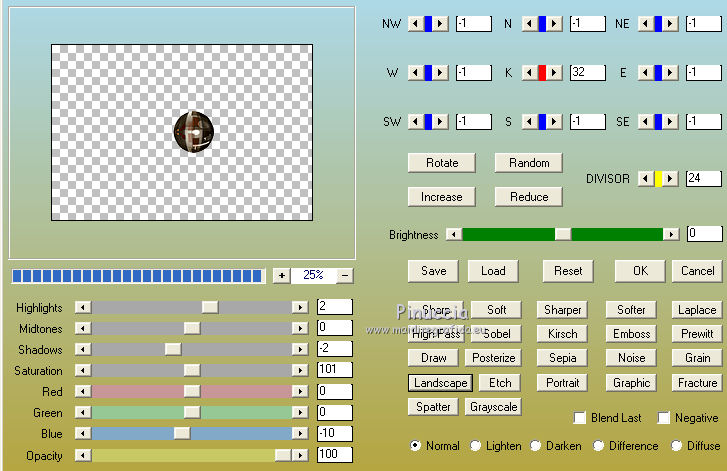
Effects>Plugins>AAA Filters - Custom - Landscape and ok.
Effects>3D Effects>Drop shadow, color #0000000.

Effects>3D Effects>Drop shadow, color #0000000.

25. Open deco@ildiko_create_deco_free_008 and go to Edit>Copy.
Go back to your work and go to Edit>Paste as new layer.
Place  at the upper left, or at your choice. at the upper left, or at your choice.
Layers>Duplicate.
Image>Flip.
Layers>Merge>Merge Down.
26. Open deco@ildiko_create_deco_free_006 and go to Edit>Copy.
Go back to your work and go to Edit>Paste as new layer.
Place  at your choice or see my example. at your choice or see my example.
for my work, I modified the tube - it is in the material (deco 2), if you want to use it
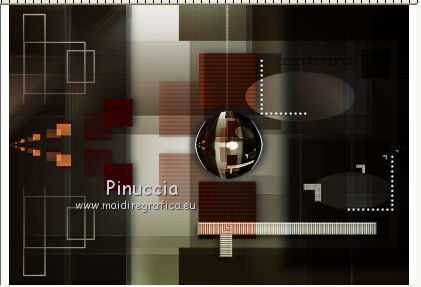
Layers>Merge>Merge visible.
Layers>Duplicate.
27. Effects>Illumination Effects>Lights.
Select the preset alive and ok.
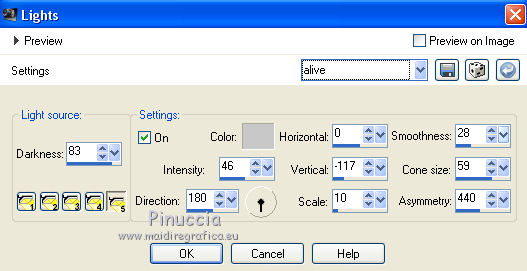
Change the Blend Mode of this layer to Soft Light and reduce the opacity to 75%.
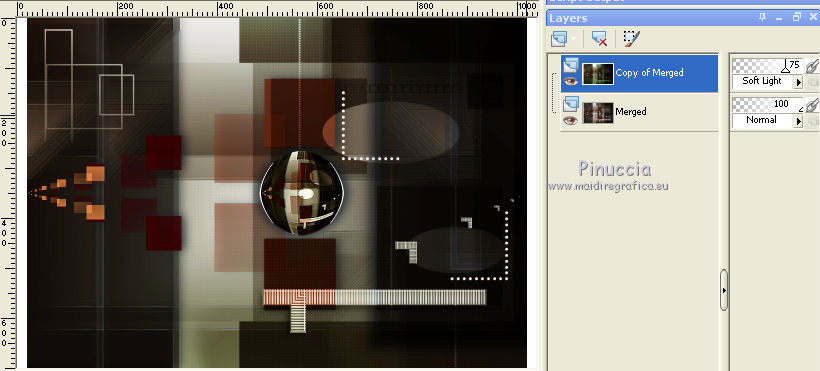
28. Open the tube femmeVSP137 and go to Edit>Copy.
Go back to your work and go to Edit>Paste as new layer.
Image>Mirror.
Adjust>Sharpness>Sharpen More.
Resize and place at your choice.
29. Image>Add borders, symmetric not checked, color white #ffffff.
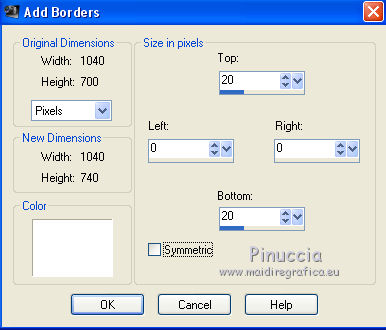
30. Image>Resize, 1000 pixels width, resize all layers checked.
Sign your work on a new layer.
little note about the watermark:
I don't ask to put watermark on the versions made by my translations.
But if you decide to use the watermark supplied by the author, I would appreciate that my work as translator was also respected.
For that, I added my watermark to the material (english and french).
31. Save as jpg.
Version with tube by Thafs
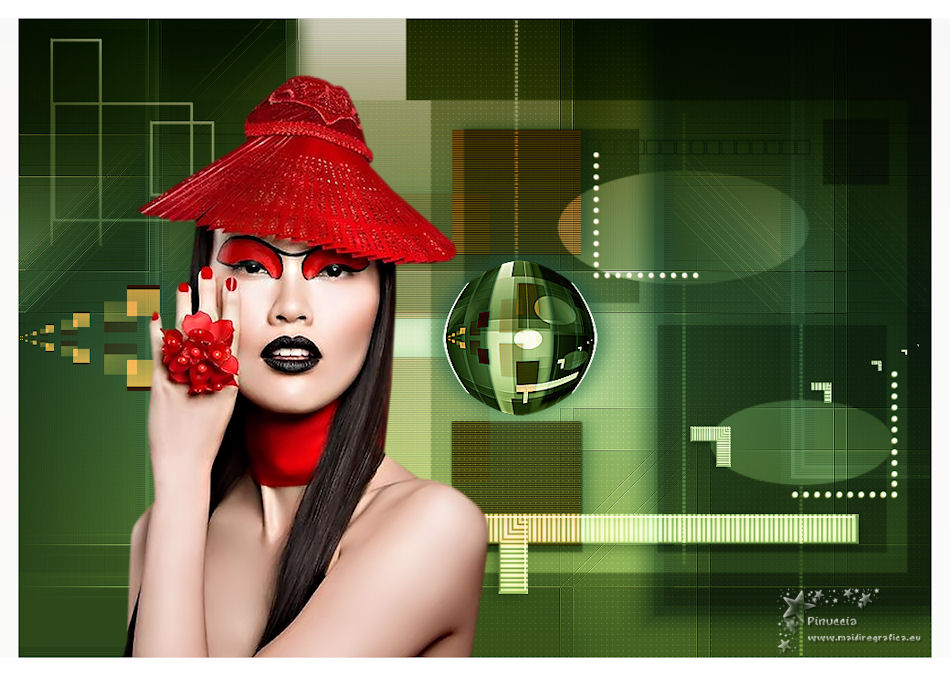
Your versions here

If you have problems or doubts, or you find a not worked link, or only for tell me that you enjoyed this tutorial, write to me.
10 July 2019
|
 ENGLISH VERSION