|
TOP LOVELY

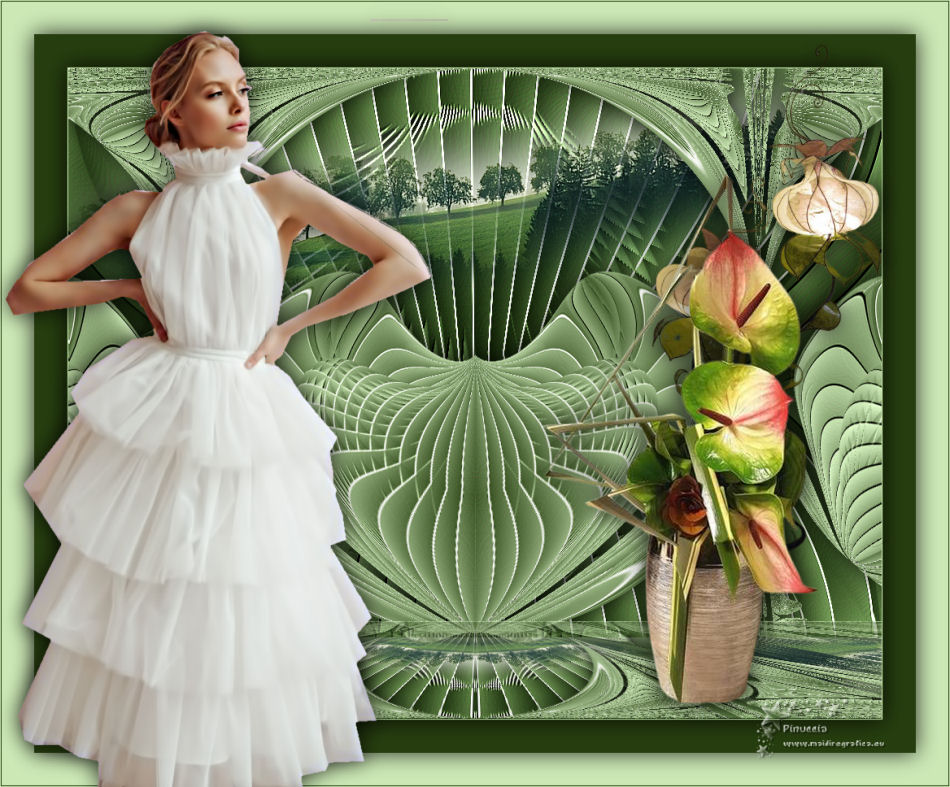
Thanks Lica Cida for your invitation to translate your tutorial

This tutorial was created with PSPX9 and translated with PSPX2 and PSPX3 and PSPX7, but it can also be made using other versions of PSP.
Since version PSP X4, Image>Mirror was replaced with Image>Flip Horizontal,
and Image>Flip with Image>Flip Vertical, there are some variables.
In versions X5 and X6, the functions have been improved by making available the Objects menu.
In the latest version X7 command Image>Mirror and Image>Flip returned, but with new differences.
See my schedule here
 French translation here French translation here
 your versions here your versions here
For this tutorial, you will need:
Material here
Thanks for the tubes Nicole and Calligraphy.
(you find here the links to the material authors' sites)
Plugins
consult, if necessary, my filter section here
Mura's Meister - Perspective Tiling here
Mura's Seamless - Emboss at Alpha here
Filters Unlimited 2.0 here
Filters Mura's Seamless can be used alone or imported into Filters Unlimited.
(How do, you see here)
If a plugin supplied appears with this icon  it must necessarily be imported into Unlimited it must necessarily be imported into Unlimited

You can change Blend Modes according to your colors.
In the newest versions of PSP, you don't find the foreground/background gradient (Corel_06_029).
You can use the gradients of the older versions.
The Gradient of CorelX here
Copy the presets Emboss 7 in the Presets Folder.
1. Set your foreground color to #cce8b5,
and your background color to #263e0f.
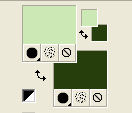
Set your foreground color to a Foreground/Background Gradient, style Linear.
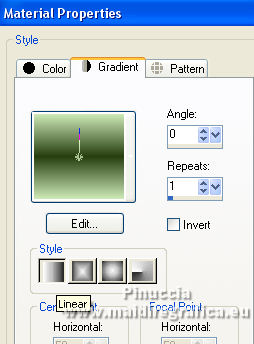
Open a new transparent image 1000 x 700 pixels.
Flood Fill  the transparent image with your Gradient. the transparent image with your Gradient.
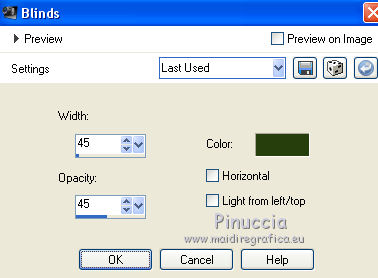
2. Effects>Texture Effects>Blinds, background color.
3. Effects>Distortion Effects>Warp.
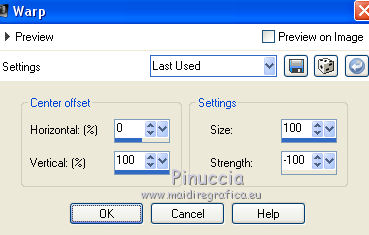
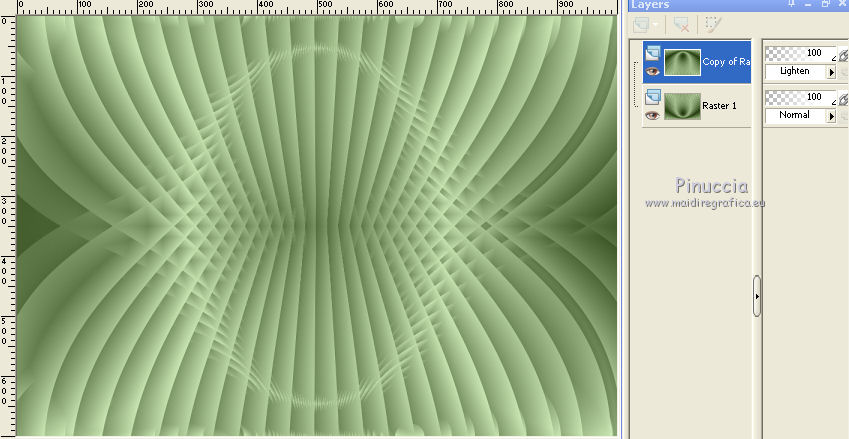
4. Layers>Duplicate.
Image>Flip.
Change the Blend Mode of this layer to Lighten.
5. Effects>Reflection Effects>Rotating Mirror, default settings.

6. Layers>Merge>Merge visible.
Effects>User Defined Filter - select the preset Emboss 7 and ok.
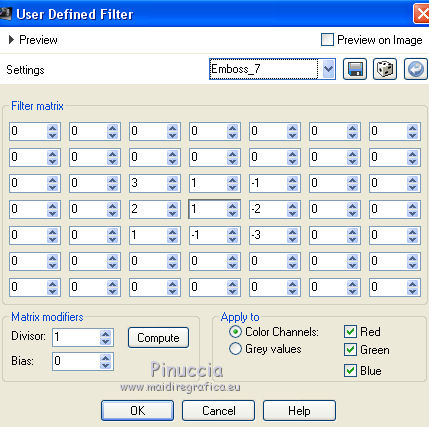
Layers>Duplicate.
7. Effects>Geometric Effects>Spherize.
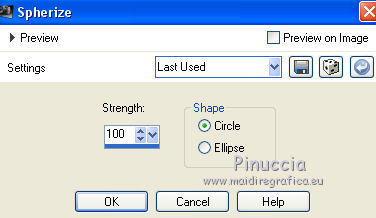
8. Effects>Geometric Effects>Circle.

9. Effects>Distortion Effects>Polar Coordinates.
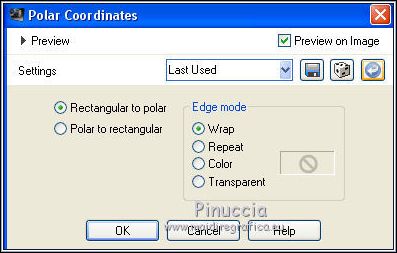
10. Effects>Geometric Effects>Circle.
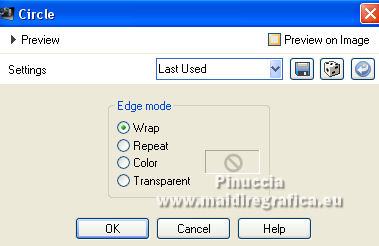
11. Effects>Reflection Effects>Rotating Mirror, same settings.

Effects>3D Effects>Drop Shadow, color #000000.

12. Open the tube nicole-mist-paysage19-2013 and go to Edit>Copy.
Go back to your work and go to Edit>Paste as new layer.
Move  the tube up. the tube up.
Adjust>Sharpness>Sharpen More.
Layers>Arrange>Move Down.
13. Activate the layer Merged.
Layers>Duplicate.
Change the Blend mode of this layer to Multiply.
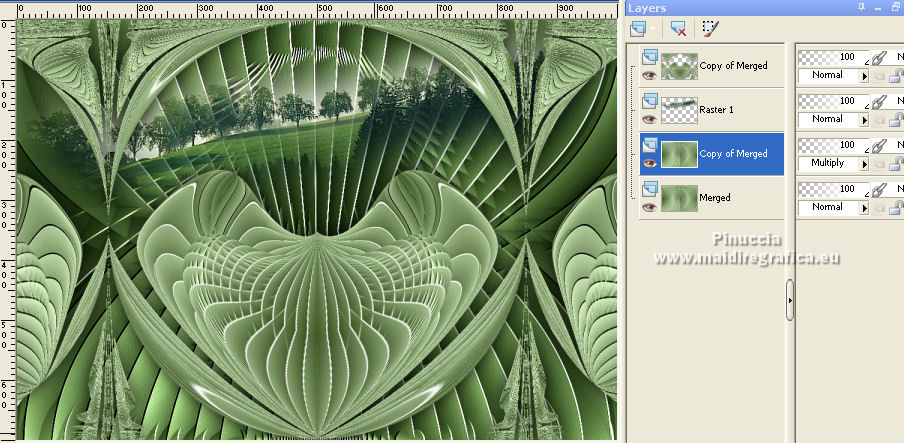
Layers>Merge>Merge visible.
14. Image>Canvas Size - 1000 x 800 pixels.
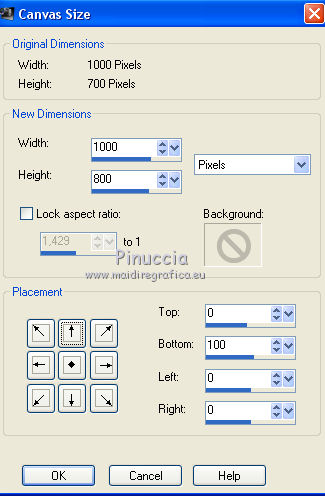
Layers>Duplicate.
Image>Flip.
15. Effects>Plugins>Mura's Meister - Perspective Tiling.
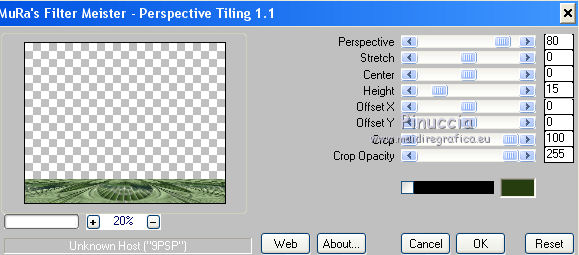
Activate your Magic Wand Tool  , feather 60, , feather 60,
and click in the transparent part to select it.
Press CANC on the keyboard  , to soften the effect. , to soften the effect.
Selections>Select None.
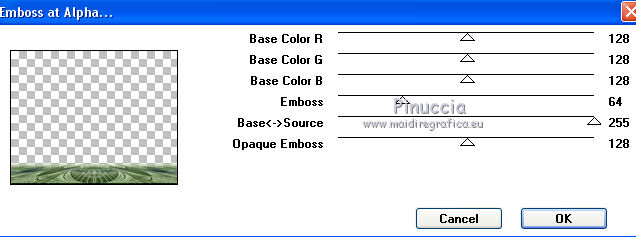
16. Effects>Reflection Effects>Rotating Mirror.

Effects>Plugins>Mura's Seamless - Emboss at Alpha, default settings.
17. Image>Add borders, 1 pixel, symmetric, background color.
Image>Add borders, 1 pixel, symmetric, foreground color.
Selections>Select All.
Image>Add bordrs, 40 pixels, symmetric, background color.
Effects>3D Effects>Drop Shadow, same settings.

Selections>Select All.
Image>Add borders, 40 pixels, symmetric, foreground colors.
Effects>3D Effects>Drop Shadow, same settings.

Selections>Select None.
Image>Add borders, 1 pixel, symmetric, background color.
Image>Add borders, 1 pixel, symmetric, foreground color.
18. Open the tube Callitubes-671mulheres and go to Edit>Copy.
Go back to your work and go to Edit>Paste as new layer.
Move  the tube to the left side. the tube to the left side.
19. Open the tube Callitubes-138flores (1) and go to Edit>Copy.
Go back to your work and go to Edit>Paste as new layer.
Move  the tube to the right side. the tube to the right side.
20. Open the tube Callitubes-41diversos and go to Edit>Copy.
Go back to your work and go to Edit>Paste as new layer.
Move  the tube to the right side. the tube to the right side.
Layers>Arrange>Move Down.
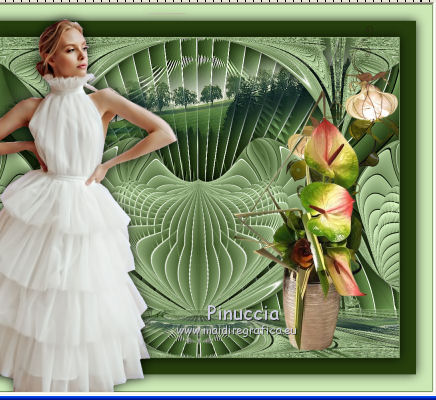
21. Image>Resize, 1000 pixels width, resize all layers checked.
22. Sign your work on a new layer.
Add, if you want, the author's and translator's watermarks.
Save as jpg.
Version with tubes by Luz Cristina and Colybrix
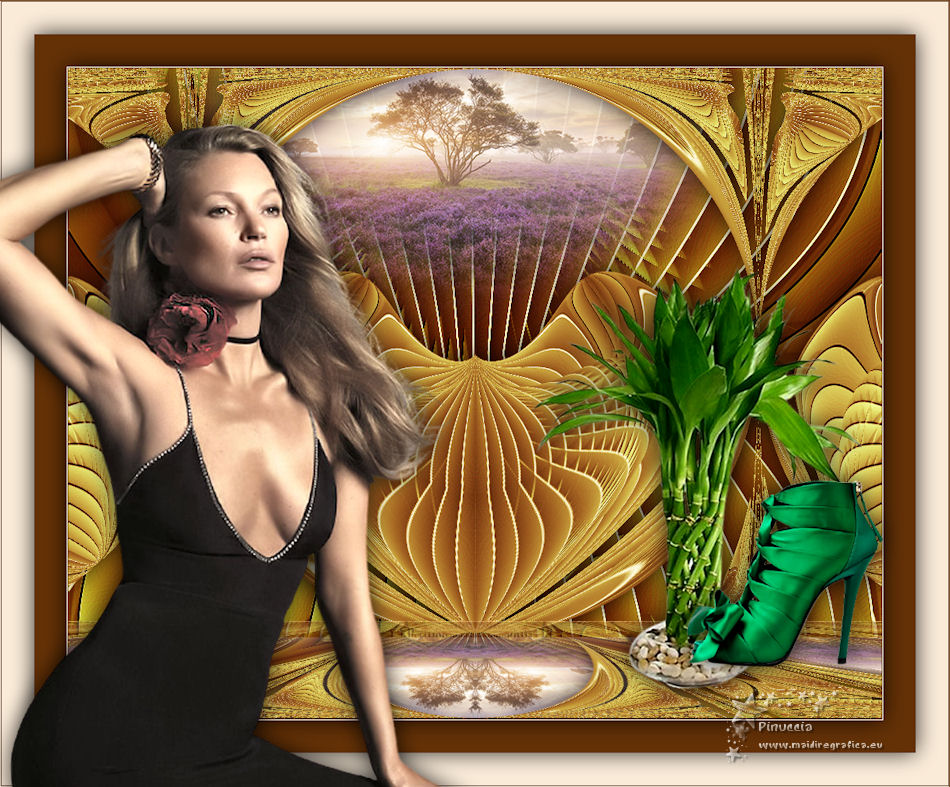
 Your versions here Your versions here

If you have problems or doubts, or you find a not worked link, or only for tell me that you enjoyed this tutorial, write to me.
23 Octobre 2021

|


