|
TOP IRENE RENE

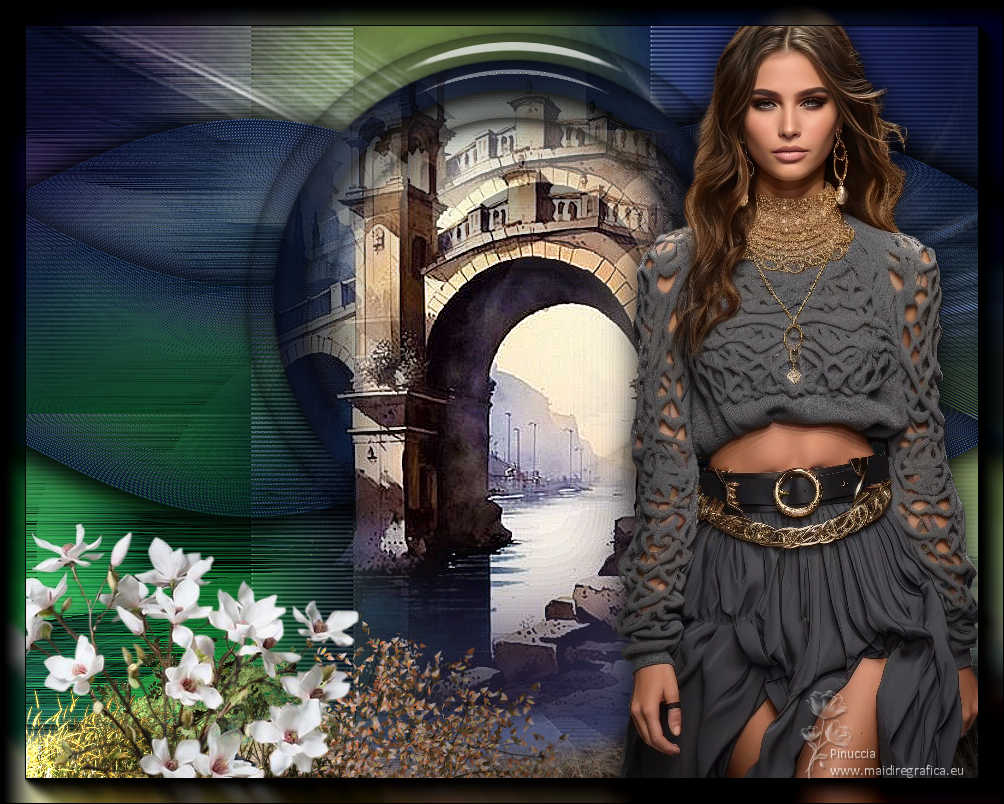
Thanks Lica Cida for your invitation to translate your tutorial

This tutorial was created with PSPX9 and translated with PSPX9 and PSP2020, but it can also be made using other versions of PSP.
Since version PSP X4, Image>Mirror was replaced with Image>Flip Horizontal,
and Image>Flip with Image>Flip Vertical, there are some variables.
In versions X5 and X6, the functions have been improved by making available the Objects menu.
In the latest version X7 command Image>Mirror and Image>Flip returned, but with new differences.
See my schedule here
 French translation here French translation here
 your versions here your versions here

For this tutorial, you will need:

Thanks for the tubes Nena Silva, Beatriz, DWorisch, and for the mask Silvie.
(you find here the links to the material authors' sites)

consult, if necessary, my filter section here
Filters Unlimited 2.0 here
Mehdi - Sorting Tiles here
ECWS - Tile Maker 1.0 here
Carolaine and Sensibility - CS-LDots here
Mura's Meister - Perspective Tiling here
Alien Skin Eye Candy 5 Impact - Glass here
AAA Frames - Foto Frame here
Filters ECWS can be used alone or imported into Filters Unlimited.
(How do, you see here)
If a plugin supplied appears with this icon  it must necessarily be imported into Unlimited it must necessarily be imported into Unlimited

You can change Blend Modes according to your colors.
In the newest versions of PSP, you don't find the foreground/background gradient (Corel_06_029).
You can use the gradients of the older versions.
The Gradient of CorelX here

Copy the selection in the Selections Folder.
Copy the presets Emboss 3 and araralightdw in the Presets Folder.
Open the mask, which will be used as a tube, in PSP and minimize it with the rest of the material.
1. Choose two colors to work.
Set your foreground color to #101e3e,
and your background color to #7387b1.
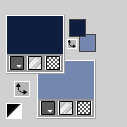
2. Set your foreground color to a Foreground/Background Gradient, style Rectangular.
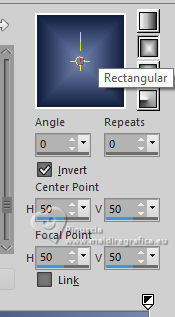
3. Open a new transparent image 1000 x 700 pixels.
Flood Fill  the layer with your Gradient. the layer with your Gradient.
4. Layers>Duplicate.
Effcts>Plugins>Mehdi - Sorting Tiles.
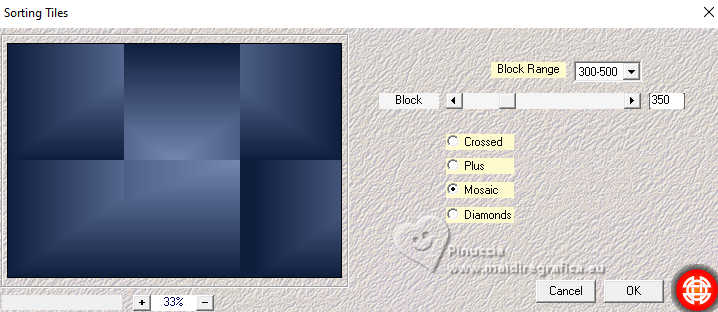
5. Effects>Reflection Effects>Rotating Mirror, default settings.

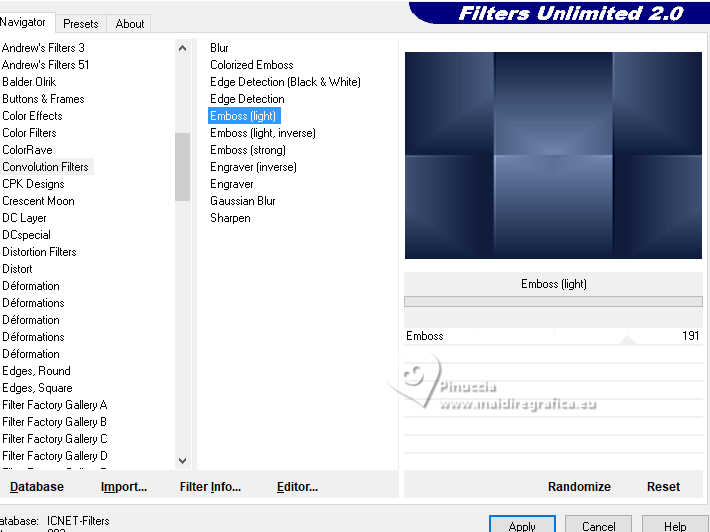
6. Effects>Plugins>Filters Unlimited 2.0 - Convolution Filter - Emboss (light), default settings
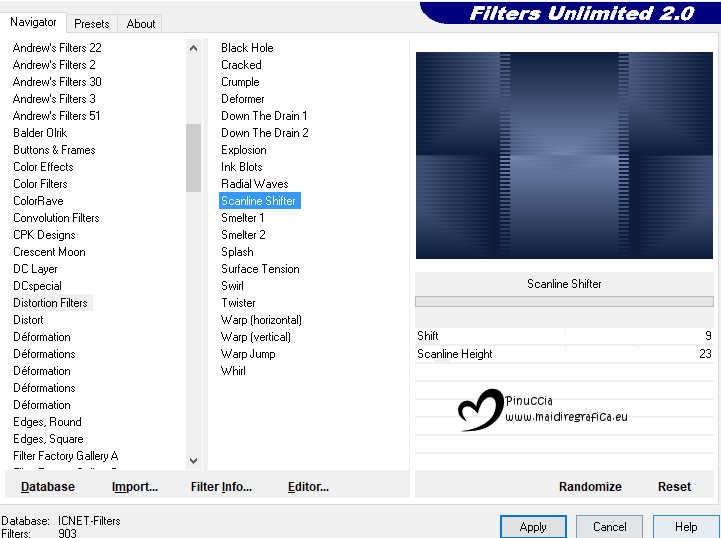
7. Effects>Plugins>Filters Unlimited 2.0 - Distortion Filters - Scanline Shifter, default settings.
Repeat this Effect 2 times (for a total of 3); result.
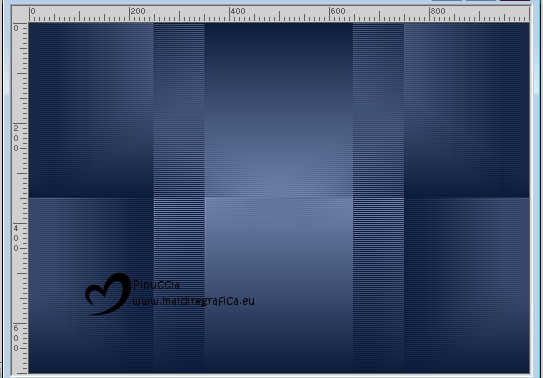
Adjust>Sharpness>Sharpen.
8. Activate the layer Raster 1.
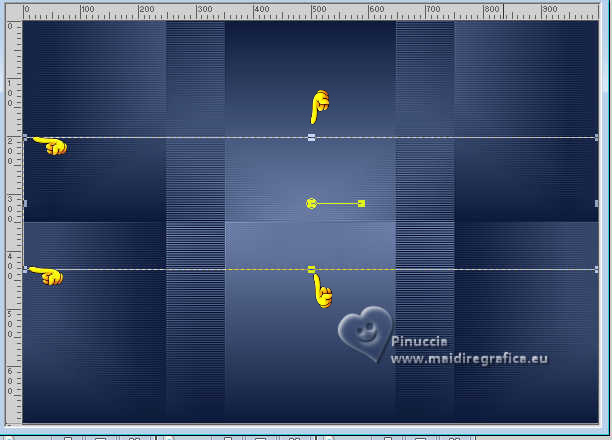
Activate your Pick Tool 
in mode Scale 
if you don't see the Rules: View>Rules
pull the top node down until 200 pixels,
and the bottom node up until 430 pixels.
Layers>Arrange>Bring to Top.
9. Effects>Plugins>ECWS - Tile Maker 1.0.
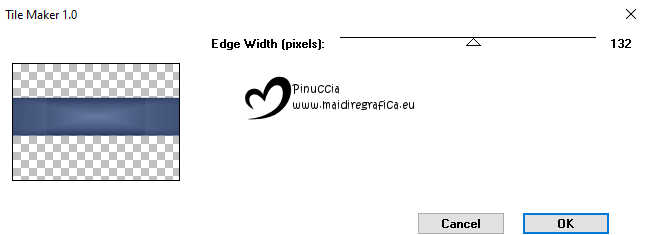
Effects>Edge Effects>Enhance.
10. Effects>Texture Effects>Weave
weave color: dark foreground color,
gap color: light background color
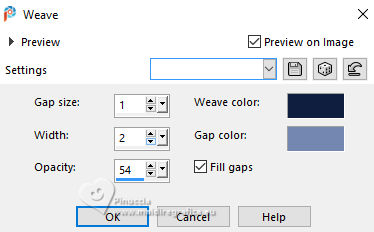
11. Effects>Distortion Effects>Wave
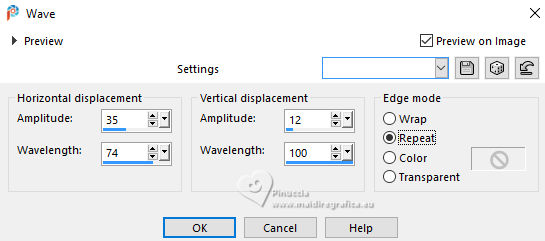
12. Effects>3D Effects>Drop Shadow, color #000000.

Layers>Duplicate.
Image>Mirror>Mirror Horizontal.
Effects>3D Effects>Drop Shadow, same settings.

Layers>Merge>Merge Down.
13. Image>Canvas Size - 1000 x 800 pixels.
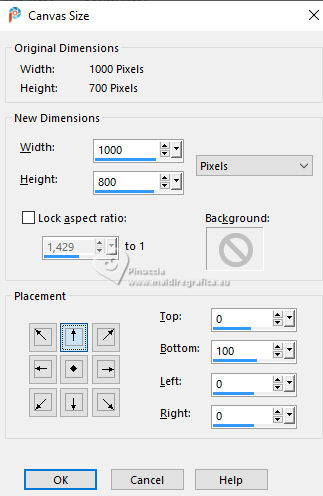
14. Activate the layer Copy of Raster 1.
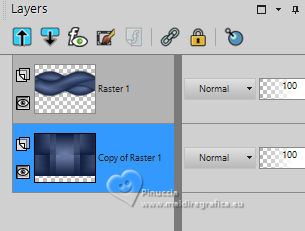
Pick Tool (K) 
pull the bottom node until the bord.
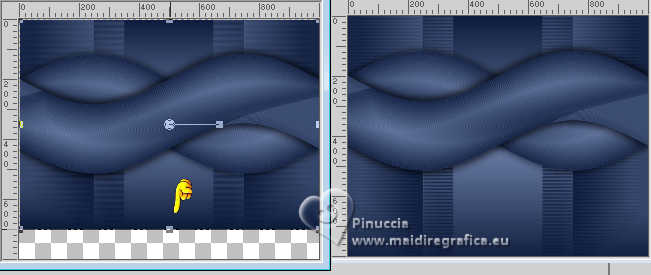
15. Activate your top layer.
Change the Blend Mode of this layer to Darken.
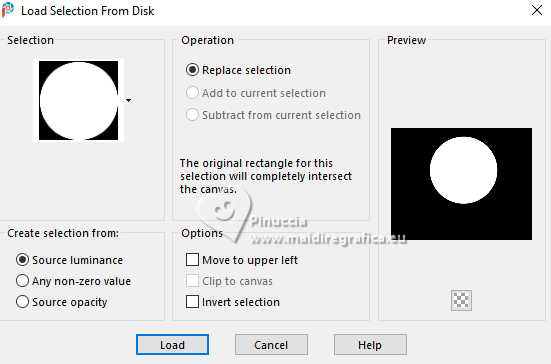
Selections>Load/Save Selection>Load Selection from Disk.
Look for and load the selection circle_by lc
16. Layers>New Raster Layer.
Flood Fill  the selection with your Gradient. the selection with your Gradient.
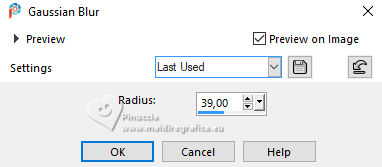
17. Adjust>Blur>Gaussian Blur, radius 39.
18. Effects>Plugins>Carolaine and Sensibility - CS-LDots.
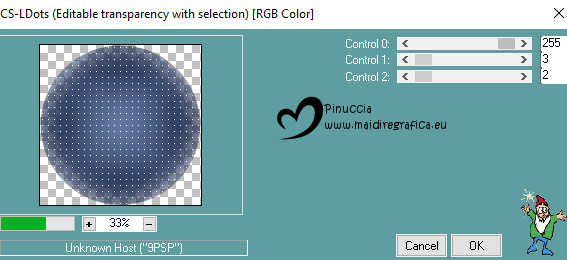
Effects>Edge Effects>Enhance.
Keep selected.
19. Open the tube ns-paisagem1174 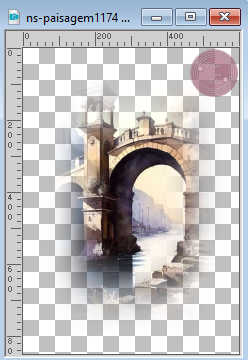
Erase the watermark and go to Edit>Copy.
Minimize the tube.
Go back to your work and go to Edit>Paste as new layer.
Place  the tube on the selection. the tube on the selection.
Selections>Invert.
Press CANC on the keyboard 
Selections>Invert.
Adjust>Sharpness>Sharpen More.
Layers>Merge>Merge Down.
20. Selections>Modify>Select Selection Borders.
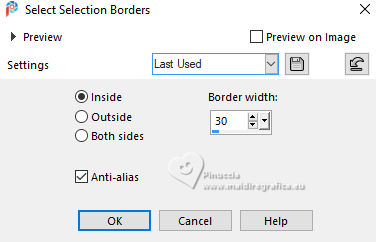
Layers>New Raster Layer.
Flood Fill  the layer with your gradient. the layer with your gradient.
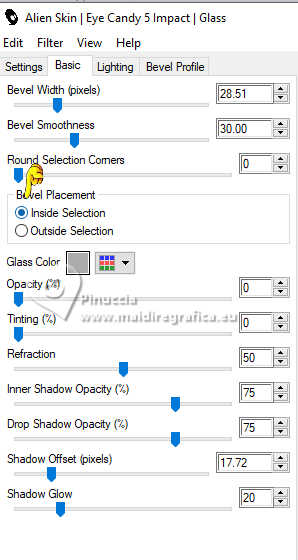
21. Effects>Plugins>Alien Skin Eye Candy 5 Impact - Glass
Settings: Clear - Basic with these settings: Outside Selection checked.
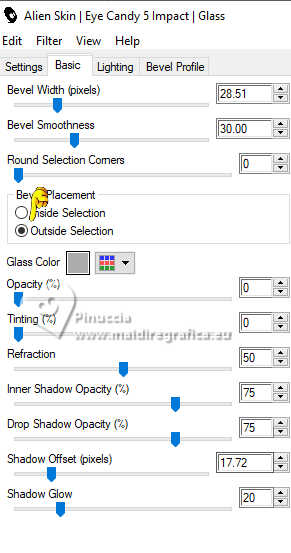
22. Repeat Effects>Plugins>Alien Skin Eye Candy 5 Impact - Glass, Inside Selection checked
23. Change the Blend Mode of this layer to Multiply.
Selections>Select None.
24. Effects>3D Effects>Drop Shadow, same settings.

Layers>Merge>Merge Down.
25. Activate your bottom layer, Copy of Raster 1.
Layers>Duplicate.
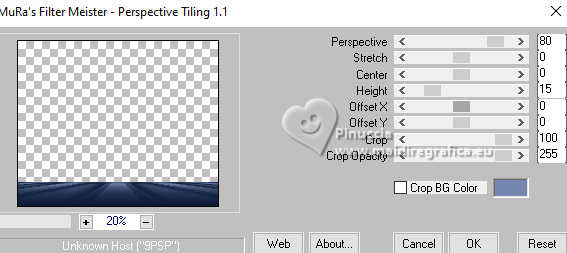
Effects>Plugins>Mura's Meister - Perspective Tiling.
26. Effects>Reflection Effects>Rotating Mirror.

27. Effects>User Defined Filter - select the preset Emboss 3

28. Activate your Magic Wand Tool  , tolerance 0 and feather 60- , tolerance 0 and feather 60-
and click in the transparent part to select it.
Press 4-5 times CANC on the keyboard.
Selections>Select None.
don't forget to set again the feather to 0
Change the Blend Mode of this layer to Screen.
29. Open backcolorido-rb 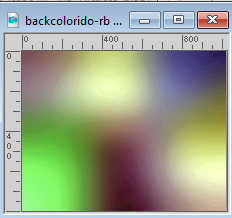
Edit>Copy.
Go back to your work and go to Edit>Paste as new layer.
Layers>Arrange>Move Down.
Change the Blend Mode of this layer to Hard Light and reduce the opacity to 63%.
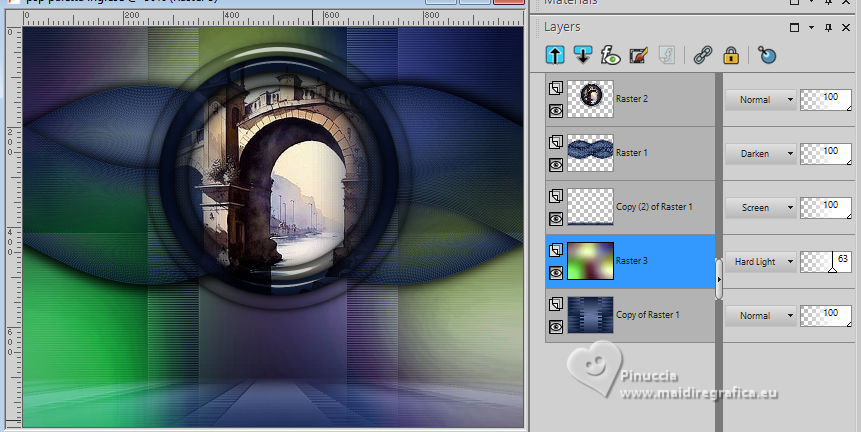
30. Open decorazul-lc 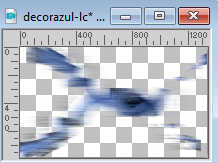
Edit>Copy.
Go back to your work and go to Edit>Paste as new layer.
Layers>Arrange>Move up.
Keep the Blend Mode to Multiply, opacity 100.
31. Activate the mask Silvie_Mask 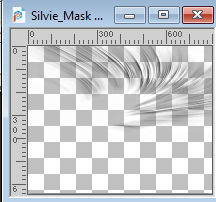
Copy the layer Raster 1.
Go back to your work and go to Edit>Paste as new layer.
Change the Blend Mode of this layer to Screen, opacity 100.
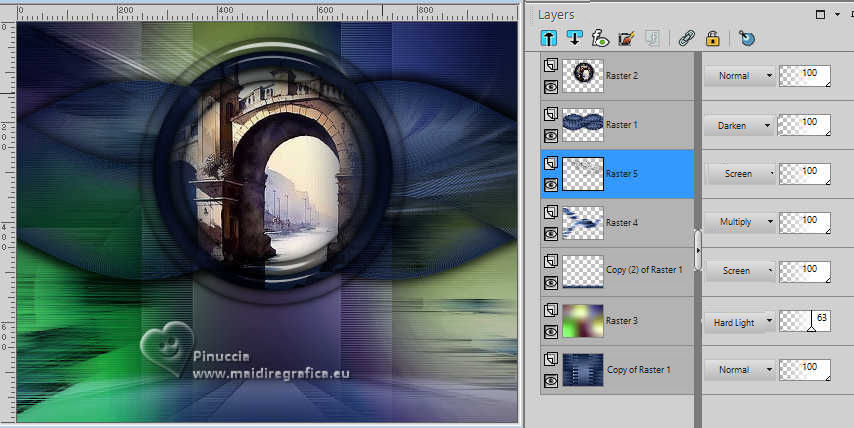
Your tag and the layers - adapt Blend Mode and opacity to your liking.
32. Activate your top layer.
Activate again the tube ns-paisagem1174 and go to Edit>Copy.
Go back to your work and go to Edit>Paste as new layer.
It should already be well positioned.
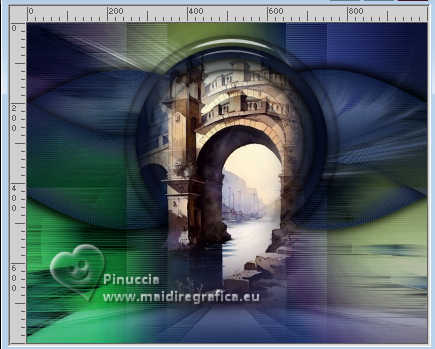
Adjust>Sharpness>Sharpen More.
33. Open chao natureza 004 dworisch 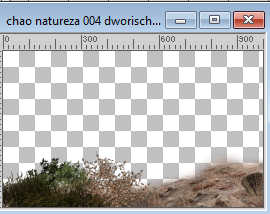
Edit>Copy.
Go back to your work and go to Edit>Paste as new layer.
Move  the tube down, over the border. the tube down, over the border.
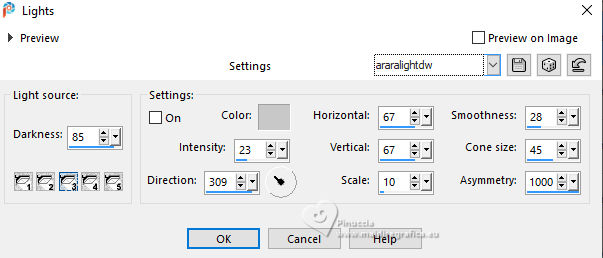
34. Effects>Illumination Effects>Lights
Select the preset araralightdw
35. Open the tube 3605-Deco-LB TUBES 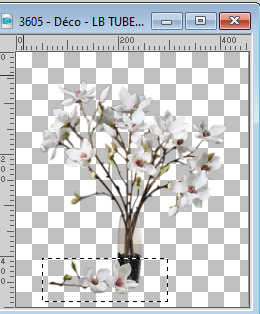
Edit>Copy.
Go back to your work and go to Edit>Paste as new layer.
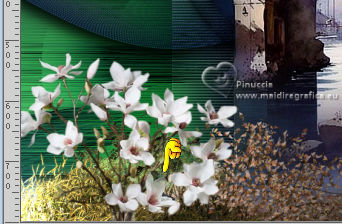
Mover  the tube to your light. the tube to your light.
I used the fallen flowers (selected) as a highlight.
36. Open the tube ns-woman3212 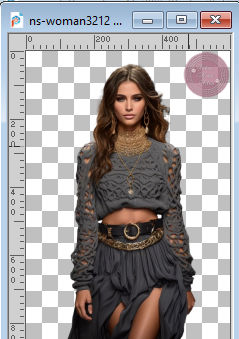
Erase the watermark and go to Edit>Copy.
Go back to your work and go to Edit>Paste as new layer.
Place  correctly the tube. correctly the tube.
Effects>3D Effects>Drop shadow, at your choice.
37. Image>Add borders, 2 pixels, symmetric, color #000000.
38. Effects>Plugins>AAA Frames - Foto Frame.
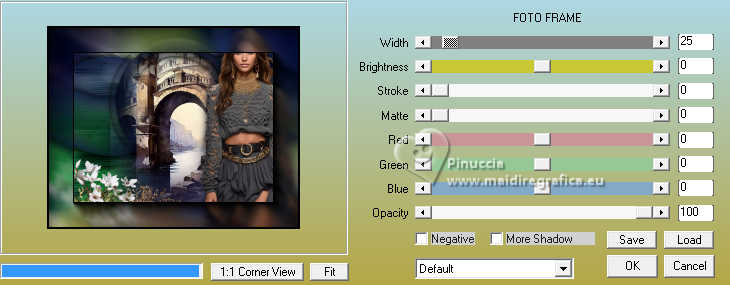
Repeat this Effect another time.
39. Sign your work on a new layer.
Add the author and translator's watermarks.
40. Sign your work and save as jpg.
For the tubes of this version thanks Luz Cristina and Franie Margot
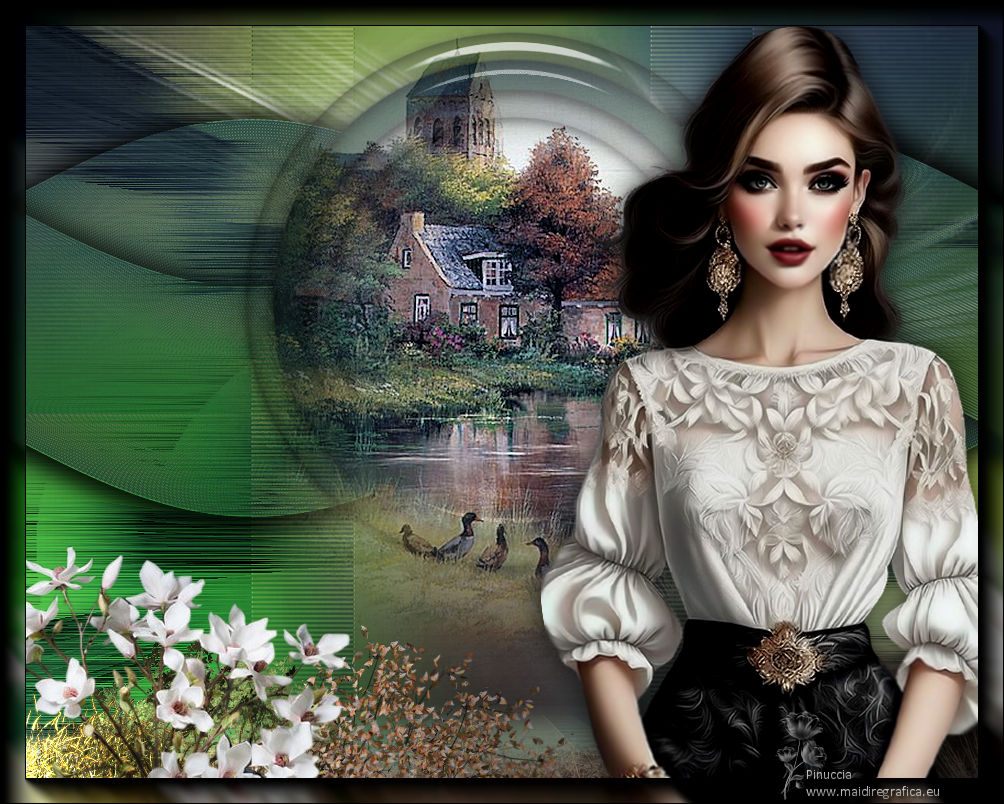
 Your versions here Your versions here

If you have problems or doubts, or you find a not worked link, or only for tell me that you enjoyed this tutorial, write to me.
3 Septembre 2024

|

