|
TOP HOPE

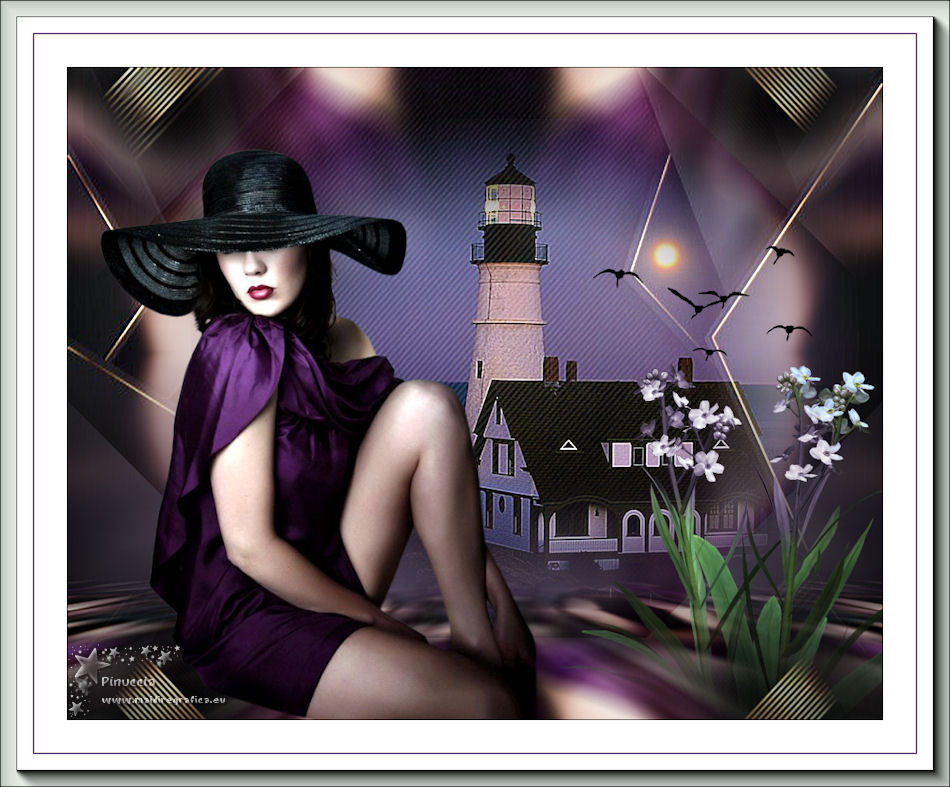
Thanks Lica Cida for your invitation to translate your tutorial

This tutorial was created with PSPX8 and translated with PSPX7 and PSPX3, but it can also be made using other versions of PSP.
Since version PSP X4, Image>Mirror was replaced with Image>Flip Horizontal,
and Image>Flip with Image>Flip Vertical, there are some variables.
In versions X5 and X6, the functions have been improved by making available the Objects menu.
In the latest version X7 command Image>Mirror and Image>Flip returned, but with new differences.
See my schedule here
 French translation here French translation here
 your versions ici your versions ici
For this tutorial, you will need:
Material here
For the tubes thanks Castorke (castorke_tube_dames_219_032014) et Casio (cas_tube_landschap_33_24082011)
Fundo com formas abstratas, designed by Freepik.
Aves and Stefairy_VictorianRomance_elements28
Mask: 002 gradientedworisch.
Deco: decohope.
(you find here the links to the material authors' sites)
Plugins
consult, if necessary, my filter section here
Filters Unlimited 2.0 here
Mura's Meister - Perspective Tiling here
Plugin Galaxy - Instant Mirror here
AAA Filters - Custom / AAA Frames - Foto Frame here

You can change Blend Modes according to your colors.
In the newest versions of PSP, you don't find the foreground/background gradient (Corel_06_029).
You can use the gradients of the older versions.
The Gradient of CorelX here
Copy the preset Emboss 3 in the Presets Folder.
Open the mask in PSP and minimize it with the rest of the material.
1. Open a new transparente image 1000 x 700 pixels.
Set your foreground color to #9e87b3,
and your background color to black #000000.
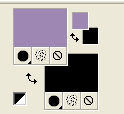
Set your foreground color to a Foreground/Background Gradient, style Sunburst.

Flood Fill  the selection with your gradient. the selection with your gradient.
2. Layers>New Raster Layer.
Selections>Select All.
Open the tube Castorke_tube_dames_219_032014, erase the watermark and go to Edit>Copy.
Minimize the tube.
Go back to your work and go to Edit>Paste into Selection.
Selections>Select None.
Effects>Image Effects>Seamless Tiling.

Adjust>Blur>Motion Blur.

Edit>Repeat Motion Blur.
Layers>Duplicate.
Image>Mirror.
Change the Blend Mode of this layer to Soft Light.
Layers>Merge>Merge Down.
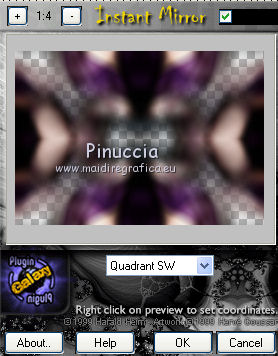
3. Effets>Modules Externs>Plugin Galaxy - Instant Mirror.
Layers>Duplicate.
4. Layers>New Raster Layer.
Selections>Select All.
Open the image fundo com formas abstratas and go to Edit>Copy.
Go back to your work and go to Edit>Paste into Selection.
Selections>Select None.
Change the Blend Mode of this layer to Screen.
Effects>User Defined Filter - select the preset Emboss 3 and ok.

5. Layers>New Mask layer>From image
Open the menu under the source window and you'll see all the files open.
Select the mask 002 gradientedworisch.

Layers>Duplicate.
Layers>Merge>Merge Group.
Activate the layer Raster 2.
Apply again the mask 002 gradientedworisch, same settings.

5. Activate the layer Copy of Raster 2.
Layers>Duplicate.
Selections>Select All.
Selections>Modify>Contract - 60 pixels.
Press CANC on the keyboard 
Selections>Select None.
7. Effects>Geometric Effects>Skew.

Layers>Duplicate.
Image>Mirror.
Layers>Merge>Merge Down.
Layers>Duplicate.
Image>Flip.
Layers>Merge>Merge Down.
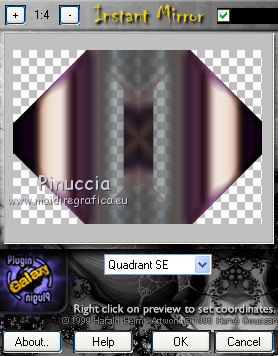
8. Effects>Plugins>Plugin Galaxy - Instant Mirror.
Change the Blend Mode of this layer to Soft Light.
9. Image>Canvas Size - 1000 x 800 pixels.

10. Activate the layer Copy of Raster 2.
Effects>Plugins>Mura's Meister - Perspective Tiling.
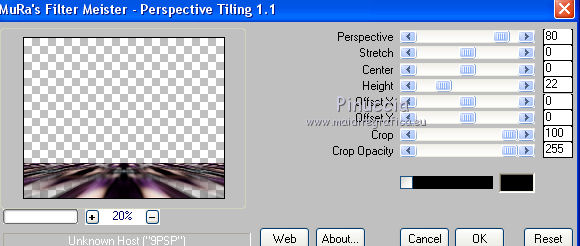
Activate your Magic Wand Tool  , progressivité 60 , progressivité 60
Click on the transparent zone to select it.
Press 4-5 times CANC on the keyboard.
Selections>Select None.
Effects>User Defined Filter - Emboss 3.
11. Activate the layer Raster 1.
Activer your Pick Tool 
mode Scale 
pull the central bottom node
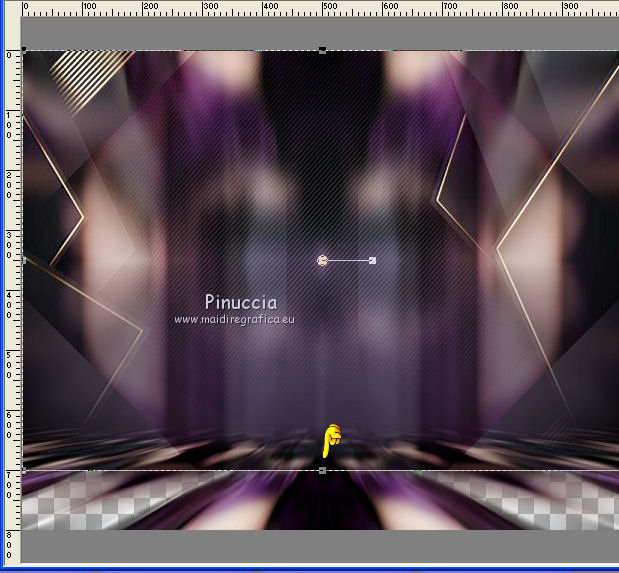
until the bord

12. Activate your top layer.
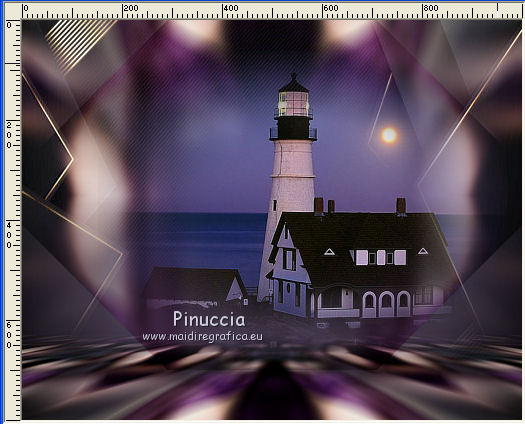
Open the tube cas_tube_landschap_33_24082011 and go to Edit>Copy.
Go back to your work and go to Edit>Paste as new layer.
Adjust>Sharpness>Sharpen More.
Move  the tube a bit to the right. the tube a bit to the right.
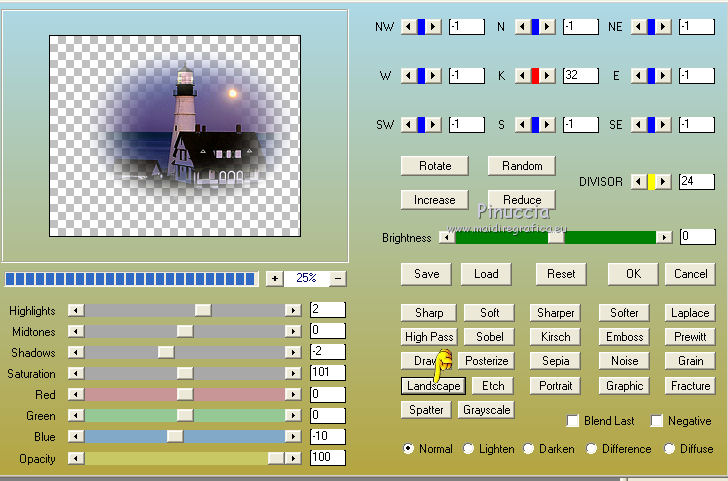
Effects>Plugins>AAA Filters - Custom, click on Landscape and ok.
Layers>Arrange>Move Down.
13. Activate again the top layer.
Open the tube decohope and go to Edit>Copy.
Go back to your work and go to Edit>Paste as new layer.
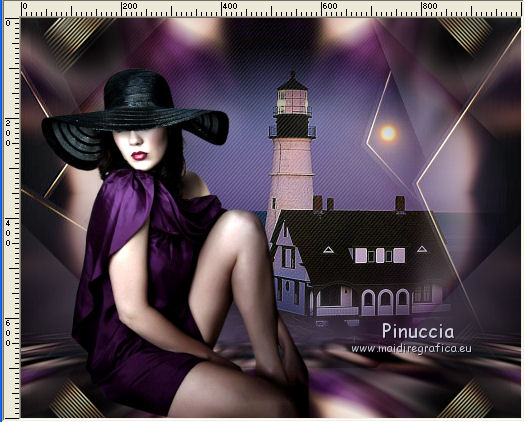
14. Activate again the tube castorke_tube_dames_219_032014_png and go to Edit>Copy.
Go back to your work and go to Edit>Paste as new layer.
I resize the tube to 115%, resize all layers not checked.
Adjust>Sharpness>Sharpen More.
Move  the tube to the left side. the tube to the left side.
15. Open the tube Aves and go to Edit>Copy.
Go back to your work and go to Edit>Paste as new layer.
Move  the tube at the upper right. the tube at the upper right.
Open the tube Stefairy_VictorianRomance_elements28 and go to Edit>Copy.
Go back to your work and go to Edit>Paste as new layer.
Move  the tube at the bottom right. the tube at the bottom right.
16. Image>Add border, 1 pixel, symmetric, color #000000.
Image>Add borders, 40 pixels, symmetric, color #ffffff.
Image>Add borders, 1 pixel, symmetric, color #000000.
Image>Add borders, 1 pixel, symmetric, color #9e87b3.
Image>Add borders, 40 pixels, symmetric, color #ffffff.
17. Effects>Plugins>AAA Frames - Foto Frame.
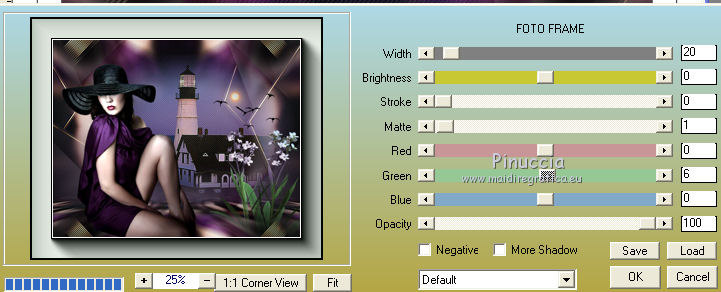
Image>Resize, to 1000 pixels width, resize all layers checked.
Sign your work on a new layer.
little note about the watermark:
I don't ask to put watermark on the versions made by my translations.
But if you decide to use the watermark supplied by the author, I would appreciate that my work as translator was also respected.
For that, I added my watermark to the material.
18. Layers>Merge>Merge All and save as jpg.
Version with tubes by Beatriz, Cal and CibiBijoux
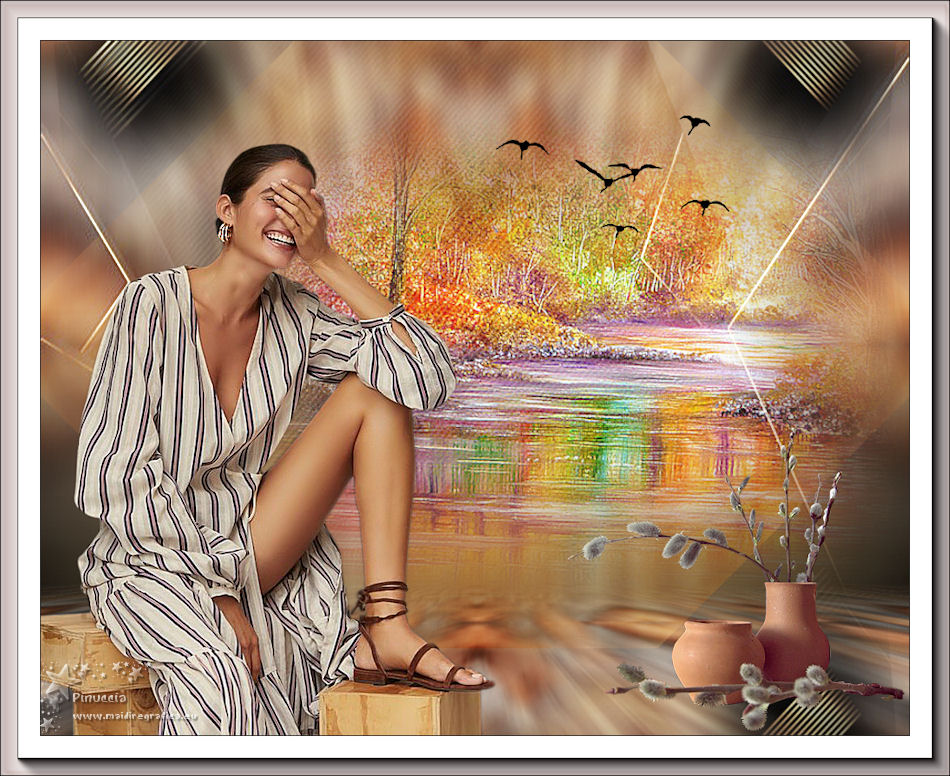
 Your versions here Your versions here

If you have problems or doubts, or you find a not worked link, or only for tell me that you enjoyed this tutorial, write to me.
7 May 2020
|


