|
TOP GOLD STAR

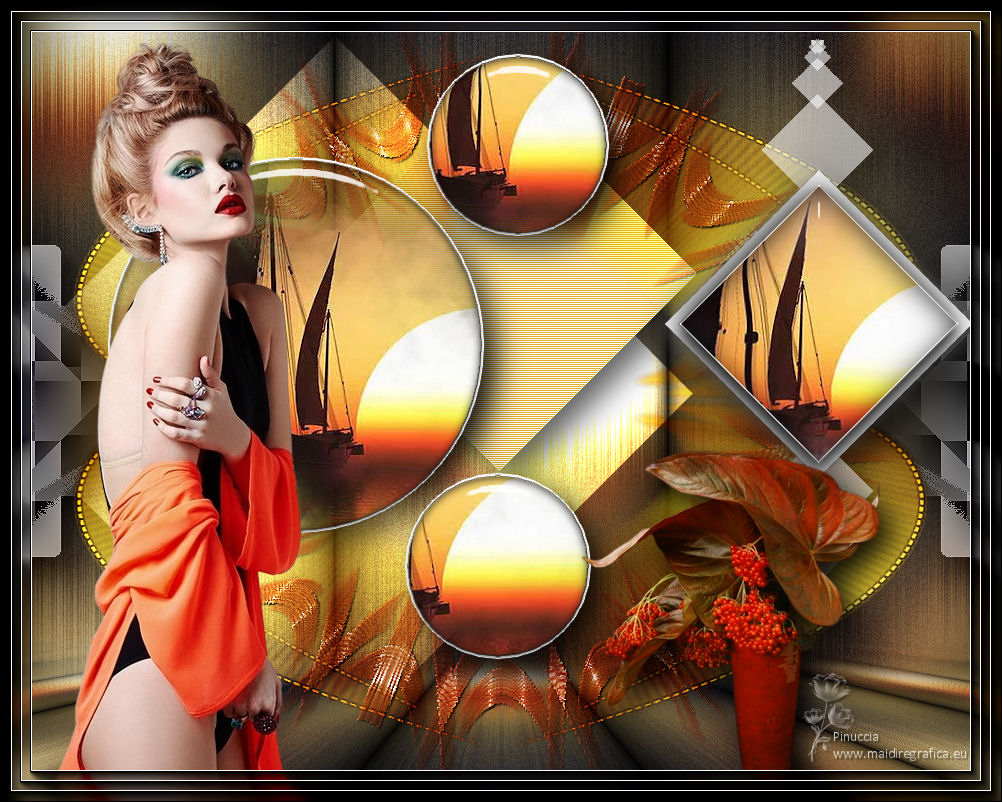
Thanks Lica Cida for your invitation to translate your tutorial

This tutorial was created with PSPX9 and translated with PSPX2 and PSPX3 and PSPX7, but it can also be made using other versions of PSP.
Since version PSP X4, Image>Mirror was replaced with Image>Flip Horizontal,
and Image>Flip with Image>Flip Vertical, there are some variables.
In versions X5 and X6, the functions have been improved by making available the Objects menu.
In the latest version X7 command Image>Mirror and Image>Flip returned, but with new differences.
See my schedule here
 French translation here French translation here
 your versions here your versions here

For this tutorial, you will need:

Thanks: for the tubesPqnaAlice (545MulherByPqnaAlice; 028PaisagemByPqnaAlice) et Calli (Callitubes-160flores).
The rest of the material is by Lica Cida.
(you find here the links to the material authors' sites)

consult, if necessary, my filter section here
Filters Unlimited 2.0 here
&<Bkg Designer sf10II> - Picasso's Another Word (to import in Unlimited) here
Mura's Seamless - Stripe of Cylinder, Shift at Random here
Mura's Meister - Perspective Tiling here
Alien Skin Eye Candy 5 Impact - Perspective Shadow, Glass here
AAA Frames - Foto Frame here
Filters Simple, Funhouse and Toadies can be used alone or imported into Filters Unlimited.
(How do, you see here)
If a plugin supplied appears with this icon  it must necessarily be imported into Unlimited it must necessarily be imported into Unlimited

You can change Blend Modes according to your colors.
In the newest versions of PSP, you don't find the foreground/background gradient (Corel_06_029).
You can use the gradients of the older versions.
The Gradient of CorelX here

1. Set your foreground color to #1d1f2b,
and your background color #eac158.
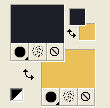
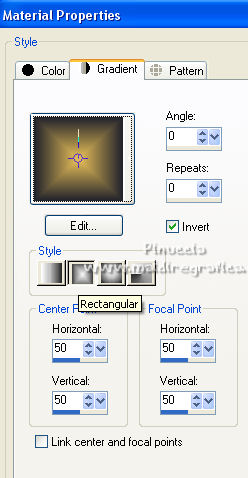
Set your foreground color to a Foreground/Background Gradient, style Rectangular.
2. Open AlphaChannel_Gold Star_Bylicacida.
Window>Duplicate or, on the keyboard, shift+D to make a copy.

Close the original.
The copy, that will be the basis of your work, is not empty,
but contains the selections saved to alpha channel.
Flood Fill  the transparent image with your Gradient. the transparent image with your Gradient.
3. Open the tube 028PaisagemByPqnaAlice, erase the watermark, and go to Edit>Copy.
Minimize the tube.
Go back to your work and go to Edit>Paste as new layer.
attention, your result may be different depending on the size of the tube after erasing the signature,
and also if you use another tube
4. Effects>Image Effects>Seamless Tiling, default settings.

5. Adjust>Blur>Gaussian Blur - radius 28.
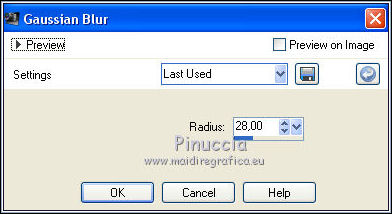
Layers>Merge>Merge Down.
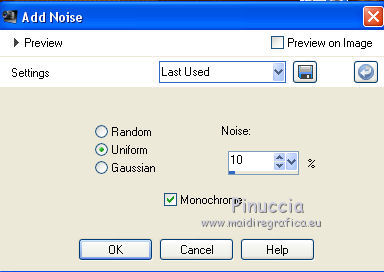
6. Adjust>Add/Remove Noise>Add Noise.
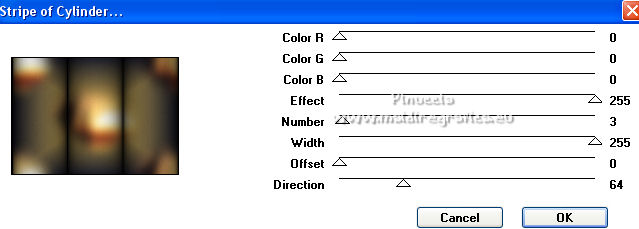
7. Effects>Plugins>Mura's Seamless - Stripe of Cylinder, default settings.
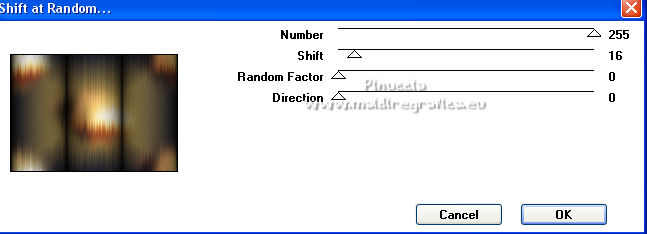
8. Effects>Plugins>Mura's Seamless - Shift at Random, default settings.
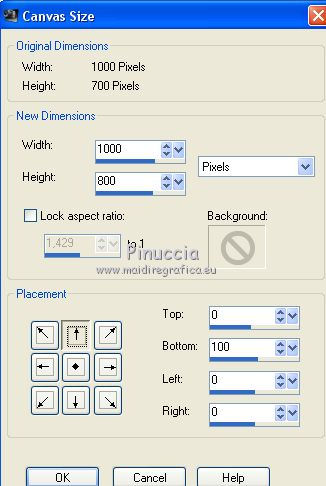
9. Layers>Duplicate.
Image>Canvas Size - 1000 x 800 pixels.
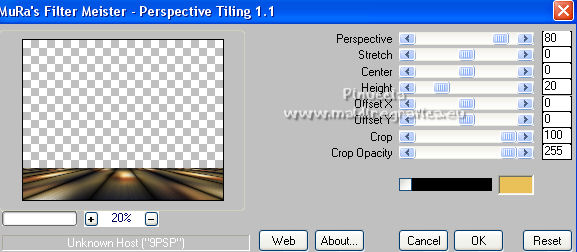
10. Effects>Plugins>Mura's Meister - Perspective Tiling.
11. Activate your Magic Wand Tool  , tolerance and feather 0, , tolerance and feather 0,
and click in the transparent part to select it.
12. Selections>Modify>Inside/Outside Feather.
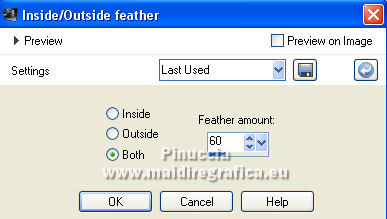
Press 5-6 times CANC on the keyboard 
Selections>Select None.
13. Effects>Reflection Effects>Rotating Mirror, default settings.

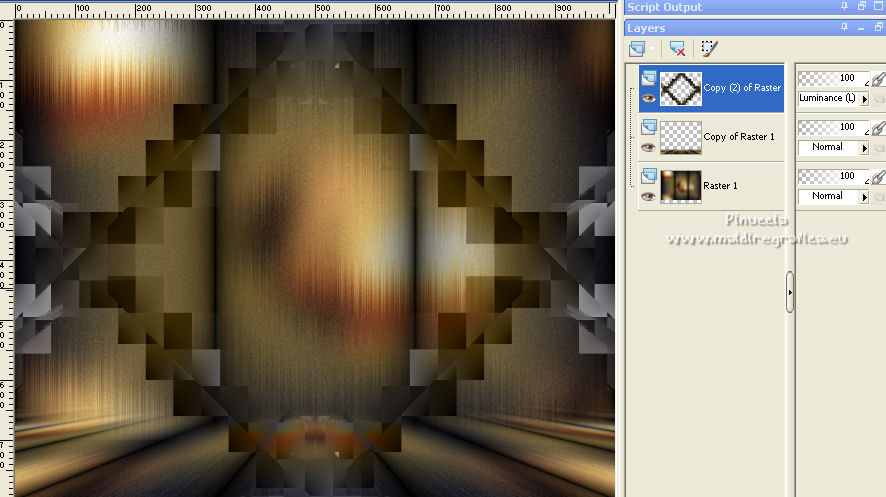
14. Layers>Duplicate.
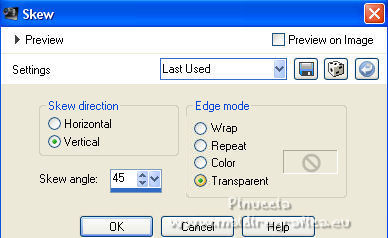
Effects>Geometric Effects>Skew.
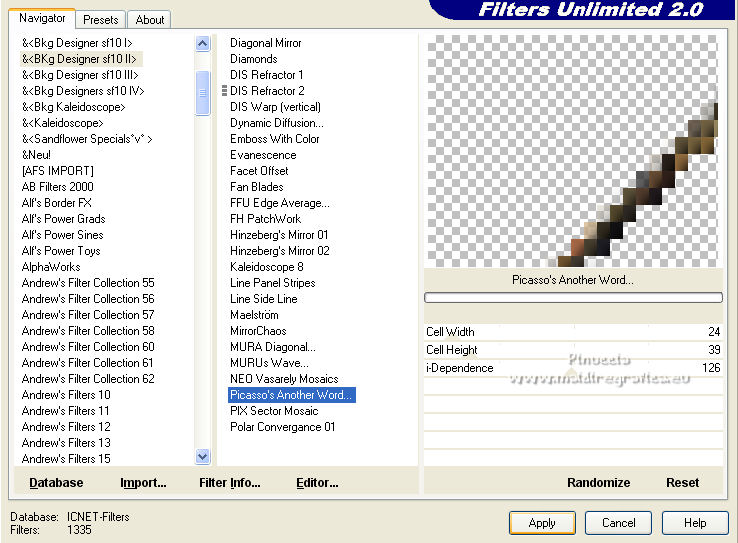
15. Effects>Plugins>Filters Unlimited 2.0 - &<Bkg Designer sf10II> - Picasso's Another Word, default settings.
16. Layers>Duplicate.
Image>Mirror.
Layers>Merge>Merge Down.
Layers>Duplicate.
Image>Flip.
Layers>Merge>Merge Down.
Change the Blend Mode of this layer to Luminance (legacy).
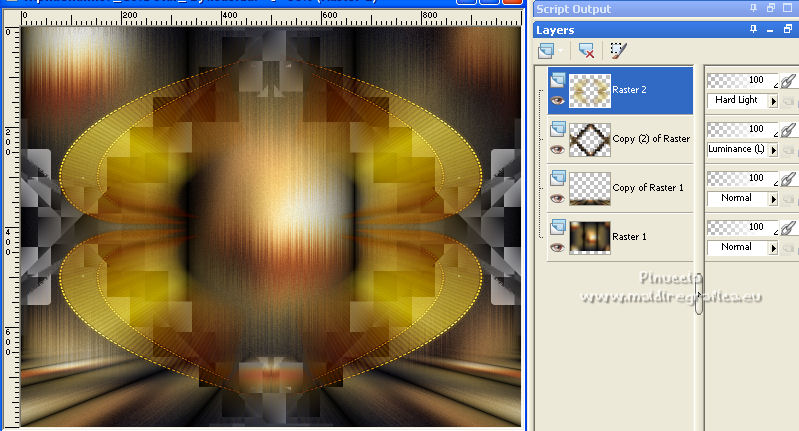
17. Open deco1_gold star-mp and copy the layer Raster 2.
Go back to your work and go to Edit>Paste as new layer.
Image>Resize, to 120%, resize all layers not checked.
I skipped this step and for my example I have not resized
Adjust>Sharpness>Sharpen More.
Change the Blend Mode of this layer to Hard Light.
18. Selections>Select All.
Selections>Float.
Selections>Defloat.
To see better, close this layer for a moment.
Activate the layer below, Copy (2) of Raster 1.
Press 5-6 times CANC on the keyboard.
Selections>Select None.
Activate your Eraser Tool  , size 100 pixels, , size 100 pixels,
and erase the effect up and down.
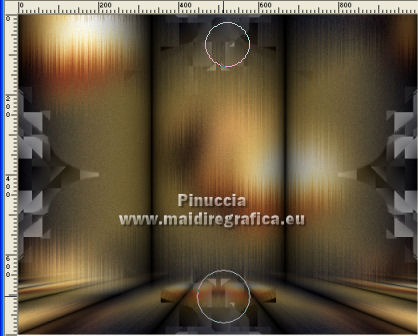
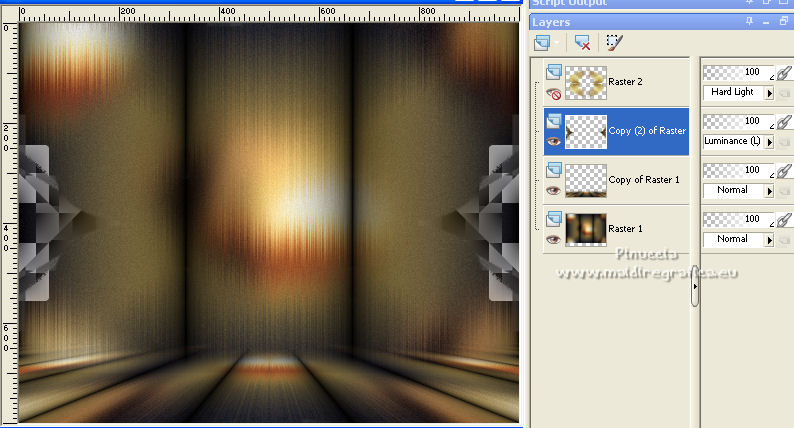
Adjust>Sharpness>Sharpen.
Effects>Plugins>Alien Skin Eye Candy 5 Impact - Perspective Shadow, to your liking.
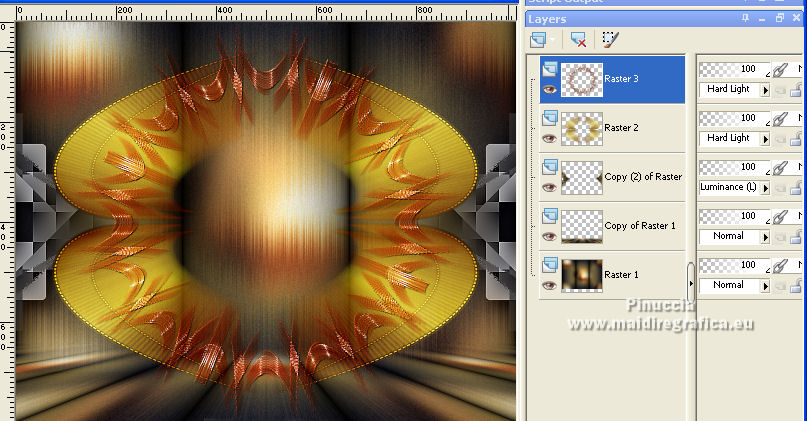
19. Open and activate the top layer, Raster 2.
Open again the tube deco1_gold star-mp and copy the layer Raster 1.
Go back to your work and go to Edit>Paste as new layer.
Image>Resize, to 110%, resize all layers not checked.
Adjust>Sharpness>Sharpen.
Change the Blend Mode of this layer to Hard Light.
20. Layers>New Raster Layer.
Selections>Load/Save Selection>Load Selection from Alpha Channel.
The selection #1 is immediately available. You just have to click Load.
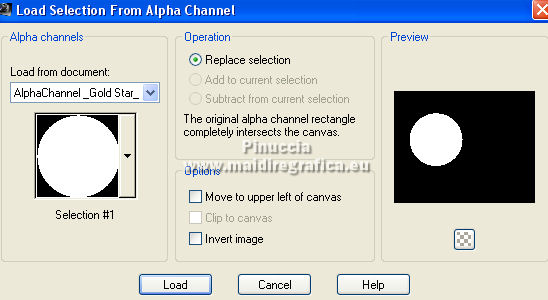
21. Selections>Modify>Select Selection Borders.
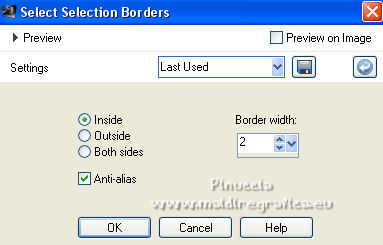
Set your foreground color to white #ffffff.
Flood Fill  the selection with color white #ffffff. the selection with color white #ffffff.
Selections>Select None.
Activate your Magic Wand Tool  , tolerance and feather 0, , tolerance and feather 0,
and click in the circle to select it.
22. Activate again the tube 028PaisagemByPqnaAlice and go to Edit>Copy.
Go back to your work and go to Edit>Paste as new layer.
Place  the tube on the selection. the tube on the selection.
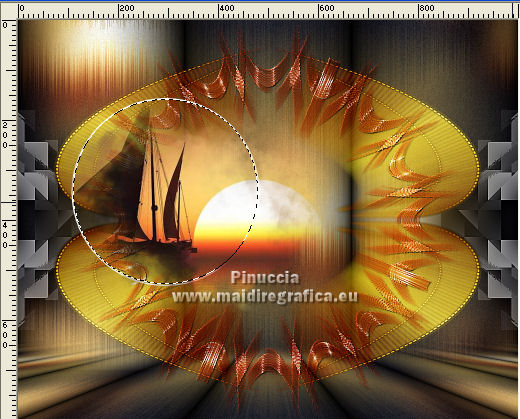
Selections>Invert.
Press CANC on the keyboard.
Selections>Invert.
Adjust>Sharpness>Sharpen.
23. Effects>3D Effects>Chisel, color #ffffff.
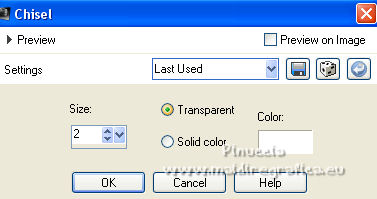
24. Effects>Plugins>Alien Skin Eye Candy 5 Impact - Glass
select the preset Clear, settings at your choice.

Selections>Select None.
Layers>Merge>Merge Down.
25. Layers>New Raster layer.
Selections>Load/Save Selection>Load Selection from Alpha Channel.
Open the selections menu and load the selection #2.
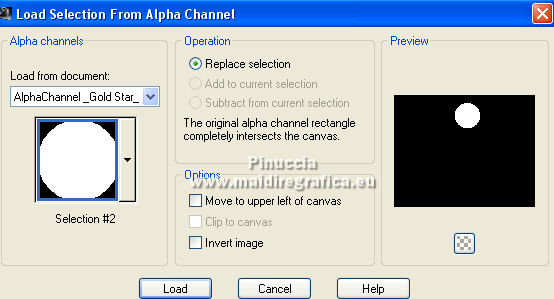
Selections>Modify>Select Selection Borders, same settings.
Flood Fill  the selection with color #ffffff. the selection with color #ffffff.
Selections>Select None.
Activate your Magic Wand Tool  , tolerance and feather 0, , tolerance and feather 0,
and click in the circle to select it.
Edit>Paste into Selection - the tube 028PaisagemByPqnaAlice is still in memory.
Place  the tube on the selection. the tube on the selection.
Selections>Invert.
Press CANC on the keyboard.
Selections>Invert.
Adjust>Sharpness>Sharpen.
Effects>3D Effects>Chisel, color #ffffff, same settings.
Effects>Plugins>Alien Skin Eye Candy 5 Impact - Glass - preset Clear, at your choice.
Selections>Select None.
Layers>Merge>Merge down.
26. Layers>New Raster layer.
Selections>Load/Save Selection>Load Selection from Alpha Channel.
Open the selections menu and load the selection #3.
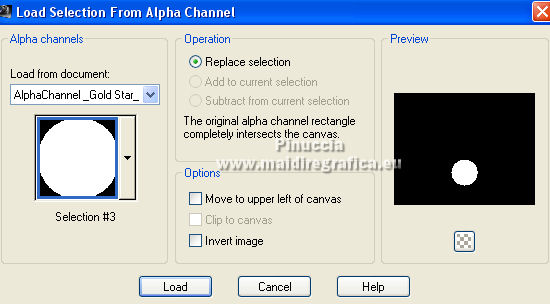
Selections>Modify>Select Selection Borders, same settings.
Flood Fill  the selection with color #ffffff. the selection with color #ffffff.
Selections>Select None.
Activate your Magic Wand Tool  , tolerance and feather 0, , tolerance and feather 0,
and click in the circle to select it.
Edit>Paste into Selection - the tube 028PaisagemByPqnaAlice is still in memory.
Place  the tube on the selection. the tube on the selection.
Selections>Invert.
Press CANC on the keyboard.
Selections>Invert.
Adjust>Sharpness>Sharpen.
Effects>3D Effects>Chisel, color #ffffff, same settings.
Effects>Plugins>Alien Skin Eye Candy 5 Impact - Glass - preset Clear, at your choice.
Selections>Select None.
Layers>Merge>Merge down.
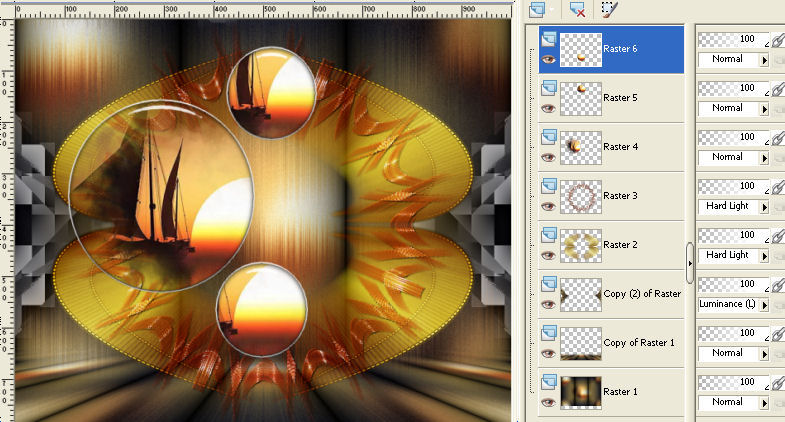
27. Layers>Merge>Merge Down - 2 times.
Effects>Plugins>Alien Skin Eye Candy 5 Impact - Perspective Shadow, to your liking.
28. Activate the layer Raster 1.
Layers>New Raster Layer.
Effects>Plugins>VanDerLee Unplugged-X - 45° Rectangle - color #ffffff.
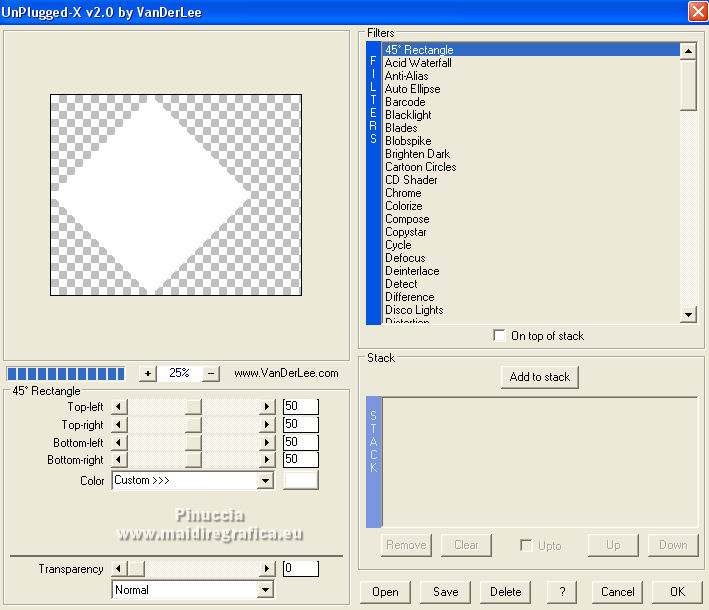
29. K key to activate your Pick Tool 
and set Position X: 6,00 and Position Y: 42,00.

For my example I did Position X: -72,00 and Position Y: 42,00
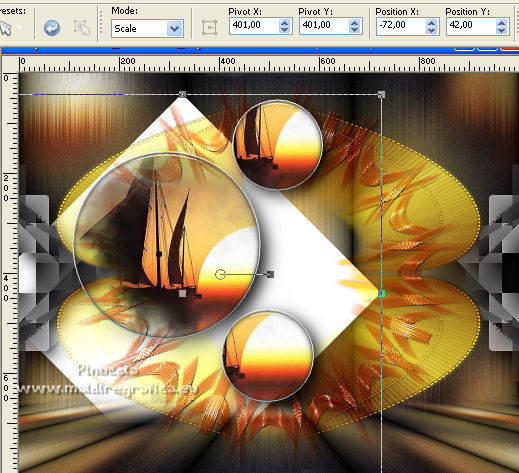
in the end, comparing my result with that of the original tutorial,
I resized the layer to 90%,
and I set Position x: -24,00 and Position Y: 35,00
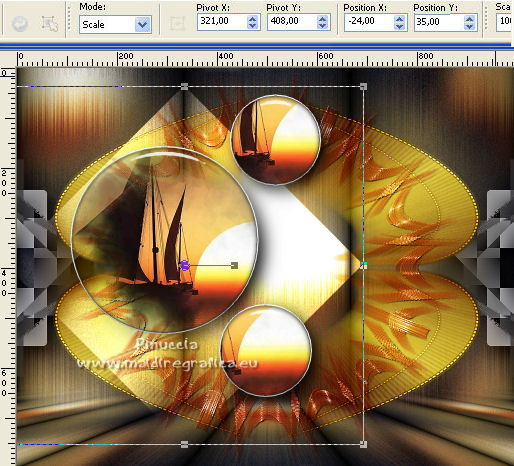
Change the Blend Mode of this layer to Dodge and reduce the opacity to 67%.
30. Layers>New Raster Layer.
Effects>Plugins>VanDerLee Unplugged-X - 45° Rectangle - color #ffffff.
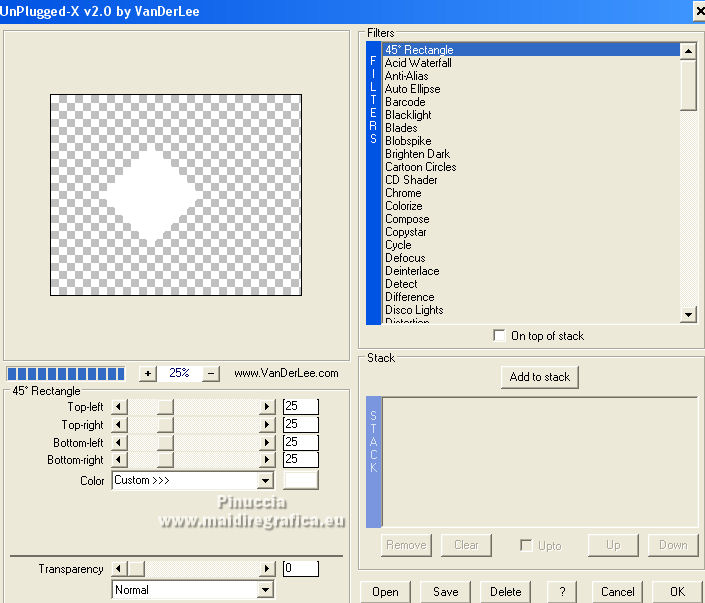
Pick Tool 
and set Position X: 250,00 and Position Y: 27,00.

For my example, I made Position X: 302,00 and Position Y: 76,00
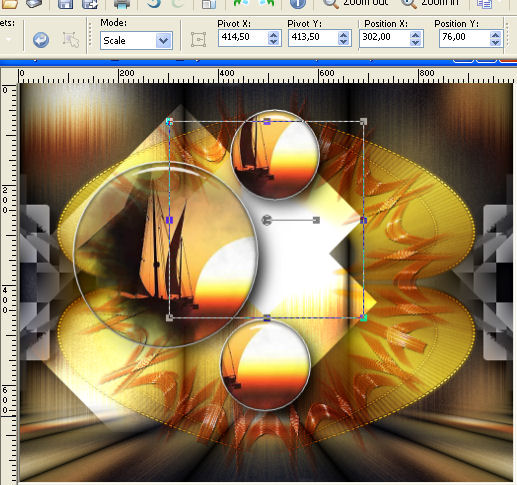
M key to deselect the Tool.
Change the Blend Mode of this layer to Darken.
I keep the layer in mode Normal.
31. Effects>Texture Effects>Blinds, background color.
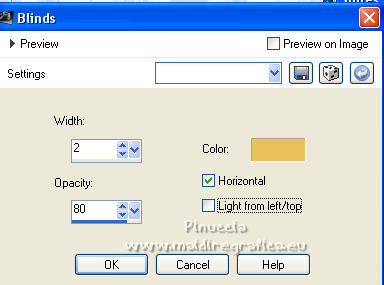
Edit>Repeat Blinds.
Adjust>Sharpness>Sharpen.
Effects>Plugins>Alien Skin Eye Candy 5 Impact - Perspective Shadow, to your liking.
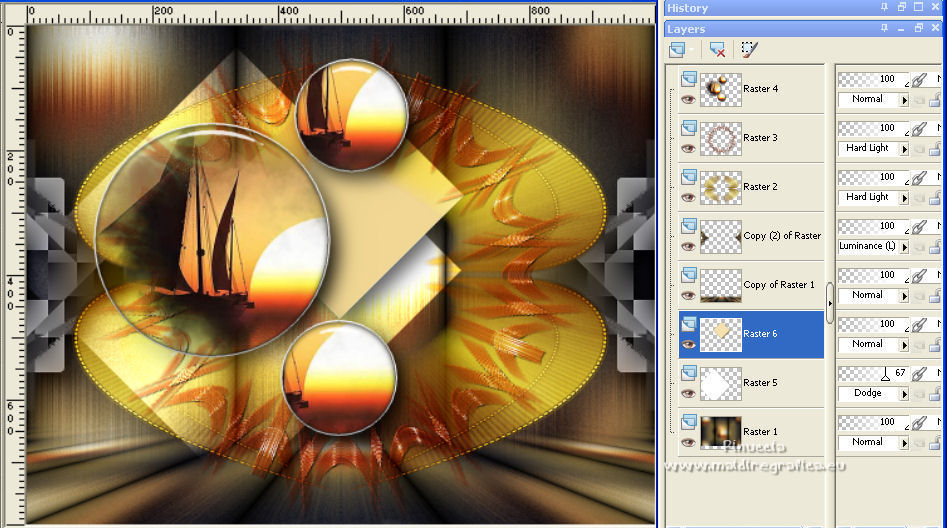
Your tag and the layers
32. Activate your top layer.
Open deco2_gold star_lc and go to Edit>Copy.
Go back to your work and go to Edit>Paste as new layer.
Move  the tube to the right side. the tube to the right side.
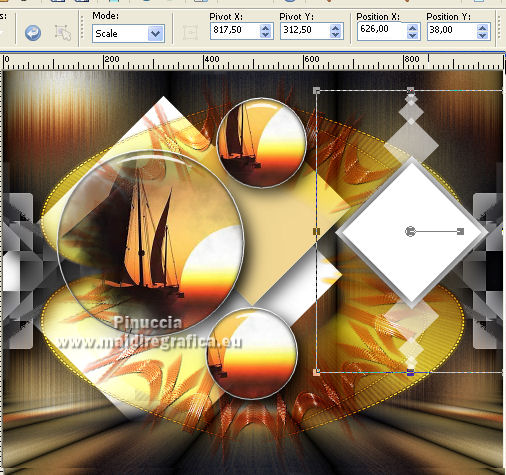
33. Activate your Magic Wand Tool  , tolerance and feather 0, , tolerance and feather 0,
and click in the figure to select it.
Activate again the tube 028PaisagemByPqnaAlice and go to Edit>Copy.
Go back to your work and go to Edit>Paste as new layer.
Place  the tube on the selection. the tube on the selection.
Selections>Invert.
Press CANC on the keyboard.
Selections>Invert.
Adjust>Sharpness>Sharpen.
34. Effects>Plugins>Alien Skin Eye Candy 5 Impact - Glass - preset Clear, at your choice.
35. Layers>New Raster Layer.
Selections>Modify>Select Selection Borders, same settings.

Flood Fill  with color white #ffffff. with color white #ffffff.
Selections>Select None.
Layers>Merge>Merge Down - 2 times.
Effects>Plugins>Alien Skin Eye Candy 5 Impact - Perspective Shadow, to your liking.
36. Open the tube Callitubes-160flores and go to Edit>Copy.
Go back to your work and go to Edit>Paste as new layer.
Image>Mirror.
Image>Resize, to 85%, resize all layers not checked.
Adjust>Sharpness>Sharpen.
Move  the tube at the bottom right. the tube at the bottom right.
Effets>Modules Externes>Alien Skin Eye Candy 5 Impact - Perspective Shadow, at your choice.
37. Open the tube 545MulherByPqnaAlice, erase the watermark and go to Edit>Copy.
Go back to your work and go to Edit>Paste as new layer.
Image>Mirror.
Adjust>Sharpness>Sharpen.
Move  the tube to the left side. the tube to the left side.
Effects>Plugins>Alien Skin Eye Candy 5 Impact - Perspective Shadow, to your liking.
38. Image>Add borders, 1 pixel, symmetric, color black.
39. Effects>Plugins>AAA Frames - Foto Frame.
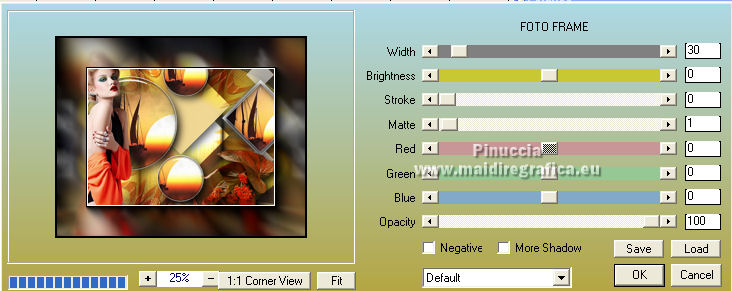
Repeat the Effect Foto Frame, width 20.
Again repeat the Effect Foto Frame, width 10.
Sign your work on a new layer.
Add, if you want, the author's and translator's watermarks.
Layers>Merge>Merge All and save as jpg.
For the tubes of this version thanks Luz Cristina and NaiseM.
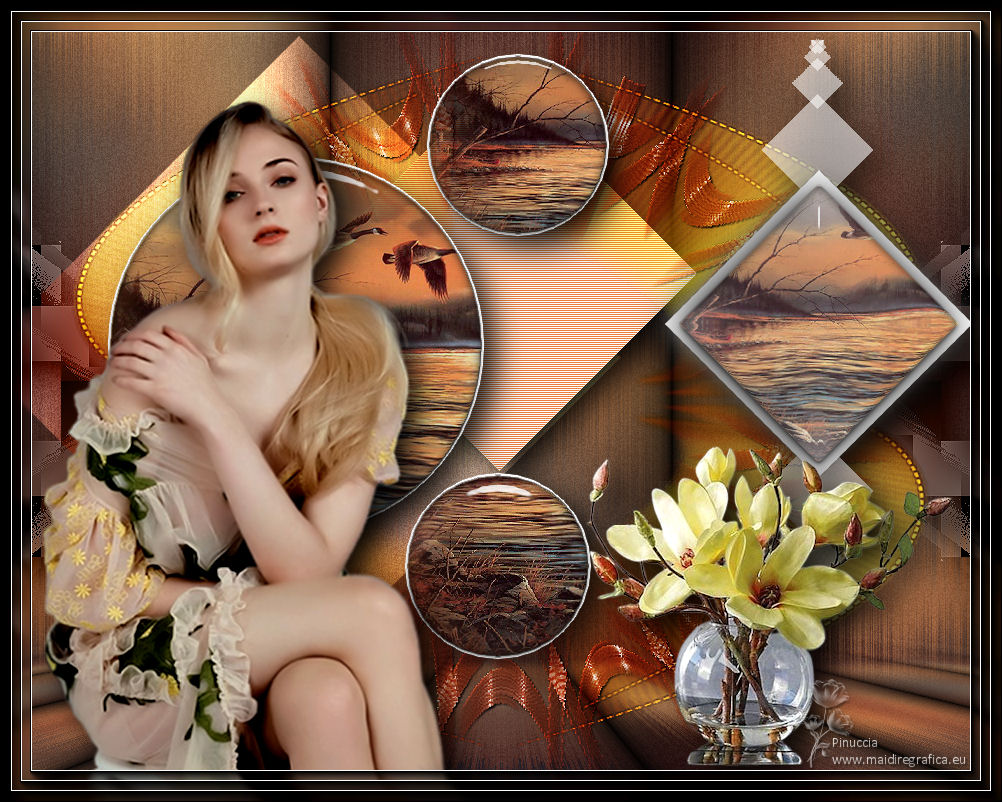
 Your versions here Your versions here

If you have problems or doubts, or you find a not worked link, or only for tell me that you enjoyed this tutorial, write to me.
7 October 2022

|


