|
TOP FRANIE MARGOT

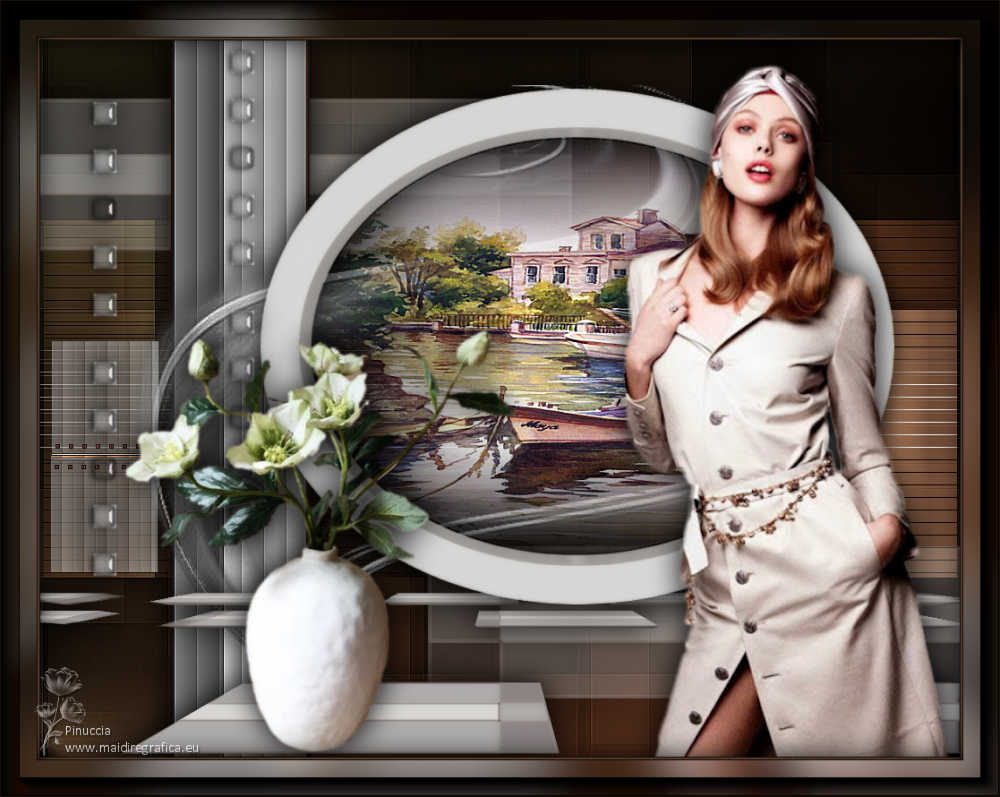
Thanks Lica Cida for your invitation to translate your tutorial

This tutorial was created with PSPX9 and translated with PSPX9 and PSP2020, but it can also be made using other versions of PSP.
Since version PSP X4, Image>Mirror was replaced with Image>Flip Horizontal,
and Image>Flip with Image>Flip Vertical, there are some variables.
In versions X5 and X6, the functions have been improved by making available the Objects menu.
In the latest version X7 command Image>Mirror and Image>Flip returned, but with new differences.
See my schedule here
 French translation here French translation here
 your versions here your versions here

For this tutorial, you will need:

Thanks for the tubes Franie Margot and for the mask Narah.
(you find here the links to the material authors' sites)

consult, if necessary, my filter section here
Filters Unlimited 2.0 here
Mehdi - Sorting Tiles here
L&K's - L&K's Mayra here
Transparency - Eliminate Black here
Simple - 4 Way Average here
Mura's Meister - Perspective Tiling here
Alien Skin Eye Candy 5 Impact - Extrude here
Filters Transparency and Simple can be used alone or imported into Filters Unlimited.
(How do, you see here)
If a plugin supplied appears with this icon  it must necessarily be imported into Unlimited it must necessarily be imported into Unlimited

You can change Blend Modes according to your colors.
In the newest versions of PSP, you don't find the foreground/background gradient (Corel_06_029).
You can use the gradients of the older versions.
The Gradient of CorelX here

Copy the selection in the Selections Folder.
Copy the preset intuition in the Presets Folder.
1. Choose two colors to work.
Set your foreground color to #1a130e,
and your background color to #9c7154.
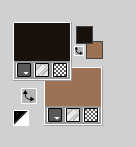
2. Set your foreground color to a Foreground/Background Gradient, style Linear.
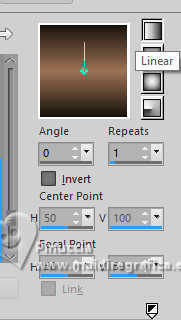
3. Open a new transparent image 1024 x 800 pixels.
Flood Fill  the layer with your Gradient. the layer with your Gradient.
4. Effects>Texture Effects>Blinds, color #000000.
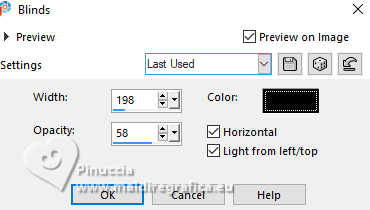
5. Effects>Texture Effects>Blinds, Horizontal checked.
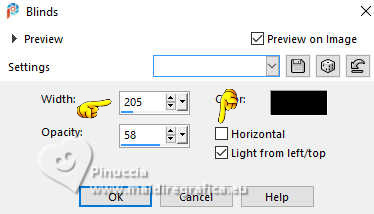
6. Effects>Plugins>Mehdi - Sorting Tiles.
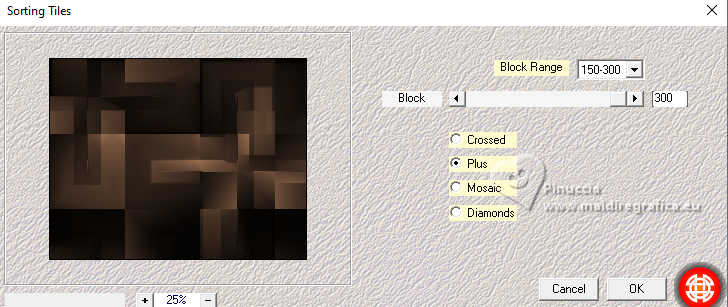
Effects>Edge Effects>Enhance.
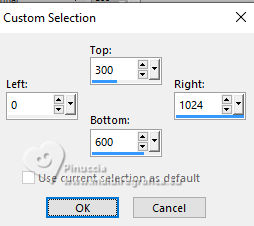
7. Selection Tool 
(no matter the type of selection, because with the custom selection your always get a rectangle)
clic on the Custom Selection 
and set the following settings.
8. Effects>Plugins>L&K's - L&K's Mayra, default settings
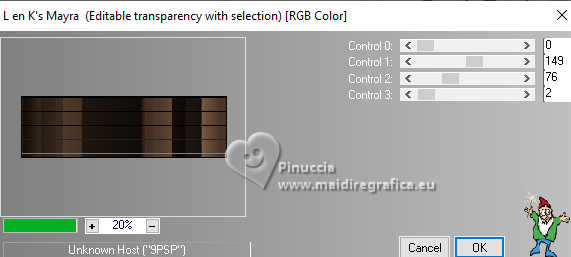
Selections>Promote Selection to Layer.
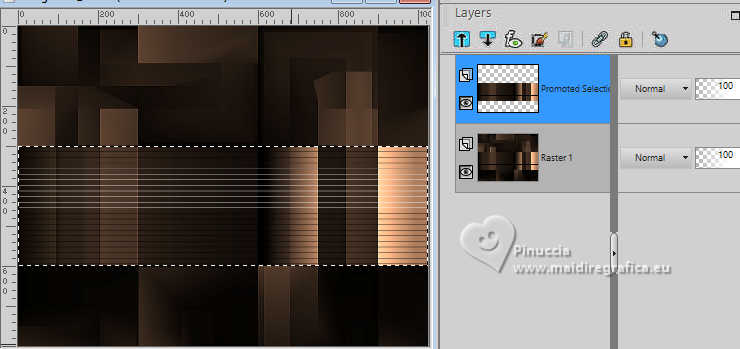
9. Effects>Plugins>Transparency - Eliminate Black.
This Effect works without window
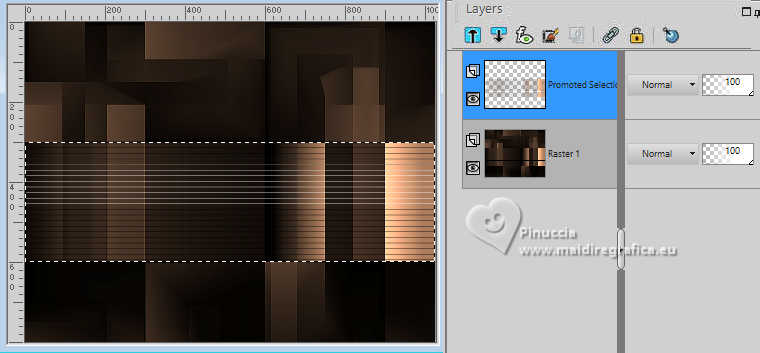
Selections>Select None
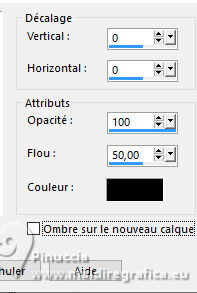
10. Effects>3D Effects>Drop Shadow, couleur #000000.
11. Activate the layer Raster 1.
Effects>Plugins>Simple - 4 Way Average
This Effects works without window; result
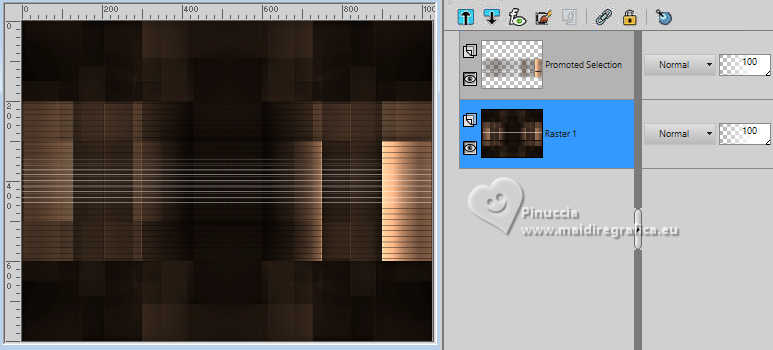
Adjust>Sharpness>Sharpen More.
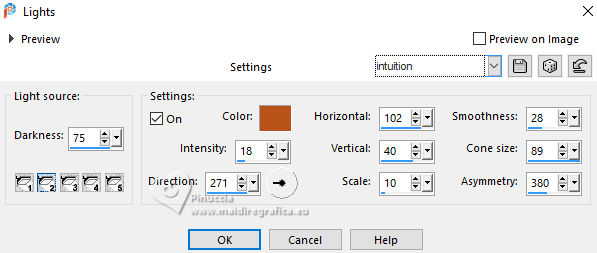
12. Effects>Illumination Effects>Lights
Select the preset intuition
13. Activate your top layer.
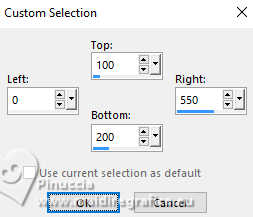
Custom Selection 
14. Layers>New Raster Layer.
Set your foreground color to #ffffff.
Reduce the opacity of your Flood Fill Tool to 50%.
Flood Fill  the layer with color #ffffff. the layer with color #ffffff.
keep the opacity of your Flood Fill Tool to 50%.
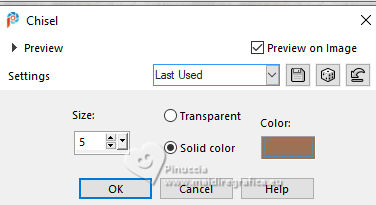
15. Effects>3D Effects>Chisel, background color #9c7154.
Selections>Select None.
16. attention please, in order to get the same result of the original tutorial,
set your background color to color white #ffffff before applying the filter.
See under the tutorial the version if you don't do it.
Of course, since the "floor" takes on the color set as the background color,
you can choose the color that suits you.
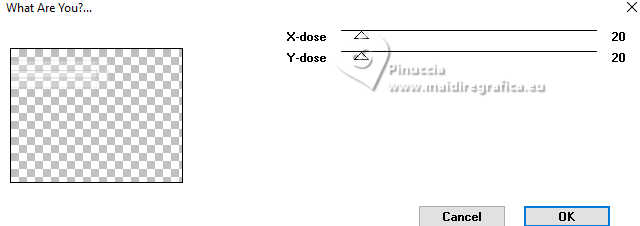
Effects>Plugins>Toadies - What are you, default settings
Layers>Duplicate.
Image>Mirror>Mirror Horizontal.
Image>Mirror>Mirror Vertical.
Layers>Merge>Merge Down.
17. Layers>Duplicate.
Effects>Plugins>Mura's Meister - Perspective Tiling.
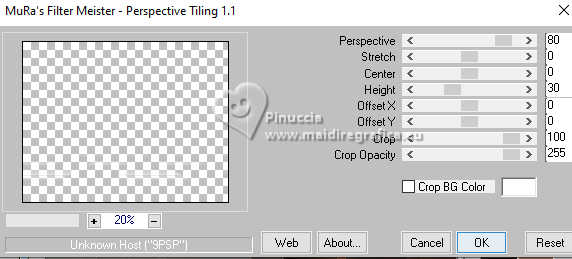
18. Effects>Plugins>Alien Skin Eye Candy 5 Impact - Extrude.
Highlight Color: background color
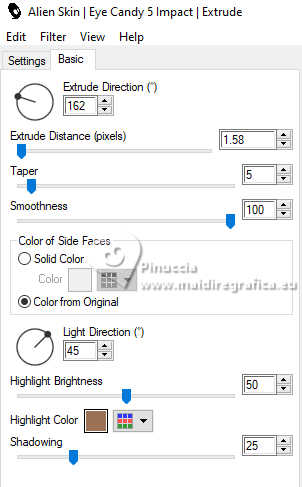
Image>Mirror>Mirror Horizontal.
19. Effects>Image Effects>Offset.
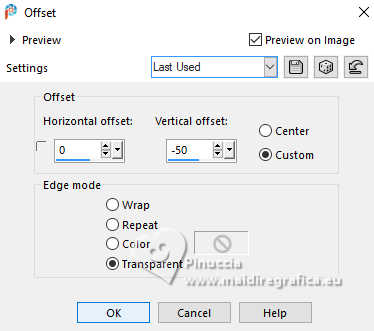
20. Effects>3D Effects>Drop Shadow, same settings.

21. Selections>Load/Save Selection>Load Selection from Disk.
Look for and load the selection franie
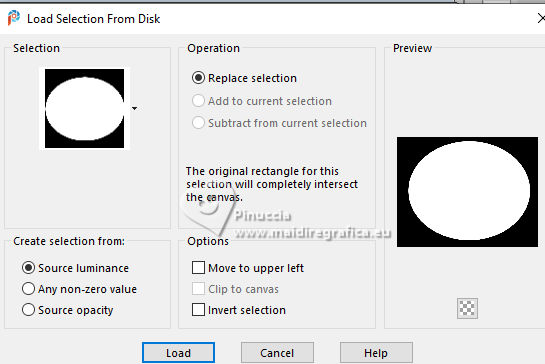
22. Layers>New Raster Layer.
Flood Fill  the selection with color #ffffff (opacity 50). the selection with color #ffffff (opacity 50).
23. Selections>Modify>Contract - 54 pixels.
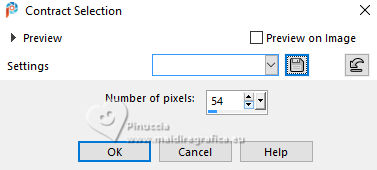
Press CANC on the keyboard 
Selections>Select None
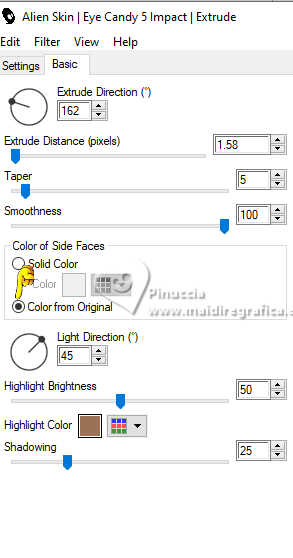
24. Effects>Plugins>Alien Skin Eye Candy 5 Impact - Extrude, same settings.
Attention, please, some version of PSP doesn't keep in memory the Color of Side Faces setting.
Make sure that Color from original is selected.
Image>Resize, to 80%, resize all layers not checked.
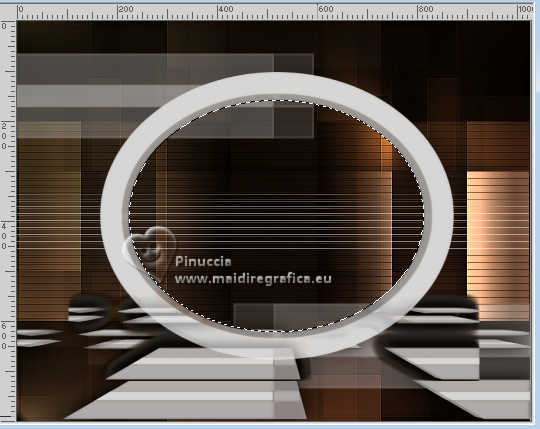
25. Activate your Magic Wand Tool  , tolerance and feather 0, , tolerance and feather 0,
and click in the circle to select it.
26. Layers>New Raster Layer.
Open paysage-482-franiemargot 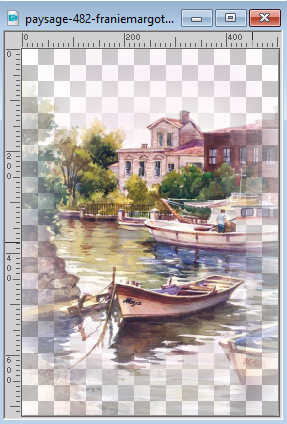
Edit>Copy.
Go back to your work and go to Edit>Paste into Selection.
Adjust>Sharpness>Sharpen More.
27. Layers>New Raster Layer.
Effects>3D Effects>Cutout.
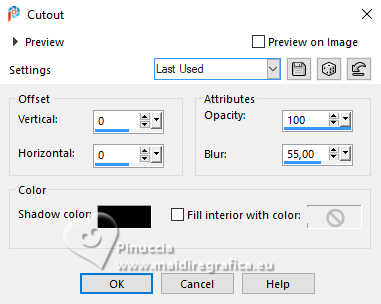
Selections>Select None.
Layers>Merge>Merge Down - 2 times.
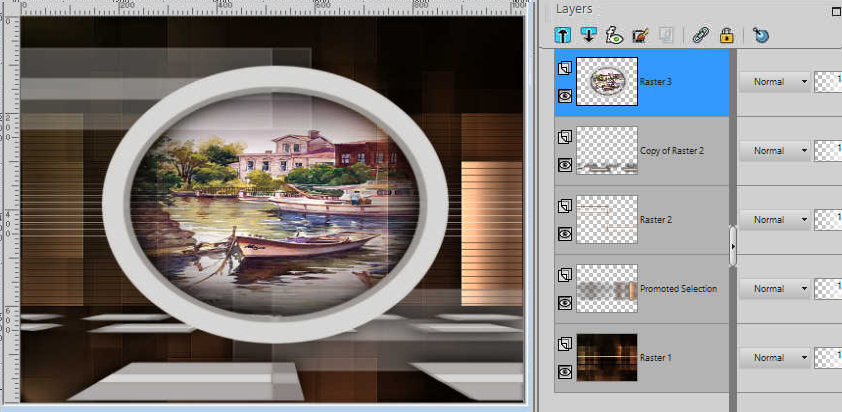
28. Effects>Image Effects>Offset.
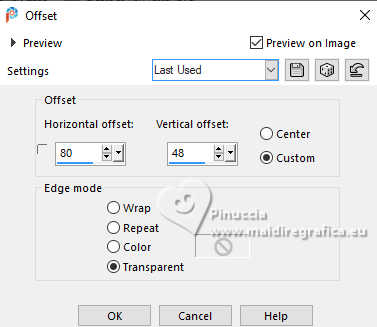
29. Effects>3D Effects>Drop Shadow, same settings.

30. Custom Selection 
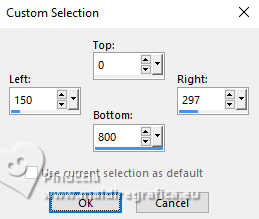
Layers>New Raster Layer.
Flood Fill  the selection with color #ffffff (opacity 50). the selection with color #ffffff (opacity 50).
31. Effects>3D Effects>Chisel, same settings.

Selections>Select None.
And now you can set again the opacity of your Flood Fill tool to 100.
32. Effects>Texture>Blinds, as at step 5.

33. Effects>Plugins>Alien Skin Eye Candy 5 Impact - Extrude, same settings.

34. Effects>Texture Effects>Blinds, color #000000.
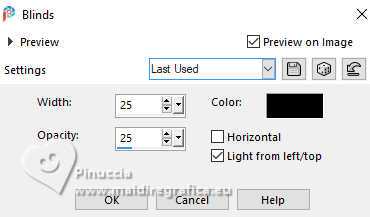
Effects>Edge Effects>Enhance.
Effects>3D Effects>Drop Shadow, same settings.

Layers>Arrange>Move Down - 2 times.
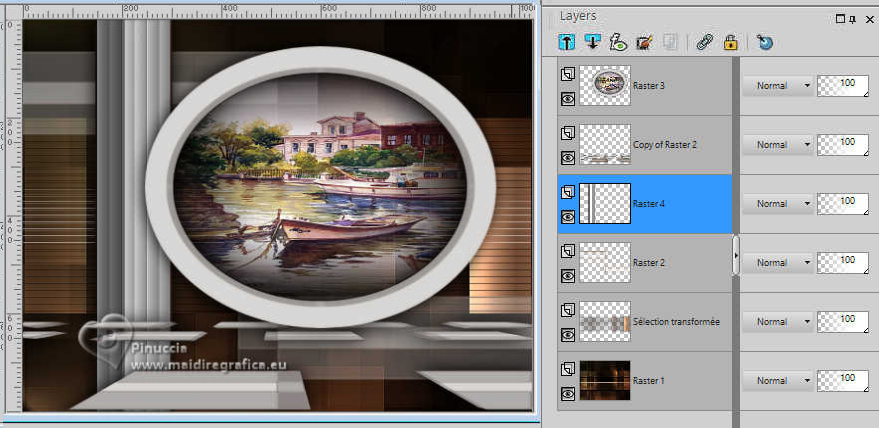
35. Activate your top layer.
Open decorfranie-lc 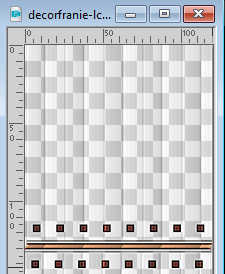
Edit>Copy.
Go back to your work and go to Edit>Paste as new layer.
K key to activate your Pick Tool 
Position X: 12,00 - Position Y: 336,00.

36. Effects>3D Effects>Drop Shadow, same settings.

37. Ouvrir decorfranie1-lc 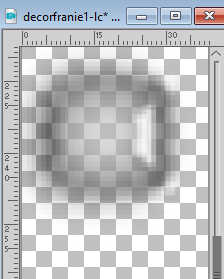
Edit>Copy.
Go back to your work and go to Edit>Paste as new layer.
Position X: 207,00 - Position Y: 2,00.

Effects>3D Effects>Drop Shadow, same settings.
38. Layers>Duplicate.
Position X: 23,00 - Position Y: 57,00.

39. Activate the layer Raster 4.
Open the mask Narah_mask_Abstract271 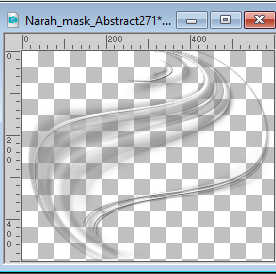
Edit>Copy.
Go back to your work and go to Edit>Paste as new layer.
Image>Resize, to 140%, resize all layers not checked.
Layers>Duplicate.
40. Activate your top layer.
Open the tube woman-1179-franiemargot 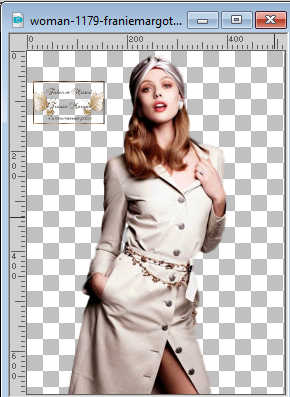
Erase the watermark and go to Edit>Copy.
Go back to your work and go to Edit>Paste as new layer.
Use to your liking. For me:
Image>Mirror.
Image>Resize, to 115%, resize all layers not checked.
Move  the tube to the right side. the tube to the right side.
Effects>3D Effects>Drop Shadow, same settings.
40. Open the tube fleurs-610-franiemargot 
Edit>Copy.
Go back to your work and go to Edit>Paste as new layer.
Use to your liking. For me:
Image>Resize, to 80%, resize all layers not checked.
Move  the tube at the bottom left. the tube at the bottom left.
Effects>3D Effects>Drop Shadow, same settings.
41. Image>Add borders, 1 pixel, symmetric, foreground color.
Image>Add borders, 2 pixels, symmetric, background color.
Image>Add borders, 1 pixel, symmetric, foreground color.
Selections>Select All.
Edit>Copy
42. Image>Add borders, 40 pixels, symmetric, color #ffffff.
Edit>Paste into Selection
43. Adjust>Blur>Gaussian Blur - radius 28.
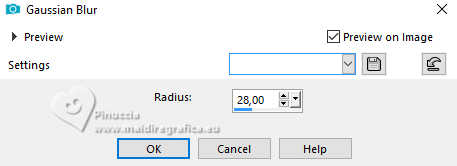
44. Effects>Plugins>AAA Frames - Foto Frame.
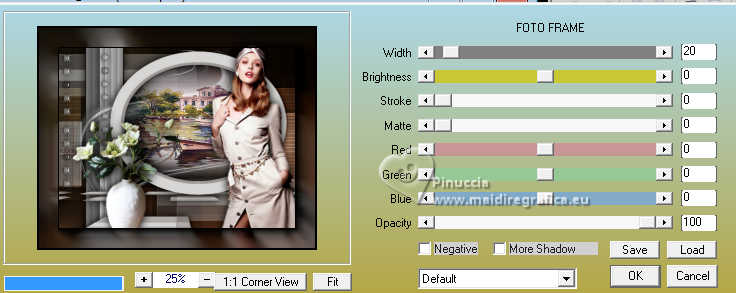
Repeat this Effect another time.
Selections>Invert.
Effects>3D Effects>Drop Shadow, same settings.

Selections>Select None
45. Image>Add borders, 1 pixel, symmetric, foreground color.
Image>Resize, 1024 pixels width, resize all layers checked.
46. Add the author and translator's watermarks.
Sign your work and save as jpg.
Version after the note at step 16 (Filter What are you)
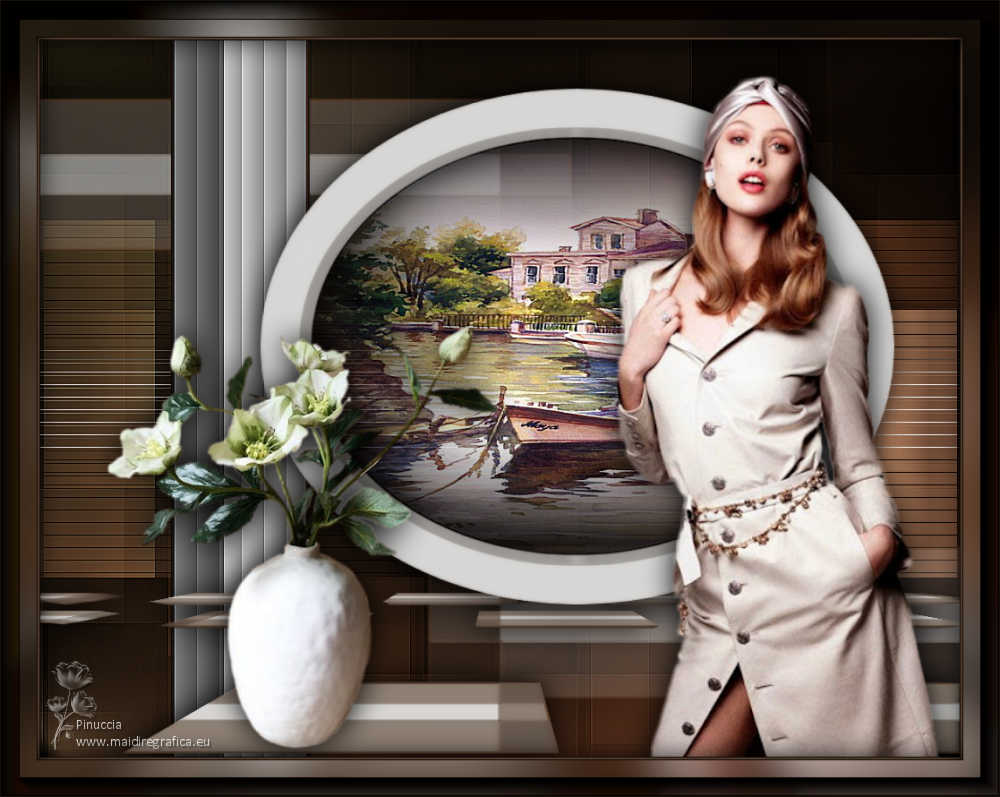
Other versions with tubes by Franie Margot. Thanks
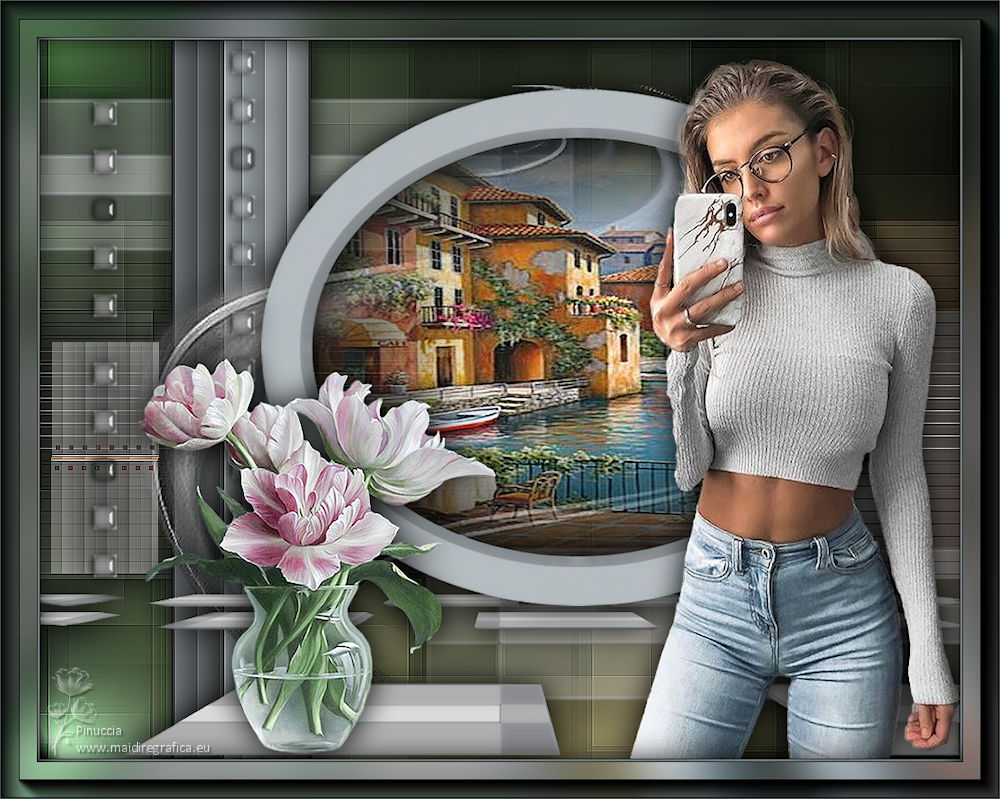
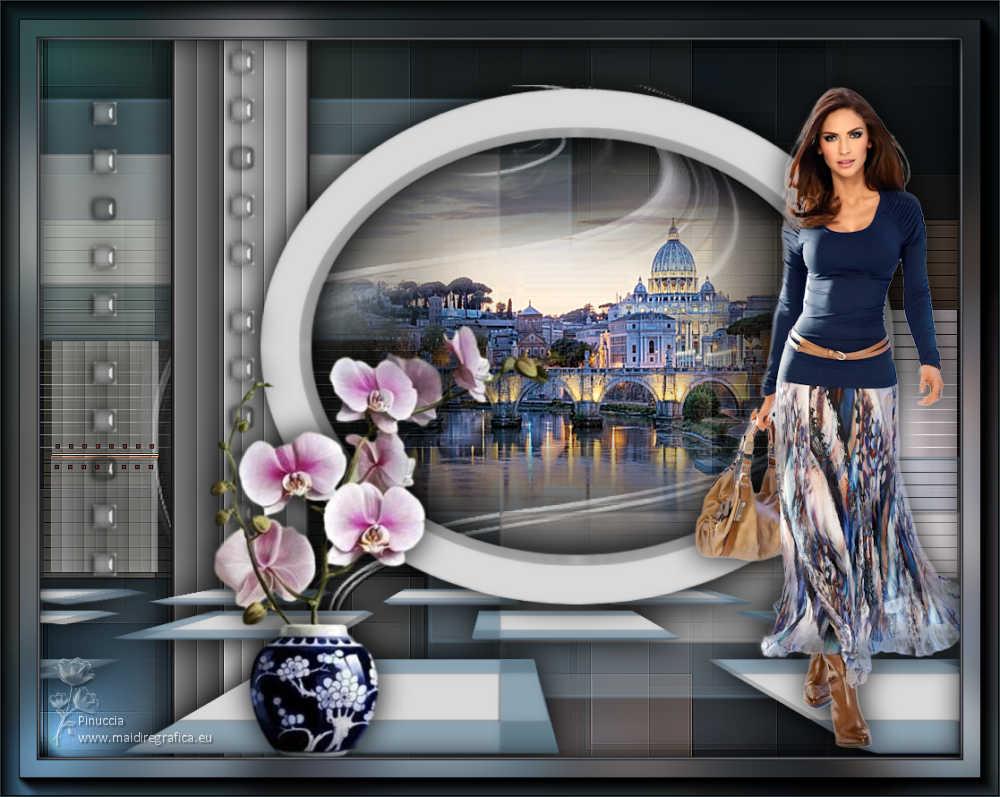
 Your versions here Your versions here

If you have problems or doubts, or you find a not worked link, or only for tell me that you enjoyed this tutorial, write to me.
13 August 2024

|

