|
TOP FLOWERS

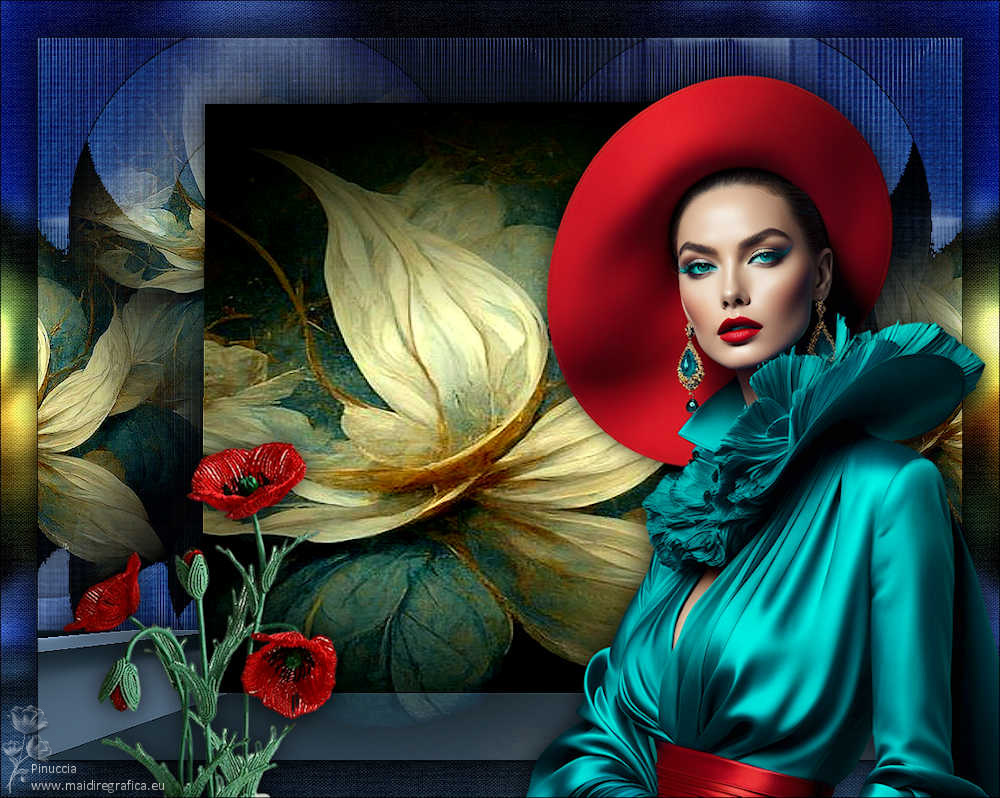
Thanks Lica Cida for your invitation to translate your tutorial

This tutorial was created with PSPX9 and translated with PSPX9 and PSP2020, but it can also be made using other versions of PSP.
Since version PSP X4, Image>Mirror was replaced with Image>Flip Horizontal,
and Image>Flip with Image>Flip Vertical, there are some variables.
In versions X5 and X6, the functions have been improved by making available the Objects menu.
In the latest version X7 command Image>Mirror and Image>Flip returned, but with new differences.
See my schedule here
 French translation here French translation here
 your versions here your versions here

For this tutorial, you will need:

For the tubes thanks Suizabella and Callitubes.
(you find here the links to the material authors' sites)

consult, if necessary, my filter section here
Filters Unlimited 2.0 here
&<Bkg Kaleidoscope> - Radial Mirror, @Mirrored & Scaled (to import in Unlimited) here
Mura's Seamless - Emboss at Alpha here
Mura's Meister - Perspective Tiling here
VanDerLee - Unplugged X here
AAA Filters - Custom here
Filters Mura's Seamless can be used alone or imported into Filters Unlimited.
(How do, you see here)
If a plugin supplied appears with this icon  it must necessarily be imported into Unlimited it must necessarily be imported into Unlimited

You can change Blend Modes according to your colors.
In the newest versions of PSP, you don't find the foreground/background gradient (Corel_06_029).
You can use the gradients of the older versions.
The Gradient of CorelX here

Copy the selection in the Selection Folders
Open the mask in PSP and minimize it with the rest of the material.
1. Choose 2 colors to work.
Set your foreground color to #020a16,
and your background color to #7f97bd.
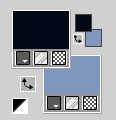
Set your foreground color to a Foreground/Background Gradient, style Radial.
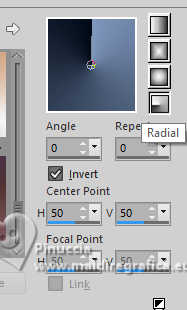
2. Open a new transparent image 1024 x 800 pixels.
Flood Fill  the transparent image with your Gradient. the transparent image with your Gradient.
Layers>Duplicate.
3. Effects>Plugins>Filters Unlimited 2.0 - Distortion Filters - Whirl, default settings.
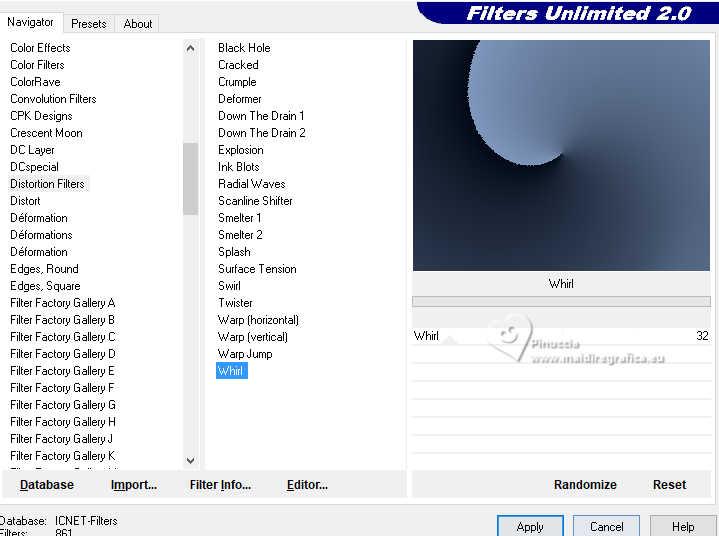
4. Effects>Plugins>Filters Unlimited 2.0 - &<Bkg Kaleidoscope> - Radial Mirror, default settings.
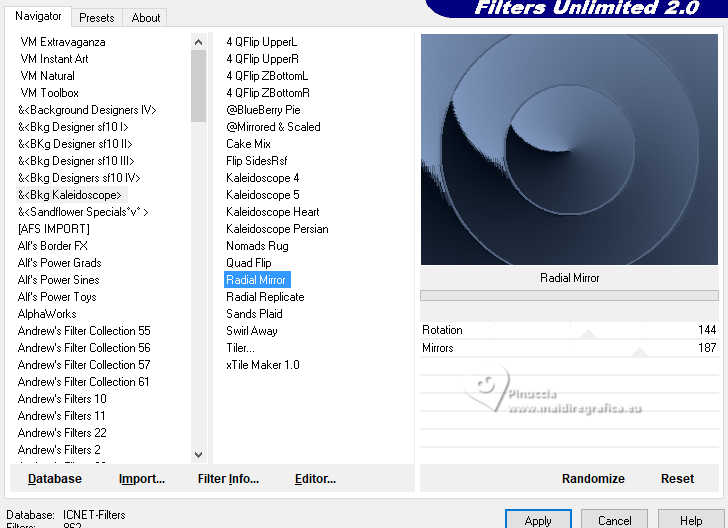
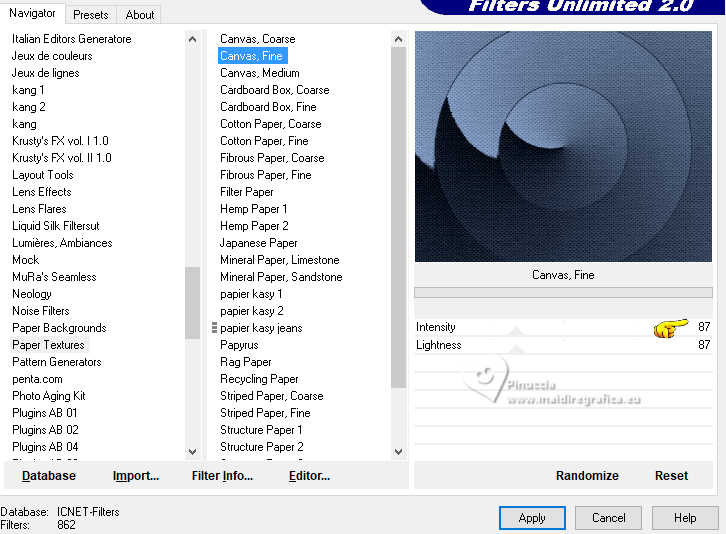
5. Effects>Plugins>Filters Unlimited 2.0 - Paper Textures - Canvas Fine.
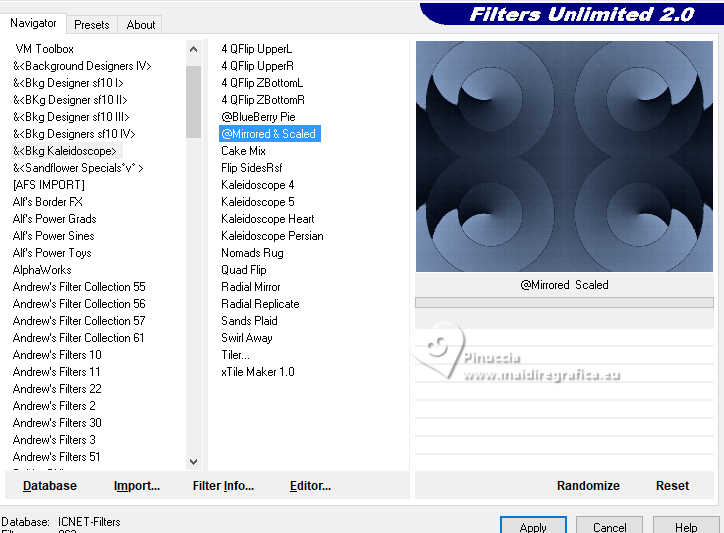
6. Effects>Plugins>Filters Unlimited 2.0 - &<Bkg Kaleidoscope> - @Mirrored & Scaled.
7. Layers>New Raster Layer.
Set your foreground color to Color.
Flood Fill  the layer with your foreground color #020a16. the layer with your foreground color #020a16.
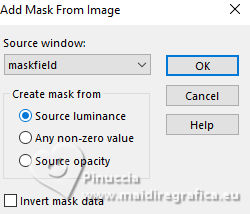
8. Layers>New Mask layer>From image
Open the menu under the source window and you'll see all the files open.
Select the mask maskfield.
Effects>Edge Effects>Enhance.
Layers>Merge>Merge Group.
Effects>Plugins>Mura's Seamless - Emboss at Alpha, default settings.
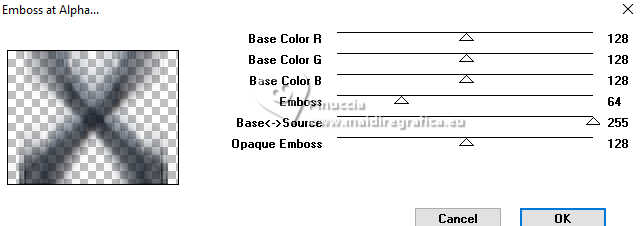
9. Effects>Image Effects>Seamless Tiling.
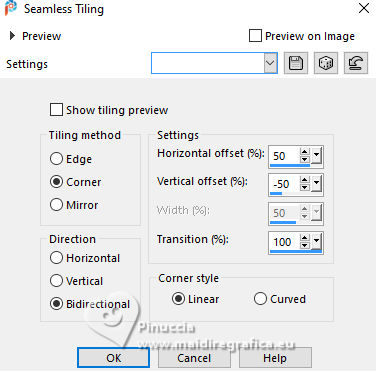
Effects>3D Effects>Drop Shadow, color #000000.

Change the Blend Mode of this layer to Overlay.
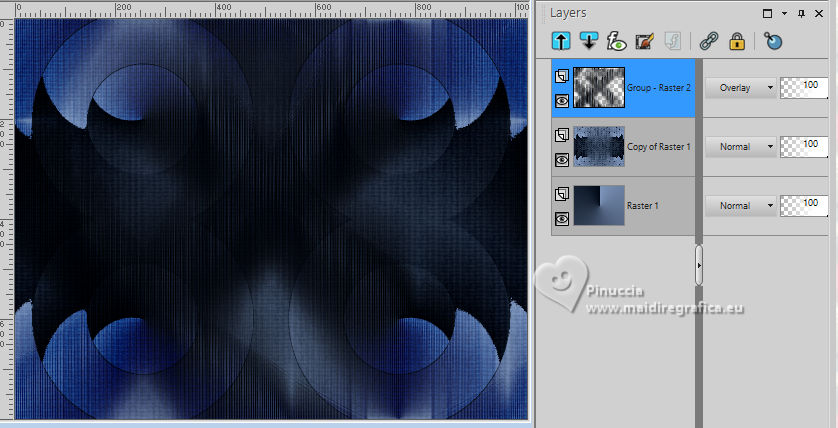
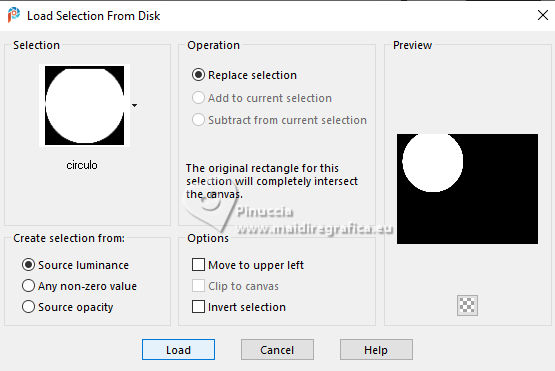
10. Selections>Load/Save Selection>Load Selection from Disk.
Look for and load the selection circulo_by lc
11. Open Callitubes-814flores 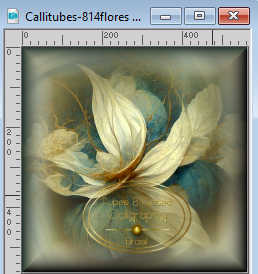
(you can use a landscape, if you like better).
Edit>Copy.
Go back to your work and go to Edit>Paste as new layer.
Image>Resize, to 80%, resize all layers not checked.
Place  the tube on the selection. the tube on the selection.
Selections>Invert.
Press CANC on the keyboard 
Selections>Invert.
12. Layers>New Raster Layer.
Effects>3D Effects>Cutout.
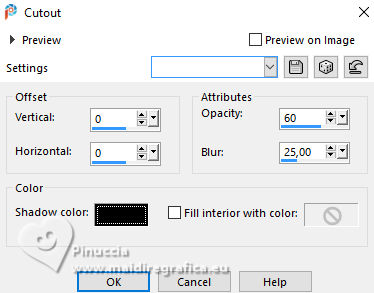
Selections>Select None.
Layers>Merge>Merge Down.
13. Effects>Plugins>AAA Filters - Custom, click on Landscape and ok.
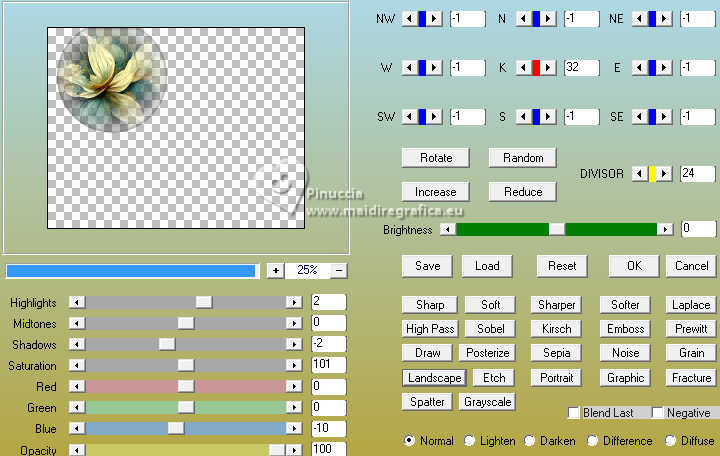
13. Effects>Image Effects>Seamless Tiling, same settings.

Adjust>Sharpness>Sharpen.
15. Activate the layer Raster 1.
Layers>Duplicate.
Effects>Plugins>Mura's Meister - Perspective Tiling.
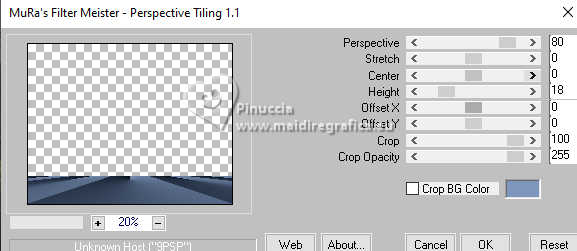
Close the layer above and stay on the below.
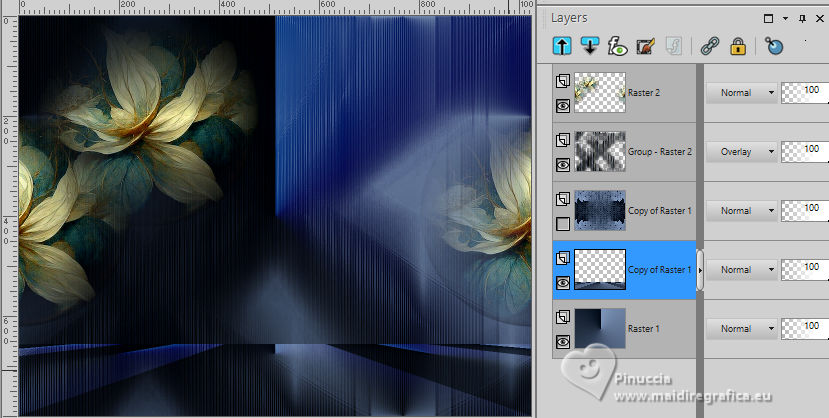
16. Effects>Plugins>VanDerLee - Unplugged-X - Rotocube
(foreground color #020a16)
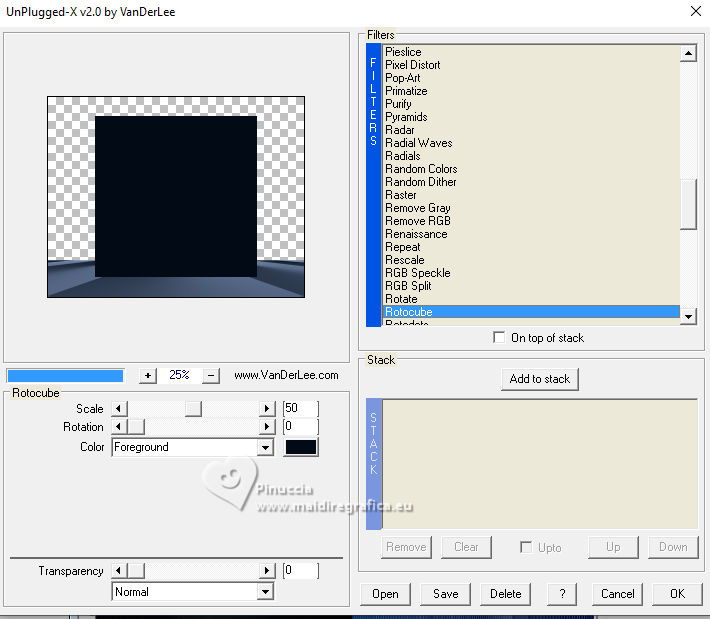
Layers>Arrange>Bring to Top.
Open the closed layer and stay on the top layer.
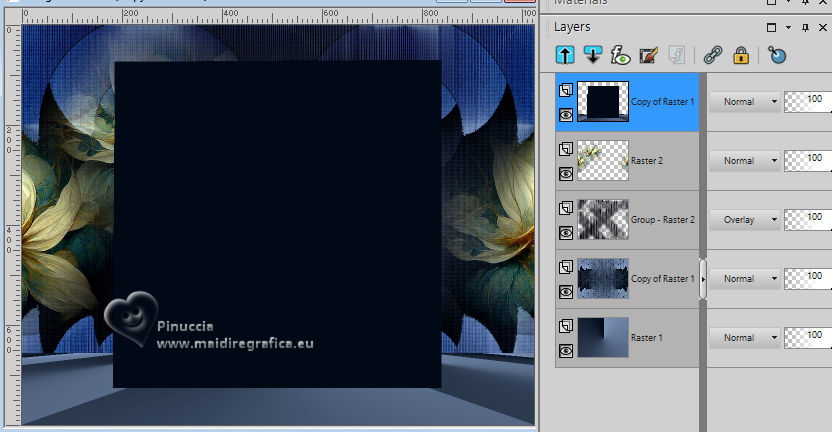
17. Activate your Magic Wand Tool 
and click on the external part of the effect to select it.
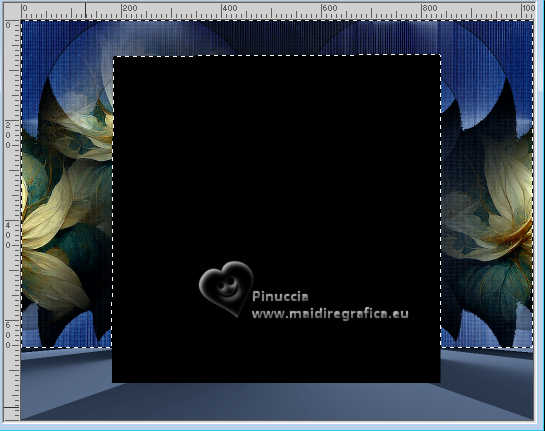
Selections>Invert.
18. Edit>Paste into Selection - the tube Callitubes-814flores is still in memory.
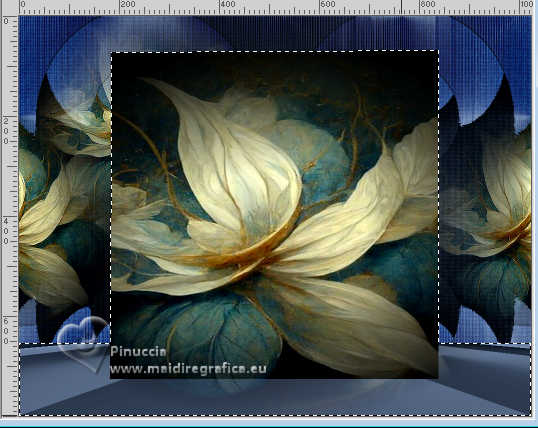
Adjust>Sharpness>Sharpen.
Effects>3D Effects>Drop Shadow, color #000000.

19. Effects>Plugins>AAA Filters - Custom, click on Landscape and ok.
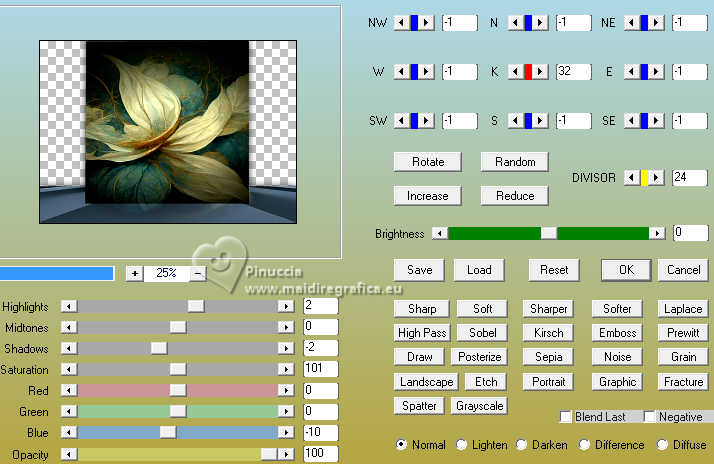
Selections>Select None.
Your tag and the layers - adapt Blend Mode and opacity to your liking.
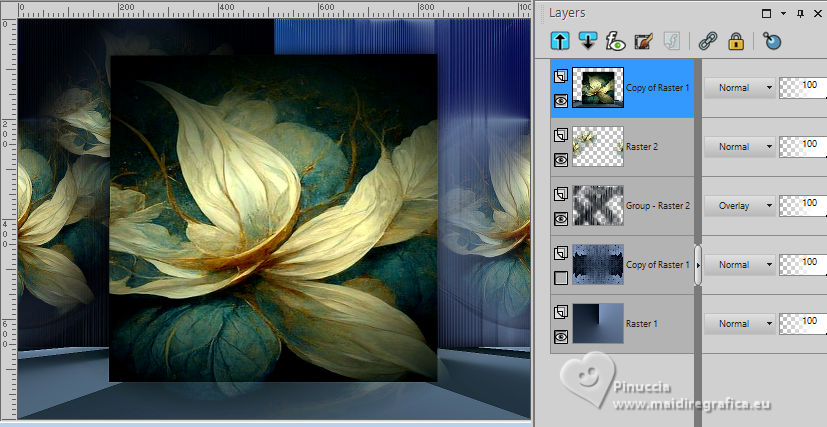
20. Edit>Copy Special>Copy Merged
Image>Add borders, 1 pixel, symmetric, color #000000.
21. Selections>Select all.
Image>Add borders, 40 pixels, symmetric, color #ffffff.
Selections>Invert.
22. Edit>Paste into Selection.
23. Adjust>Blur>Gaussian Blur - radius 10.

24. Effects>Plugins>VanDerLee - Unplugged-X - Factorize, default settings.
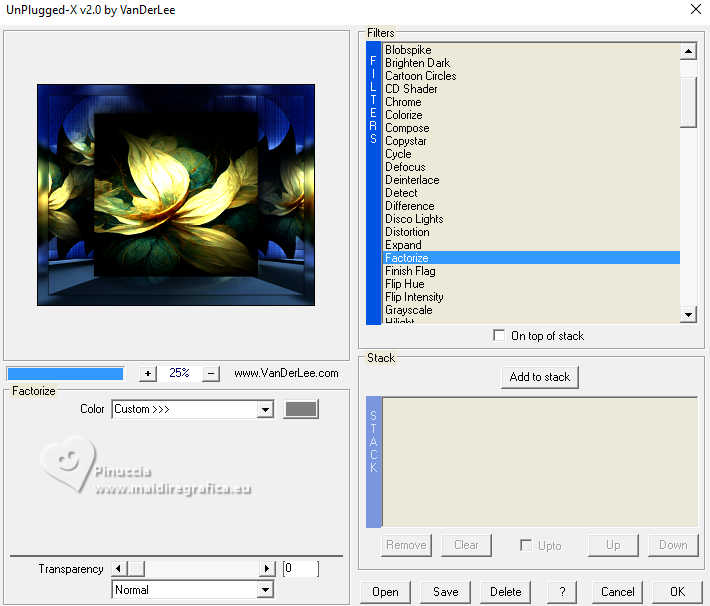
25. Effects>Plugins>Filters Unlimited 2.0 - Paper Texture - Canvas Fine, default settings.
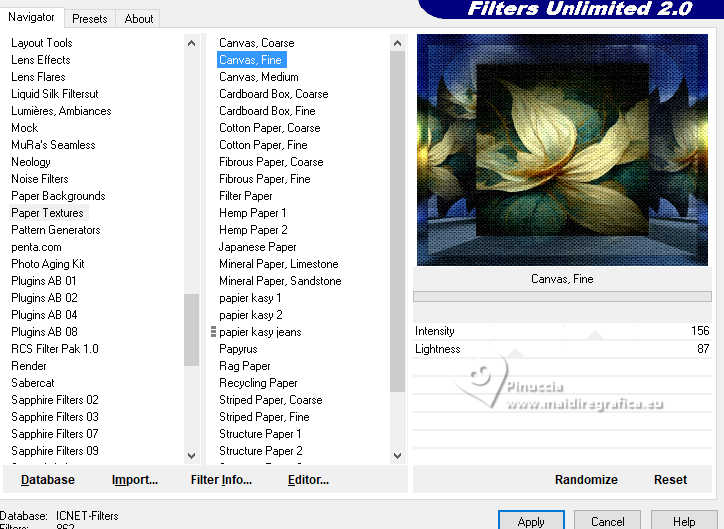
Selections>Invert.
Effects>3D Effects>Drop Shadow, color #000000.

26. Open SuizaBella_Ref_AG-004274 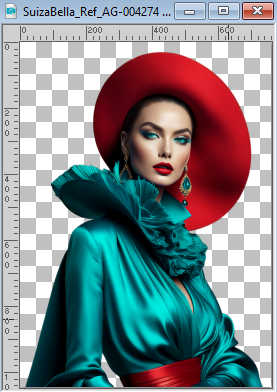
Edit>Copy.
Go back to your work and go to Edit>Paste as new layer.
Image>Mirror>Mirror Horizontal.
Image>Resize, to 80%, resize all layers not checked.
Move  the tube to the right side. the tube to the right side.
Effects>3D Effects>Drop Shadow, at your choice.
27. Open Callitubes-334flores 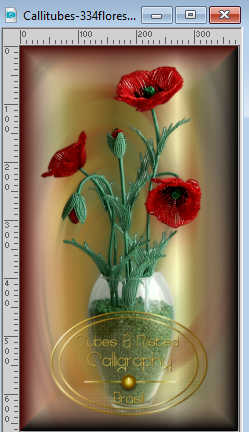
Edit>Copy.
Go back to your work and go to Edit>Paste as new layer.
Move  the tube at the bottom left, as below. the tube at the bottom left, as below.
(before to place the tube, I resized it to 110%)
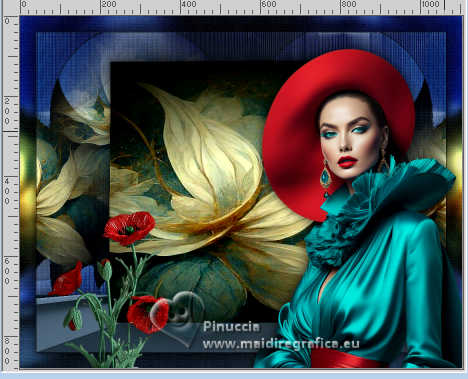
Effects>3D Effects>Drop Shadow, at your choice.
28. Image>Add borders, 1 pixel, symmetric, color #000000.
Image>Resize, 1024 pixels width, resize all layers checked.
Add the author and the translator's watermarks.
Sign your work on a new layer.
Layers>Merge>Merge All and save as jpg.
For the tubes of this version thanks Suizabella and Callitubes
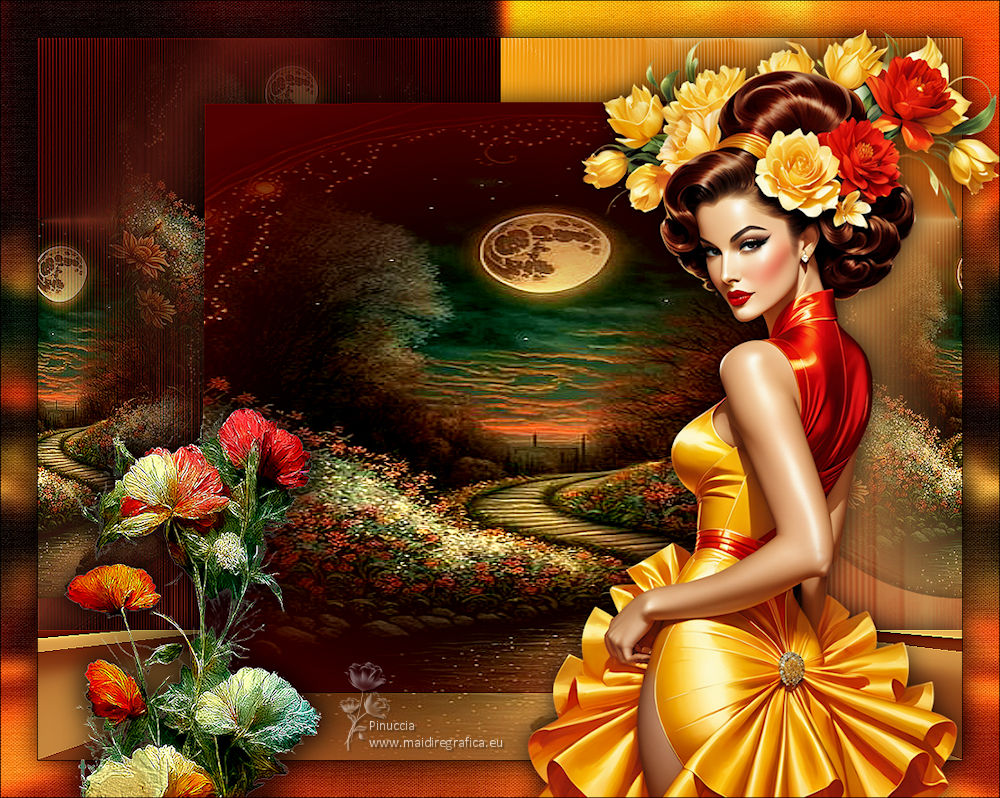
 Your versions here Your versions here

If you have problems or doubts, or you find a not worked link, or only for tell me that you enjoyed this tutorial, write to me.
11 June 2024

|


