|
TOP ESTELA FONSECA

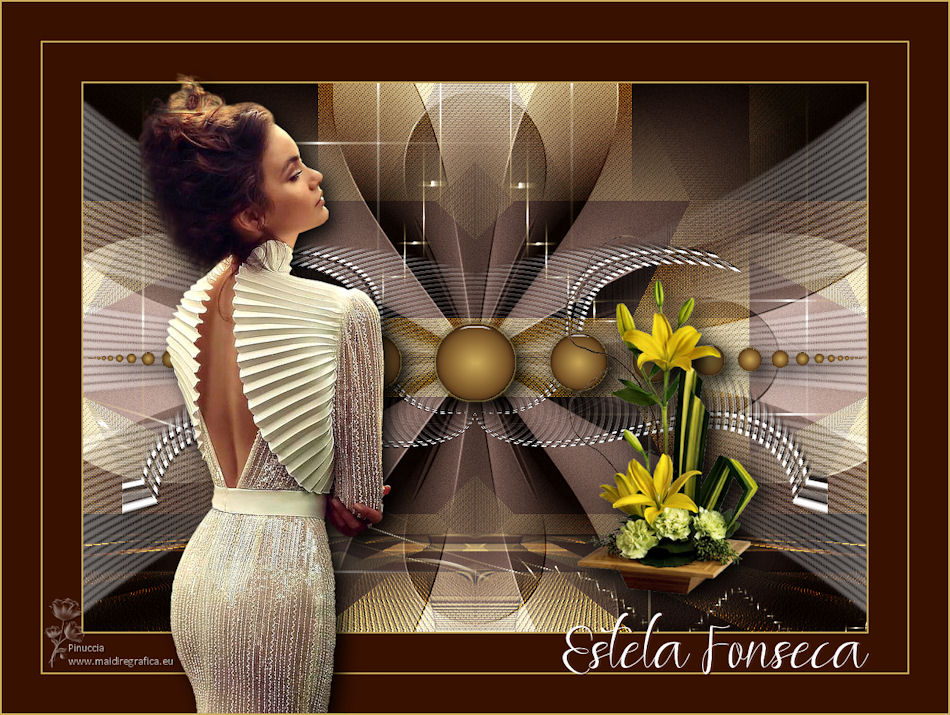
Thanks Lica Cida for your invitation to translate your tutorial

This tutorial was created with PSPX9 and translated with PSPX2 and PSPX3 and PSPX7, but it can also be made using other versions of PSP.
Since version PSP X4, Image>Mirror was replaced with Image>Flip Horizontal,
and Image>Flip with Image>Flip Vertical, there are some variables.
In versions X5 and X6, the functions have been improved by making available the Objects menu.
In the latest version X7 command Image>Mirror and Image>Flip returned, but with new differences.
See my schedule here
 French translation here French translation here
 your versions ici your versions ici
For this tutorial, you will need:
Material here
Thanks for the tubes Jeanne (Jeanne_Woman_Lady_Chic_09_04_2020) et Luz Cristina (6623-Luz Cristina)
for the text Roberta Maver
deco: decor_nmcriacoes_122.
The rest of the material is by Lica Cida.
(you find here the links to the material authors' sites)
Plugins
consult, if necessary, my filter section here
Filters Unlimited 2.0 here
Mehdi - Sorting Tiles, Weaver here
Simple - Top Left Mirror here
Alien Skin Eye Candy 5 Impact - Perspective Shadow, Glass, Motion Trail here
Mura's Meister - Perspective Tiling here
Filters Simple can be used alone or imported into Filters Unlimited.
(How do, you see here)
If a plugin supplied appears with this icon  it must necessarily be imported into Unlimited it must necessarily be imported into Unlimited

You can change Blend Modes according to your colors.
In the newest versions of PSP, you don't find the foreground/background gradient (Corel_06_029).
You can use the gradients of the older versions.
The Gradient of CorelX here
Copy the Preset Emboss 3 in the Presets Folder.
Copy the Selection in the Selection Folder.
1. Set your foreground color to #391101,
and your background color to #ccab5a.
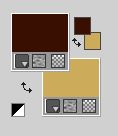
Set your foreground color to a Foreground/Background Gradient, style Linear.
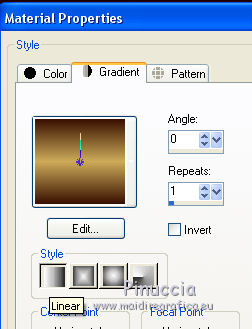
Open a new transparent image 1000 x 700 pixels.
Flood Fill  the transparent image with your Gradient. the transparent image with your Gradient.
2. Effects>Texture Effects>Blinds, foreground color.
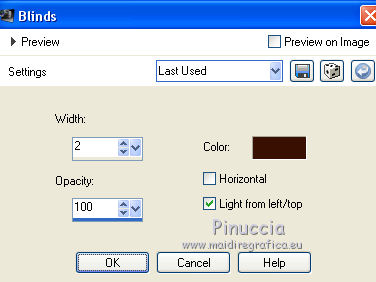
3. Effects>Plugins>Mehdi - Sorting Tiles.
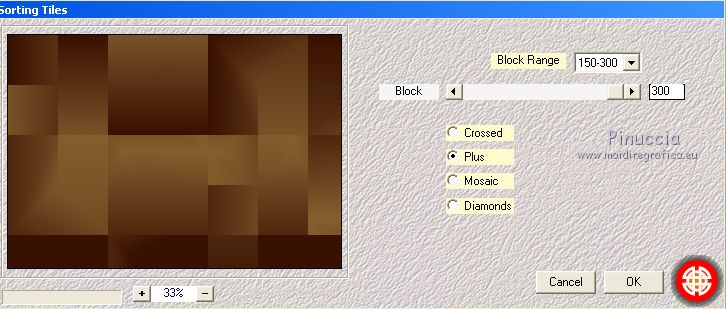
Effects>Reflection Effects>Rotating Mirror.

4. Effects>Plugins>Simple - Top Left Mirror.
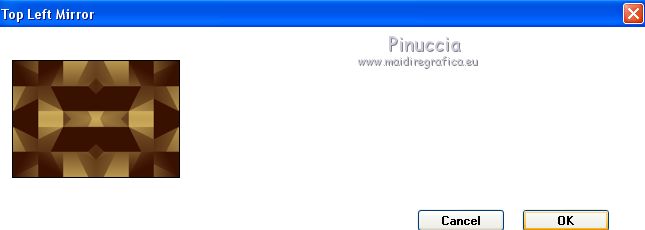
5. Effects>Texture Effects>Weave
weave effect: foreground color.
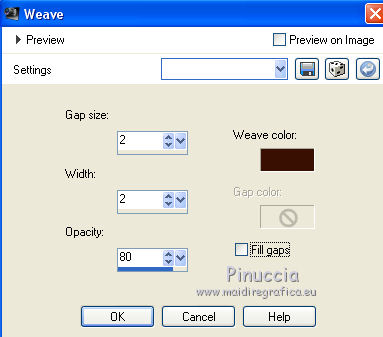
6. Adjust>Add/Remove Noise>Add Noise.
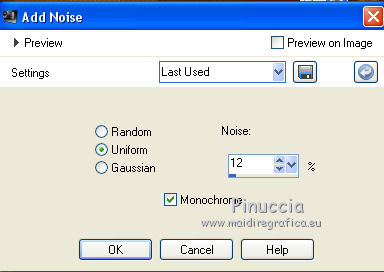
Adjust>Sharpness>Sharpen.
7. Layers>New Raster Layer.
Selections>Select All.
Open the tube elemento Estela and go to Edit>Copy.
Go back to your work and go to Edit>Paste into Selection.
Selections>Select None.
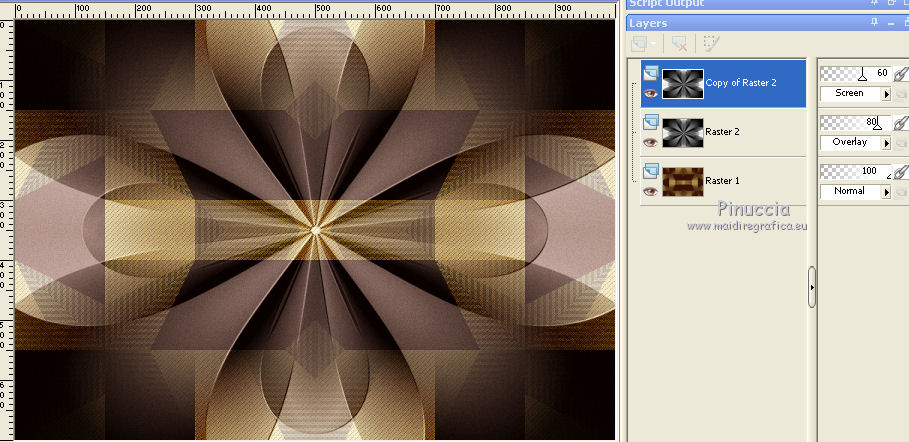
Change the Blend mode of this layer to Overlay and reduce the opacity to 80%.
Layers>Duplicate.
Change the Blend Mode to Screen and reduce the opacity to 60%.
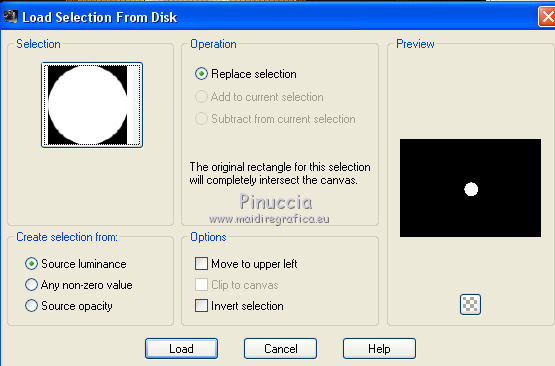
8. Selections>Load/Save Selection>Load Selection from Disk.
Look for and load the selection circulo_lc.PspSelection.
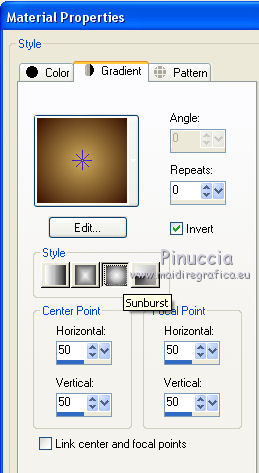
Change the settings of your gradient, style Sunburst.
9. Layers>New Raster Layer.
Flood Fill  the selection with your Gradient. the selection with your Gradient.
10. Effects>Plugins>Alien Skin Eye Candy 5 Impact - Glass.
Select the preset Clear (or other to your liking) and ok.

11. Effects>3D Effects>Chisel, background color.
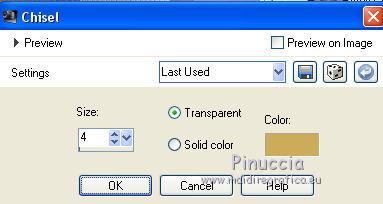
Selections>Select None.
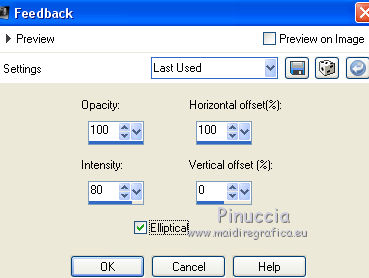
12. Effects>Reflection Effects>Feedback.
13. Effects>Reflection Effects>Rotating Mirror, default settings.

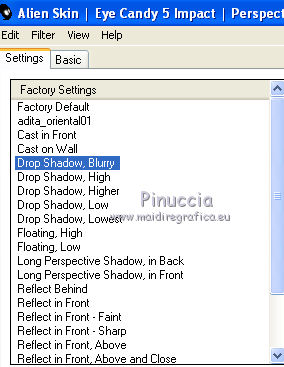
Effects>Plugins>Alien Skin Eye Candy 5 Impact - Perspective Shadow.
Select the preset Drop Shadow Blurry and ok.
14. Activate the layer Raster 1.
Layers>Duplicate.
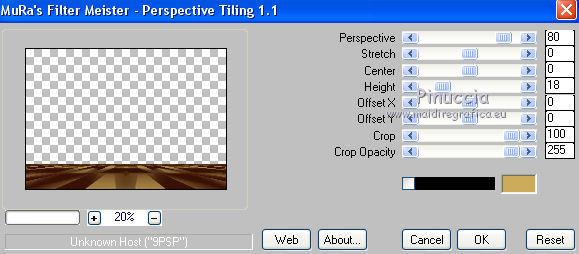
Effects>Plugins>Mura's Meister - Perspective Tiling.
Effects>User Defined Filter - select the preset Emboss 3 and ok.

15. Effects>Reflection Effects>Rotating Mirror, default settings.

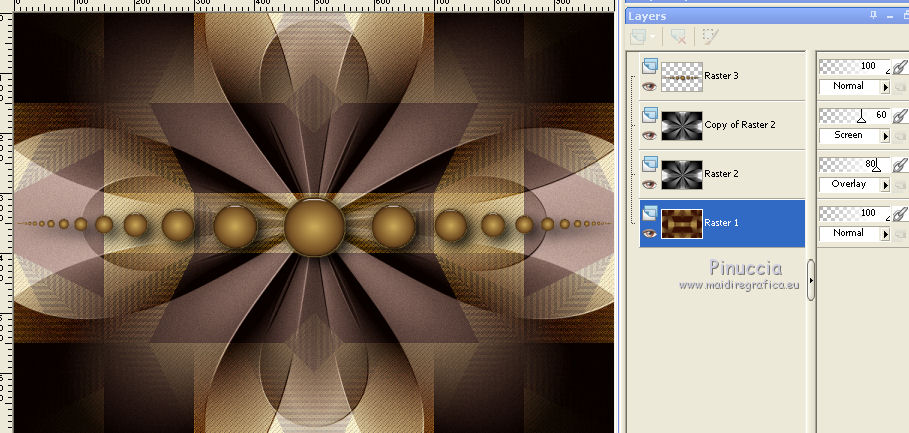
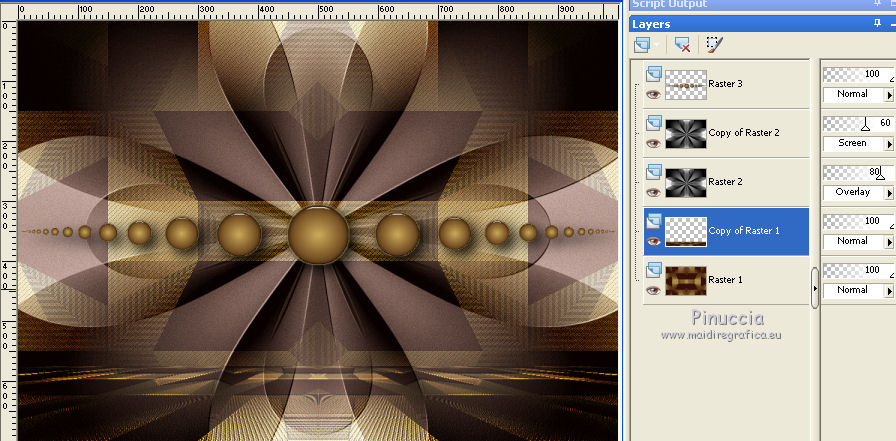
You should have this
16. Set your foreground color to #ffffff.
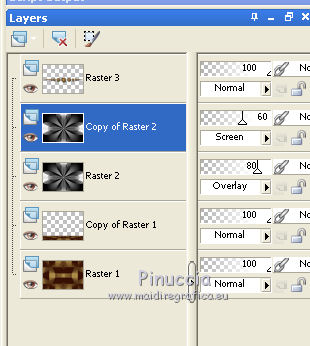
Activate the layer Copy of Raster 2.
Selection Tool 
(no matter the type of selection, because with the custom selection your always get a rectangle)
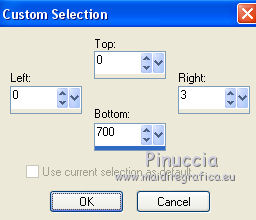
clic on the Custom Selection 
and set the following settings.
Layers>New Raster Layer (Raster 4).
Flood Fill  with color #ffffff with color #ffffff
(click 2 times; zoom  to see better) to see better)
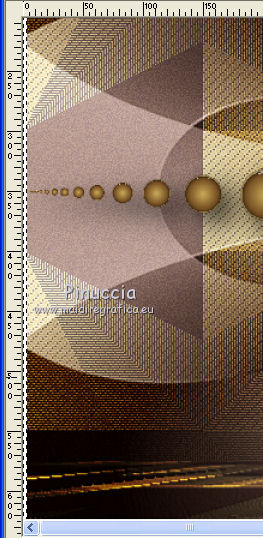
Selections>Select None.
17. Effects>Geometric Effects>Skew.
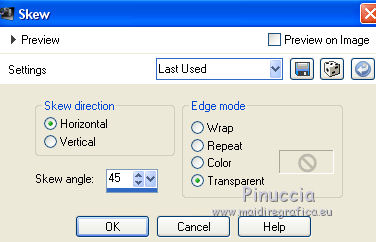
18. Effects>Image Effects>Offset.
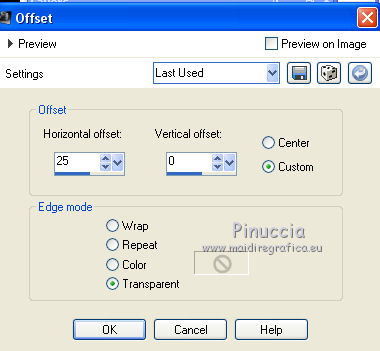
Layers>Duplicate.
Image>Mirror.
Layers>Merge>Merge Down.
Layers>Duplicate.
Image>Flip.
Layers>Merge>Merge Down.
19. Layers>Duplicate.
Activate the layer below of the original, Raster 4.
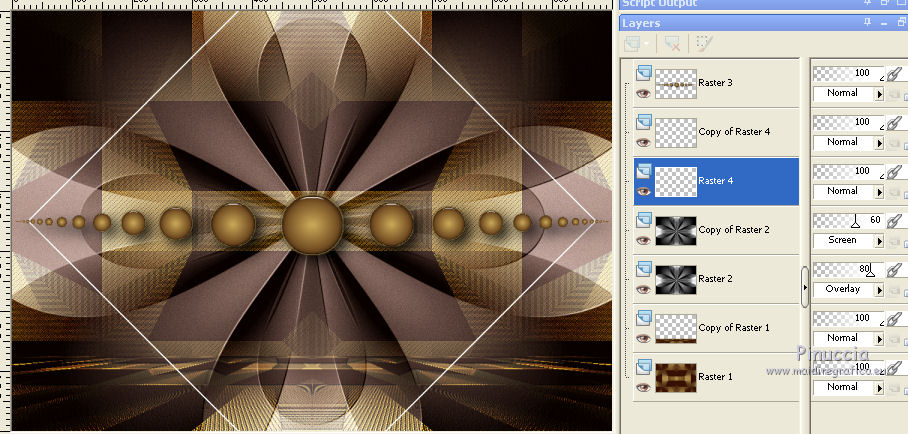
Effects>Plugins>Alien Skin Eye Candy 5 Impact - Motion Trail.
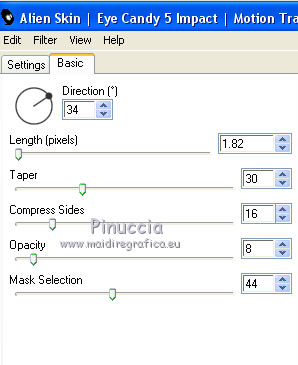
20. Effects>Plugins>Mehdi - Weaver.
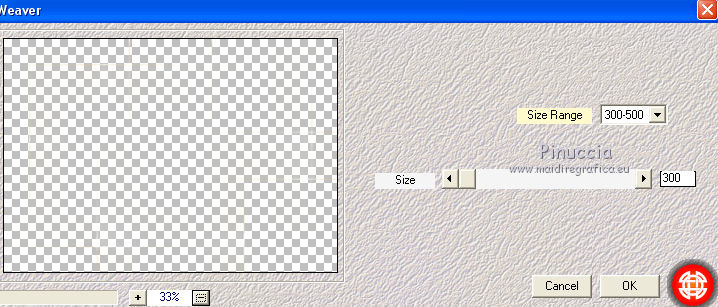
21. Activate the layer above of the copy (Copy of Raster 4).
Repeat Effets>Modules Externer>Mehdi - Weaver, with these settings.
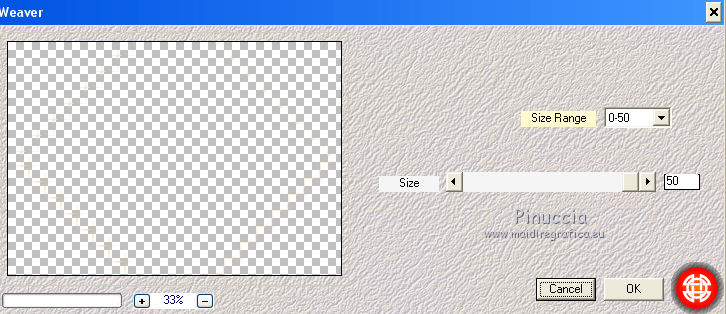
22. Layers>Duplicate.
Stay on this layer.
Custom Selection 
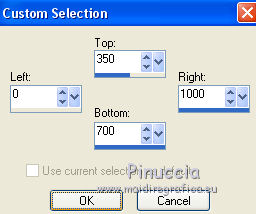
Press CANC on the keyboard 
Keep selected.
23. Activate the layer below, Copy of Raster 4.
Selections>Promote Selection to layer.
Selections>Select None.
24. Effects>Distortion Effects>Warp.
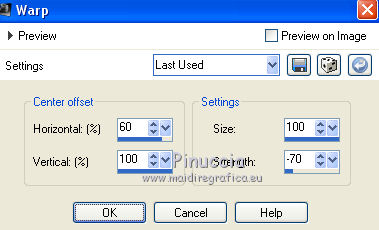
Effects>User Defined Filter - select the preset Emboss 3 and ok.

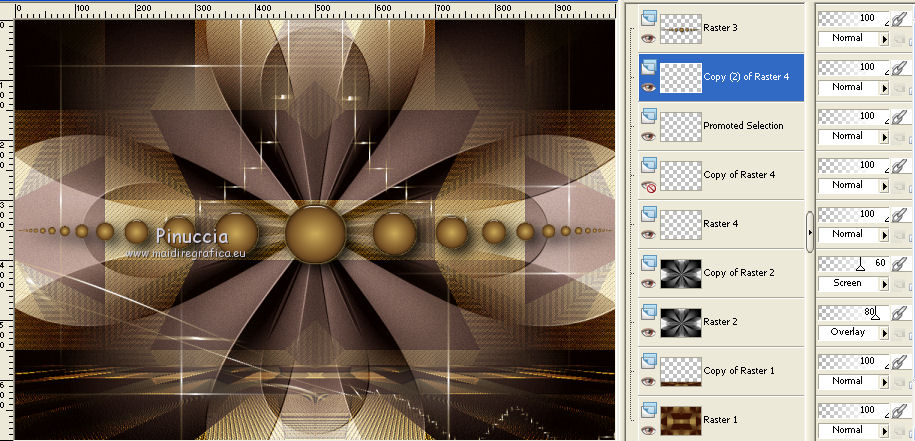
Close the layer Copy of Raster 4.
Activate the layer Copy (2) of Raster 4.
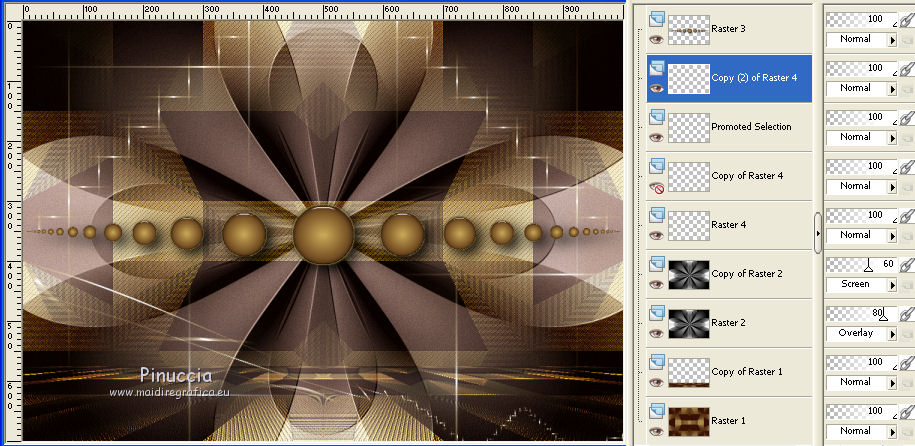
Effects>Distortion Effects>Pinch.

Edit>Repeat Pinch.
Effects>User Defined filter - select the preset Emboss 3 and ok.

You shoud have this
(the layer Copy of Raster 4 is closed).
25. Open the tube elemento Estela1 and go to Edit>Copy.
Go back to your work and go to Edit>Paste as new layer.
Effects>Edge Effects>Enhance.
26. Open the tube decor_nmcriacoes_122 and go to Edit>Copy.
Go back to your work and go to Edit>Paste as new layer.
Effects>Edge Effects>Enhance.
27. For the bords, set again your foreground color to #391101.

Image>Add borders, 2 pixels, symmetric, background color.
Image>Add borders, 50 pixels, symmetric, foreground color.
Image>Add borders, 2 pixels, symmetric, background color.
Image>Add borders, 50 pixels, symmetric, foreground color.
28. Open the texte texto_Estela Fonseca and go to Edit>Copy.
Go back to your work and go to Edit>Paste as new layer.
Place  the texte to your liking. the texte to your liking.
29. Open the tube Jeanne_Woman_Lady_Chic_09_04_2020 and go to Edit>Copy.
Go back to your work and go to Edit>Paste as new layer.
Effects>Edge Effects>Enhance.
Move  the tube to the left side. the tube to the left side.
Effects>3D Effects>Drop Shadow, to your liking.
30. Open the tube 6623-Luz Cristina and go to Edit>Copy.
Go back to your work and go to Edit>Paste as new layer.
Image>Resize, to 65%, resize all layers not checked.
Move  the tube at the bottom right. the tube at the bottom right.
Effects>Edge Effects>Emhance.
Effects>3D Effects>Drop Shadow, to your liking.
31. Image>Add borders, 2 pixels, symmetric, background color.
32. Sign your work on a new layer.
Add, if you want, the author's and translator's watermarks.
Image>Resize, 1000 pixels width, resize all layers checked.
Layers>Merge>Merge All and save as jpg.
Version with tubes by Beatriz and Azalée
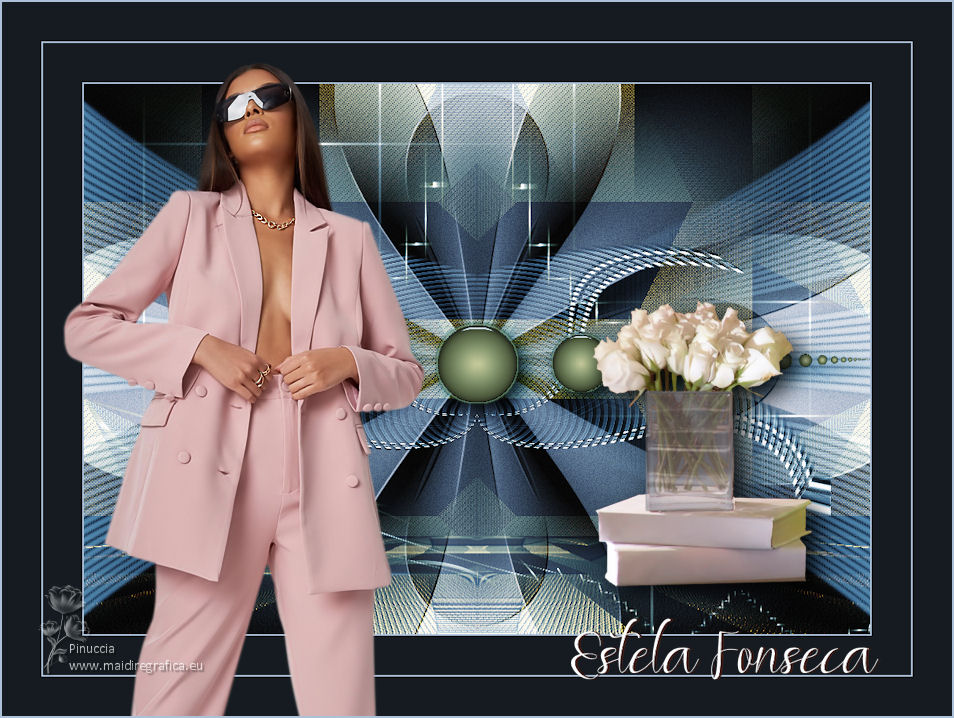
 Your versions here Your versions here

If you have problems or doubts, or you find a not worked link, or only for tell me that you enjoyed this tutorial, write to me.
9 October 2021

|


