|
TOP ELEGANCE

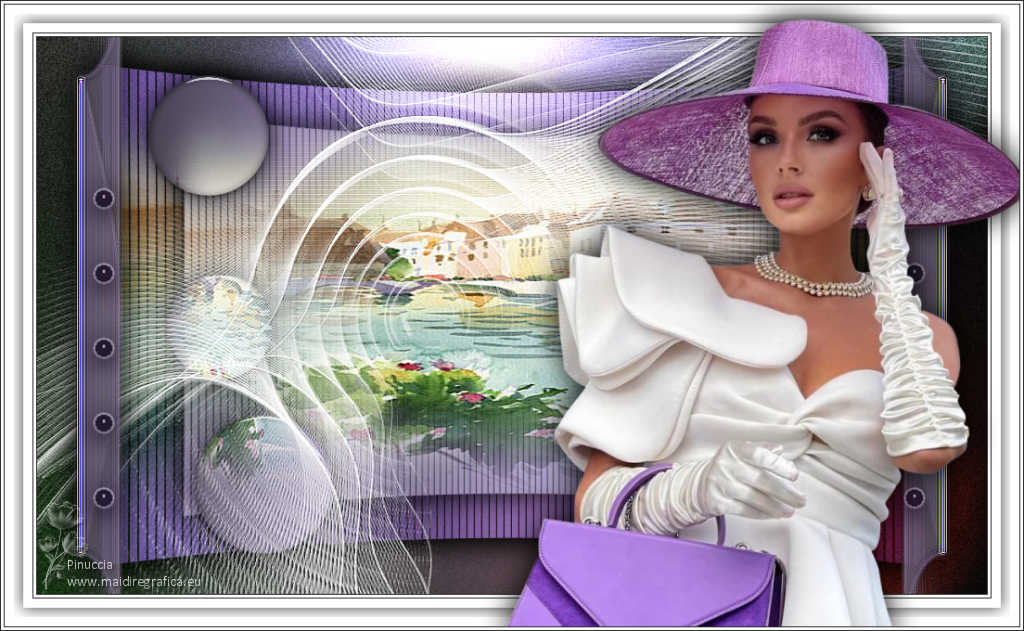
Thanks Lica Cida for your invitation to translate your tutorial

This tutorial was created with PSPX9 and translated with PSPX9 and PSP2020, but it can also be made using other versions of PSP.
Since version PSP X4, Image>Mirror was replaced with Image>Flip Horizontal,
and Image>Flip with Image>Flip Vertical, there are some variables.
In versions X5 and X6, the functions have been improved by making available the Objects menu.
In the latest version X7 command Image>Mirror and Image>Flip returned, but with new differences.
See my schedule here
 French translation here French translation here
 your versions here your versions here

For this tutorial, you will need:

Thanks for the tubes Coraline and for the mask Narah.
(you find here the links to the material authors' sites)

consult, if necessary, my filter section here
Filters Unlimited 2.0 here
AP 01 [Innovations] - Lines SilverLining here
MV Plugins - PanoWarp here
Carolaine and Sensibility - CS_Texture here
Alien Skin Eye Candy 5 Impact - Glass, Motion Trail here
Mura's Seamless - Emboss at Alpha here
Filters Mura's Seamless can be used alone or imported into Filters Unlimited.
(How do, you see here)
If a plugin supplied appears with this icon  it must necessarily be imported into Unlimited it must necessarily be imported into Unlimited

You can change Blend Modes according to your colors.
In the newest versions of PSP, you don't find the foreground/background gradient (Corel_06_029).
You can use the gradients of the older versions.
The Gradient of CorelX here

Copy the selections in the Selections Folder.
Copy the preset lc11 in the Presets Folder.
Open the mask in PSP and minimize it with the rest of the material.
1. Choose two colors to work.
Set your foreground color to #232323,
and your background color to #d1b4fa.
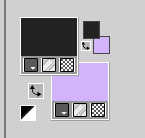
2. Set your foreground color to a Foreground/Background Gradient, style Linear.
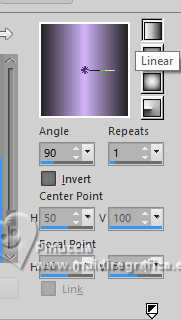
3. Open a new transparent image 1024 x 600 pixels.
Flood Fill  the layer with your Gradient. the layer with your Gradient.
4. Layers>Duplicate.
Selections>Select All.
Open CAGKKbpVNE7FKmyOtteV24P4pbs 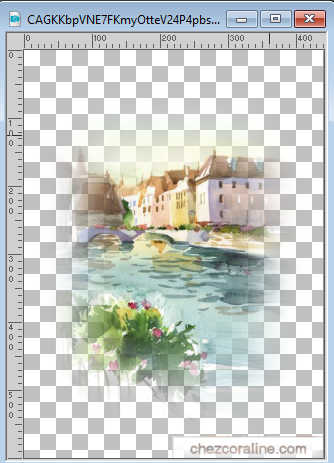
Erase the watermark and go to Edit>Copy.
Go back to your work and go to Edit>Paste into Selectin.
Selections>Select None.
Adjust>Sharpness>Sharpen More.
5. Effects>Image Effects>Seamless Tiling.
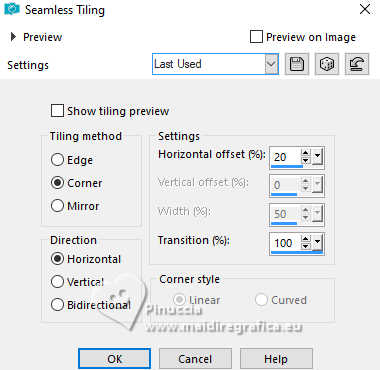
6. Adjust>Blur>Radial Blur.
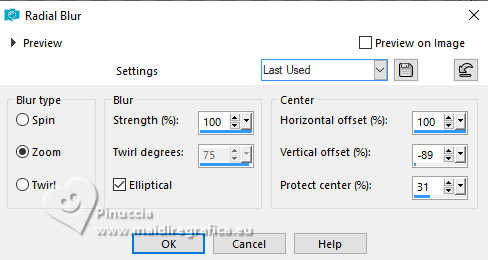
7. Effects>Plugins>AP 01 [Innovations] - Lines SilverLining.
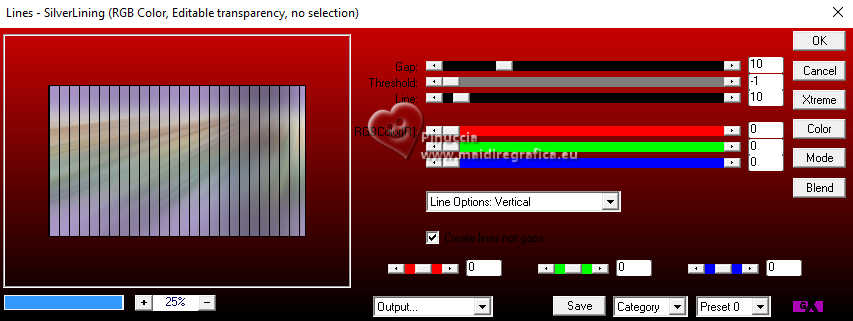
Image>Resize, to 80%, resize all layers not checked.
8. Effects>Plugins>MV's Plugins>Pano Warp
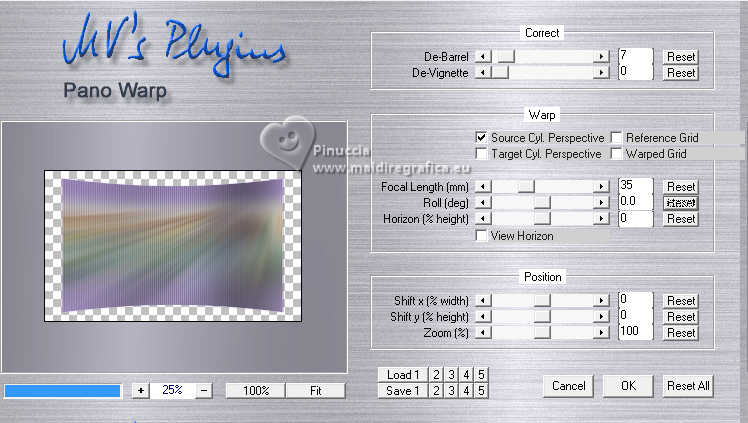
Layers>Duplicate.
Image>Resize, to 80%, resize all layers not checked.
9. Activate your Magic Wand Tool 
Click on the outside of the effect to select it.
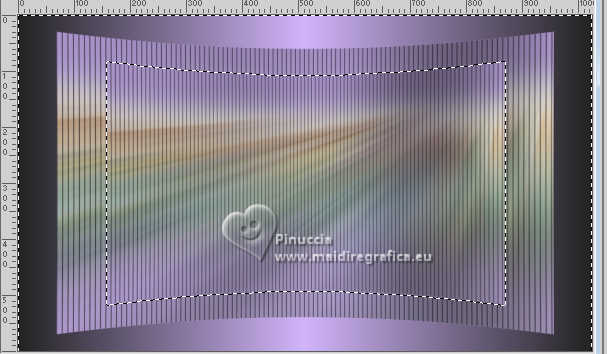
Selections>Invert.
10. Layers>New Raster Layer, Raster 2.
Edit>Paste into Selection (the tube CAGKKbpVNE7FKmyOtteV24P4pbs is still in memory).
11. Stay on the layer raster 2.
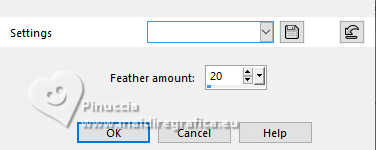
Selections>Modify>Feather - 20 pixels.
12. Adjust>Blur>Motion Blur
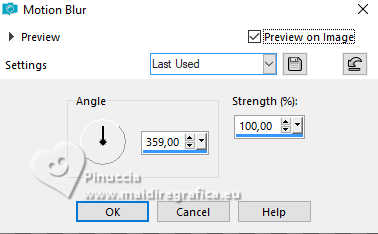
Edit>Repeat Motion Blur.
13. Keep selected.
Image>Rotate Left.
14. Adjust>Blur>Motion Blur, same settings

Edit>Repeat Motion Blur.
15. Image>Rotate Right.
Edit>Repeat Rotate Right.
16. Adjust>Blur>Motion Blur, same settings

Edit>Repeat Motion Blur.
17. Image>Rotate Left.
18. Effects>Plugins>Carolaine and Sensibility - CS_Texture, default settings.
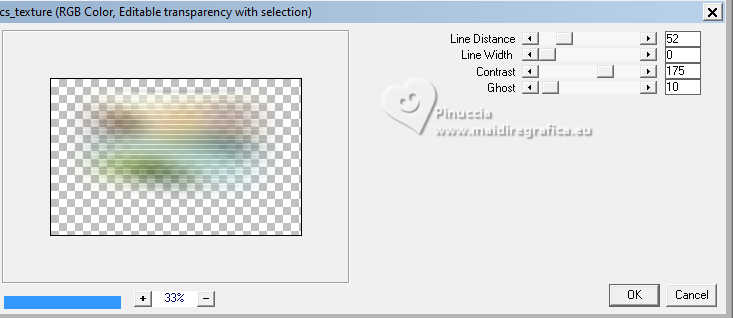
Effects>Edge Effects>Enhance.
19. Layers>New Raster Layer, Raster 3.
Edit>Paste into Selection (the tube CAGKKbpVNE7FKmyOtteV24P4pbs is always in memory).
Selections>Select None.
Adjust>Sharpness>Sharpen More.
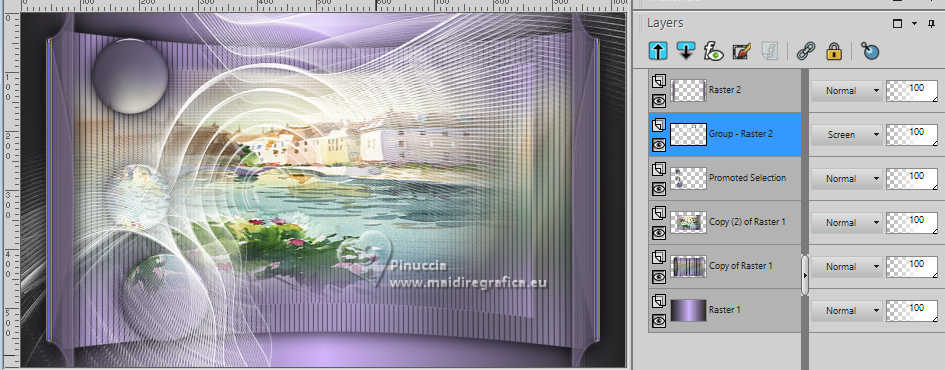
Your tag and the layers
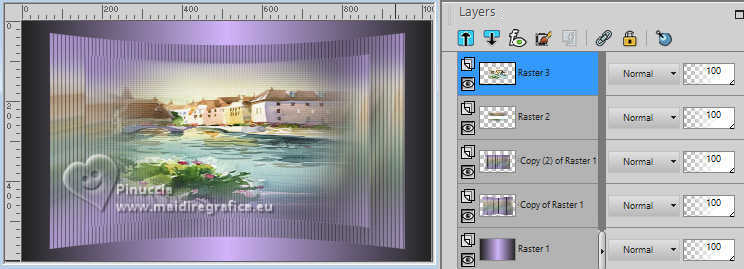
Stay on the top layer.
Layers>Merge>Merge Down - 2 times.
Effects>3D Effects>Drop Shadow, color black #000000.

Activate the layer below, Copy of Raster 1.
Edit>Repeat Drop Shadow.
20. Activate your bottom layer, Raster 1.
Selections>Load/Save Selection>Load Selection from Disk.
Look for and load the selection circle_by lc
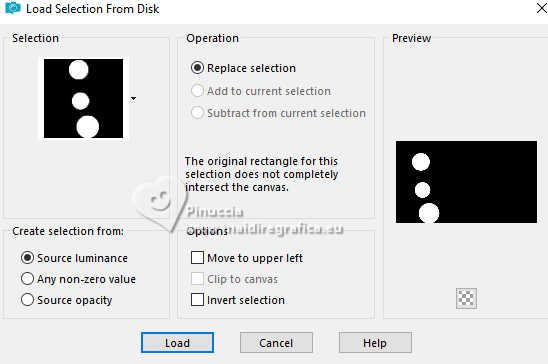
Selections>Promote Selection to Layer.
Layers>Arrange>Bring to Top.
21. Edit>Paste into Selection (the tube CAGKKbpVNE7FKmyOtteV24P4pbs is still in memory).
Adjust>Sharpness>Sharpen More.
Selections>Select None.
22. Effects>Plugins>Alien Skin Eye Candy 5 Impact - Glass.
Select the preset Clear and ok.

23. Activate your Pick Tool 
Position X: 114,00 - Position Y: 37,00.

Effects>3D Effects>Drop Shadow, color #000000.

24. Layers>New Raster Layer.
Set your foreground color to white #ffffff.
Flood Fill  the layer with color white #ffffff. the layer with color white #ffffff.
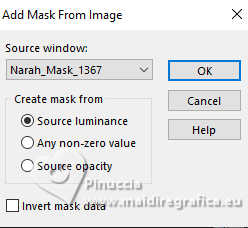
25. Layers>New Mask layer>From image
Open the menu under the source window and you'll see all the files open.
Select the mask Narah_Mask_1367
Effects>Edge Effects>Enhance.
Layers>Merge>Merge Group.
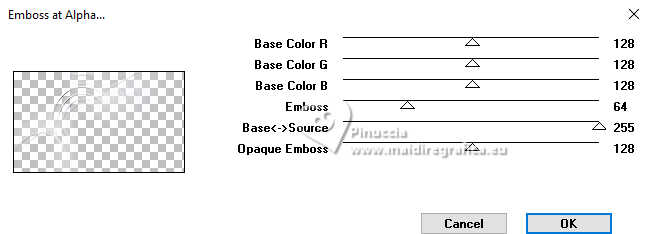
Effects>Plugins>Mura's Seamless - Emboss at alpha, default settings.
Change the Blend Mode of this layer to Screen, opacity 100.
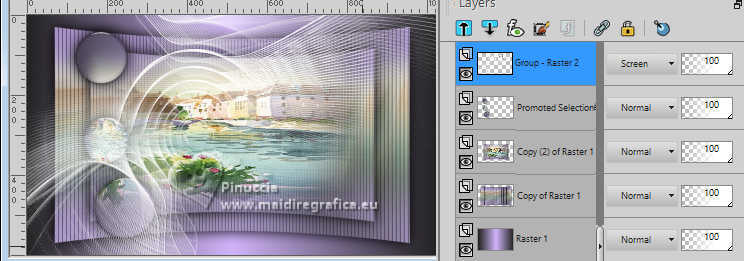
26. Layers>New Raster Layer.
Selections>Load/Save Selection>Load Selection from Disk.
Look for and load the selection riscocantomara
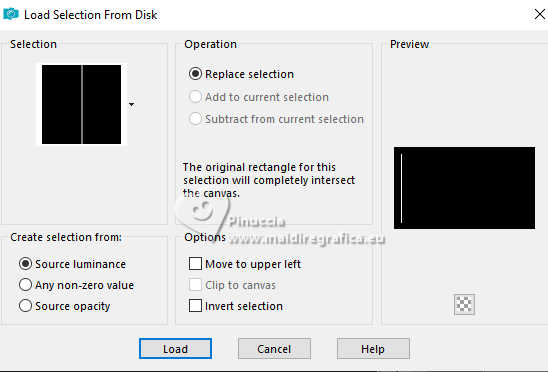
Set again your foreground color to initial color (#232323) and the gradient.
 
Flood Fill  the selection with your Gradient. the selection with your Gradient.
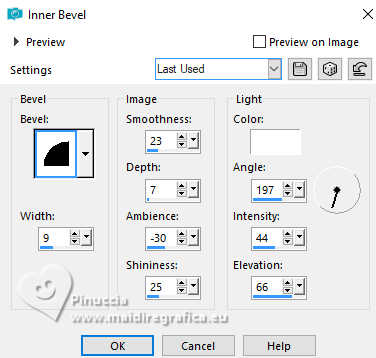
27. Effects>3D Effects>Inner Bevel.
Selections>Select None.
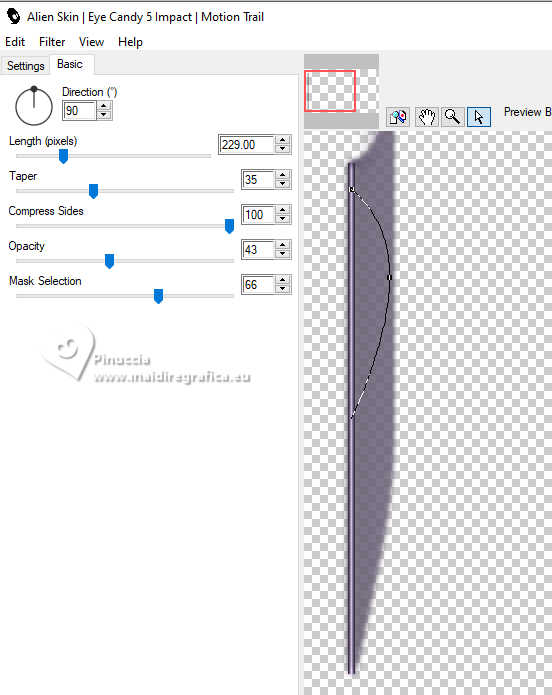
28. Effects>Plugins>Alien Skin Eye Candy 5 Impact - Motion Trail.
29. Layers>Duplicate.
Image>Mirror>Mirror horizontal.
Layers>Merge>Merge Down.
Effects>Edge Effects>Enhance.
30. Layers>Duplicate.
Image>Mirror>Mirror Vertical.
Layers>Merge>Merge Down.
Effects>Edge Effects>Enhance More.
31. Effects>3D Effects>Drop shadow, color #000000.

You should have this
32. Open decornet 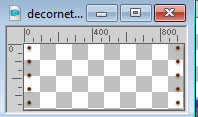
Edit>Copy.
Go back to your work and go to Edit>Paste as new layer.
Place  correctly the tube. correctly the tube.
Position X: 41,00 - Position Y: 152,00

Effecs>3D Effects>Drop Shadow, color #000000.

33. Activate your background layer, Raster 1.
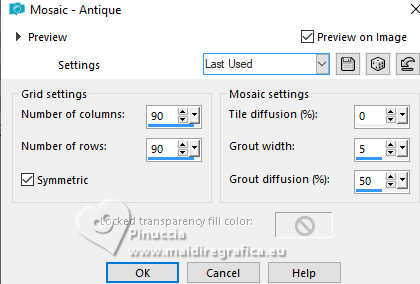
Effects>Texture Effects>Mosaic Antique.
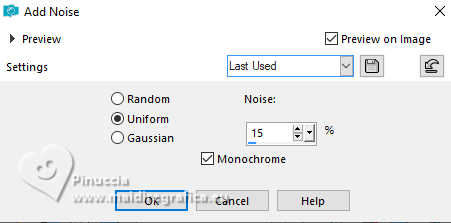
Adjust>Add/Remove Noise>Add Noise.
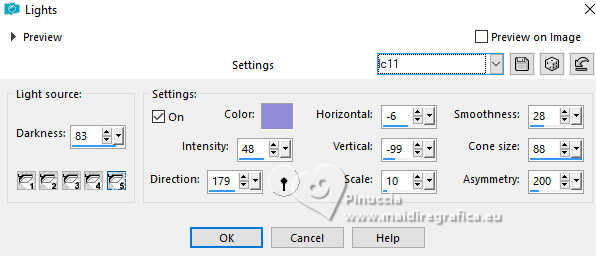
Effects>Illumination Effects>Lights.
Select the preset lightlc11 and ok.
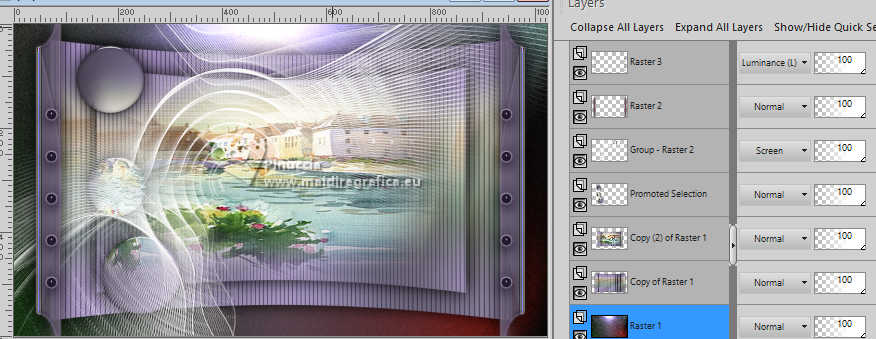
Your tag and the layers - adapt Blend Mode and opacity to your liking.
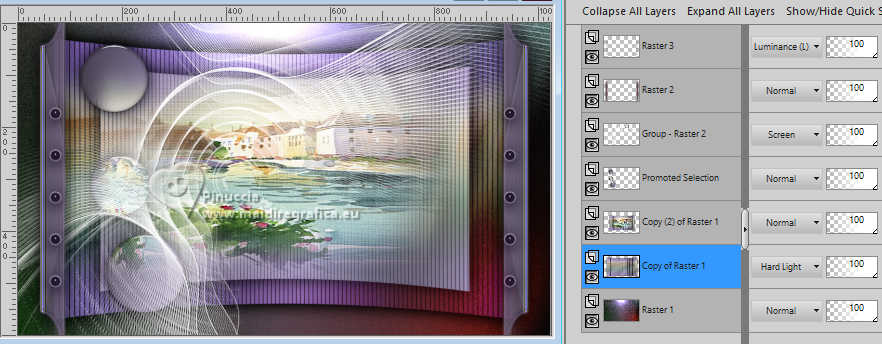
Change the Blend Mode of the layer Copy of Raster 1 to Hard Light.
34. Image>Add borders, 1 pixel, symmetric, foreground color #232323.
Image>Add borders, 3 pixels, symmetric, color #ffffff.
Image>Add borders, 1 pixel, symmetric, foreground color #232323.
Image>Add borders, 10 pixels, symmetric, color #ffffff.
Selections>Select All.
Image>Add borders, 10 pixels, symmetric, color #ffffff.
Effects>3D Effects>Drop Shadow, color #000000.

Image>Add borders, 10 pixels, symmetric, color #ffffff.
Selections>Select None.
35. Open the tube cora-femmes-174 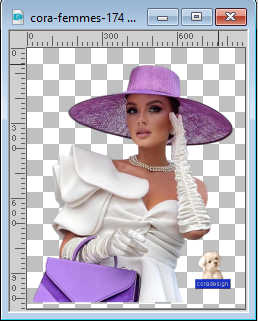
Erase the watermark and go to Edit>Copy.
Go back to your work and go to Edit>Paste as new layer.
Image>Resize, to 70%, resize all layers not checked.
Move  the tube to the right side. the tube to the right side.
Effects>3D Effects>Drop Shadow, at your choice.
36. Image>Add borders, 1 pixel, symmetric, foreground color #232323.
Image>Add borders, 3 pixels, symmetric, color #ffffff.
Image>Add borders, 1 pixel, symmetric, foreground color #232323.
Image>Resize, to 1024 pixels width, resize all layers checked.
37. Add the author and the translator's watermark.
Sign your work and save as jpg.
For the tubes of these versions thanks
Luz Cristina
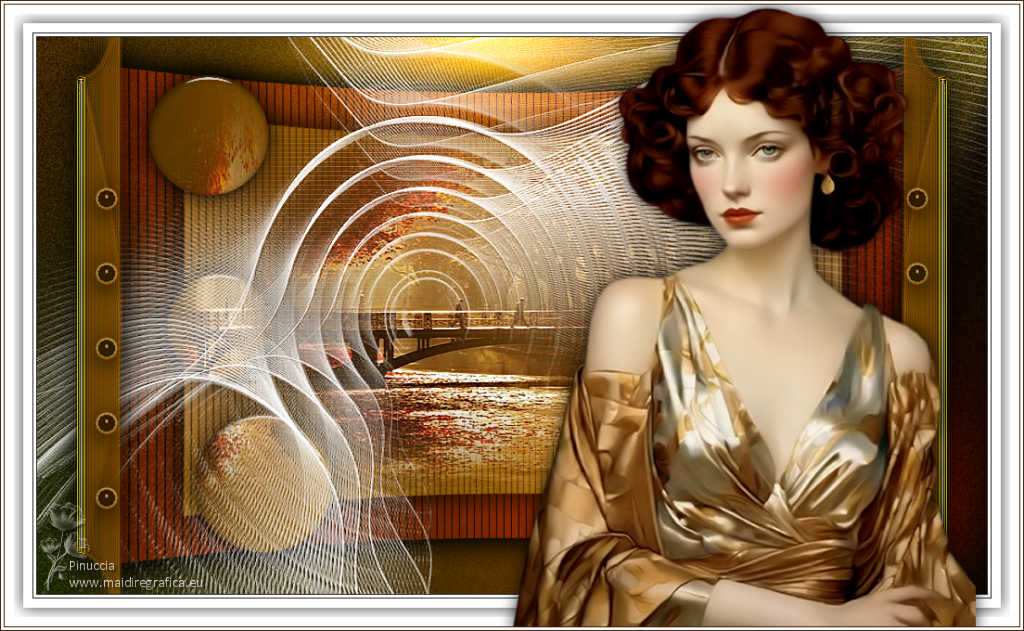
Kamil
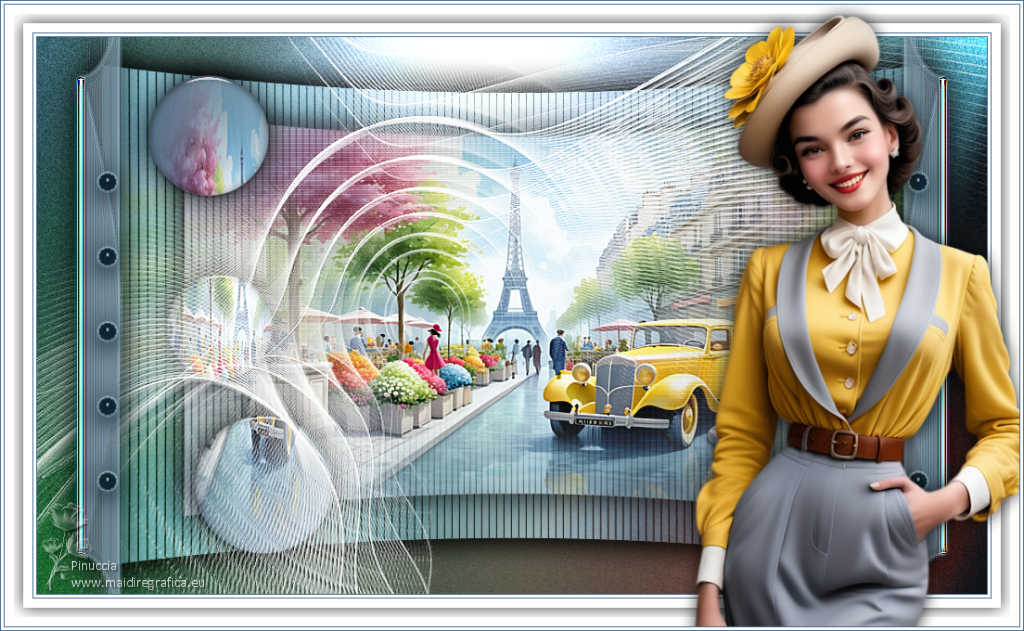
 Your versions here Your versions here

If you have problems or doubts, or you find a not worked link, or only for tell me that you enjoyed this tutorial, write to me.
31 Juillet 2024

|

