|
TOP DETALHES

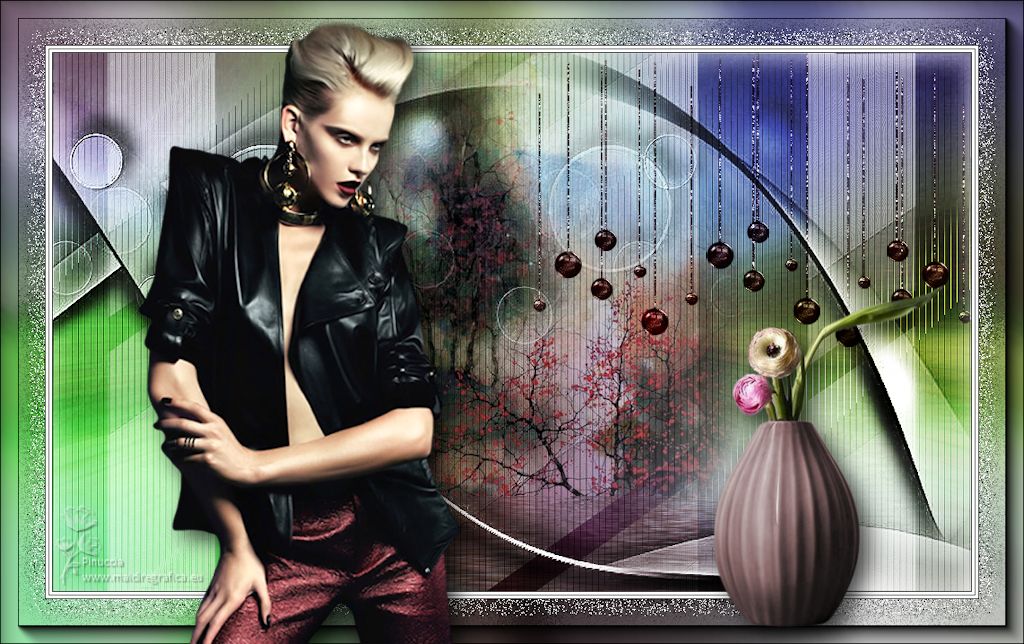
Thanks Lica Cida for your invitation to translate your tutorial

This tutorial was created with PSPX9 and translated with PSPX2 and PSPX3 and PSPX7, but it can also be made using other versions of PSP.
Since version PSP X4, Image>Mirror was replaced with Image>Flip Horizontal,
and Image>Flip with Image>Flip Vertical, there are some variables.
In versions X5 and X6, the functions have been improved by making available the Objects menu.
In the latest version X7 command Image>Mirror and Image>Flip returned, but with new differences.
See my schedule here
 French translation here French translation here
 your versions here your versions here

For this tutorial, you will need:

For the tubes thanks Luz Cristina, Pqna Alice and Callitubes.
The rest of the material is by Lica Cida.
(you find here the links to the material authors' sites)

consult, if necessary, my filter section here
Filters Unlimited 2.0 here
Mura's Seamless - Emboss at Alpha here
Tramages - Tow the line here
Flaming Pear - Flood here
AAA Frames - Foto Frame / AAA Filters - Custom here
Filters Mura's Seamless and Tramages can be used alone or imported into Filters Unlimited.
(How do, you see here)
If a plugin supplied appears with this icon  it must necessarily be imported into Unlimited it must necessarily be imported into Unlimited

You can change Blend Modes according to your colors.
In the newest versions of PSP, you don't find the foreground/background gradient (Corel_06_029).
You can use the gradients of the older versions.
The Gradient of CorelX here

Open the masks in PSP and minimize them with the rest of the material.
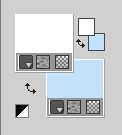
1. Set your foreground color to #ffffff,
and your background color to the light color #c4e1f9.
2. Open a new transparent image 1024 x 600 pixels.
Flood Fill  the transparent image with your background color #c4e1f9. the transparent image with your background color #c4e1f9.
3. Layers>New Raster Layer.
Selections>Select All.
Open the tube Callitubes-165mistedC 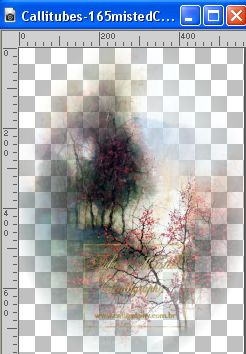
Edit>Copy.
Minimize the tube.
Go back to your work and go to Edit>Paste into Selection.
Selections>Select None.
4. Effects>Image Effects>Seamless Tiling.

5. Adjust>Blur>Radial Blur.
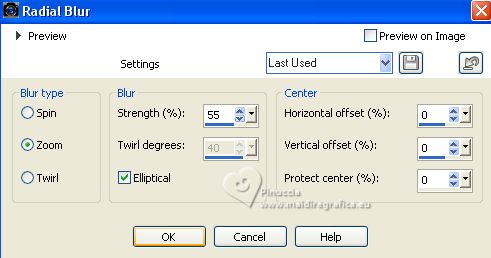
Adjust>Sharpness>Sharpen More.
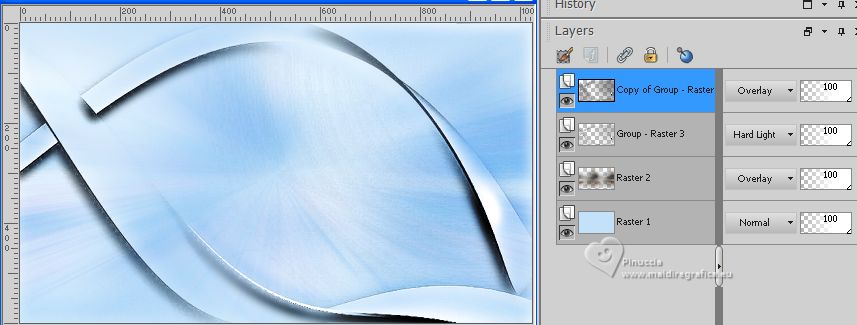
Change the Blend Mode of this layer to Overlay.
6. Layers>New Raster Layer.
Flood Fill  the layer with your white foreground color #ffffff. the layer with your white foreground color #ffffff.
7. Layers>New Mask layer>From image
Open the menu under the source window and you'll see all the files open.
Select the mask cas_Mask_0518_10.
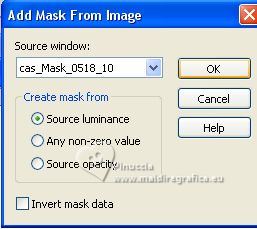
Effects>Edge Effects>Enhance.
Layers>Merge>Merge Group.
8. Effects>Plugins>Mura's Seamless - Emboss at Alpha, default settings.
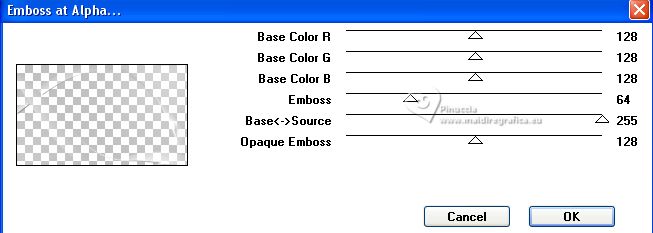
Repeat this Effect another time.
9. Effects>3D Effects>Drop Shadow, color #000000.
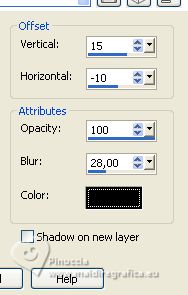
Change the Blend Mode of this layer to Hard Light.
10. Layers>Duplicate.
Effects>3D Effects>Drop shadow, color #000000.
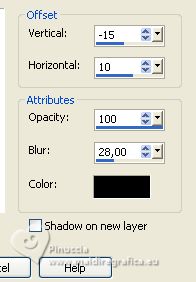
Change the Blend Mode of this layer to Overlay.
don't hesitate to change the Blend Mode according to your colors
11. Layers>New Raster Layer.
Layers>Arrange>Send to Bottom.
12. Selections>Select All.
Open the tube colorido_rb2 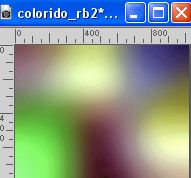
Edit>Copy.
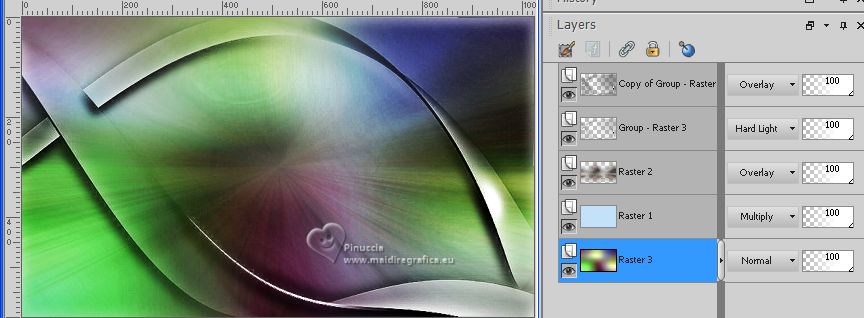
Go back to your work and go to Edit>Paste into Selection.
Selections>Select None.
Change the Blend Mode of the layer above, Raster 1, to Multiply.
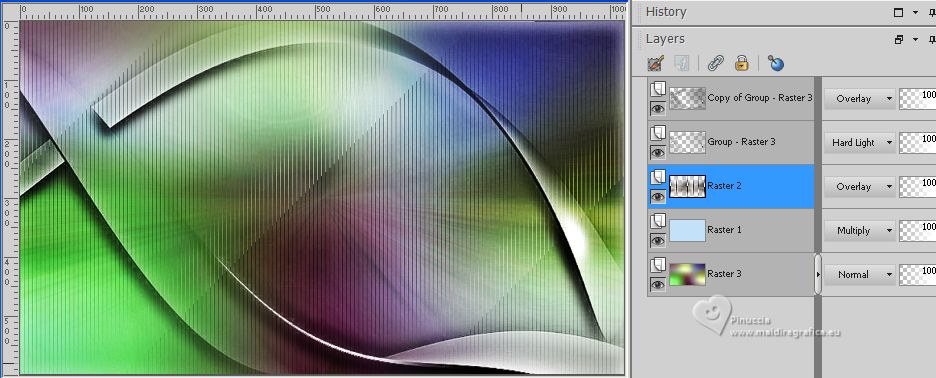
13. Activate the layer Raster 2.
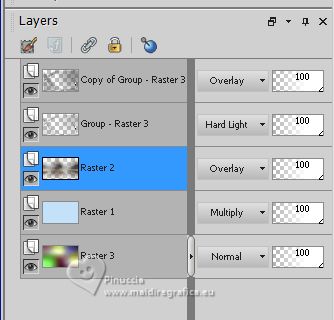
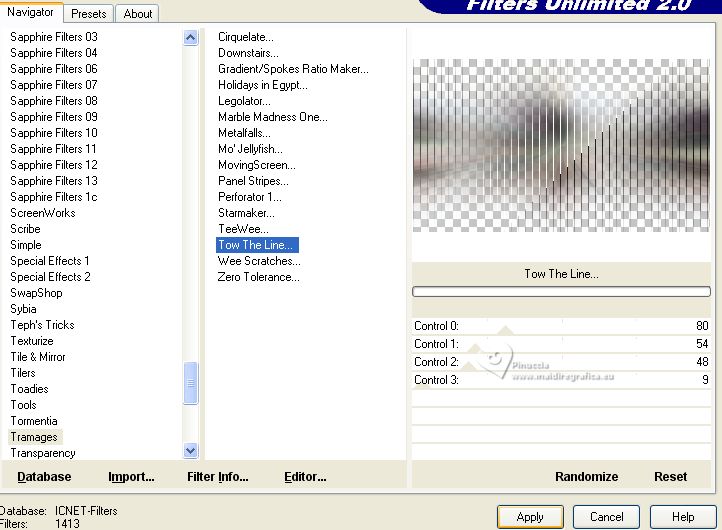
Effects>Plugins>Filters Unlimited 2.0 - Tramages - Tow the line, default settings.
Adjust>Sharpness>Sharpen.
Keep the Blend Mode of this layer to Overlay.
14. Open deco1_lc 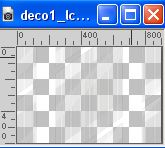
Edit>Copy.
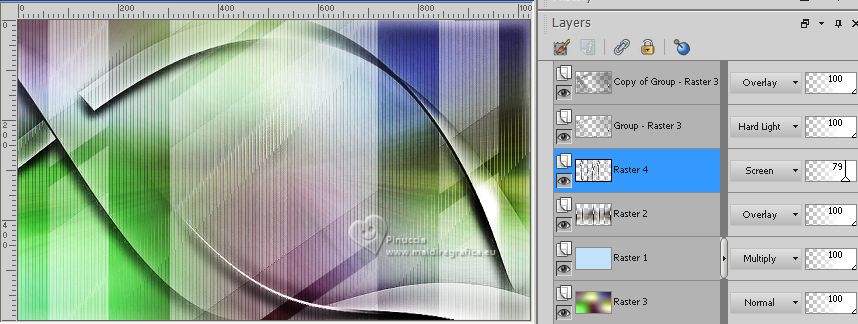
Go back to your work and go to Edit>Paste as new layer (Raster 4).
Effects>Edge Effects>Enhance.
Keep the Blend Mode of this layer to Screen, opacity 79%.
15. Set your foreground color to a Foreground/Background Gradient, style Linear.
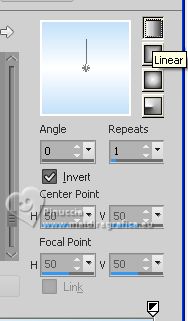
Layers>New Raster Layer.
Flood Fill  the layer with your gradient. the layer with your gradient.
16. Layers>New Mask layer>From image
Open the menu under the source window
and select the mask cas_Mask_0316_02b
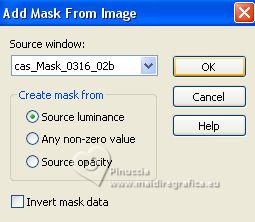
Effects>Edge Effects>Enhance.
Layers>Merge>Merge Group.
17. Effects>Plugins>Mura's Seamless - Emboss at Alpha, default settings - 2 times.
Effects>3D Effects>Drop Shadow, color #000000.

Change the Blend Mode of this layer to Hard Light.
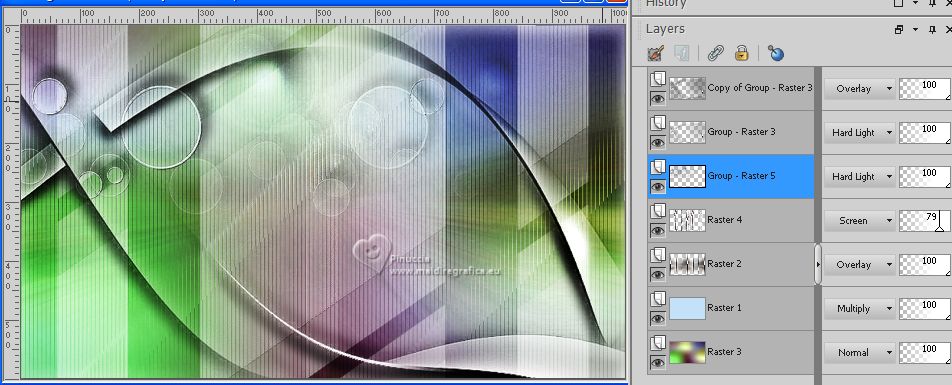
18. Activate again the tube Callitubes-165mistedC and go to Edit>Copy.
Go back to your work and go to Edit>Paste as new layer.
Image>Resize, to 90%, resize all layers not checked.
Adjust>Sharpness>Sharpen.
Change the Blend Mode of this layer to Multiply.
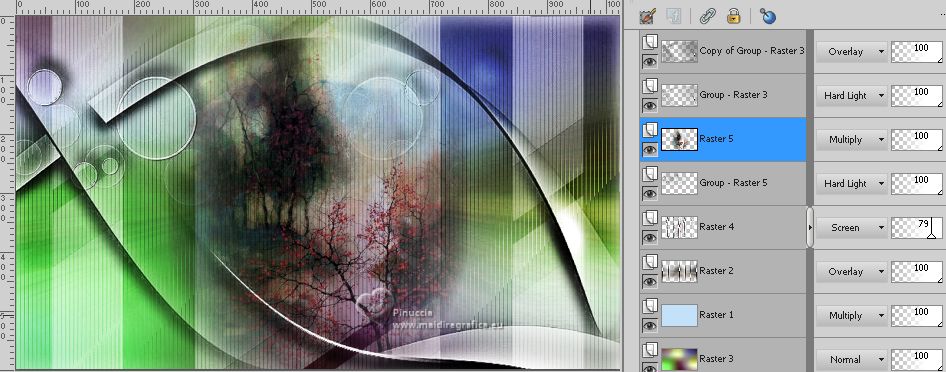
19. Effects>Plugins>Flaming Pear - Flood.
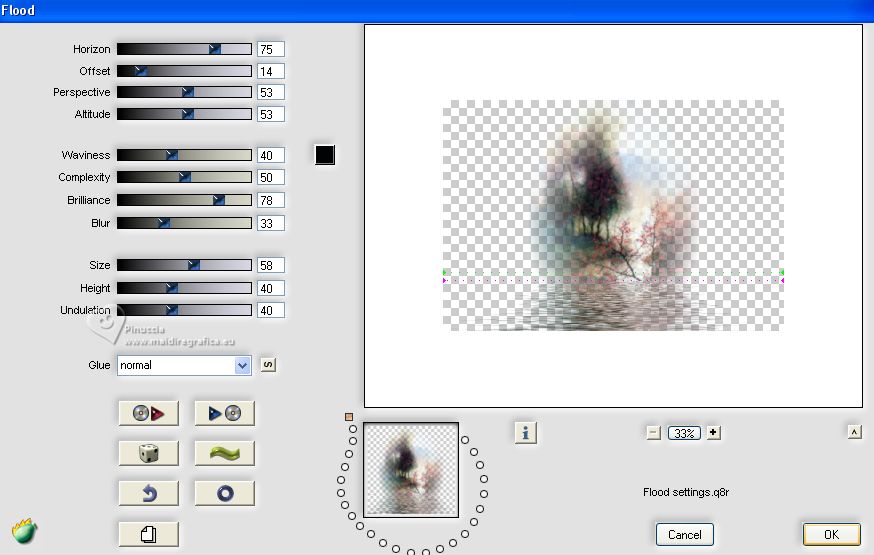
Adjust>One Step Photo Fix.
Layers>Arrange>Move Down.
20. Open arquivo net 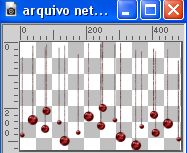
Edit>Copy.
Go back to your work and go to Edit>Paste as new layer.
Objects>Align>Top.
Objects>Align>Right.
Or activate your Pick Tool 
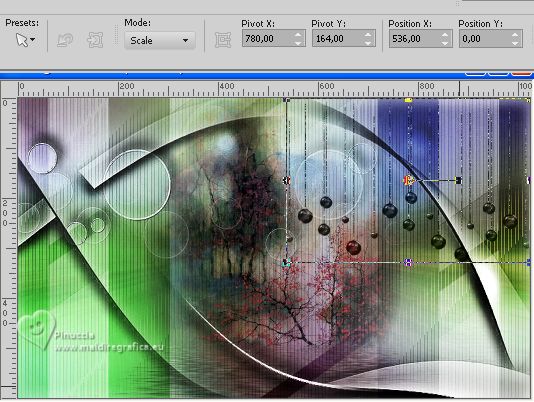
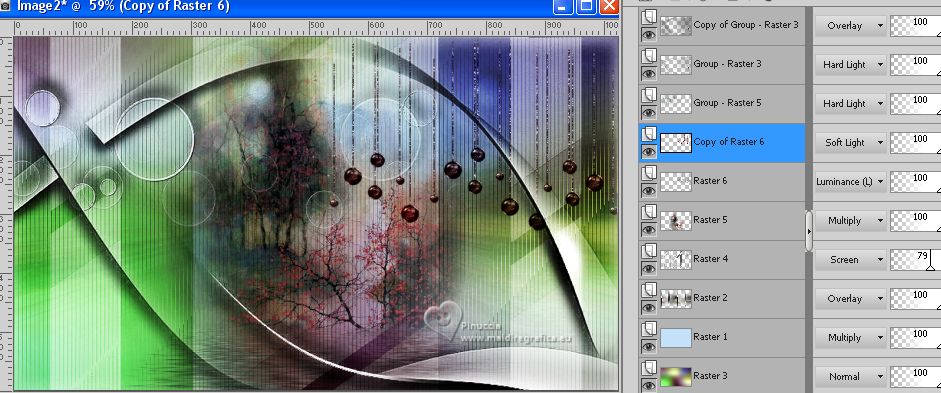
Change the Blend Mode of this layer to Luminance (legacy).
Layers>Duplicate.
Change the Blend Mode of this layer to Soft Light.
21. Edit>Copy Special>Copy Merged.
Layers>Merge>Merge visible.
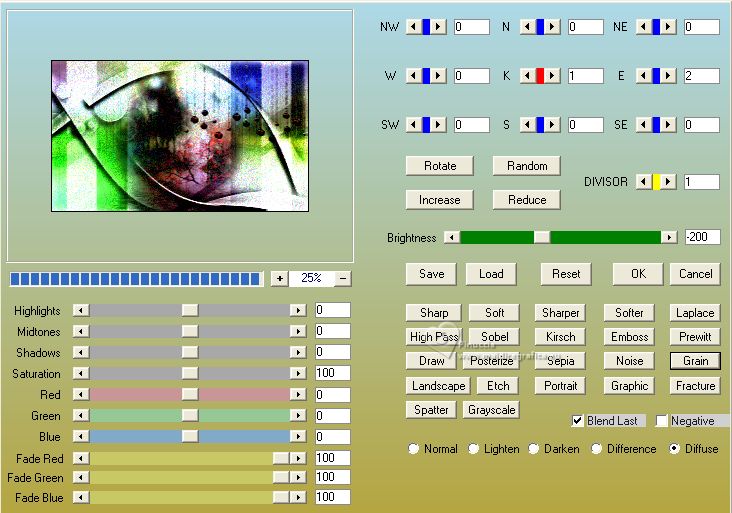
22. Effects>Plugins>AAA Filters - Custom - click on Grain and ok.
I didn't apply this effect, because I didn't like the result;
it's up to you
23. Image>Add borders, 1 pixel, symmetric, color #000000.
Image>Add borders, 3 pixels, symmetric, color #ffffff.
Image>Add borders, 1 pixel, symmetric, color #000000.
Image>Add borders, 3 pixels, symmetric, color #ffffff.
Image>Add borders, 1 pixel, symmetric, color #000000.
Selections>Select All.
Image>Add borders, 50 pixels, symmetric, color #ffffff.
Selections>Invert.
Edit>Paste into Selection.
24. Adjust>Blur>Radial Blur, same settings.

Adjust>Sharpness>Sharpen More.
Selections>Invert.
Effects>3D Effects>Drop Shadow, color #000000.

Selections>Invert.
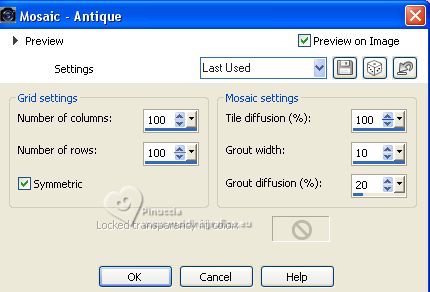
25. Effects>Texture Effects>Mosaic Antique.
Selections>Select None.
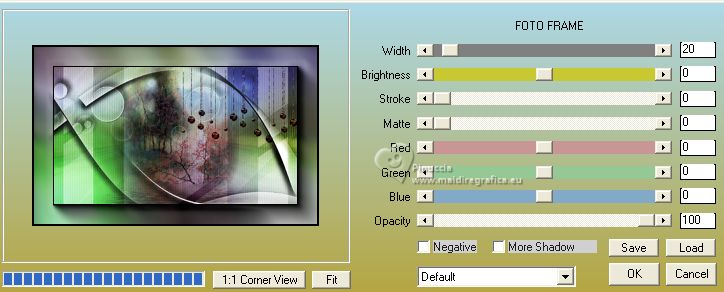
26. Effects>Plugins>AAA Frames - Foto Frame.
27. Open the tube 7315-Luz Cristina 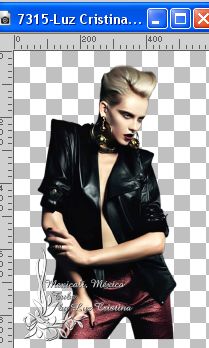
Edit>Copy.
Go back to your work and go to Edit>Paste as new layer.
Image>Resize, to 85%, resize all layers not checked.
Move  the tube to the left side. the tube to the left side.
Effects>3D Effects>Drop Shadow, at your choice.
28. Open 092FlorByPqnaAlice 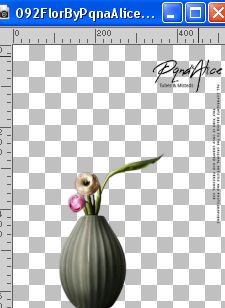
Erase the watermark and go to Edit>Copy.
Go back to your work and go to Edit>Paste as new layer.
Move  the tube to the right side. the tube to the right side.
Activate your Freehand Selection Tool 
and select the vase
Adjust>Hue and Saturation>Colorize.
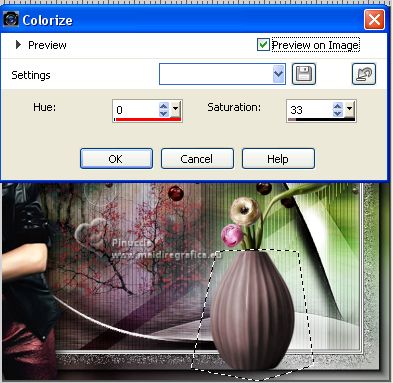
Selections>Select None.
Effects>3D Effects>Drop Shadow, at your choice.
29. Sign your work on a new layer.
Add, if you want, the author's watermark; in this case, please don't forget the translator's watermark.
30. Image>Resize, 1024 pixels width, resize all layers checked.
Layers>Merge>Merge All and save as jpg.
For the tubes of this version thanks NaiseM and Yvonne

 Your versions here Your versions here

If you have problems or doubts, or you find a not worked link, or only for tell me that you enjoyed this tutorial, write to me.
9 Août 2023

|


