|
TOP DESALINHO

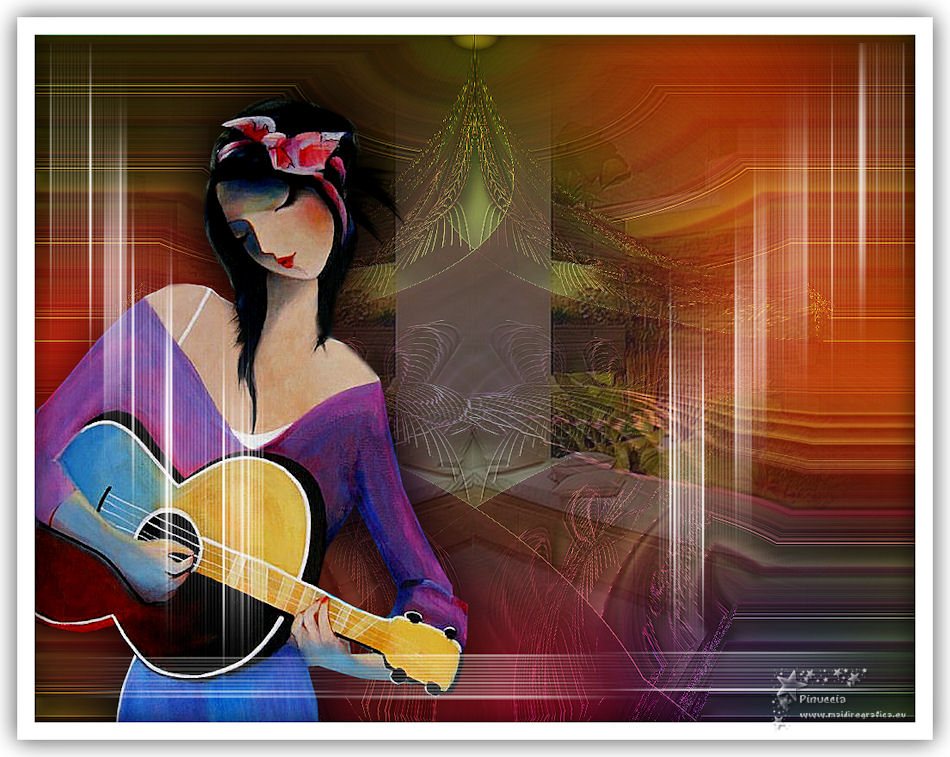
Thanks Lica Cida for your invitation to translate your tutorial

This tutorial was created with PSPX8 and translated with PSPX7 and PSPX3, but it can also be made using other versions of PSP.
Since version PSP X4, Image>Mirror was replaced with Image>Flip Horizontal,
and Image>Flip with Image>Flip Vertical, there are some variables.
In versions X5 and X6, the functions have been improved by making available the Objects menu.
In the latest version X7 command Image>Mirror and Image>Flip returned, but with new differences.
See my schedule here
 French translation here French translation here
 your versions ici your versions ici
For this tutorial, you will need:
Material here
For the tubes thanks Luz Cristina (5392-luzcristina\5317-luzcristina)
Background: ColoridoAL.
Deco: effet airbrush 3d
(you find here the links to the material authors' sites)
Plugins
consult, if necessary, my filter section here
Filters Unlimited 2.0 here
Andromeda - Designs here
Alien Skin Eye Candy 5 Impact - Motion Trail here
Mura's Meister - Copies here
Mura's Seamless - Emboss at Alpha here
Transparency - Eliminate White here
Filters Mura's Seamless and Transparency can be used alone or imported into Filters Unlimited.
(How do, you see here)
If a plugin supplied appears with this icon  it must necessarily be imported into Unlimited it must necessarily be imported into Unlimited

You can change Blend Modes according to your colors.
In the newest versions of PSP, you don't find the foreground/background gradient (Corel_06_029).
You can use the gradients of the older versions.
The Gradient of CorelX here
Copy the preset Airbrush_3D.PspScript in the Presets Folder.
1. Open a new transparent image 1024 x 800 pixels.
Set your foreground color to #ffffff.
Flood Fill  the transparent image with your foreground color #ffffff. the transparent image with your foreground color #ffffff.
2. Effects>Plugins>Andromeda - Designs
clicl on the + of Category to select Symbol#1
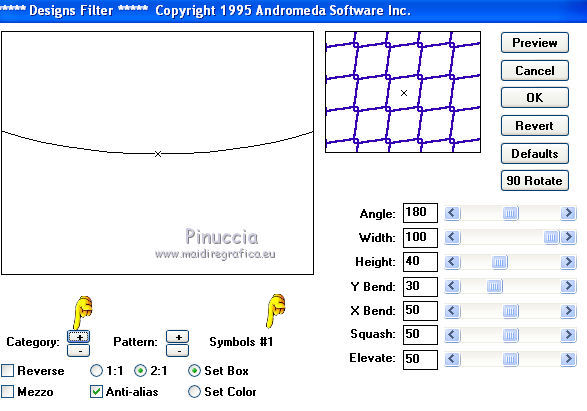
Image>Flip.
3. Effects>Plugins>Transparency - Eliminate White.
4. Set your foreground color to #190b16,
and your background color to #b54ca9.
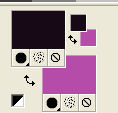
Set your foreground color to a Foreground/Background Gradient, style Linear.

Activate your Change to Target Brush Tool  , size 200, , size 200,
and pass the mouse over the image to colorize it with the gradient.
Effects>3D Effects>Drop Shadow, color #000000.

Image>Rotate Right.
Image>Mirror.
Activate your Pick Tool 
(if you don't see the Rules: View>Rules)
mode Scale 
pull the bottom central node up, until 300 pixels.
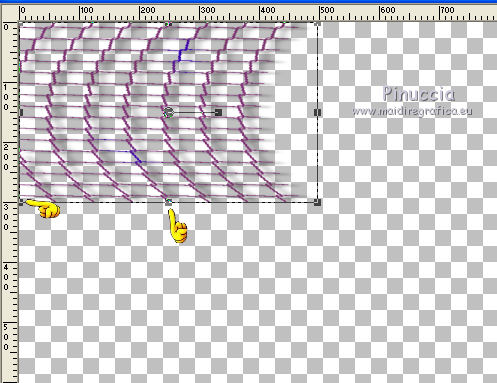
Layers>Duplicate.
Image>Mirror.
Layers>Merge>Merge Down.
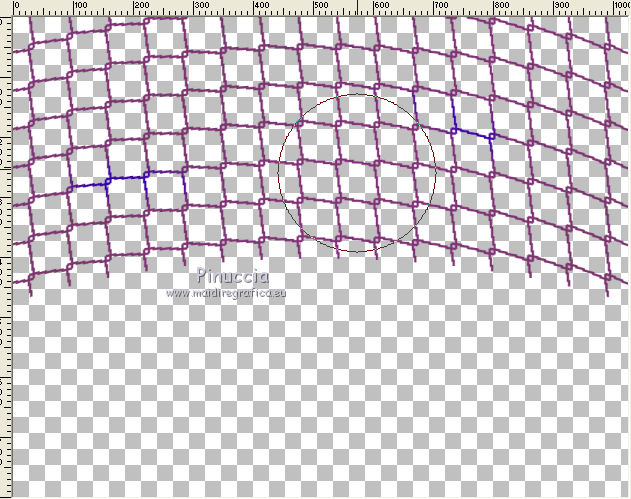
7. Activate your Mesh Warp Tool 

pull the indicated knot
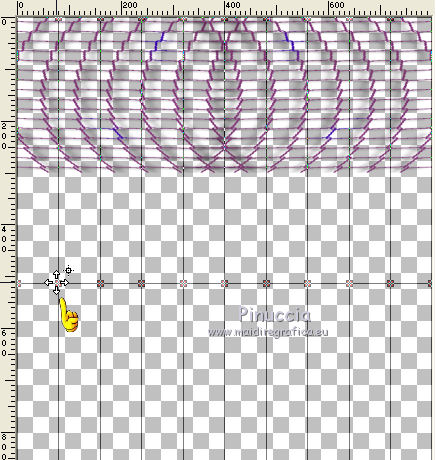 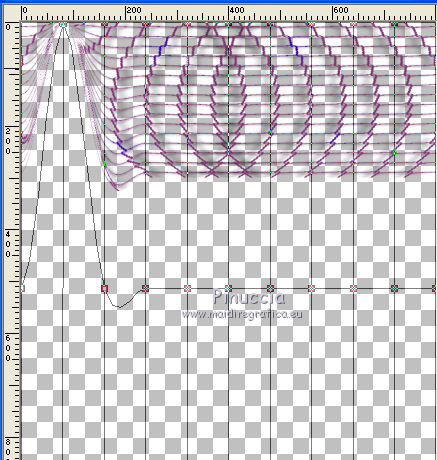
after push the next knot
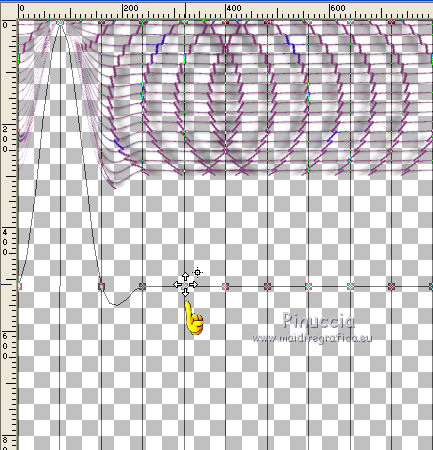 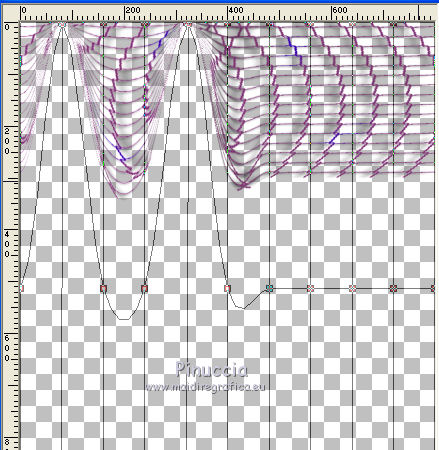
and continue until you get this
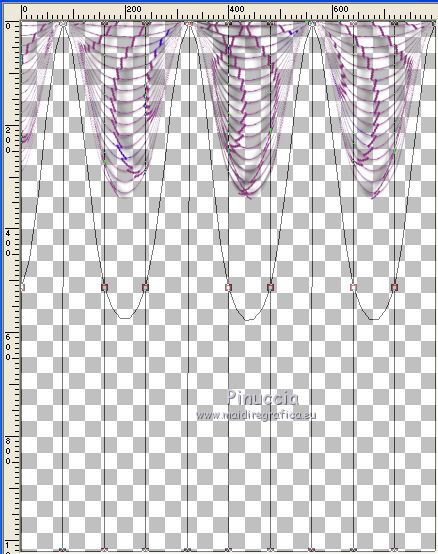
Click on the sign  to apply to apply
and on the Pan Tool  to deselect the tool. to deselect the tool.
8. Effects>Plugins>Alien Skin Eye Candy 5 Impact - Motion Trail.
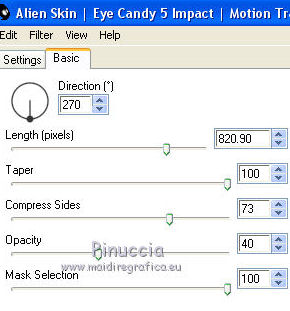
Layers>Duplicate.
Image>Flip.
Layers>Merge>Merge Down.
Image>Rotate Left.
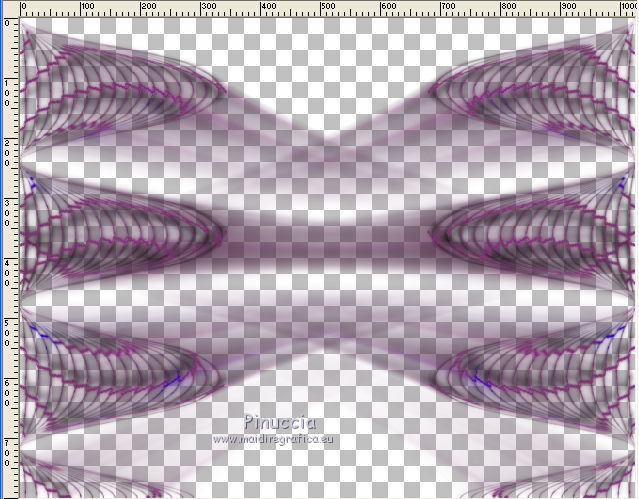
9. Effects>Geometric Effects>Circle

*****
It can happen to see colored areas at the top, see below.
Activate your Magic Wand Tool  , tolerance 10, , tolerance 10,
and click on these areas to select them.
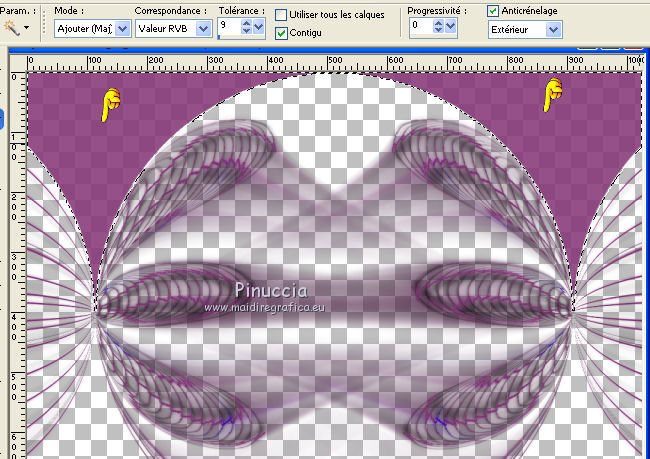
Press CANC on the keyboard 
Selections>Select None.
*****
Image>Resize, to 85%, resize all layers not checked.
10. Effects>Distortion Effects>Polaires Coordinates

Effects>3D Effects>Drop Shadow, same settings.

Effects>Plugins>Mura's Seamless - Emboss at Alpha, default settings.
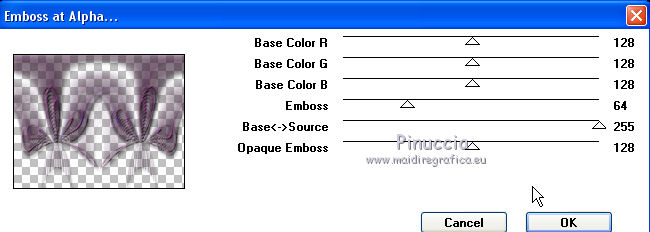
Repeat the Effect another time.
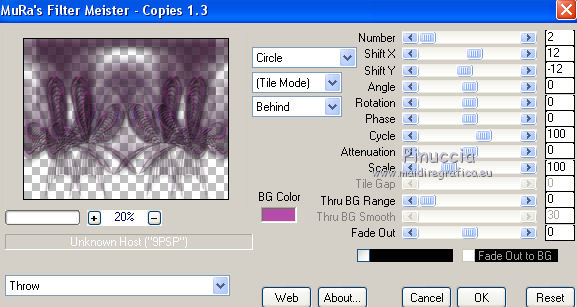
11. Effects>Plugins>Mura's Meister - Copies.
12. Layers>New Raster Layer.
Layers>Arrange>Send to Bottom.
Selections>Select All.
Open the image coloridoAL and go to Edit>Copy.
Go back to your work and go to Edit>Paste into Selection.
Selections>Select None.
Adjust>Sharpness>Sharpen More.
13. Layers>New Raster Layer.
Layers>Arrange>Send to Bottom.
Choose two contrasting colors from the ColoridoAL image: for me
foreground #a01a30,
background #59700a.
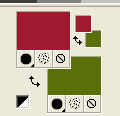
Set your foreground color to a Foreground/Background Gradient, style Sunburst.

Flood Fill  the layer with your gradient. the layer with your gradient.
14. Activate the top layer, Raster 1.
Effects>Geometric Effects>Perspective Horiziontal.

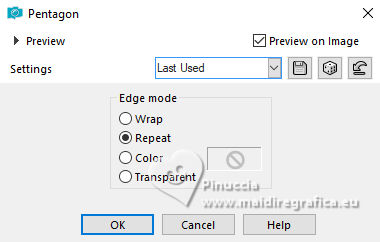
15. Effects>Geometric Effects>Pentagon.
16. Effects>Geometric Effects>Spherize.

Layers>Duplicate.
Image>Mirror.
Layers>Merge>Merge Down.
Effects>Edge Effects>Enhance.
Effects>3D Effects>Drop Shadow, same settings.

Change the Blend Mode of this layer to Overlay and reduce the opacity to 91%.

17. Layers>New Raster Layer.
Selections>Select All.
Open the misted 5317-luzcristina and go to Edit>Copy.
Go back to your work and go to Edit>Paste into Selection.
Selections>Select None.
Adjust>Sharpness>Sharpen more.
Reduce the opacity of this layer to 30%.

18. Open the tube 5392-luzcristina and go to Edit>Copy.
Go back to your work and go to Edit>Paste as new layer.
Move  the tube at the bottom left. the tube at the bottom left.
Adjust>Sharpness>Sharpen More.
19. Layers>Duplicate.
Activate the layer below of the original, Raster 5.
Adjust>Blur>Gaussian Blur - radius 29.

Change the Blend Mode of this layer to Multiply.
20. Activate your top layer.
Set your foreground color to #ffffff.
Layers>New Raster Layer.
Activate your Airbrush Tool 
Open the presets menu and select the preset 3D

Apply the preset once horizontally with Rotation 0,
and once vertically with Rotation 90.
You should have this
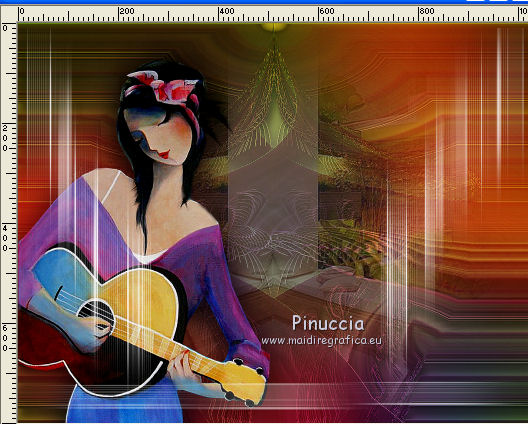
The preset was created with PSPX9.
It may happen the with other versions it doesn't work.
In this case, copy/paste as new layer the image efecto Aerbrush 3D, in the material.
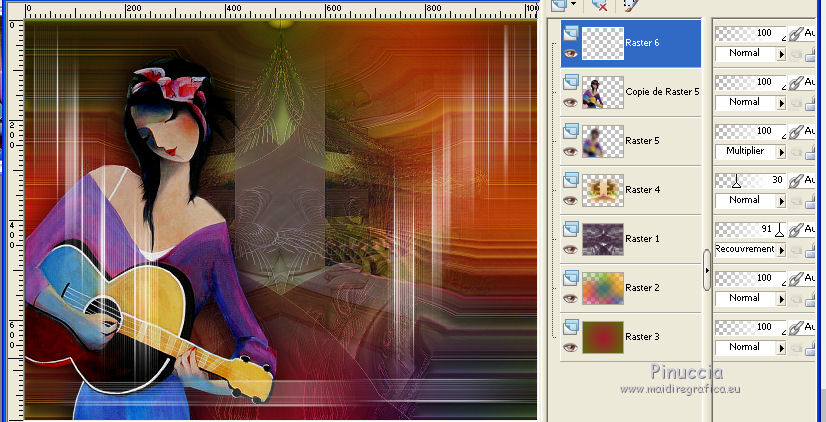
The tag, the layers and the opacities (apply at your choice).
21. Image>Add borders, 40 pixels, symmetric, color #ffffff.
22. Selections>Select All.
Selections>Modifier>Cotnract - 20 pixels.
23. Selections>Modify>Select Selection Borders.

Effects>3D Effects>Drop Shadow, color #000000.

Selections>Select None.
Image>Resize, 1000 pixels width, resize all layers checked.
Sign your work on a new layer.
little note about the watermark:
I don't ask to put watermark on the versions made by my translations.
But if you decide to use the watermark supplied by the author, I would appreciate that my work as translator was also respected.
For that, I added my watermark to the material.
24. Layers>Merge>Merge All and save as jpg.
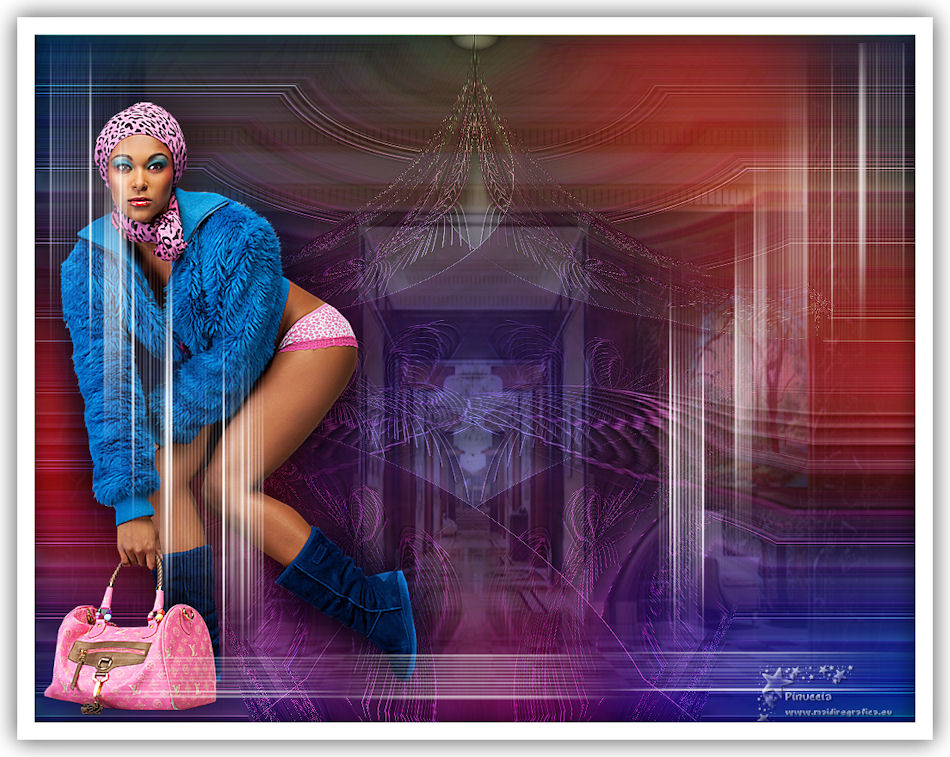
Version with tubes by Mina
 Your versions here Your versions here

If you have problems or doubts, or you find a not worked link, or only for tell me that you enjoyed this tutorial, write to me.
21 May 2020
|


