|
TOP DARLING, DON'T BE AFRAID

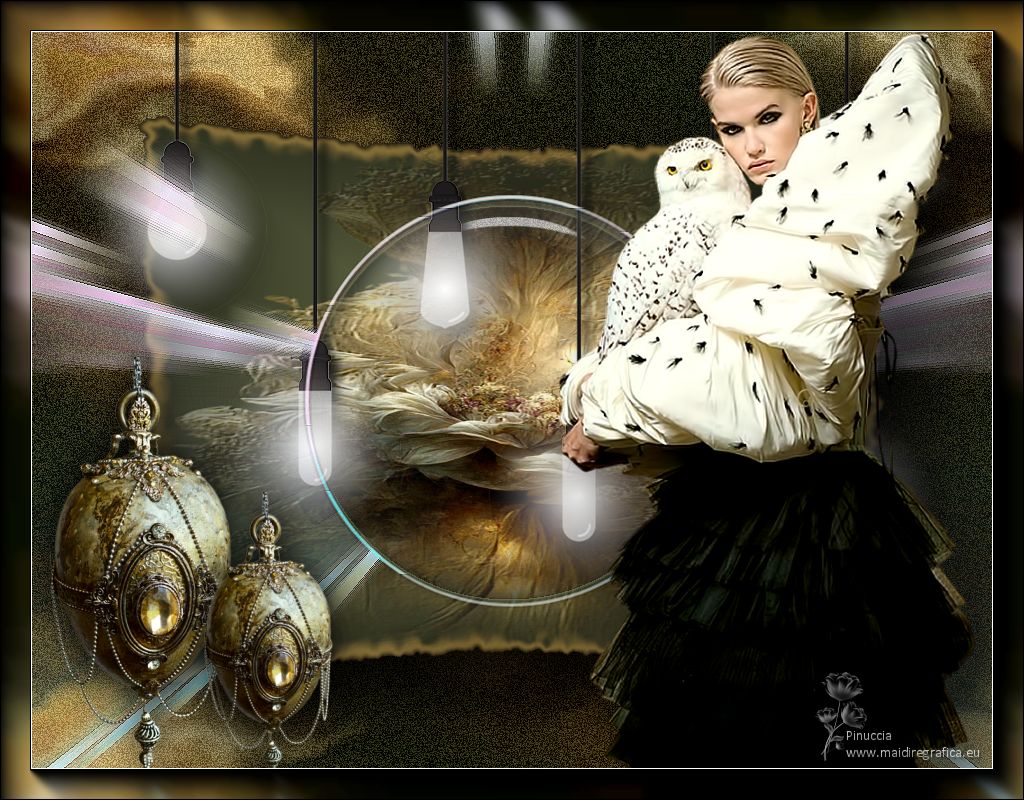
Thanks Lica Cida for your invitation to translate your tutorial

This tutorial was created with PSPX9 and translated with PSPX2 and PSPX3 and PSPX7, but it can also be made using other versions of PSP.
Since version PSP X4, Image>Mirror was replaced with Image>Flip Horizontal,
and Image>Flip with Image>Flip Vertical, there are some variables.
In versions X5 and X6, the functions have been improved by making available the Objects menu.
In the latest version X7 command Image>Mirror and Image>Flip returned, but with new differences.
See my schedule here
 French translation here French translation here
 your versions here your versions here

For this tutorial, you will need:

For the tubes thanks Renée and Callitube.
(you find here the links to the material authors' sites)

consult, if necessary, my filter section here
Filters Unlimited 2.0 here
Distortion Filters - Smelter 2 - standard in Unlimited
DSB Flux - Bright Noise here
Alien Skin Xenofex 2- Burnt Edges here
Alien Skin Eye Candy 5 Impact here
MV's Plugins - PanoWarp here
AAA Frames - Foto Frame - AAA Filters - Custom here

You can change Blend Modes according to your colors.
In the newest versions of PSP, you don't find the foreground/background gradient (Corel_06_029).
You can use the gradients of the older versions.
The Gradient of CorelX here

Copy the presets Emboss 3 in the Presets Folder.
Open the mask in PSP and minimize it with the rest of the material.
If you choose another tube, use the background layer of this tube.
And you'll have a psp image and a jpg image (see the steps of the tutorisl).
If necessary, use the mask 20-20
1. Set your foreground color to #1f2115,
and your background color to #777f53.
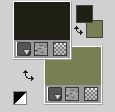
Set your foreground color to a Foreground/Background Gradient, style Rectangular.

2. Open adorno-bymp 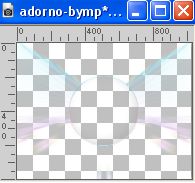
Keep the layer closed.
This image will be the basis of your work.
Layers>New Raster Layer.
Layers>Arrange>Send to Bottom.
3. Open the jpg image Callitubes-292flores 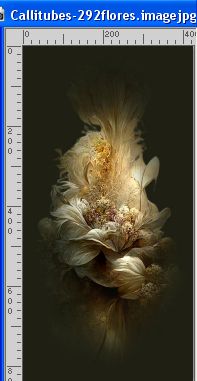
Selections>Select All.
Edit>Copy.
Go back to your work and go to Edit>Paste into Selection.
Selections>Select None.
4. Effects>Image Effects>Seamless Tiling.

5. Adjust>Blur>Gaussian Blur - radius 21.

7. Effects>Plugins>Filters Unlimited 2.0 - Distortion Filters - Smelter 2, default settings.
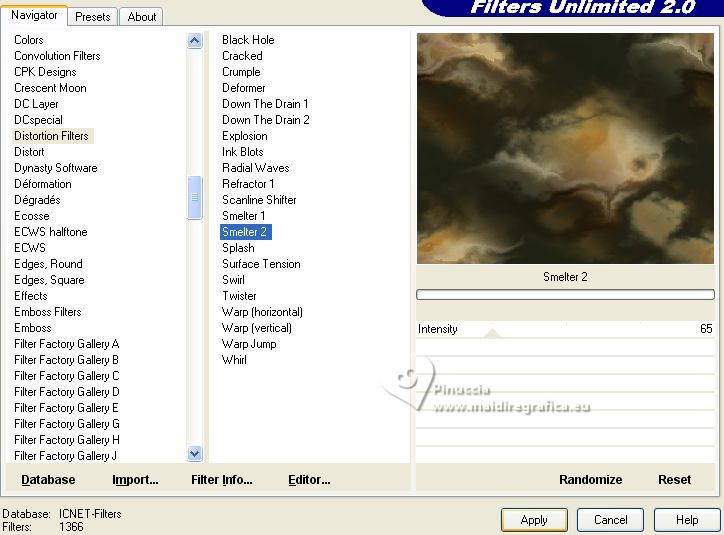
8. Effects>Plugins>DSB Flux - Bright Noise.
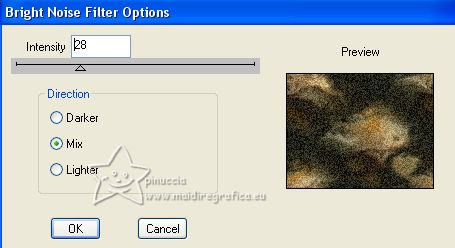
9. Layers>New Raster Layer.
Flood Fill  the layer with your Gradient. the layer with your Gradient.
10. Selections>Select All.
Selections>Modify>Contract - 60 pixels.
11. Effects>Plugins>Alien Skin Xenofex 2 - Burnt Edges.
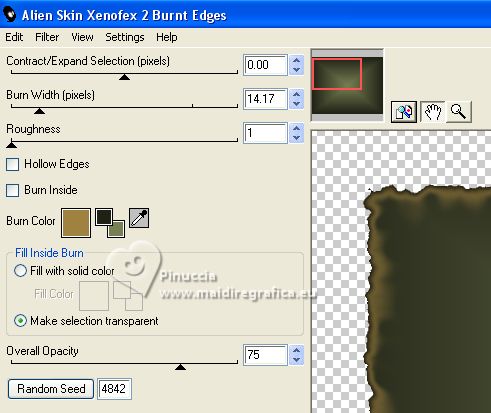
Repeat this Effect another time.
12. Layers>New Raster Layer.
Open the tube Callitubes-292flores.pspimage 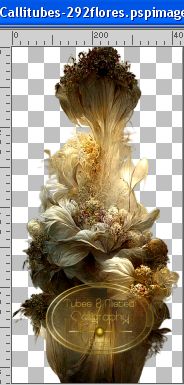
Layers>New Mask layer>From image
Open the menu under the source window and you'll see all the files open.
Select the mask 2020.

Layers>Merge>Merge Group.
Edit>Copy.
Go back to your work and go to Edit>Paste into Selection.
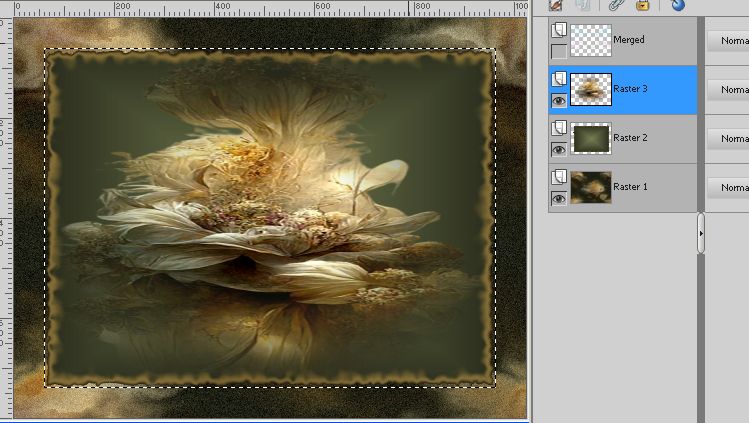
Effects>User Defined Filter - select the preset Emboss 3 and ok.

Selections>Select None.
Layers>Merge>Merge Down.
13. Effect>Plugins>MV's Panowarp.
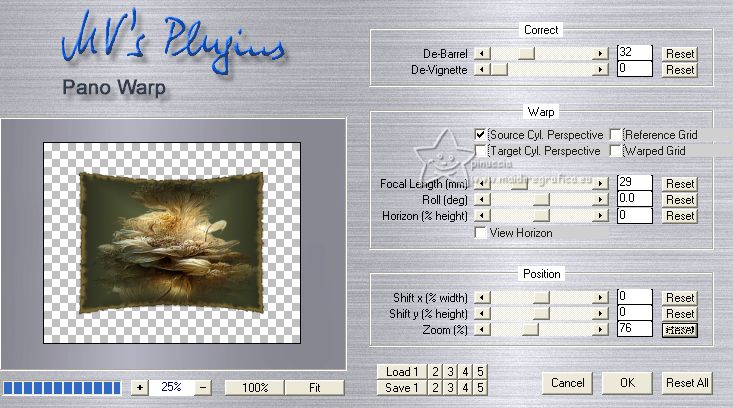
Effects>Plugins>Alien Skin Eye Candy 5 Impact - Perspective Shadow, at your choice
14. Activate your bottom layer, Raster 1.
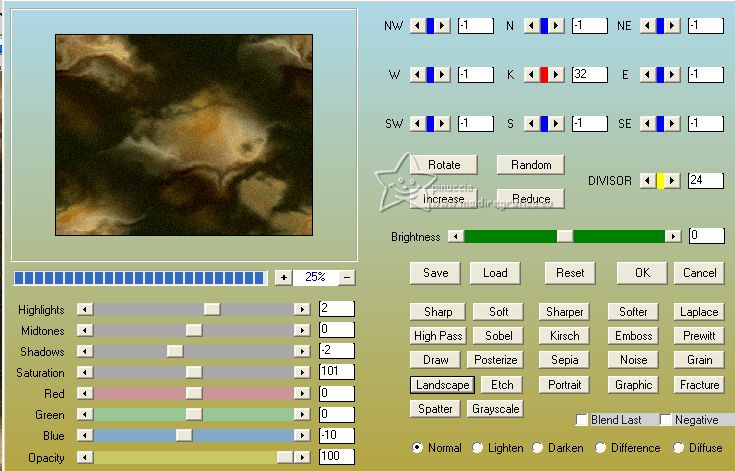
Effects>Plugins>AAA Filters - Custom - click on Landscape and ok.
15. Open and activate your top layer, Merged.
Image>Flip.
Effects>Edge Effects>Enhance.
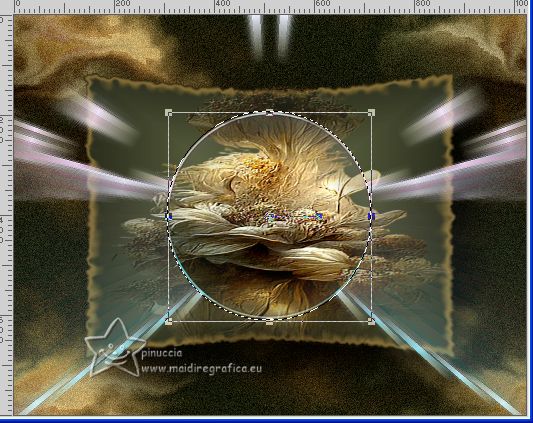
16. Select the circle; I used the Selection Tool  , circle. , circle.
Layers>New Raster Layer.
Edit>Paste into Selection (the tube Callitubes-292flores.pspimage, with the mask 2020 applied, is still in memory).
I closes the layer below to see better
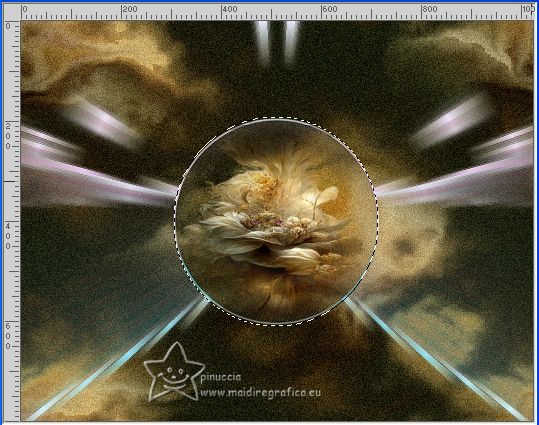
17. Selections>Modify>Contract - 5 pixels.
Layers>Duplicate.
18. Effects>Plugins>Alien Skin Eye Candy 5 Impact - Glass, preset Clear (at your choice).
19. Effects>Plugins>DSB Flux - Bright Noise.
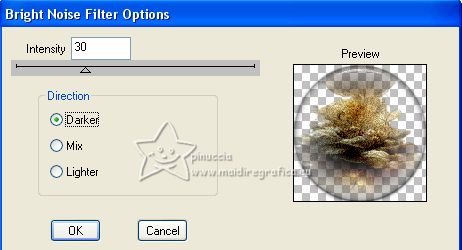
20. Effects>3D Effects>Chisel, background color.

Change the Blend Mode of this layer to Lighten.
Selections>Select None.
Layers>Merge>Merge Down.
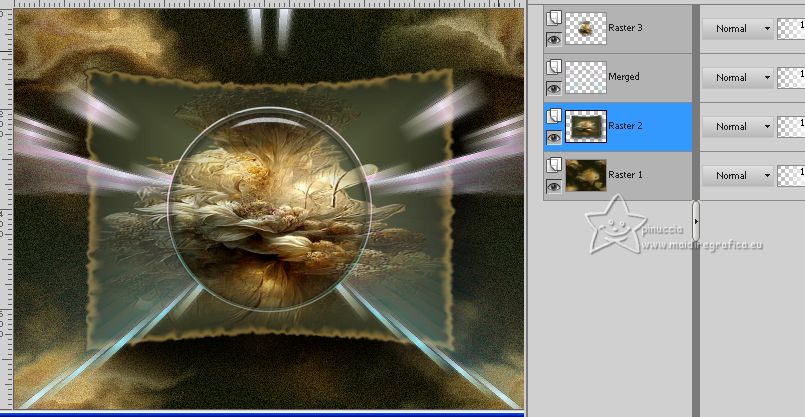
21. Activate the layer Raster 2.
Open the tube Renee-TUBES-Novembre-2022-26 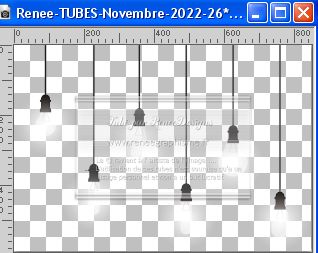
Edit>Copy.
Go back to your work and go to Edit>Paste as new layer.
Objects>Align>Top.
Or activate your Pick Tool 
and set Position Y to 0,00.

Effects>Plugins>Alien Skin Eye Candy 5 Impact - Perspective Shadow, at your choice.
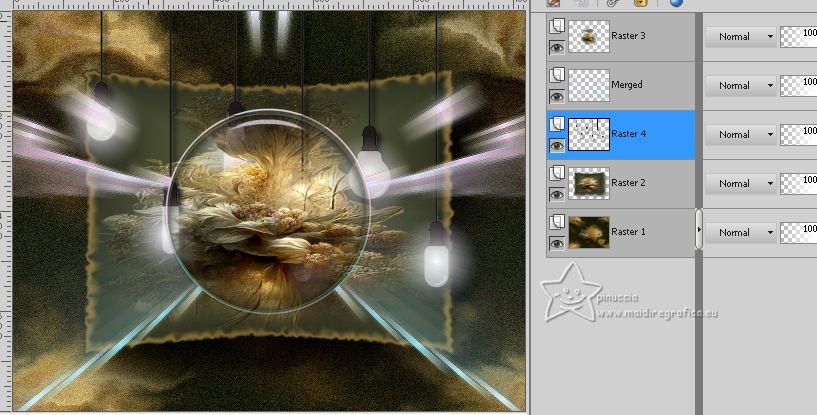
Activate your top layer.
Layers>Arrange>Move Down - 2 times.
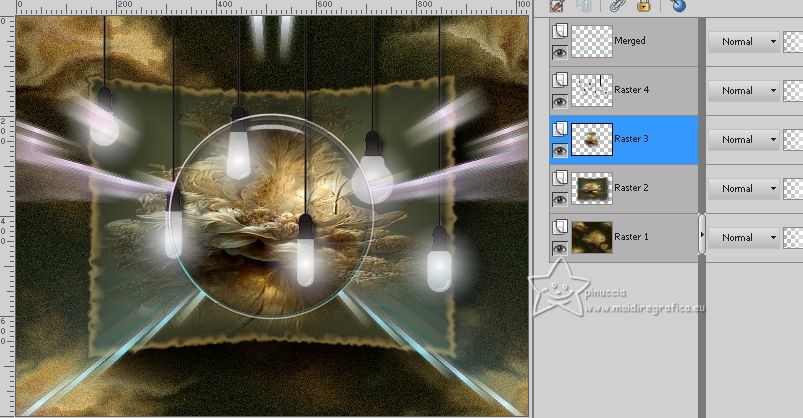
22. Activate again your top layer.
Open the tube Callitubes-2872mulheres 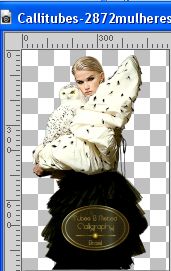
Edit>Copy.
Go back to your work and go to Edit>Paste as new layer.
Image>Resize, if necessary, I didn't it.
Move  the tube to the right the tube to the right
(not too close to the top edge, otherwise the tube will be cut off after applying the Photo Frame filter)
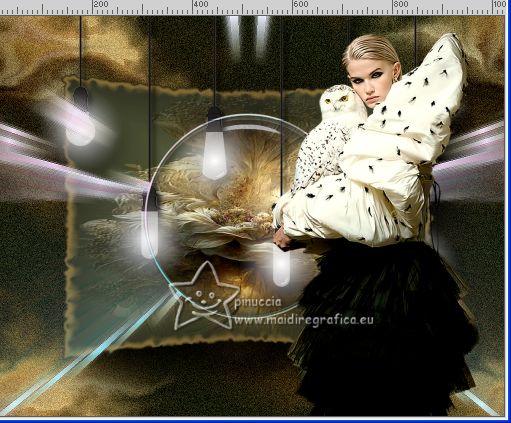
Effects>3D Effects>Drop shadow, to your liking.
23. Open the tube Callitubes-299decor 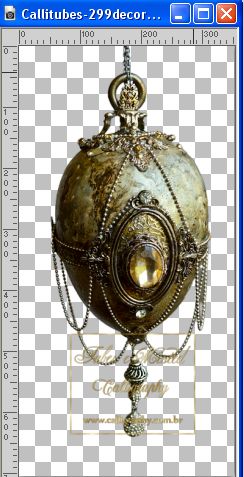
Edit>Copy.
Go back to your work and go to Edit>Paste as new layer.
Image>Resize, if necessary, for me to 70%, resize all layers not checked.
Move  the tube at the bottom left. the tube at the bottom left.
Effects>3D Effects>Drop Shadow, to your liking.
Layers>Duplicate.
Image>Resize, to 70%, resize all layers not checked.
Place  this tube over the original one. this tube over the original one.
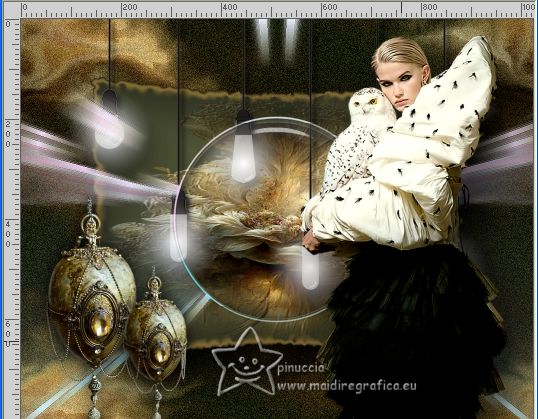
Layers>Merge>Merge visible.
24. Effects>Plugins>AAA Frames - Foto Frame.
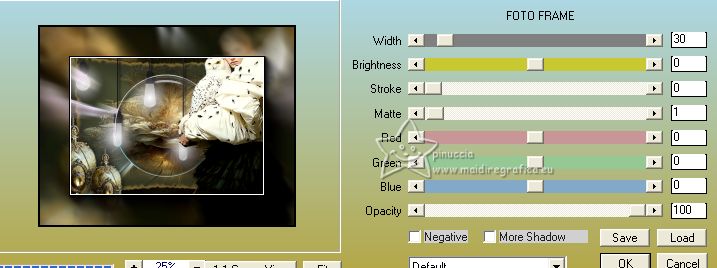
Repeat this Effect another time.
25. Sign your work on a new layer.
Add, if you want, the author and translator's watermarks.
Save as jpg.
For the tubes of this version thanks Tigre Blanc, Suizabella and Luz Cristina
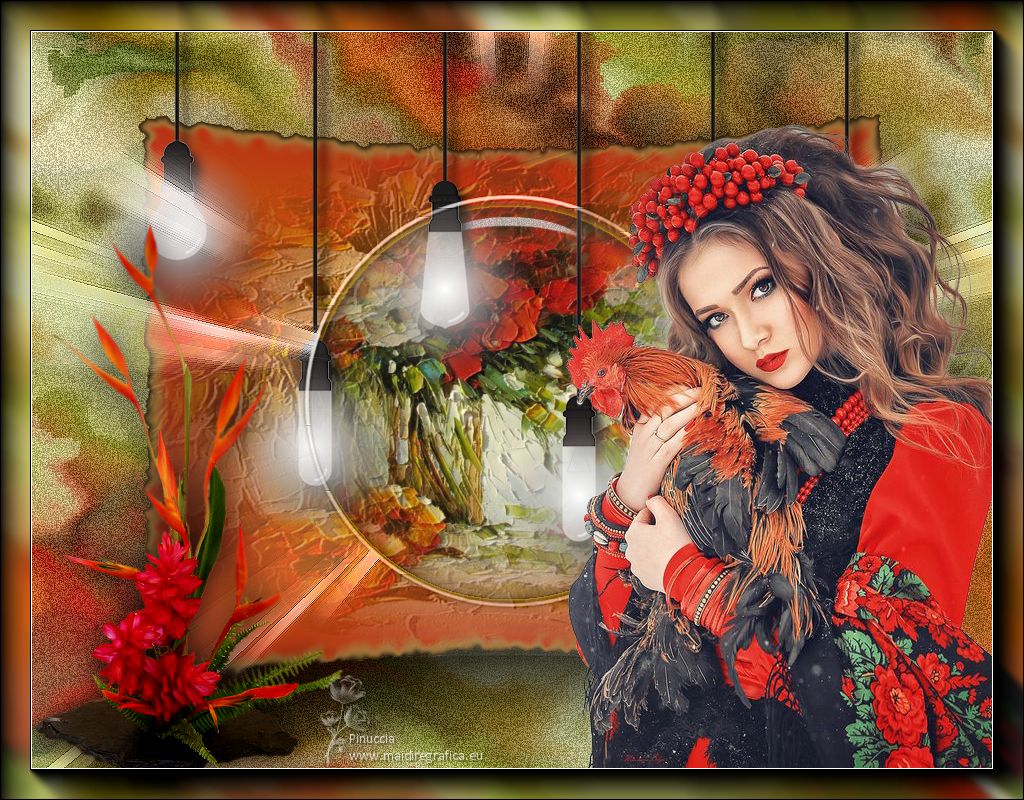
 Your versions here Your versions here

If you have problems or doubts, or you find a not worked link, or only for tell me that you enjoyed this tutorial, write to me.
18 March 2023

|


