|
TOP CUBISM
 ENGLISH VERSION ENGLISH VERSION
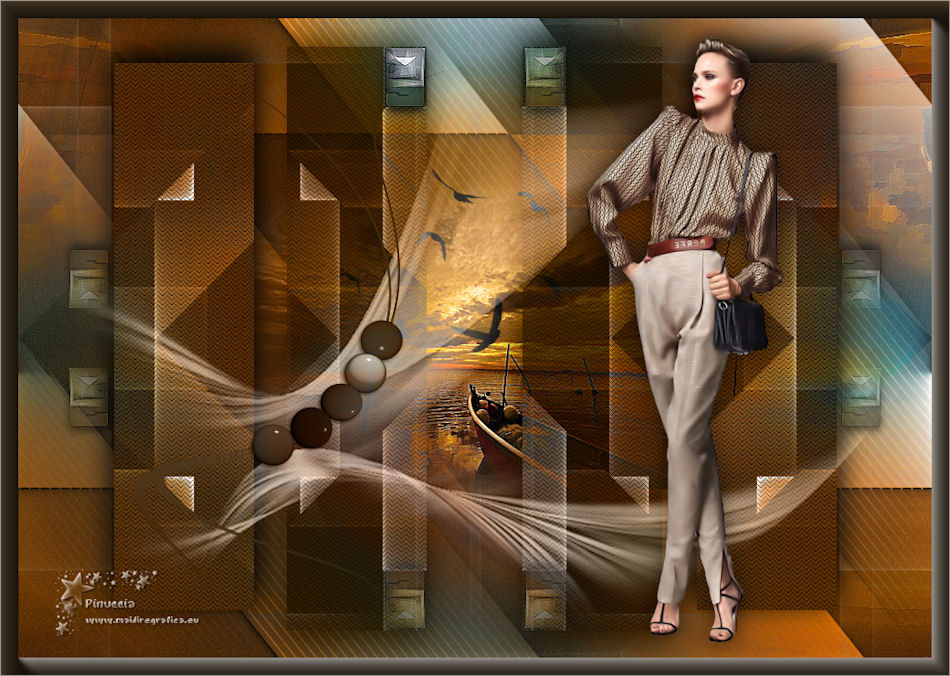
Thanks Lica Cida for your invitation to translate your tutorial

This tutorial was created with PSPX8 and translated with PSPX3, but it can also be made using other versions of PSP.
Since version PSP X4, Image>Mirror was replaced with Image>Flip Horizontal,
and Image>Flip with Image>Flip Vertical, there are some variables.
In versions X5 and X6, the functions have been improved by making available the Objects menu.
In the latest version X7 command Image>Mirror and Image>Flip returned, but with new differences.
See my schedule here
French translation here
your versions ici
For this tutorial, you will need:
Material here
Tubes: SuizaBella_Ref_AG-00746
1353-misted-LB TUBES
Brushes: Birds_Brushes_by_Esmeralda_stock_3
Décos: Ildiko_create_deco (120)
decor_nmcriacoes_55 et decorlc1
mask: masque43-noisette.
Image: AbstractCurves- Cubism (8) (to use it if your plugin doesn't work)
(you find here the links to the material authors' sites)
Plugins
consult, if necessary, my filter section here
Filters Unlimited 2.0 here
Abstract Curves here
FM Tile Tools - Blend Emboss here
Mehdi - Sorting Tiles here
Simple - Blintz here
Xero XL - Caravaggio here
Plugin Galaxy - Instant Mirror here
AP Lines - Lines SilverLining here
Filters Simple, Factory Gallery and Kiwi can be used alone or imported into Filters Unlimited.
(How do, you see here)
If a plugin supplied appears with this icon  it must necessarily be imported into Unlimited it must necessarily be imported into Unlimited

You can change Blend Modes according to your colors.
In the newest versions of PSP, you don't find the foreground/background gradient (Corel_06_029).
You can use the gradients of the older versions.
The Gradient of CorelX here
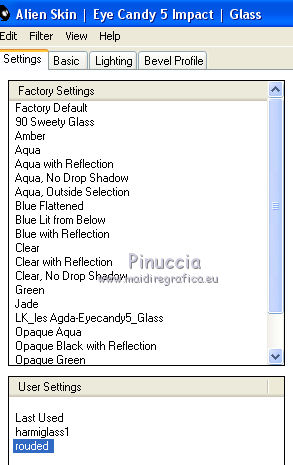
Copy the preset rouded  in the folder of the plugin Alien Skin Eye Candy 5 Impact>Settings>Glass. in the folder of the plugin Alien Skin Eye Candy 5 Impact>Settings>Glass.
One or two clic on the file (it depends by your settings), automatically the preset will be copied in the right folder.
why one or two clic see here
Copy the presets Preset_Lights_flipper in the Presets Folder.
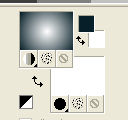
1. Set your foreground color to #165a7f,
and your background color to #082029.
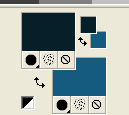
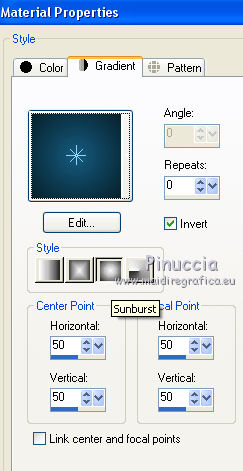
Set your foreground color to a Foreground/Background Gradient, style Sunburst.
2. Open a new transparent image 1000 x 700 pixels.
Flood Fill  the transparent image with your Gradient. the transparent image with your Gradient.
3. Selections>Select All.
Open the tube 1353-misted-LB TUBES and go to Edit>Copy.
Go back to your work and go to Edit>Paste into Selection.
Selections>Select None.
4. Effects>Image Effects>Seamless Tiling, default settings.

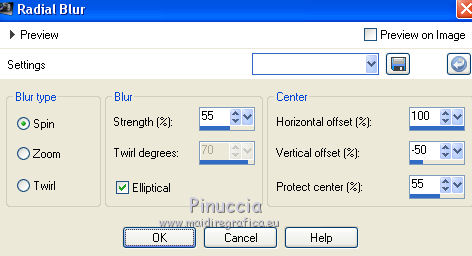
5. Adjust>Blur>Radial Blur.
6. Effects>Plugins>Xero - Caravaggio
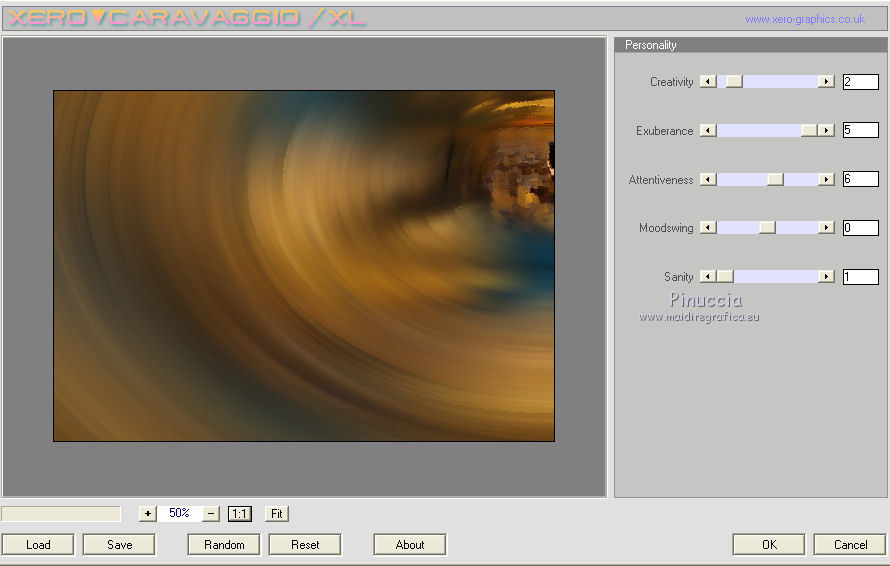
7. Layers>Duplicate.
Image>Mirror.
Change the Blend Mode of this layer to Overlay and reduce the opacity to 50%.
Layers>Merge>Merge Down.
8. Adjust>Add/Remove Noise>JPEG Artifact Correction.
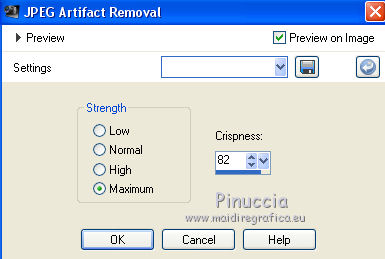
9. Effects>Plugins>FM Tile Tools - Blend Emboss, default settings.

10. Layers>New Raster Layer.
Flood Fill  the layer with your Gradient. the layer with your Gradient.
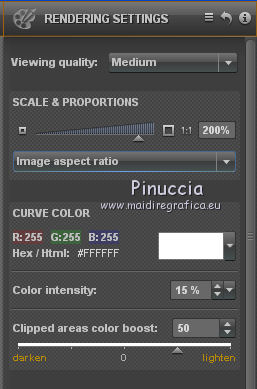
11. Effects>Plugins>Abstract Curves - Abstract Curves
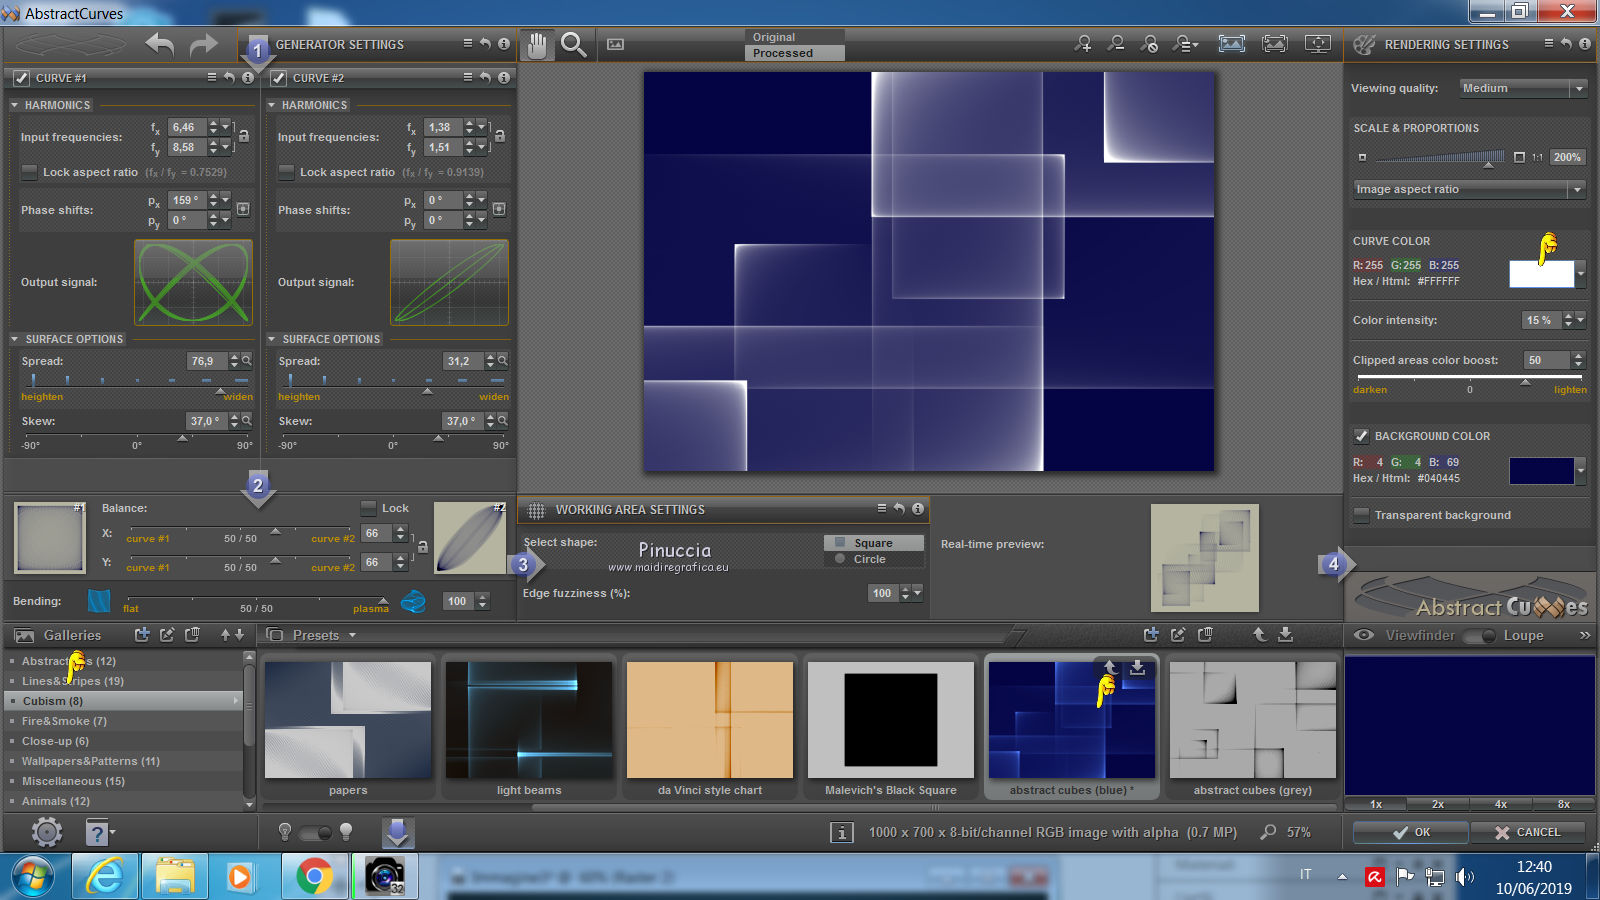
down select Cubism(8) and abstract cubes blue
and to the right set white color #ffffff
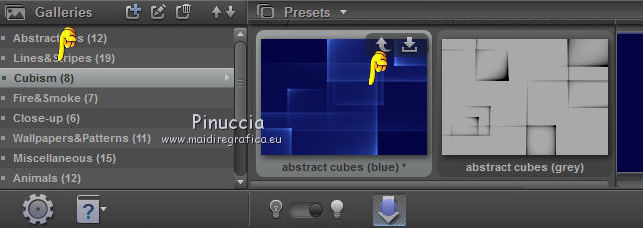 
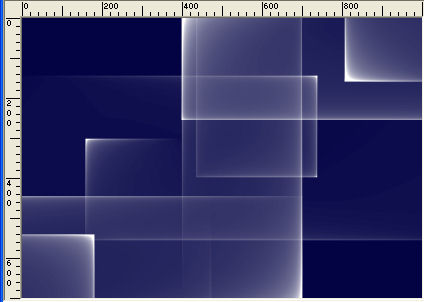
if you are problems with this plugins,
copy/paste as new layer the file Abstract Curves_cubism(8), that you find in the material
12. Effects>Image Effects>Seamless Tiling, default settings.

13. Effects>Plugins>Simple - Blintz.
Edit>Repeat Blintz.
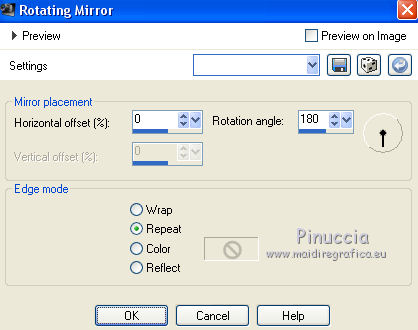
14. Effects>Reflection Effects>Rotating Mirror.
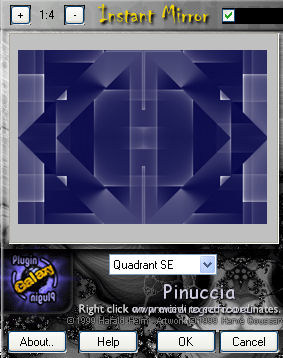
15. Effects>Plugins>Plugin Galaxy - Instant Mirror.
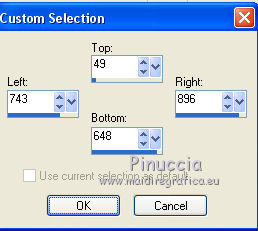
16. Selection Tool 
(no matter the type of selection, because with the custom selection your always get a rectangle)
clic on the Custom Selection 
and set the following settings.
Selections>Promote Selection to Layer.
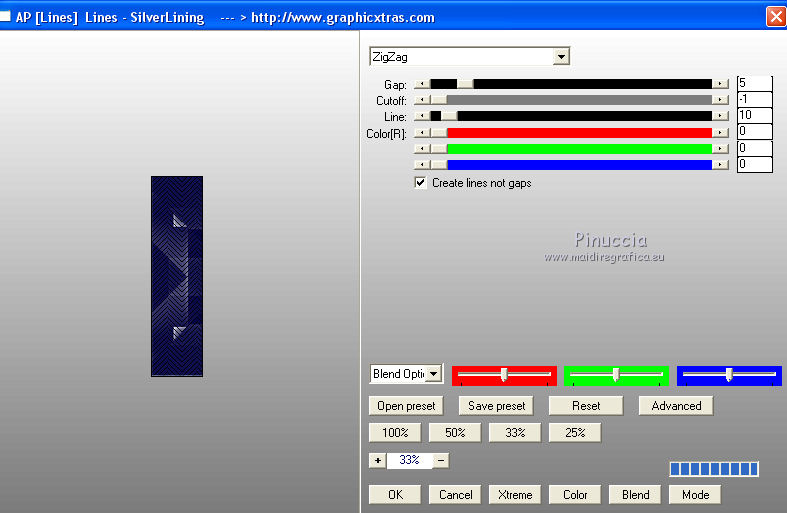
17. Effects>Plugins>AP Lines - Lines SilverLining.
Selections>Select None.
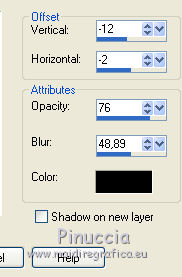
18. Effects>3D Effects>Drop Shadow, color #000000.
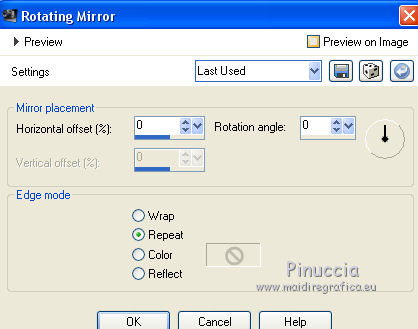
19. Effects>Reflection Effects>Rotating Mirror.
Change the Blend Mode of this layer to Luminance
and change the Blend Mode of the layer below of the original to Luminance (héritée), opacity 36.
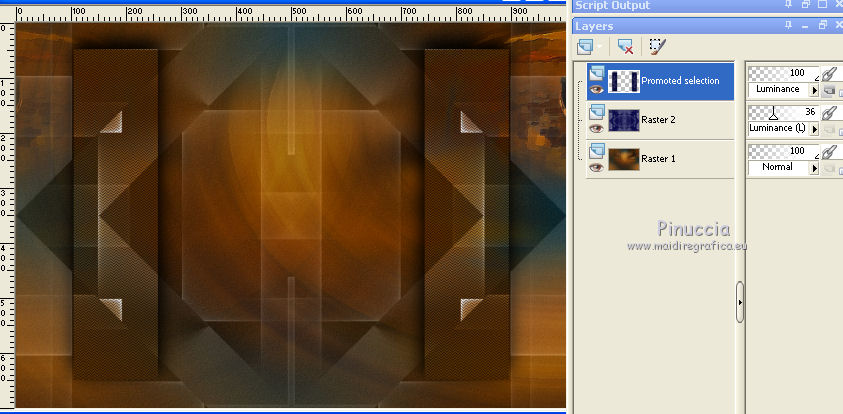
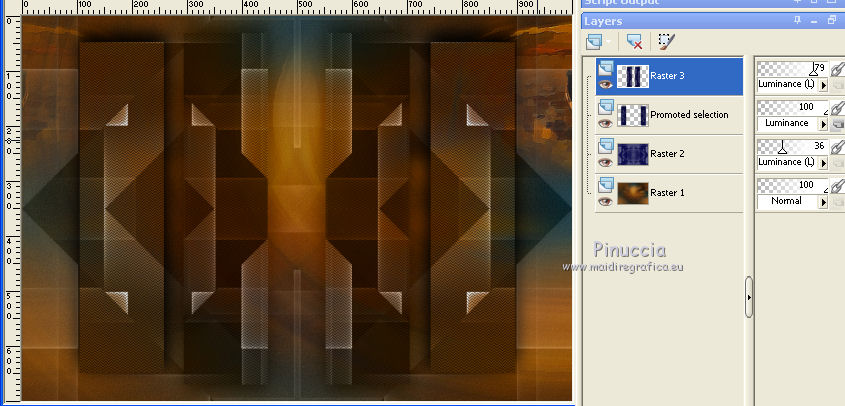
20. Stay on the top layer.
Open the tube decolc1 and go to Edit>Copy.
Go back to your work and go to Edit>Paste as new layer.
The layer is in Mode Luminance (legacy), opacity 79.
21. Activate the layer Raster 2.
Layers>New Raster Layer.
Selections>Select All.
Open the tube Ildiko_create_deco (120) and go to Edit>Copy.
Go back to your work and go to Edit>Paste into Selection.
Selections>Select None.
Change the Blend Mode of this layer to Luminance.
22. Activate again the tube 1353-misted-LB TUBES and go to Edit>Copy.
Go back to your work and go to Edit>Paste as new layer.
Image>Resize, to 80%, resize all layers not checked.
Adjust>Sharpness>Sharpen More.
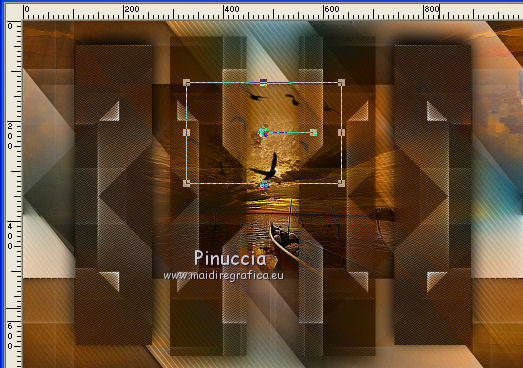
23. Open the tube Birds_Brushes_by_Esmeralda_stock_3 and go to Edit>Copy.
Go back to your work and go to Edit>Paste as new layer.
Place  the tube at your choice, or see my example. the tube at your choice, or see my example.
24. Activate the layer Raster 2.
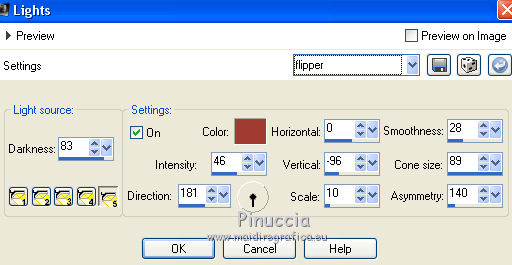
Effects>Illumination Effects>Lights
select the preset flipper and ok.
Activate the layer Raster 4.
Edit>Repeat Lights.
Your tag and your layers - Blend Modes and opacities at your choice.
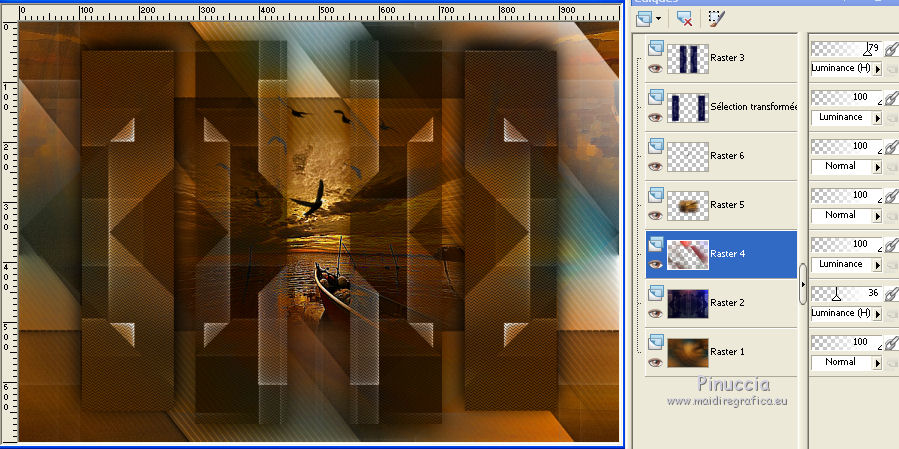
25. Activate the top layer, Raster 3.
Layers>New Raster Layer.
Set your background color to white #ffffff.
Flood Fill  the layer with color white #ffffff. the layer with color white #ffffff.
Layers>New Mask layer>From image
Open the menu under the source window and you'll see all the files open.
Select the mask masque-43-noisette.
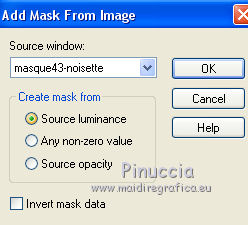
Layers>Merge>Merge Group.
Adjust>Sharpness>Sharpen More.
Change the Blend Mode of this layer to Luminance (legacy).
26. Open the tube decor_nmcriacoes_55 and go to Edit>Copy.
Go back to your work and go to Edit>Paste as new layer.
Image>Mirror.
Move  the tube to the left side, see my example the tube to the left side, see my example
Change the Blend Mode of this layer to Luminance (legacy).
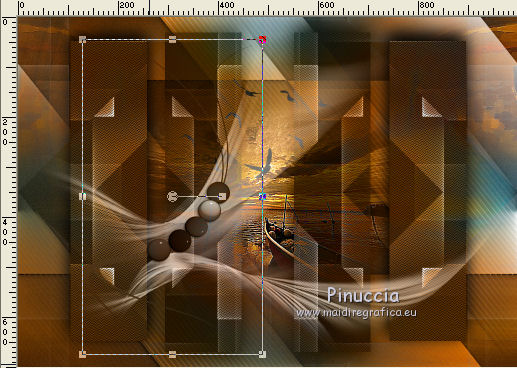
27. Layers>Merge>Merge visible.
28. Custom Selection 
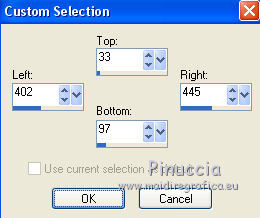
Layers>New Raster Layer.
Keep your background color to white.
Change the Gradient settings, style Rectangularbr>
 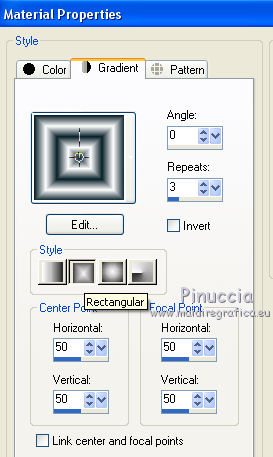
Flood Fill  the selection with your Gradient. the selection with your Gradient.
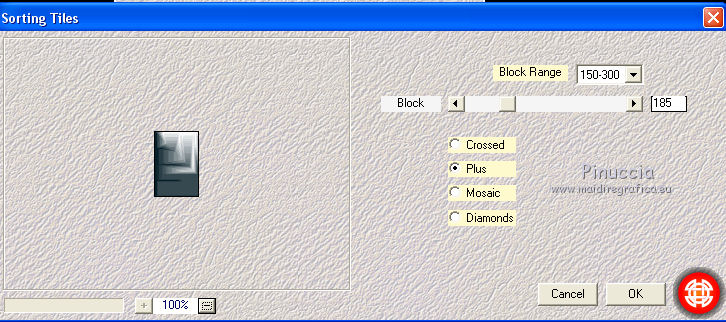
29. Effects>Plugins>Mehdi - Sorting Tiles.
30. Effects>Plugins>Alien Skin Eye Candy 5 Impact - Glass.
Select the preset rouded and ok
Effects>Edge Effects>Enhance.
Selections>Select None.
31. Layers>Duplicate.
Image>Mirror.
Layers>Duplicate.
Effects>Image Effects>Seamless Tiling, default settings.

Layers>Duplicate.
Image>Mirror.
Layers>Merge>Merge Down.
Layers>Duplicate.
Image>Flip.
Layers>Merge>Merge Down - 2 times.
Change the Blend Mode of this layer to Luminance and reduce the opacity to 60%.
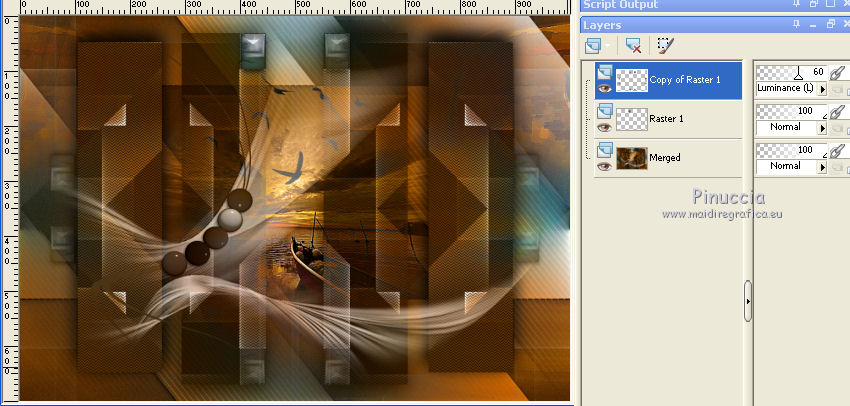
32. Open the tube SuizaBella_Ref_AG-00746 and go to Edit>Copy.
Go back to your work and go to Edit>Paste as new layer.
Image>Mirror.
Image>Resize, at your choice (for me 70%), resize all layers not checked.
Move  the tube to the right side. the tube to the right side.
33. Sign your work on a new layer.
little note about the watermark:
I don't ask to put watermark on the versions made by my translations.
But if you decide to use the watermark supplied by the author, I would appreciate that my work as translator was also respected.
For that, I added my watermark to the material (english and french).
34. Add the borders at your choice.
35. Image>Resize, 1000 pixels width, resize all layers checked.
36. Save as jpg.
Version with tube de Beatriz
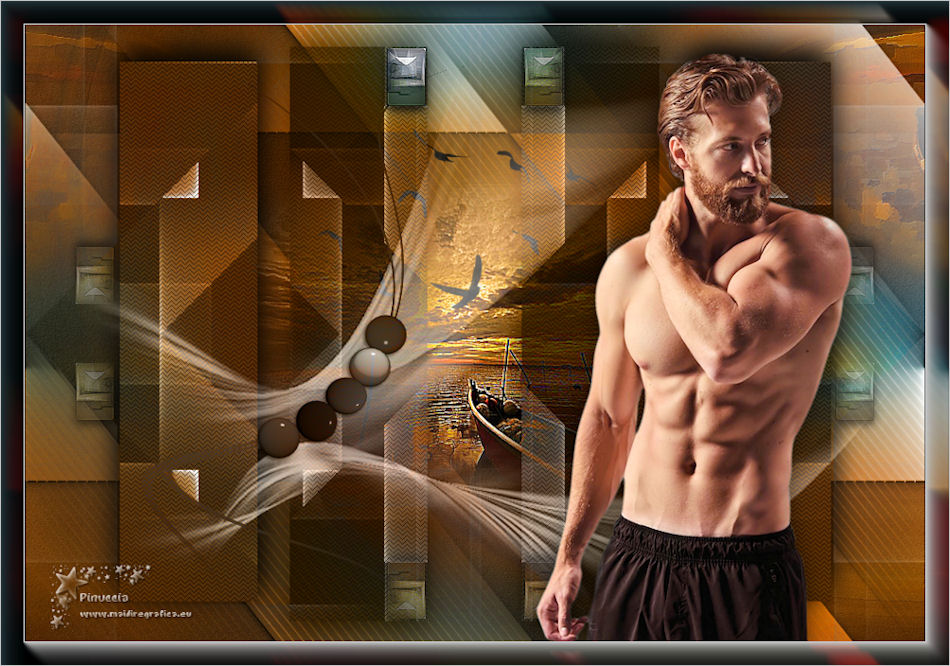
Your versions here

If you have problems or doubts, or you find a not worked link, or only for tell me that you enjoyed this tutorial, write to me.
10 June 2019
|
 ENGLISH VERSION
 ENGLISH VERSION