|
TOP COME BACK


Thanks Lica Cida for your invitation to translate your tutorial

This tutorial was created with PSPX9 and translated with PSPX9 and PSP2020, but it can also be made using other versions of PSP.
Since version PSP X4, Image>Mirror was replaced with Image>Flip Horizontal,
and Image>Flip with Image>Flip Vertical, there are some variables.
In versions X5 and X6, the functions have been improved by making available the Objects menu.
In the latest version X7 command Image>Mirror and Image>Flip returned, but with new differences.
See my schedule here
 French translation here French translation here
 your versions here your versions here

For this tutorial, you will need:

For the tubes thanks Callitubes and NaiseM.
(you find here the links to the material authors' sites)

consult, if necessary, my filter section here
Filters Unlimited 2.0 here
Filter Factory Gallery A - Weave here
AAA Frames - Foto Frame here
Mura's Seamless - Checks with Gradation here
Mura's Meister - Copies here
Mura's Meister - Perspective Tiling here
Nik Software - Color Efex here
Flaming Pear - Glitterato here
Filters Mura's Seamless and Factory Gallery can be used alone or imported into Filters Unlimited.
(How do, you see here)
If a plugin supplied appears with this icon  it must necessarily be imported into Unlimited it must necessarily be imported into Unlimited

You can change Blend Modes according to your colors.
In the newest versions of PSP, you don't find the foreground/background gradient (Corel_06_029).
You can use the gradients of the older versions.
The Gradient of CorelX here

Copy the preset Emboss 3 in the Presets Folder.
1. Choose 2 colors from your tubes.
Set your foreground color to #7a7a7a,
and your background color to #7a4a00.
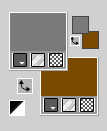
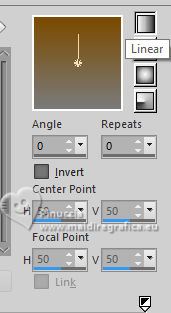
Set your foreground color to a Foreground/Background Gradient, style Linear.
2. Open a new transparent image 1024 x 600 pixels.
Flood Fill  the transparent image with your Gradient. the transparent image with your Gradient.
3. Effects>Plugins>Filters Unlimited 2.0 - Filter Factory Gallery A - Weave.
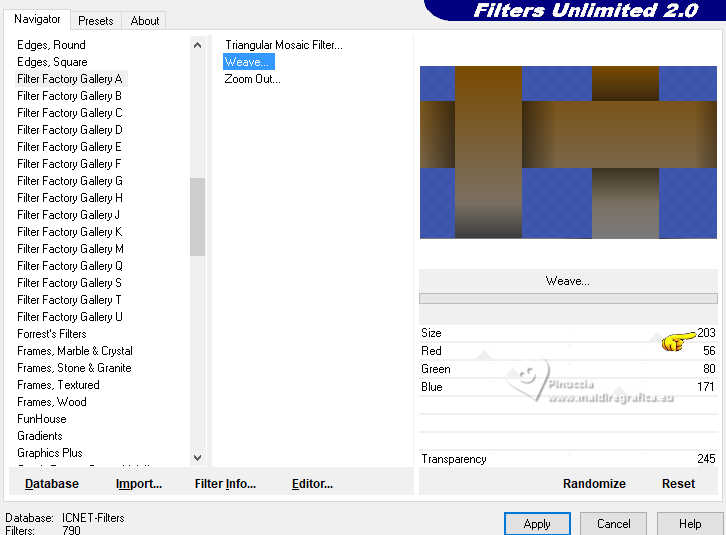
4. Activate your Magic Wand Tool  , tolerance and feather 0, , tolerance and feather 0,
click in the blue parts to select them
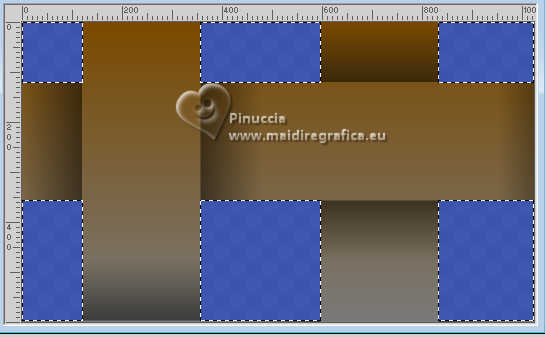
Press CANC on the keyboard 
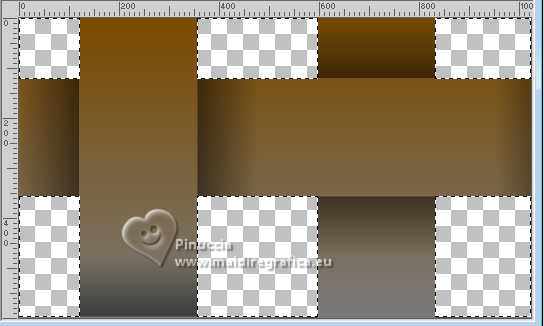
Selections>Select None.
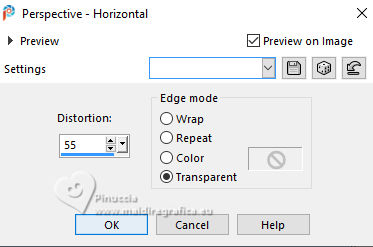
5. Effects>Geometric Effects>Perspective Horizontal.
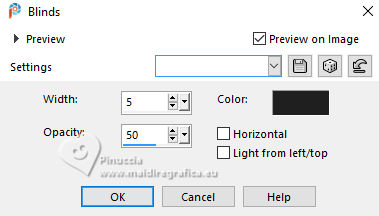
6. Effects>Texture Effects>Blinds - color #202020.
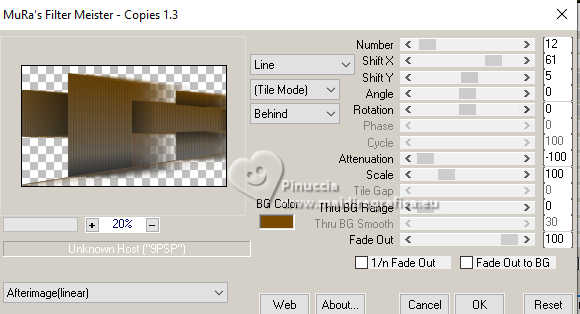
7. Effects>Plugins>Mura's Meister - Copies.
Adjust>Sharpness>Sharpen.
Layers>Duplicate.
Image>Resize, to 80%, resize all layers not checked.
8. Effects>Image Effects>Seamless Tiling - side by side

Image>Mirror>Mirror horizontal (Image>Mirror).
9. Activate your Pick Tool (K) 
mode Scale 
pull the left node to the right, until 550 pixels.
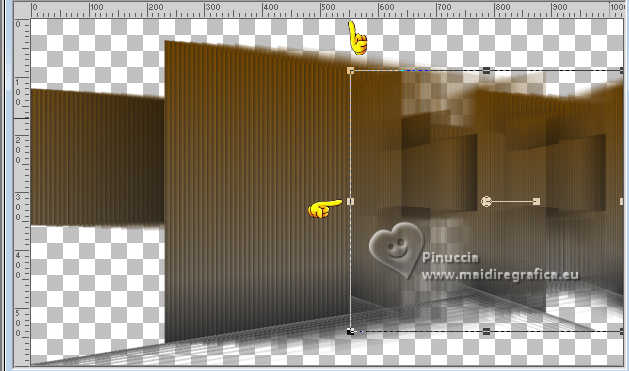
10. Activate the layer Raster 1.
Pull the right node to the left, until 610 pixels.
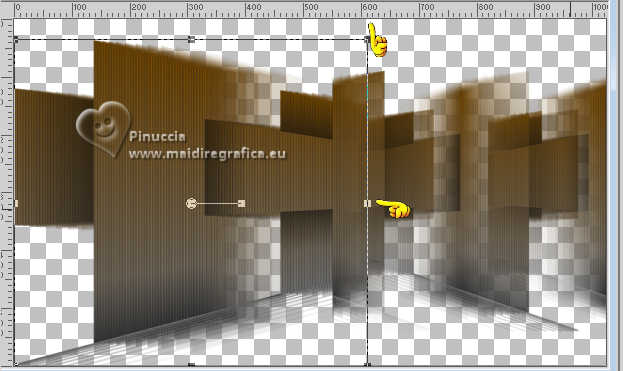
Activate your top layer, Copy of Raster 1.
Layers>Merge>Merge Down.
11. Effects>Texture Effects>Blinds, same settings.

12. Image>Canvas Size - 1024 x 750 pixels.
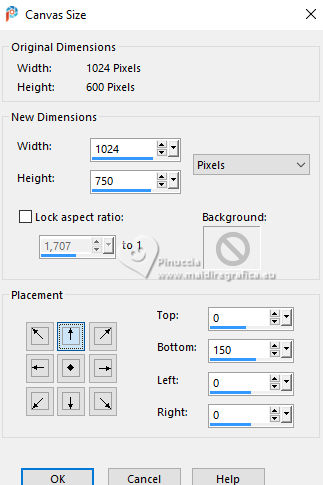
13. Effects>Distortion Effects>Wave
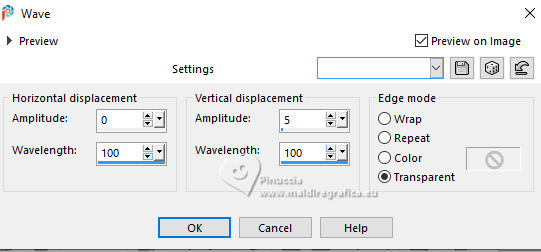
Objects>Align>Center in Canvas.
14. Layers>New Raster Layer.
Set your foreground color to Color.
Flood Fill  the layer with your foreground color. the layer with your foreground color.
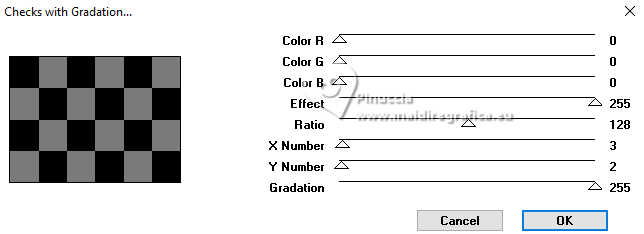
15. Effects>Plugins>Mura's Seamless - Checks with Gradation, default settings.
16. Effects>Plugins>Mura's Meister - Perspective Tiling.
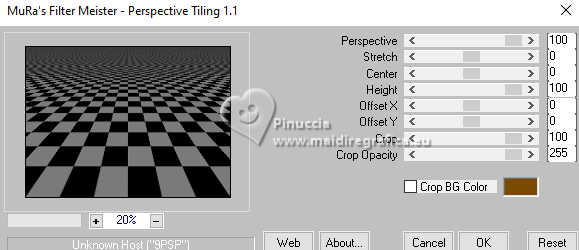
Activate your Pick Tool (K) 
mode Scale 
pull the top node down, until 600 pixels.
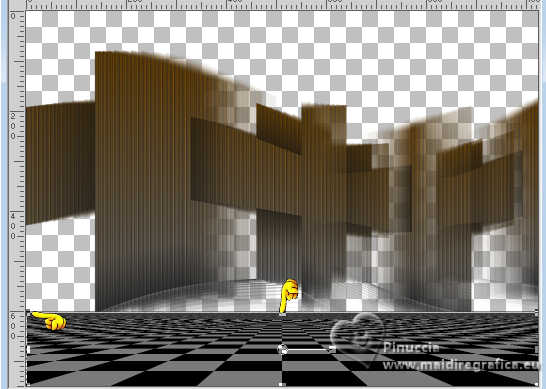
Effects>User Defined Filter - select the preset Emboss 3 and ok.

Activate your Magic Wand Tool  , tolerance and feather 80, , tolerance and feather 80,
and click in the transparent part to select it.
Press 6-7 times CANC on the keyboard 
Selections>Select None.
Don't forget to set again the feather to 0.
Adjust>Sharpness>Sharpen More.
17. Layers>New Raster Layer.
Layers>Arrange>Send to Bottom.
Selections>Select None.
Open BACK9-RB 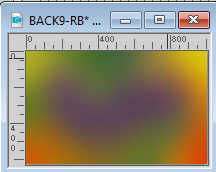
Edit>Copy.
Go back to your work and go to Edit>Paste into Selection.
Selections>Select None.
18. Layers>New Raster Layer.
Effects>Plugins>Flaming Pear - Glitterato
colors to your liking; for me #b769eb, #ffffff, #a8951e, #ffffff.
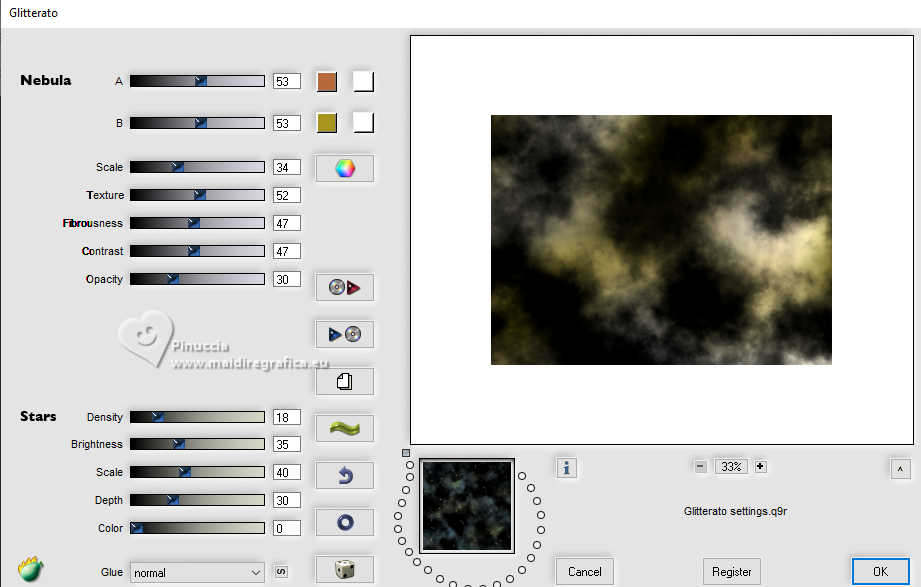
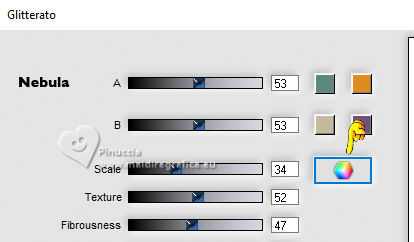
To change the background colors,
click on the dice until you see the result you like best.
Reduce the opacity of this layer to 71%.
Activate the layer Raster 1.
Effects>3D Effects>Drop Shadow, color #000000.

Layers>Duplicate.
19. Effects>Plugins>Nik Software - Color Efex - Brilliance/Warmth.
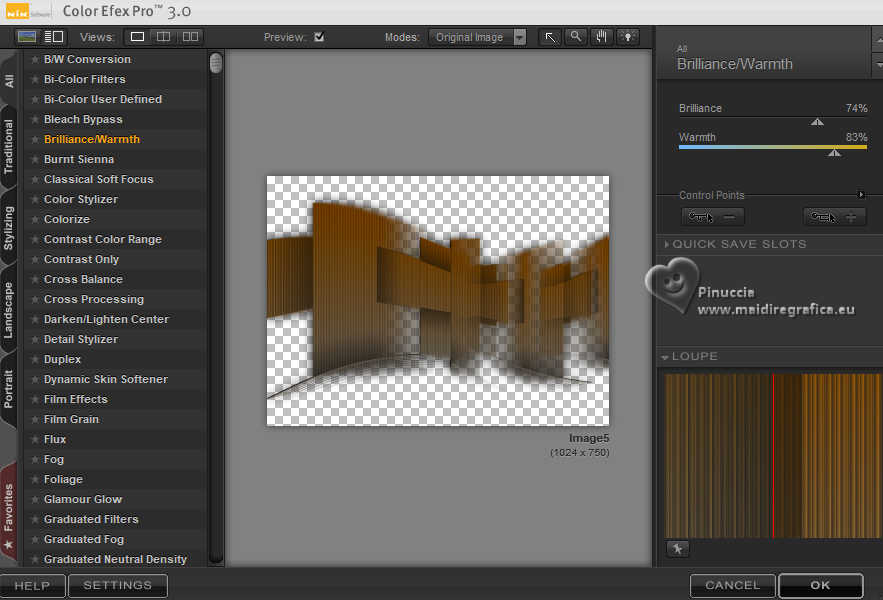
Change the Blend Mode of the original layer, Raster 1, to Luminance (legacy).
Your tag and the layers - adapt Blend Mode and opacity according to your colors.
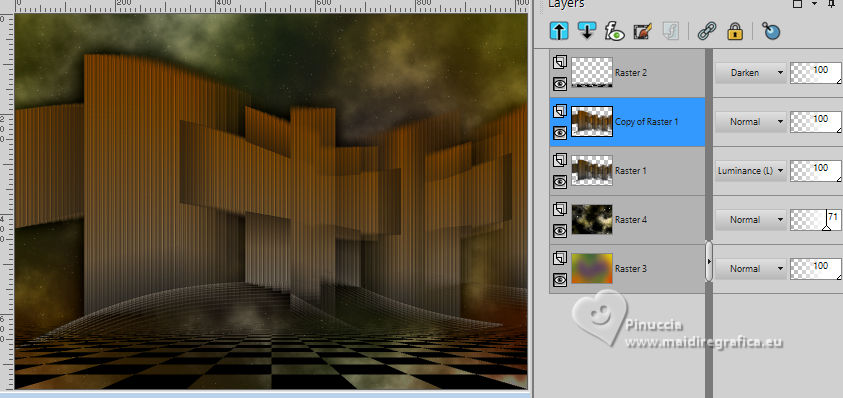
20. Stay on the layer Copy of Raster 1.
Open the tube mentali-misted3109 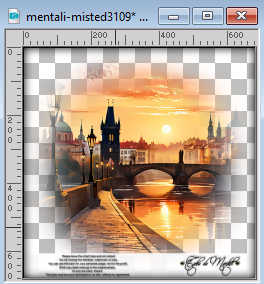
Edit>Copy.
Go back to your work and go to Edit>Paste as new layer.
Adjust>Sharpness>Sharpen More.
21. Always on this layer.
Activate your Selection Tool 
and do a selection as below
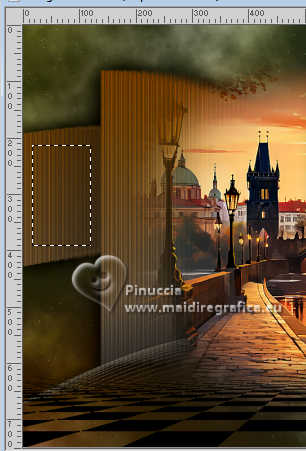
Selections>Promoted Selection to Layer.
22. Edit>Paste into Selection (the tube mentali-misted3109 is still in memory).
Adjust>Sharpness>Sharpen More.
23. Effects>3D Effects>Chisel, foreground color.
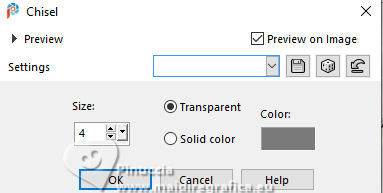
Effects>3D Effects>Drop Shadow, same settings.

Selections>Select None.
24. Activate your top layer.
Open the tube Callitubes-3511mulheres 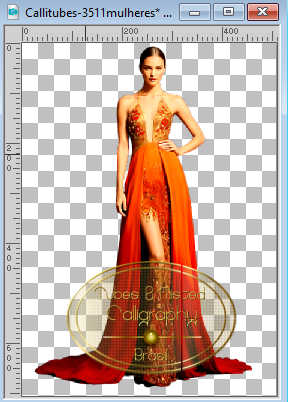
Edit>Copy.
Go back to your work and go to Edit>Paste as new layer.
Move  the tube to the left side, or to your liking. the tube to the left side, or to your liking.
Effects>3D Effects>Drop Shadow, at your choice.
25. Open TUBE_NAISEM_FLORES_122 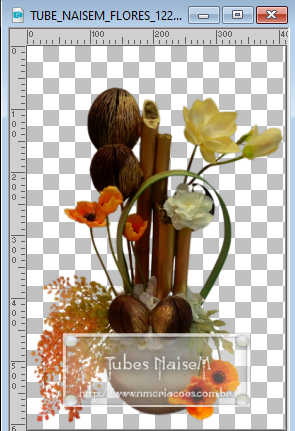
Edit>Copy.
Go back to your work and go to Edit>Paste as new layer.
Image>Resize, to 80%, resize all layers not checked.
Move  the tube at the bottom right, or to your liking. the tube at the bottom right, or to your liking.
Effects>3D Effects>Drop Shadow, at your choice.
26. Image>Add borders, 1 pixel, symmetric, color #000000.
Image>Add borders, 1 pixel, symmetric, color #a8951e.
Image>Add borders, 1 pixel, symmetric, color #000000.
Edit>Copy.
Selections>Select All.
Image>Add borders, 50 pixels, symmetric, color #ffffff.
Selections>Invert.
Edit>Paste into Selection.
Adjust>Blur>Gaussian Blur - radius 10.

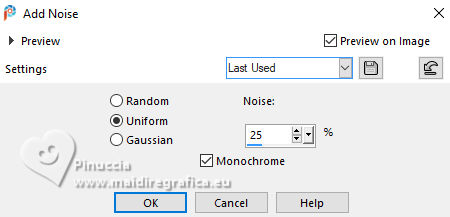
Adjust>Add/Remove Noise>Add Noise.
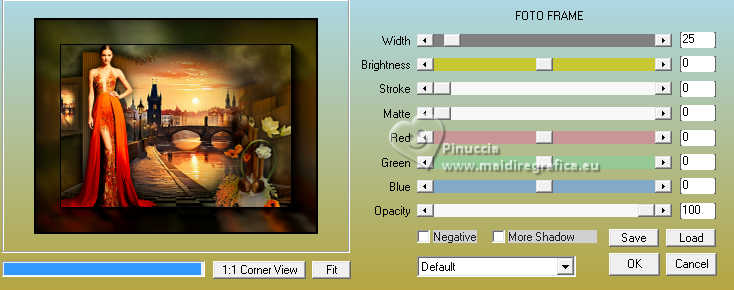
Effects>Plugins>AAA Frames - Foto Frame.
Effects>3D Effects>Drop Shadow, color #000000.

Selections>Select None.
Sign your work on a new layer.
Add the author and translator's watermarks.
Image>Resize, 1024 pixels width, resize all layers checked.
Save as jpg.
For the tubes of this version thanks Lori Rhae and Mentali
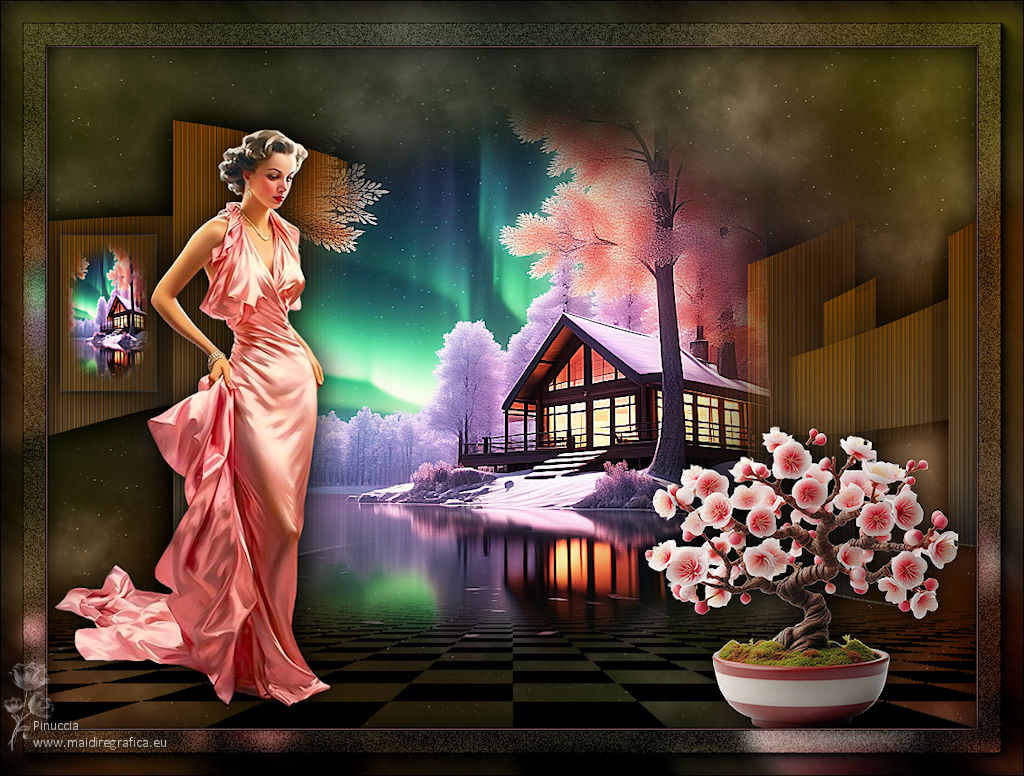
 Your versions here Your versions here

If you have problems or doubts, or you find a not worked link, or only for tell me that you enjoyed this tutorial, write to me.
26 March 2024

|


