|
TOP COLOR CUBES

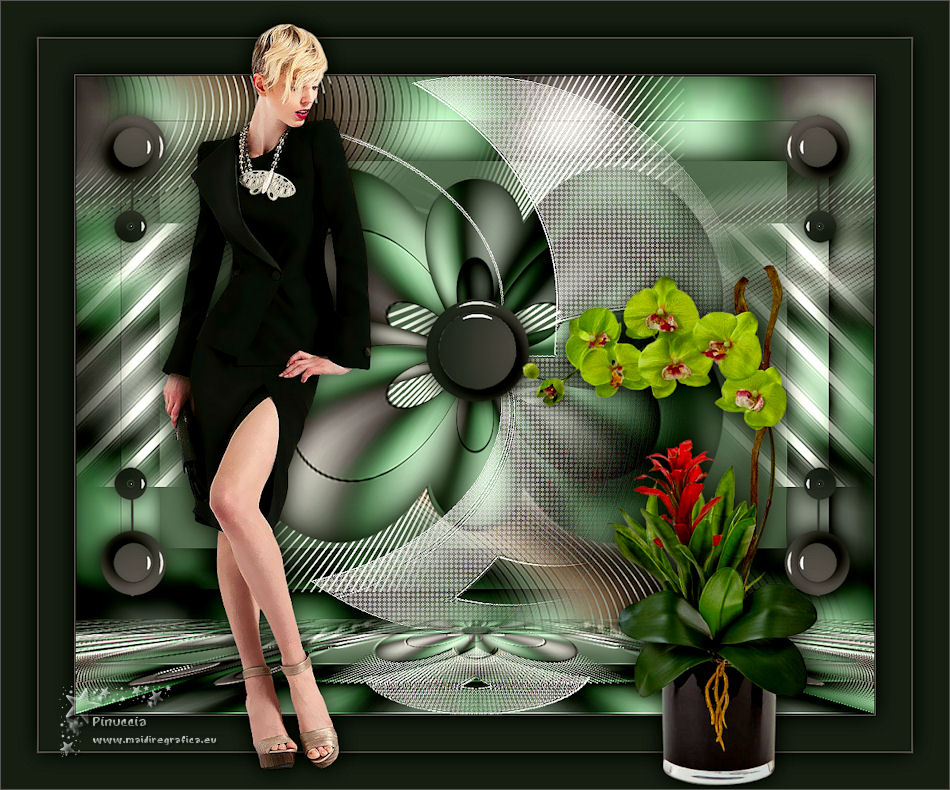
Thanks Lica Cida for your invitation to translate your tutorial

This tutorial was created with PSPX9 and translated with PSPX2 and PSPX3 and PSPX7, but it can also be made using other versions of PSP.
Since version PSP X4, Image>Mirror was replaced with Image>Flip Horizontal,
and Image>Flip with Image>Flip Vertical, there are some variables.
In versions X5 and X6, the functions have been improved by making available the Objects menu.
In the latest version X7 command Image>Mirror and Image>Flip returned, but with new differences.
See my schedule here
 French translation here French translation here
 your versions here your versions here
For this tutorial, you will need:
Material here
Thanks for the tubes Suizabella and for the mask Narah.
The rest of the material is by Lica Cida.
(you find here the links to the material authors' sites)
Plugins
consult, if necessary, my filter section here
Mura's Meister - Perspective Tiling here
Mura's Seamless - Emboss at Alpha here
Filters Unlimited 2.0 here
Kang 2 - Color Cubes here
AAA Frames - Foto Frame / AAA Filters - Custom here
Flaming Pear - Flexify 2 here
the version used in this tutorial is an old version of this filter
Carolaine and Sensibility - CS-LDots here
Filters Mura's Seamless can be used alone or imported into Filters Unlimited.
(How do, you see here)
If a plugin supplied appears with this icon  it must necessarily be imported into Unlimited it must necessarily be imported into Unlimited

You can change Blend Modes according to your colors.
In the newest versions of PSP, you don't find the foreground/background gradient (Corel_06_029).
You can use the gradients of the older versions.
The Gradient of CorelX here
Copy the presets Emboss 3 in the Presets Folder.
Open the mask in PSP and minimize it with the rest of the material.
1. Set your foreground color to #202523,
and your background color to #605c5d.
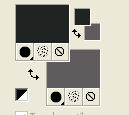
Set your foreground color to a Foreground/Background Gradient, style Linear.
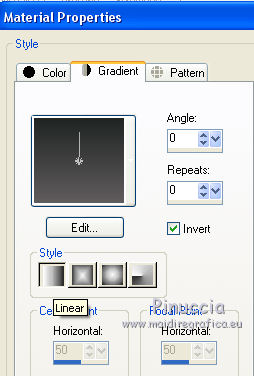
Open a new transparent image 1000 x 700 pixels.
Flood Fill  the transparent image with your Gradient. the transparent image with your Gradient.
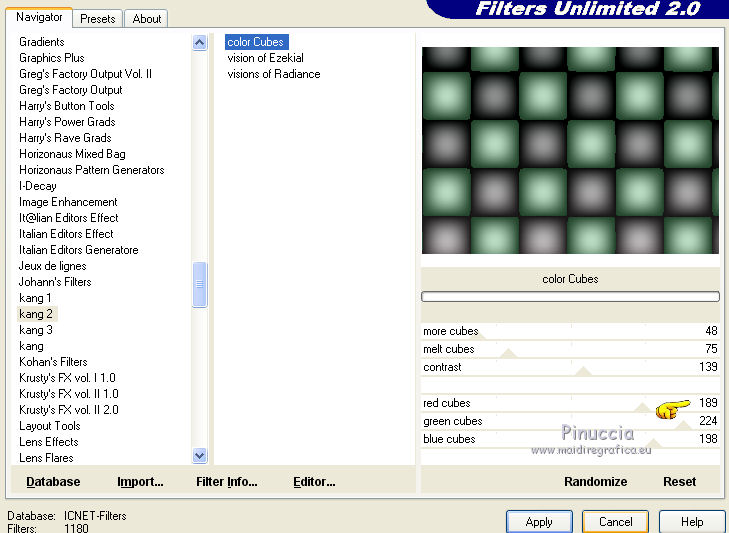
2. Effects>Plugins>Filters Unlimited 2.0 - Kang 2 - Color Cubes.
the colors appear according to those used.
Modify to your liking (here the tone is a little attenuated) .
3. Effects>Image Effects>Seamless Tiling, side by side.

Adjust>Blur>Motion Blur.
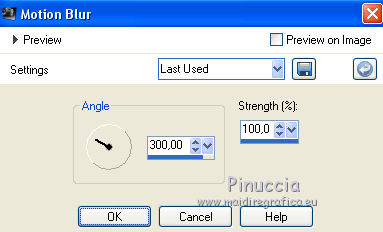
4. Effects>Plugins>Filters Unlimited 2.0 - Buttons & Frames - Mirrored Frame.
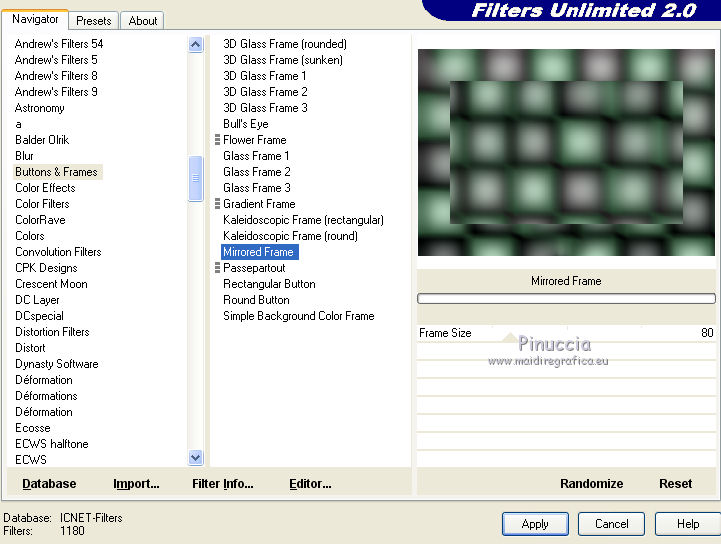
5. Effects>Plugins>AAA Frames - Foto Frame.
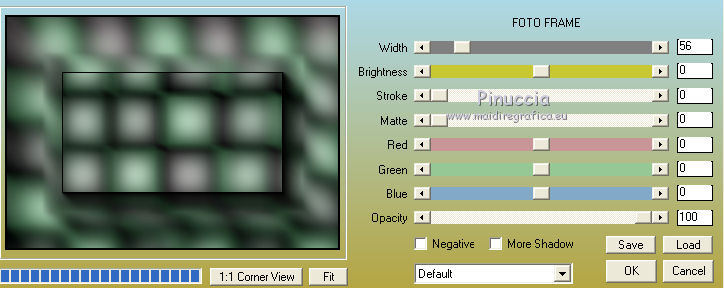
6. Selection Tool 
(no matter the type of selection, because with the custom selection your always get a rectangle)
clic on the Custom Selection 
and set the following settings.
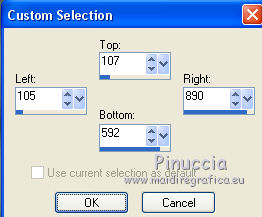
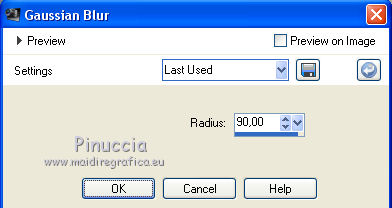
Adjust>Blur>Gaussian Blur - radius 90
Effects>3D Effects>Drop Shadow, color #000000.

Selections>Invert.
Selections>Promote Selection to layer.
Selections>Select None.
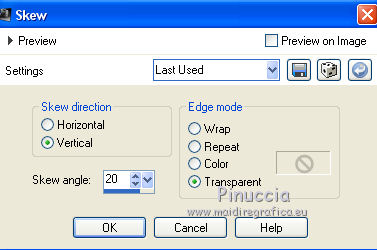
7. Effects>Geometric Effects>Skew.
Layers>Duplicate.
Image>Mirror.
Layers>Merge>Merge Down.
8. Effects>Distortion Effects>Polar Coordinates

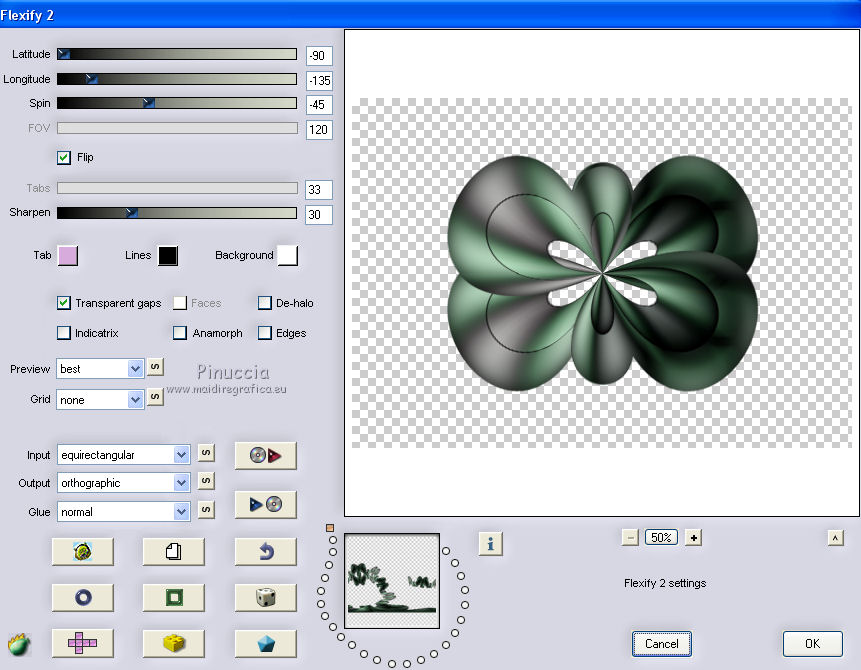
9. Effects>Plugins>Flaming Pear - Flexify 2.
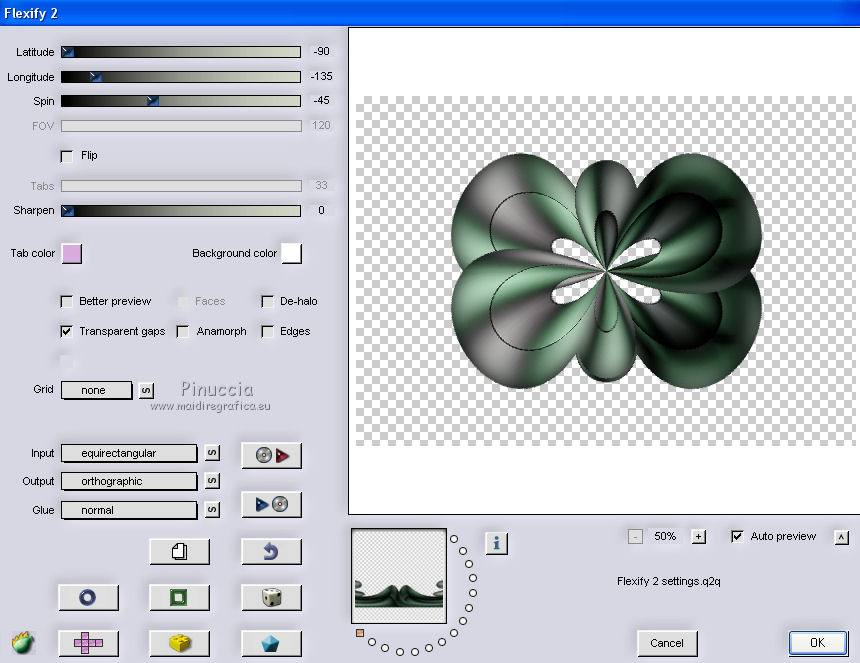
the version used by Lica Cida is an old version (the link in the list of filters);
if you are using a more recent version, the result will be slightly different:
at the bottom of the tutorial the final tag of the newer version
10. Layers>New Raster Layer.
Flood Fill  with your background color #605c5d. with your background color #605c5d.
Layers>New Mask layer>From image
Open the menu under the source window and you'll see all the files open.
Select the mask NarahsMasks_1663.
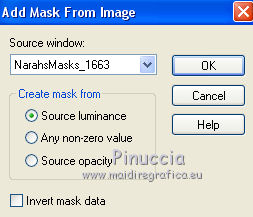
Effects>Edge Effects>Enhance.
Layers>Merge>Merge Group.
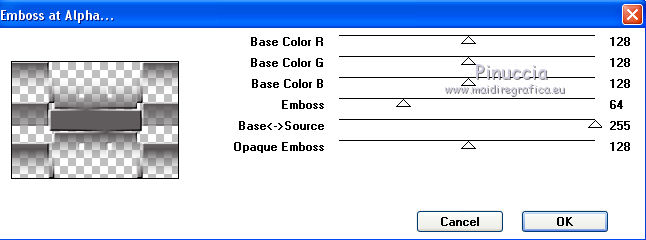
Effects>Plugins>Mura's Seamless - Emboss at Alpha, default settings.
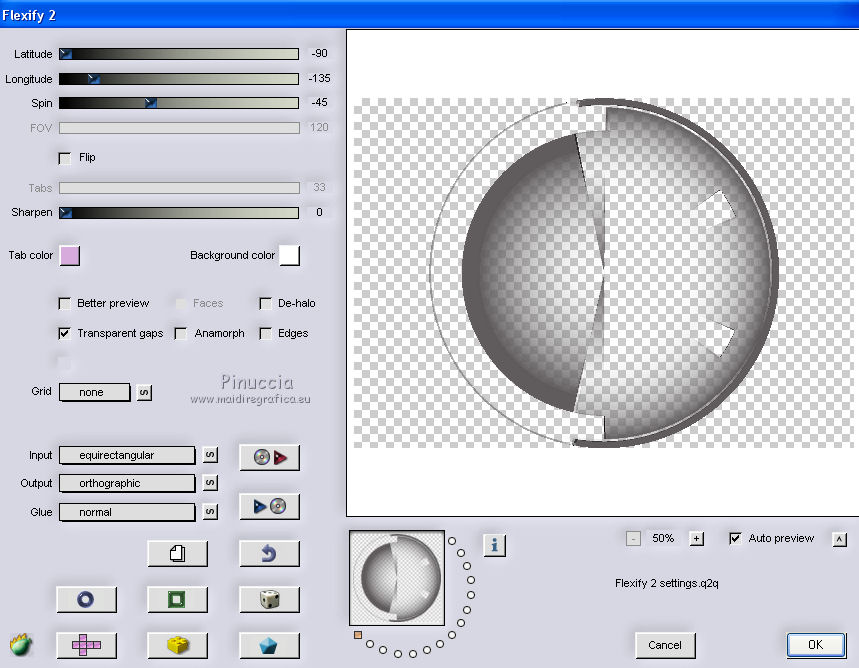
11. Effects>Plugins>Flaming Pear - Flexify 2, same settings.
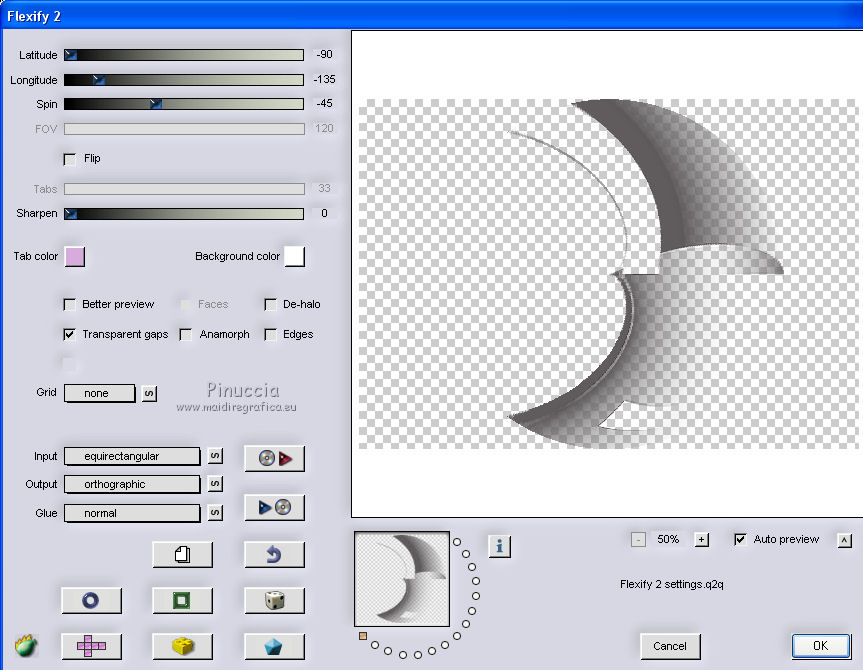
12. On the same layer repeat the Flexify Effect
13. Effects>Plugins>Carolaine and Sensibility - CS-LDots.
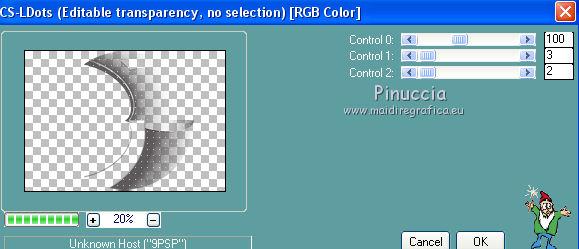
Effects>Edge Effects>Enhance.
Change the Blend Mode of this layer to Écran.
Effects>Edge Effects>Enhance.
14. Activate the layer Raster 1.
Layers>New Raster Layer.
Selections>Select All.
Open decoarquivo_net and go to Edit>Copy.
Go back to your work and go to Edit>Paste into Selection.
Selections>Select None.
15. Open the tube decocolorcubes_1lc and go to Edit>Copy.
Go back to your work and go to Edit>Paste as new layer.
Change the Blend Mode of this layer to Screen.
Use your Pick Tool 
to move the tube up
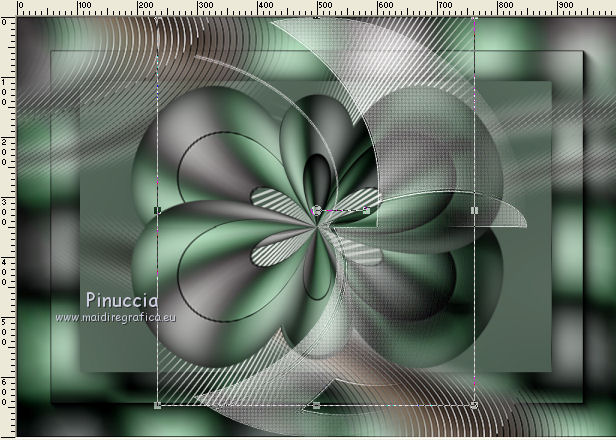
16. Open the tube decocolorcubes_2lc and go to Edit>Copy.
Go back to your work and go to Edit>Paste as new layer.
Change the Blend Mode to Screen.
17. Activate the top layer.
Open decocentro_lc and go to Edit>Copy.
Go back to your work and go to Edit>Paste as new layer.
18. Open decolateral_lc and go to Edit>Copy.
Go back to your work and go to Edit>Paste as new layer.
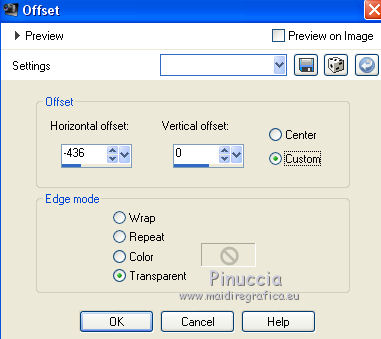
19. Effects>Image Effects>Offset.
20. Effects>Reflection Effects>Rotating Mirror.

On the layers to your liking: Effects>3D Effects>Drop Shadow, color #000000.

Layers>Merge>Merge visible.
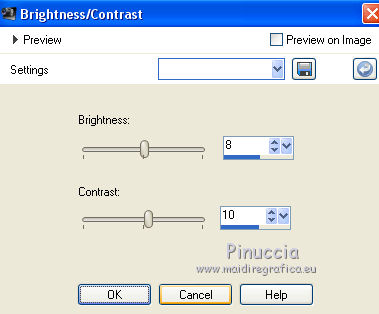
21. Adjust>Brightness and Contrast>Brightness and contrast.
22. Image>Canvas Size - 1000 x 800 pixels.
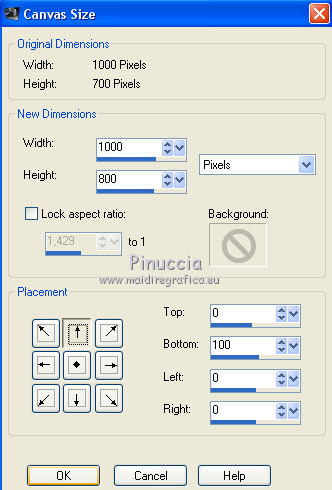
Layers>Duplicate.
23. Effects>Plugins>Mura's Meister - Perspective Tiling.
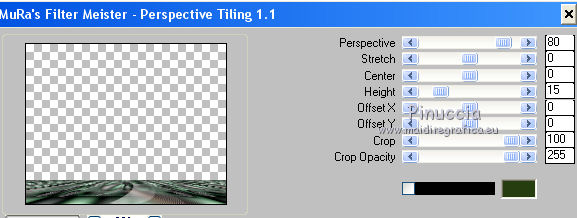
24. Effects>Reflection Effects>Rotating Mirror.

Effects>User Defined Filter - select the preset Emboss 3 and ok.

Activate your Magic Wand Tool  , feather 60, , feather 60,
and click on the transparent part to select it.
Press 2 times CANC on the keyboard  , to soften the effect. , to soften the effect.
Selections>Select None.
25. Image>Add borders, 1 pixel, symmetric, foreground color #202523.
Image>Add borders, 1 pixel, symmetric, background color #605c5d.
Selections>Select All.
Image>Add borders, 45 pixels, symmetric, foreground color #202523.
Effects>3D Effects>Drop Shadow, color #000000.

Image>Add borders, 1 pixel, symmetric, background #605c5d.
Selections>Select All.
Effects>3D Effects>Drop Shadow, color #000000.

Image>Add borders, 1 pixel, symmetric, background color #605c5d.
Image>Add borders, 45 pixels, symmetric, foreground color #202523.
Effects>3D Effects>Drop Shadow, color #000000.

Selections>Select None.
26. Open the tube SuizaBella_Ref_AG-002703 and go to Edit>Copy.
Go back to your work and go to Edit>Paste as new layer.
Move  the tube to the left side the tube to the left side
27. Open the tube SuizaBella_Ref_AG-001939-11 and go to Edit>Copy.
Go back to your work and go to Edit>Paste as new layer.
Move  the tube to the right side. the tube to the right side.
28. Layers>Merge>Merge visible.
Effets>Modules Externers>AAA Filters - Custom - click on Landscape and ok.
Effects>Plugins>AAA Filters - Custom - click on Grain and ok.
(Optional).
29. Image>Add borders, 1 pixel, symmetric, background color #605c5d.
30. Image>Resize, 1000 pixels width, resize all layers checked.
Sign your work on a new layer.
Add, if you want, the author's and translator's watermarks.
Save as jpg.
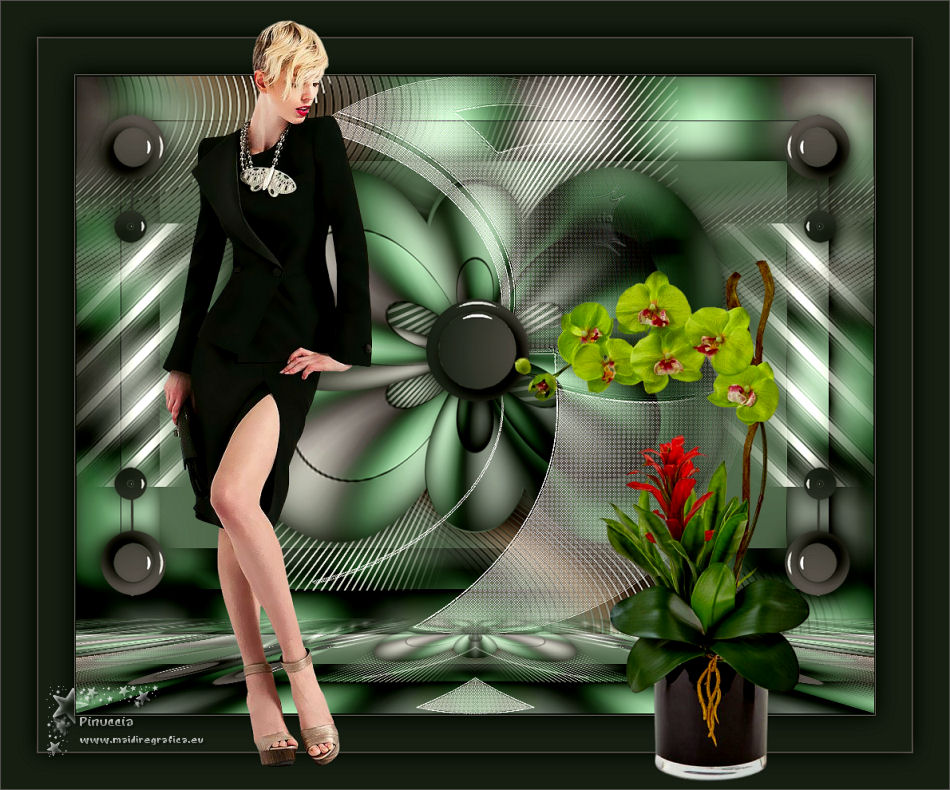
The result with the newer version of Flexify filter
Version avec tubes by Luz Cristina and Suizabella
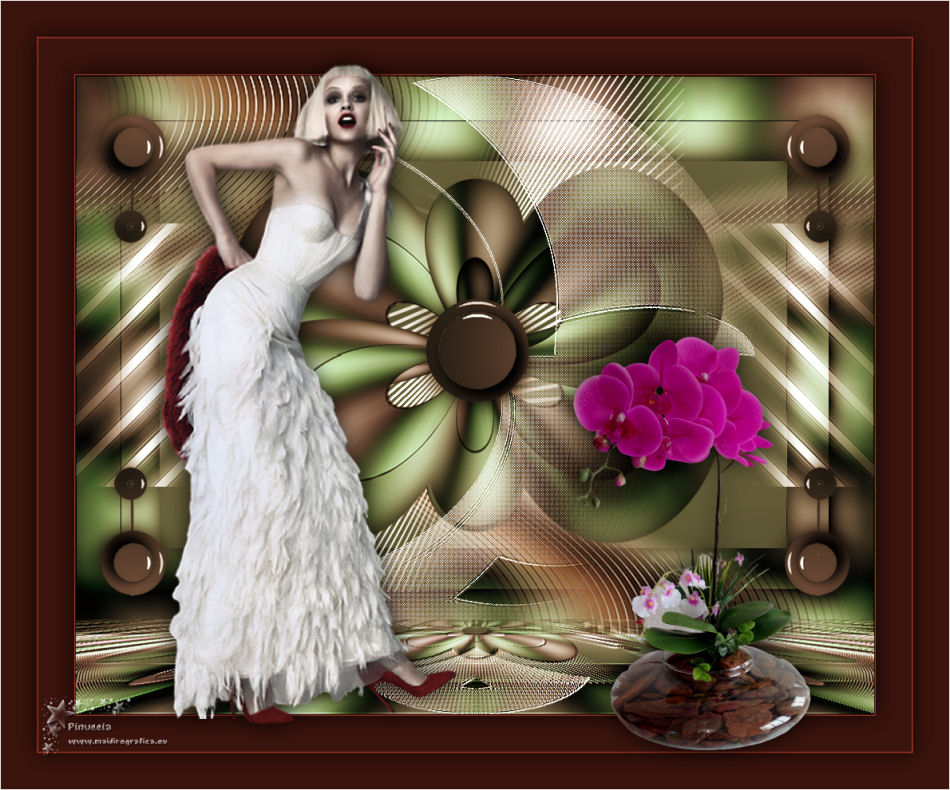
 Your versions here Your versions here

If you have problems or doubts, or you find a not worked link, or only for tell me that you enjoyed this tutorial, write to me.
23 Octobre 2021

|

