|
TOP CLARA
 ENGLISH VERSION ENGLISH VERSION
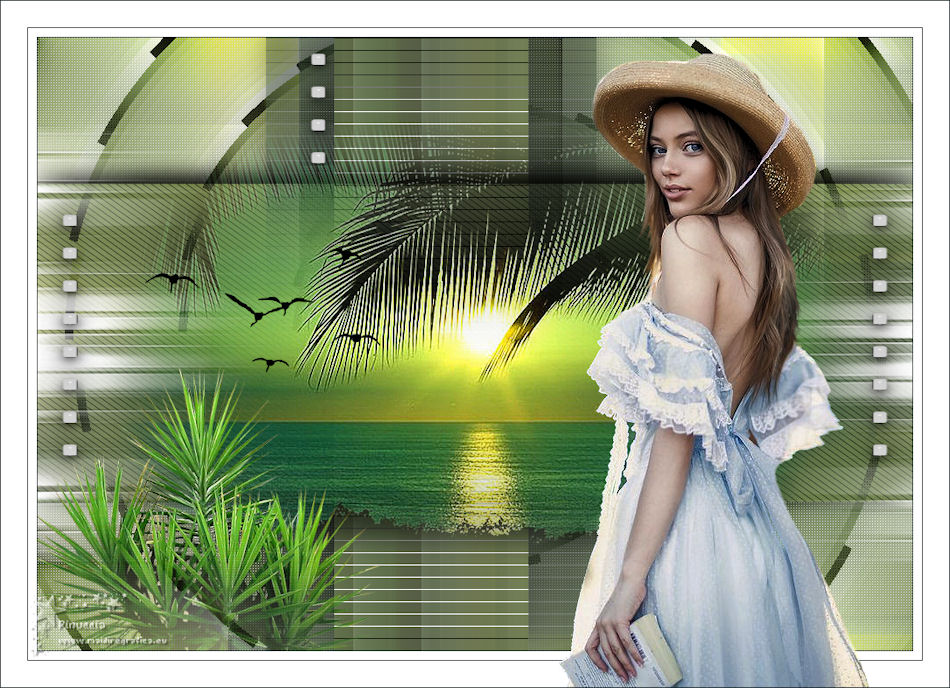
Thanks Lica Cida for your invitation to translate your tutorial

This tutorial was created with PSPX8 and translated with PSPX3, but it can also be made using other versions of PSP.
Since version PSP X4, Image>Mirror was replaced with Image>Flip Horizontal,
and Image>Flip with Image>Flip Vertical, there are some variables.
In versions X5 and X6, the functions have been improved by making available the Objects menu.
In the latest version X7 command Image>Mirror and Image>Flip returned, but with new differences.
See my schedule here
French translation here
your versions ici
For this tutorial, you will need:
Material here
Tubes: tube3231_mulher_mara_pontes, calguismistsecenery29610,
spiky_cordyline_by_lilipilyspirit-d4zkex2.
Mask: Narah_Mask_1392.
(you find here the links to the material authors' sites)
Plugins
consult, if necessary, my filter section here
Mehdi - Sorting Tiles, Weaver here
L&K's - L&K's Mayra here
Toadies - What are you here
AP [Lines] - Lines Silverlining here
Flaming Pear - Flexify 2 here
Cybia - Alphaworks here
FM Tile Tools - Blend Emboss here
Graphics Plus - Vertical Mirror here
Filter Factory Gallery B - Spinner here
Filters Unlimited 2.0 here
Filters Toadies, Cybia, Graphics Plus and Factory Gallery can be used alone or imported into Filters Unlimited.
(How do, you see here)
If a plugin supplied appears with this icon  it must necessarily be imported into Unlimited it must necessarily be imported into Unlimited

You can change Blend Modes according to your colors.
In the newest versions of PSP, you don't find the foreground/background gradient (Corel_06_029).
You can use the gradients of the older versions.
The Gradient of CorelX here
Copy the Selections in the Selections Folder.
Open the mask in PSP and minimize it with the rest of the material.
1. Set your foreground color to #d0bd84,
and your background color to #172a31.
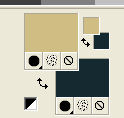
Set your foreground color to a Foreground/Background Gradient, style Linear.
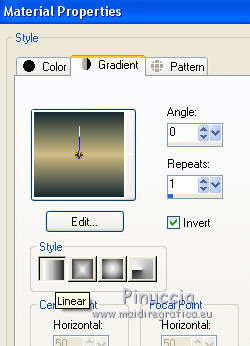
Open a new transparent image 1000 x 700 pixels.
Flood Fill  the transparent image with your Gradient. the transparent image with your Gradient.
2. Selections>Select All.
Open the tube calguismistsecenery29610 and go to Edit>Copy.
Go back to your work and go to Edit>Paste into Selection.
Selections>Select None.
Effects>Image Effects>Seamless Tiling.

3. Adjust>Blur>Radial Blur.
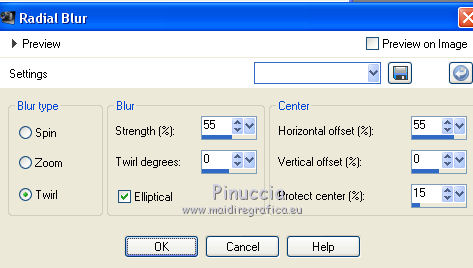
Adjust>Add/Remove Noise>Jpeg Artifact Removal
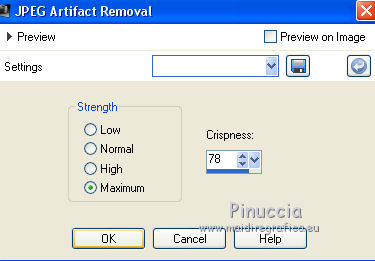
Effects>Plugins>FM Tile Tools - Blend Emboss, default settings.

4. Effects>Plugins>Mehdi - Sorting Tiles.
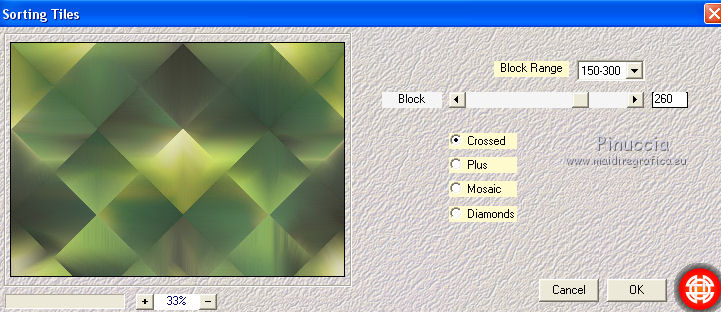
5. Effects>Reflection Effets>Rotating Mirror, default settings.

6. Effects>Plugins>Graphics Plus - Vertical Mirror, default settings.
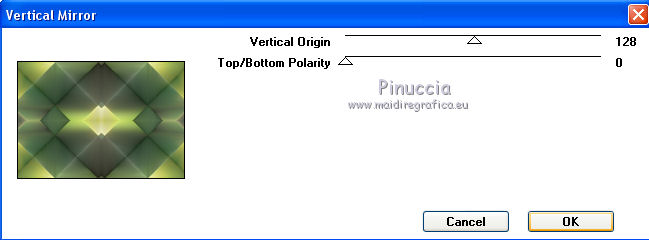
7. Effects>Plugins>Mehdi - Sorting Tiles.
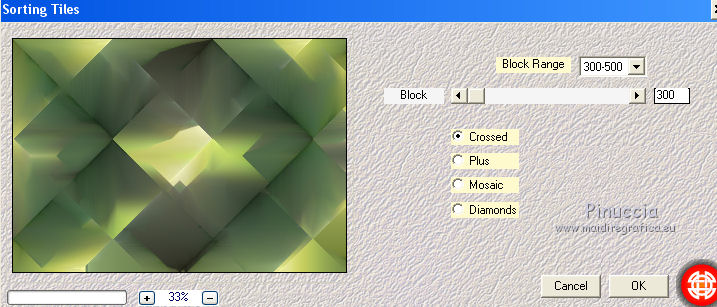
8. Effects>Plugins>Mehdi - Weaver.
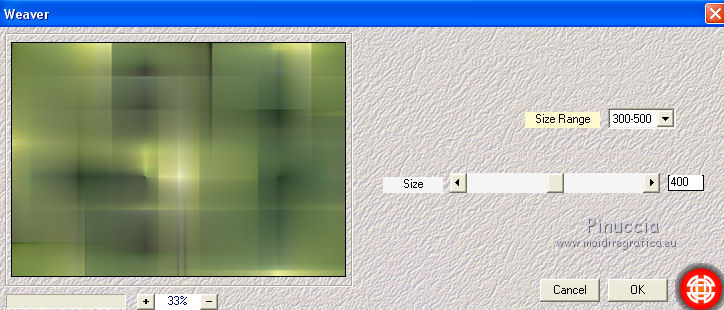
9. Selections>Load/Save Selection>Load Selection from Disk.
Look for and load the selection clara1lc.PspSelection.
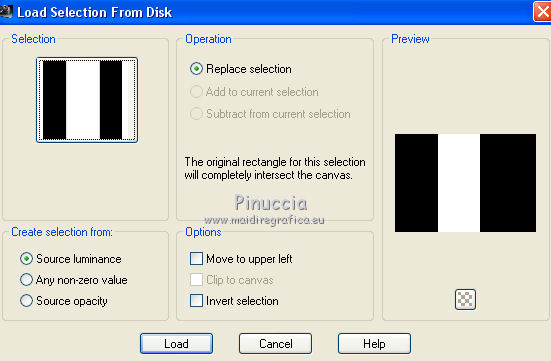
Selections>Promote Selection to layer.
10. Effects>Plugins>L&K's - L&K's Mayra, default settings.
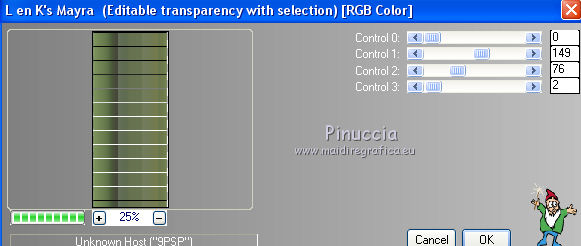
Selections>Select None.
11. Effects>Plugins>Toadies - What are you
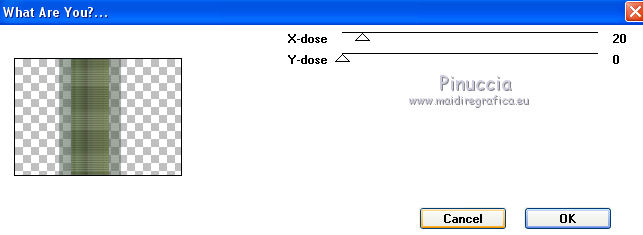
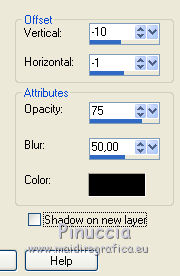
Effects>3D Effects>Drop Shadow, color #000000.
12. Layers>New Raster Layer.
Set your foreground color to #ffffff.
Flood Fill  the layer with color white #ffffff. the layer with color white #ffffff.
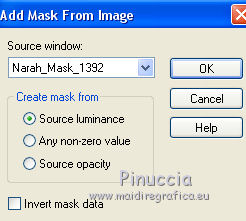
Layers>New Mask layer>From image
Open the menu under the source window and you'll see all the files open.
Select the mask Narah_Mask_1392.
Layers>Merge>Merge Group.
Adjust>Sharpness>Sharpen More.
13. Activate the layer Raster 1.
Selections>Load/Save Selection>Load Selection from Disk.
Look for and load the selection clara2lc.PspSelection.
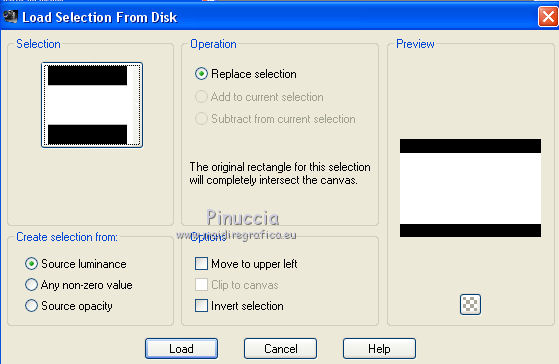
Selections>Promote Selection to Layer.
Layers>Arrange>Move Up.
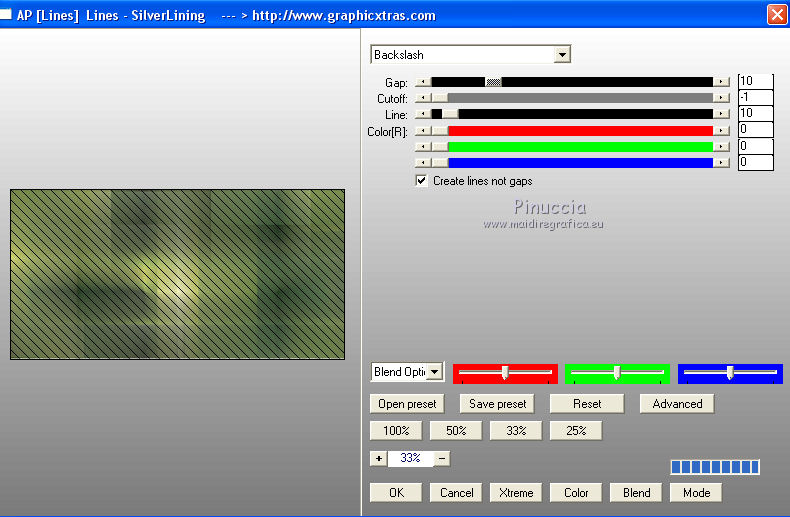
14. Effects>Plugins>AP Lines - Lines SilverLining.
Selections>Select None.
Effects>3D Effects>Drop Shadow, color #000000.

15. Activate again the tube calguismistsecenery29610 and go to Edit>Copy.
Go back to your work and go to Edit>Paste as new layer.
Adjust>Sharpness>Sharpen More.
Optional: Effects>Plugins>AAA Filters - Custom - Landscape and ok
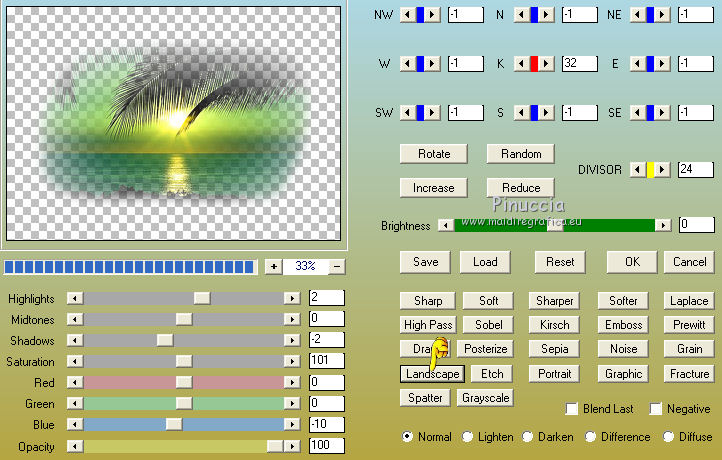
16. Activate the top layer Group-Raster 2.
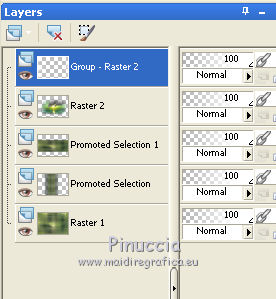
Effects>Plugins>Flaming Pear - Flexify 2.
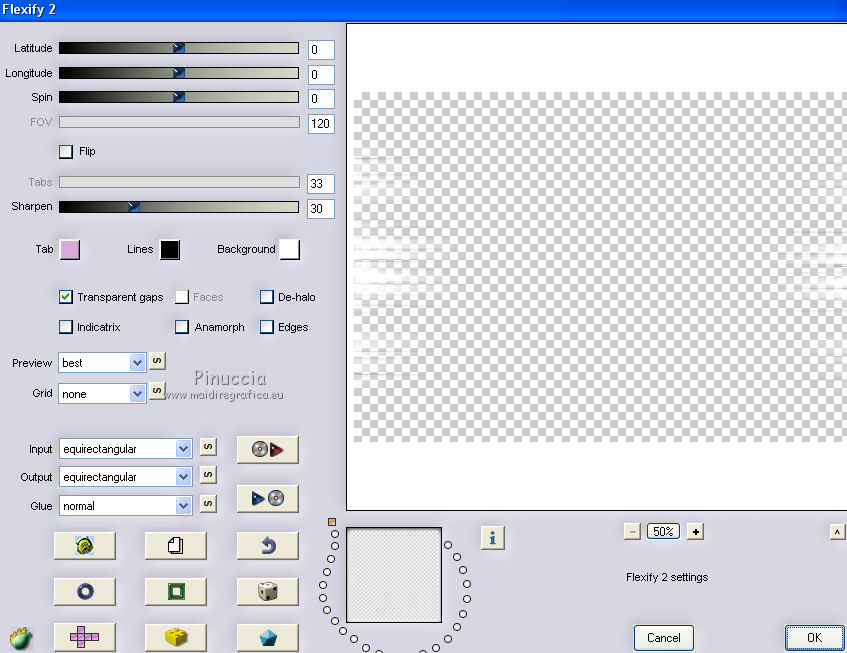
Activate the layer Promoted Selection 1
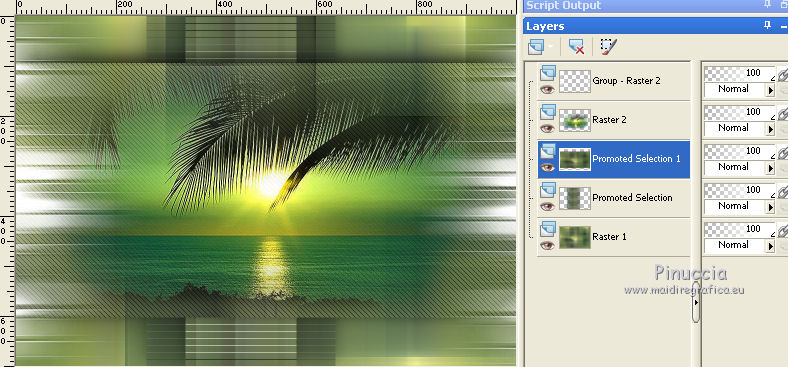
Repeat Effects>Plugins>Flaming Pear - Flexify 2, same settings
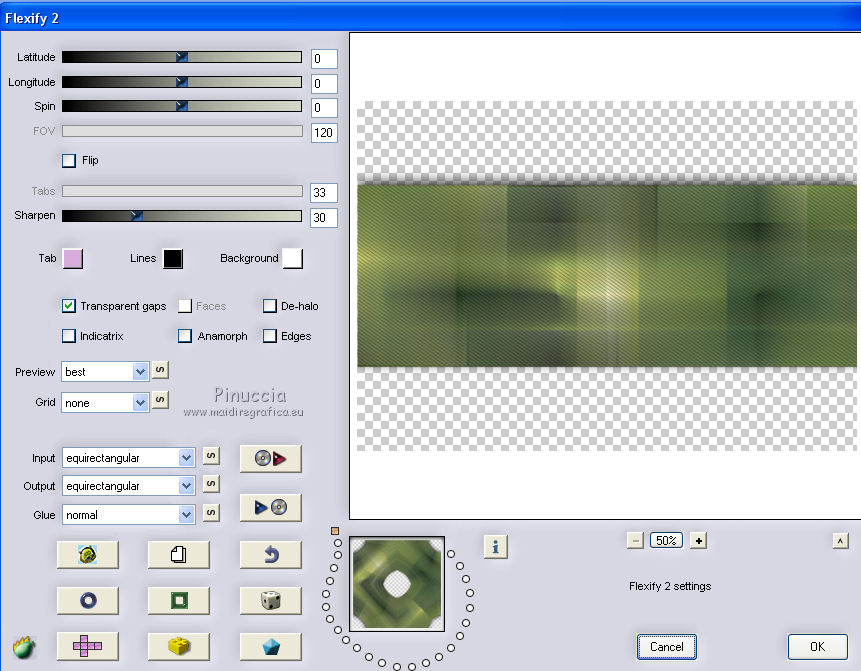
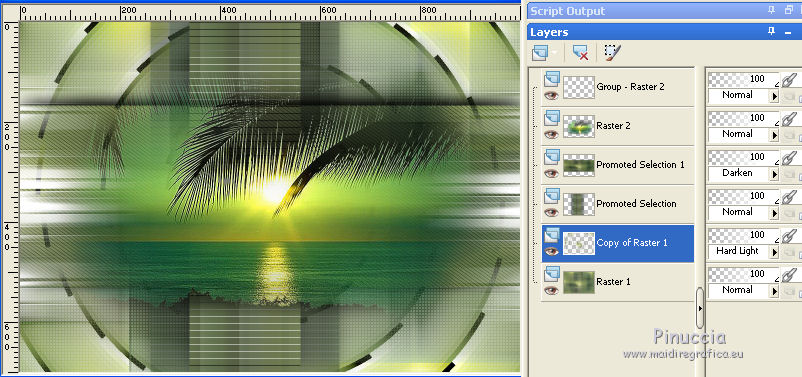
Change the Blend Mode of this layer to Darken.
17. Activate the layer Raster 1.
Effects>Texture Effects>Weave
Weave color: black
Gap Color: #c0c0c0.
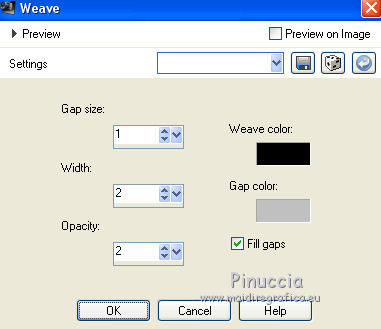
Layers>Duplicate.
18. Effects>Plugins>Cybia - Alphaworks.
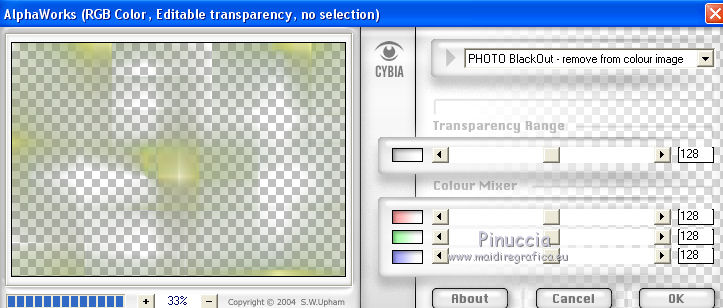
19. Effects>Plugins>Filters Unlimited 2.0 - Filter Factory Gallery B - Spinner.
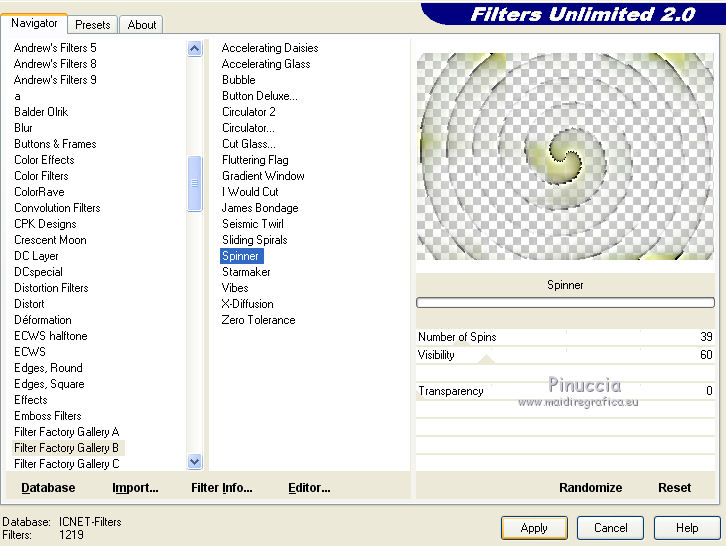
the result can be rightly different according to the Unlimited version used.
Change the Blend Mode of this layer to Hard Light
Your layers and your tag (adapt Modes and opacities at your choice)
20. Activate your top layer, Group-Raster 2.
Open the tube spiky_cordyline_by_lilipilyspirit-d4zkex2 and go to Edit>Copy.
Go back to your work and go to Edit>Paste as new layer.
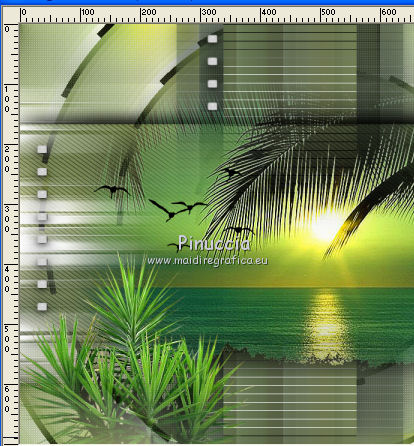
Move  the tube at the bottom left. the tube at the bottom left.
21. Open the tube aves and go to Edit>Copy.
Go back to your work and go to Edit>Paste as new layer.
Place  the tube at your choice, or see my example. the tube at your choice, or see my example.
22. Open the tube decoclaralc and go to Edit>Copy.
Go back to your work and go to Edit>Paste as new layer.
Place  rightly the tube. rightly the tube.
With your Selection Tool 
select 4 little squares
Edit>Copy.
Selections>Select None.
Edit>Paste as new layer.
Place  the 4 little squares as below. the 4 little squares as below.
23. Image>Add borders, 1 pixel, symmetric, background color #172a31.
Image>Add borders, 10 pixels, symmetric, color #ffffff.
Image>Add borders, 1 pixel, symmetric, background color #172a31.
Image>Add borders, 30 pixels, symmetric, color #ffffff.
24. Open tube3231_mulher_mara_pontes and go to Edit>Copy.
Go back to your work and go to Edit>Paste as new layer.
Image>Mirror.
Move  the tube to the right side. the tube to the right side.
25. Sign your work on a new layer.
little note about the watermark:
I don't ask to put watermark on the versions made by my translations.
But if you decide to use the watermark supplied by the author, I would appreciate that my work as translator was also respected.
For that, I added my watermark to the material (english and french).
26. Image>Add borders, 1 pixel, symmetric, background color #172a31.
Image>Resize, 1000 pixels width, resize all layers checked.
Save as jpg.
Version with tube by Luz Cristina
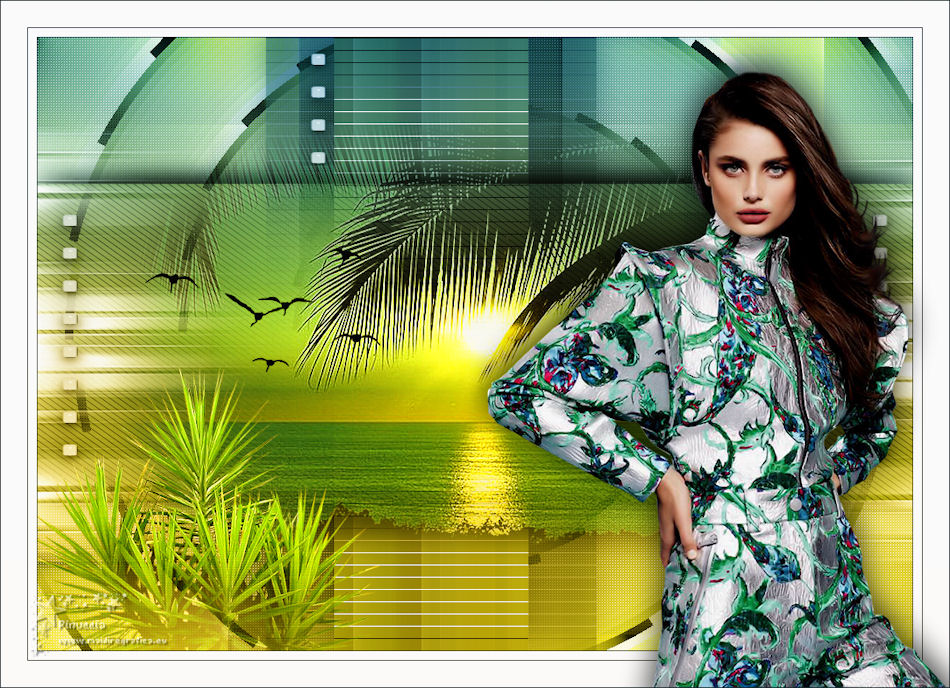
Your versions here

If you have problems or doubts, or you find a not worked link, or only for tell me that you enjoyed this tutorial, write to me.
30 October 2019
|
 ENGLISH VERSION
 ENGLISH VERSION