|
TOP BLANC

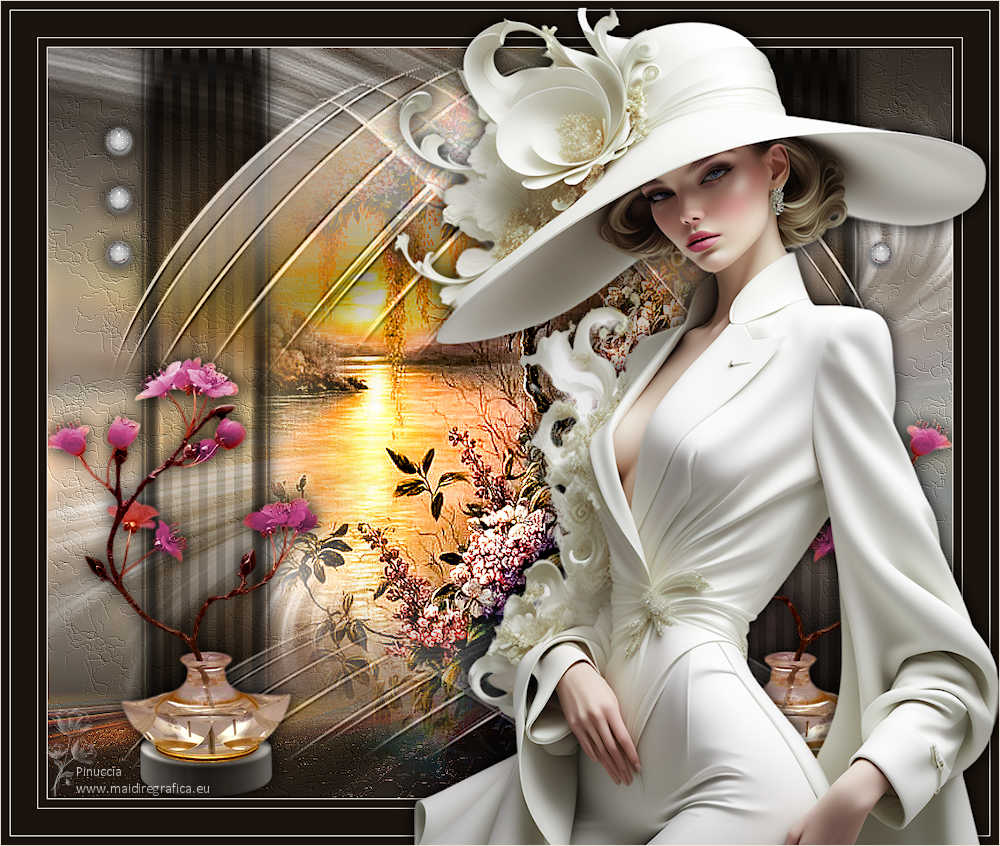
Thanks Lica Cida for your invitation to translate your tutorial

This tutorial was created with PSPX9 and translated with PSPX9 and PSP2020, but it can also be made using other versions of PSP.
Since version PSP X4, Image>Mirror was replaced with Image>Flip Horizontal,
and Image>Flip with Image>Flip Vertical, there are some variables.
In versions X5 and X6, the functions have been improved by making available the Objects menu.
In the latest version X7 command Image>Mirror and Image>Flip returned, but with new differences.
See my schedule here
 French translation here French translation here
 your versions here your versions here

For this tutorial, you will need:

For the tubes thanks Suizabella and Callitubes.
(you find here the links to the material authors' sites)

consult, if necessary, my filter section here
Filters Unlimited 2.0 here
Almathera - Almathera_A Halo here
DSB Flux - Linear Transmission here
Alien Skin Eye Candy 5 Impact - Extrude here
FM Tile Tools - Blend Emboss here
Mura's Meister - Perspective Tiling here
Mura's Seamless - Emboss at Alpha here
AAA Filters - Custom here
Filters Mura's Seamless can be used alone or imported into Filters Unlimited.
(How do, you see here)
If a plugin supplied appears with this icon  it must necessarily be imported into Unlimited it must necessarily be imported into Unlimited

You can change Blend Modes according to your colors.
In the newest versions of PSP, you don't find the foreground/background gradient (Corel_06_029).
You can use the gradients of the older versions.
The Gradient of CorelX here

Copy the selections in the Selections Folder.
Open the mask in PSP and minimize it with the rest of the material.
1. Choose two colors to work.
Set your foreground color to #1b130d,
and your background color to #f1e9dd.
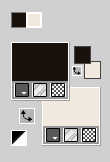
Set your foreground color to a Foreground/Background Gradient, style Linear.
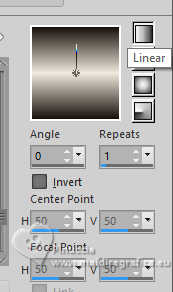
2. Open a new transparent image 1024 x 800 pixels.
3. Selections>Load/Save Selection>Load Selection from Disk.
Look for and load the selection maraq4
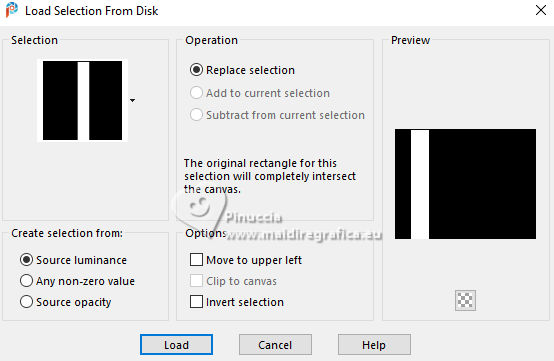
Flood Fill  the selection with your Gradient. the selection with your Gradient.
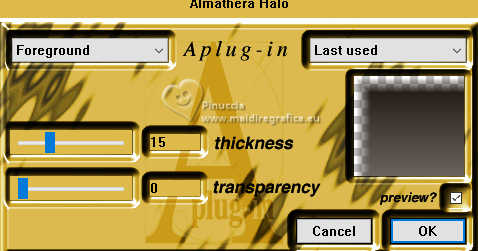
4. Effects>Plugins>Almathera - A Halo.
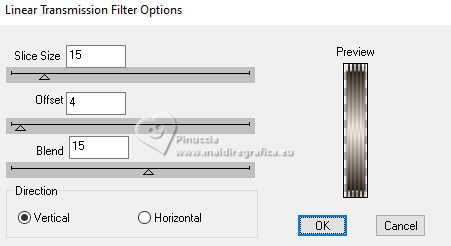
5. Effects>Plugins>DSB Flux - Linear Transmission.
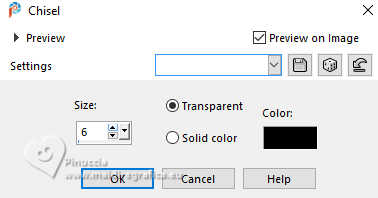
6. Effects>3D Effects>Chisel - background color.
Selections>Select None.
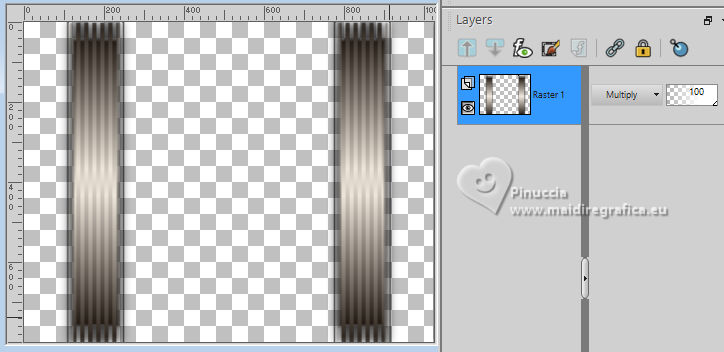
7. Effects>Reflection Effects>Rotating Mirror.

8. Effects>3D Effects>Drop Shadow, color #000000.

Change the Blend mode of this layer to Multiply.
9. Layers>New Raster Layer.
Selections>Load/Save Selection>Load Selection from Disk.
Look for and load the selection elipse9mara
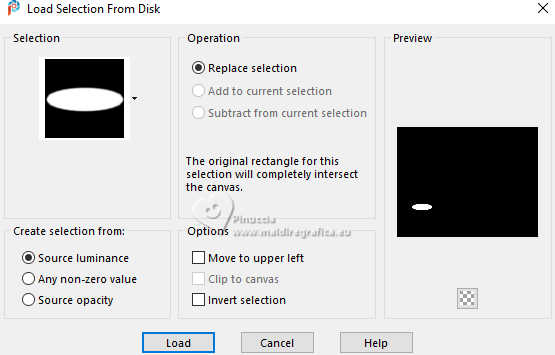
Flood Fill  the selection with your Gradient. the selection with your Gradient.
Selections>Select None.
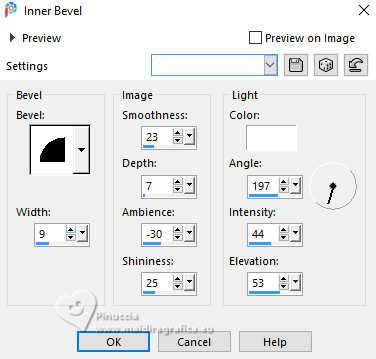
10. Effects>3D Effects>Inner Bevel.
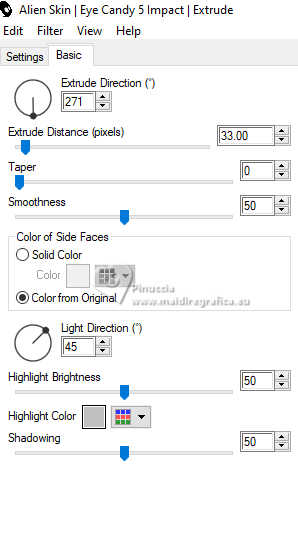
11. Effects>Plugins>Alien Skin Eye Candy 5 Impact - Extrude.
12. Effects>Reflection Effects>Rotating Mirror.

Objects>Align>Bottom
13. Effects>3D Effects>Drop Shadow, color #000000.

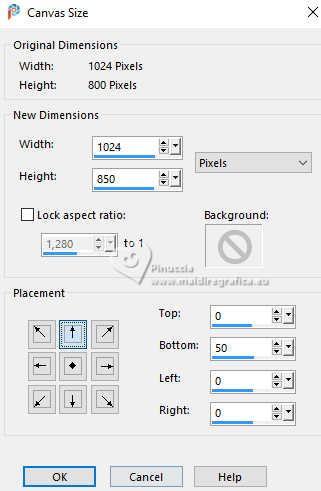
14. Image>Canvas Size - 1024 x 850 pixels.
15. Layers>New Raster layer.
Layers>Arrange>Send to Bottom.
Flood Fill  the layer with your Gradient. the layer with your Gradient.
16. Selections>Select All.
Open Callitubes-16paisagens 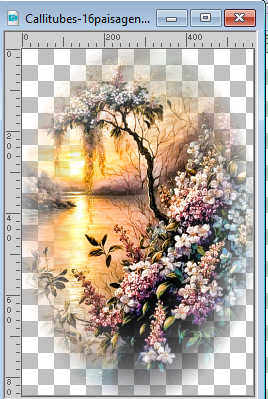
Edit>Copy.
Go back to your work and go to Edit>Paste into Selection.
Selections>Select None.
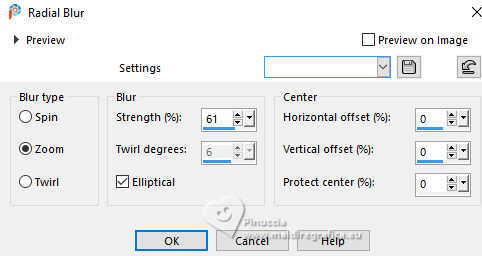
17. Adjust>Blur>Radial Blur.
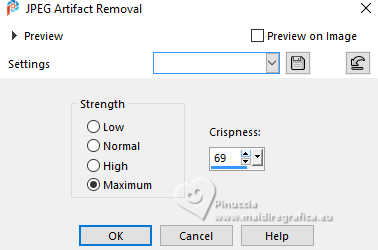
18. Adjust>Add/Remove Noise>JPEG Artifact Removal.
19. Effects>Plugins>FM Tile Tools - Blend Emboss, default settings.

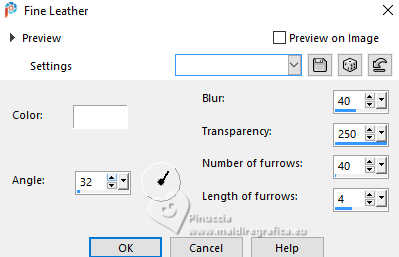
20. Effects>Texture Effects>Fine Leather.
Activate your top Layer.
Objects>Align>Bottom.
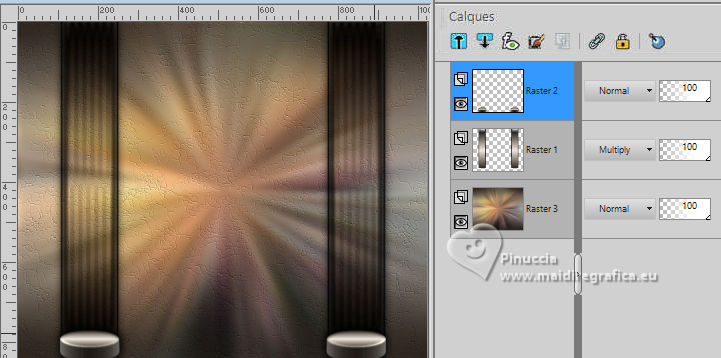
Activate again your bottom layer.
21. Layers>Duplicate.
Effects>Plugins>Mura's Meister - Perspective Tiling.
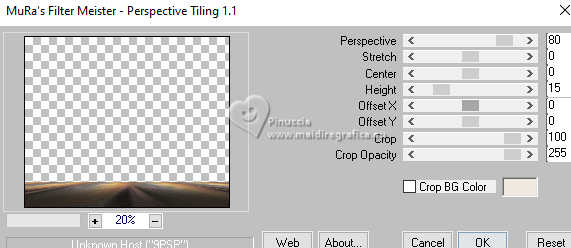
22. Effects>Reflection Effects>Rotating Mirror, default settings.

23. Activate your Magic Wand Tool  , tolerance 0, feather 60 , tolerance 0, feather 60

Click on the transparent part to select it.
Press 6/7 times CANC on the keyboard 
Selections>Select None.
don't forget to set again the feather to 0
Adjust>Sharpness>Sharpen More.
Change the Blend Mode of this layer to Hard Light.
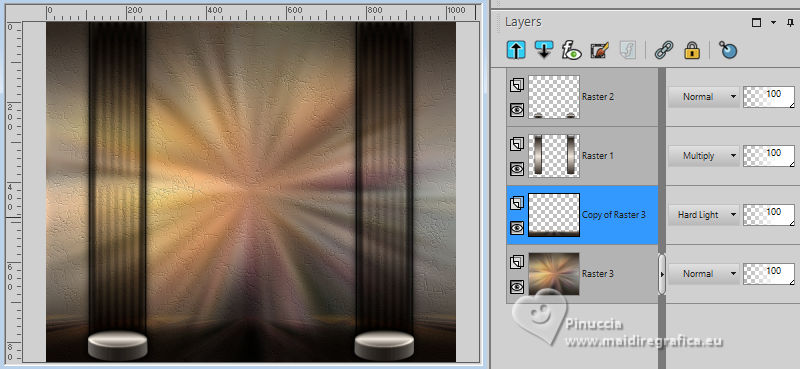
Adjust>One Step Photo Fix.
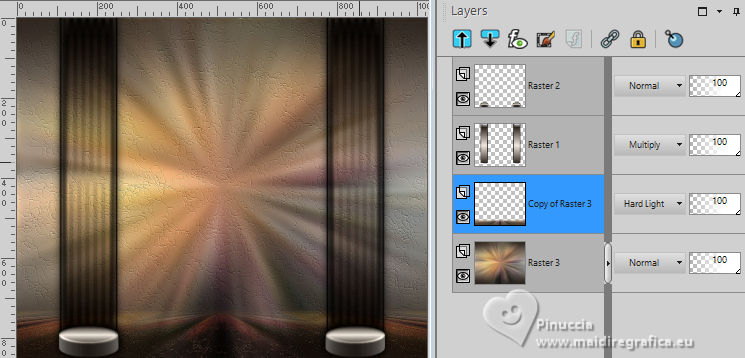
24. Edit>Paste as new layer - the tube Callitubes-16paisagens is still in memory.
25. Effects>Plugins>AAA Filters - Custom - click on Landscape and ok.
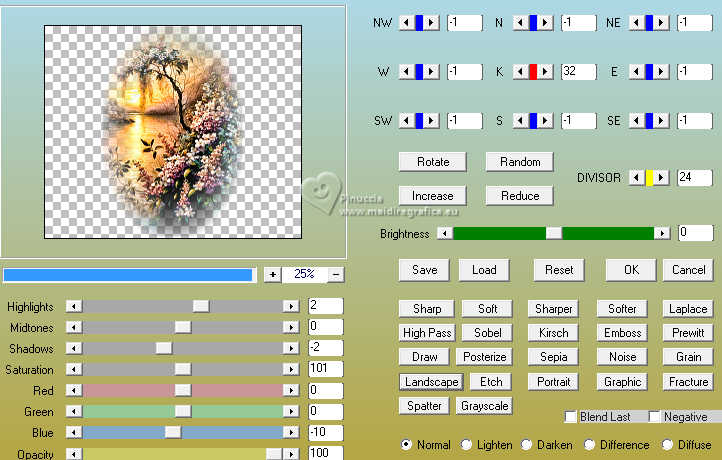
Adjust>Sharpness>Sharpen.
26. Activate the layer below, Copy of Raster 3.
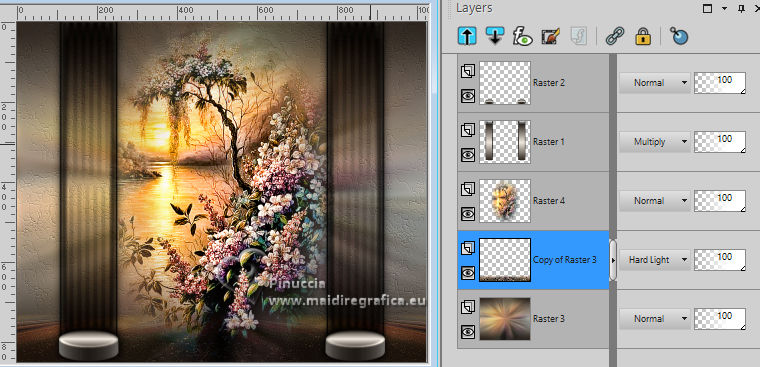
Set your foreground color to #ffffff.
Layers>New Raster Layer.
Flood Fill  the layer with color #ffffff. the layer with color #ffffff.
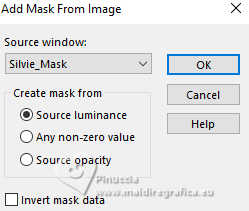
Layers>New Mask layer>From image
Open the menu under the source window and you'll see all the files open.
Select the mask Silvie_Mask
Effects>Edge Effects>Enhance.
Layers>Merge>Merge Group.
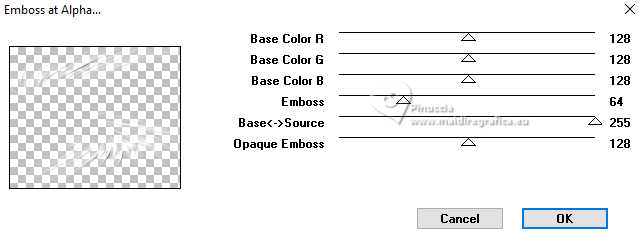
27. Effects>Plugins>Mura's Seamless - Emboss at Alpha, default settings.
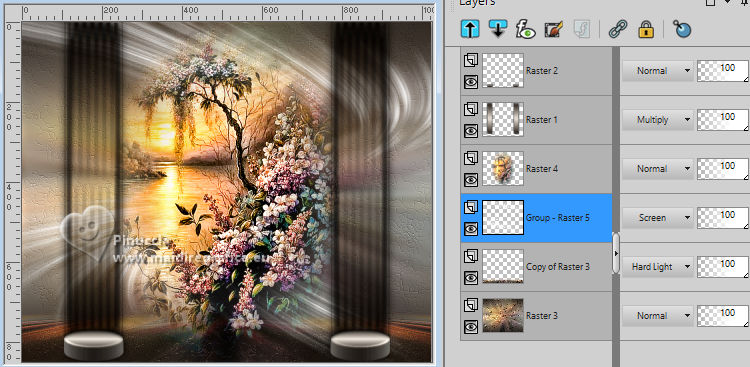
Image>Mirror>Mirror horizontal.
Change the Blend Mode of this layer to Screen.
28. Activate your top layer.
Open decorfinal 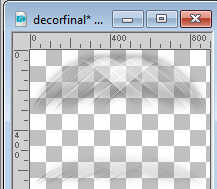
Edit>Copy.
Go back to your work and go to Edit>Paste as new layer.
Objects>Align>Top.
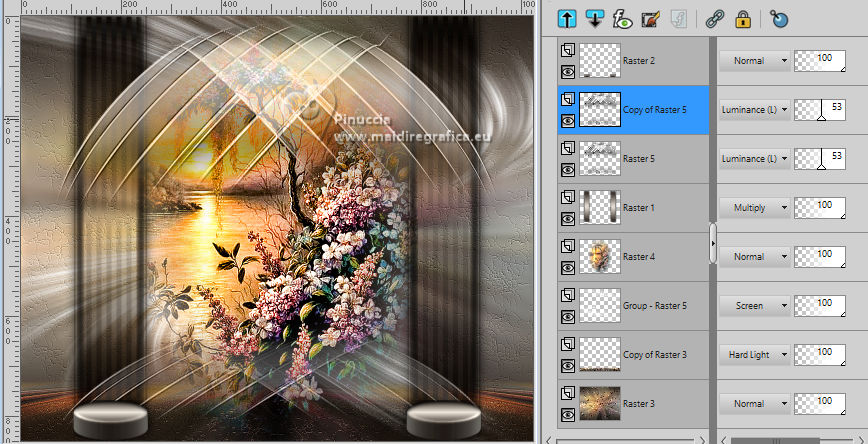
29. Activate your Pick Tool 
Mode Scale 
pull the central bottom node until the borders.
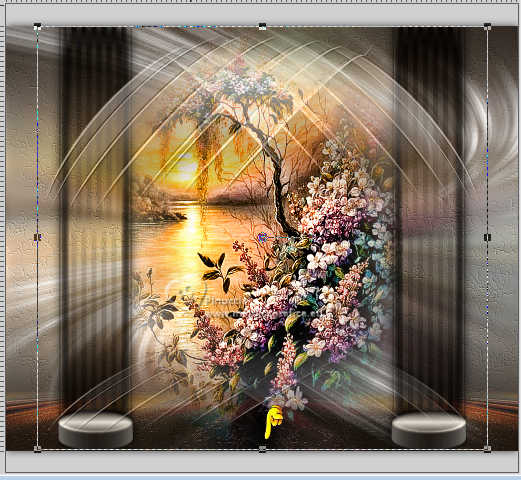
The tube is in mode Luminance (legacy), opacity 53%.
Layers>Arrange>Move Down.
Layers>Duplicate.
30. Activate the layer Raster 1.
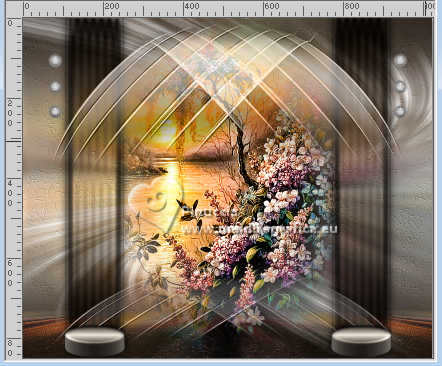
Open bolasbrancas-lc 
Edit>Copy.
Go back to your work and go to Edit>Paste as new layer.
Move  the tube at the upper left. the tube at the upper left.
Effects>3D Effects>Drop Shadow, at your choice.
Layers>Duplicate.
Image>Mirror>Mirror Horizontal.
31. Activate your top layer.
Open Callitubes-831flores 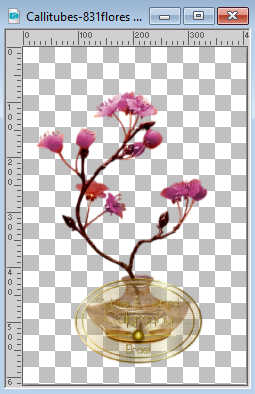
Edit>Copy.
Go back to your work and go to Edit>Paste as new layer.
Move  the tube over the left ellipse. the tube over the left ellipse.
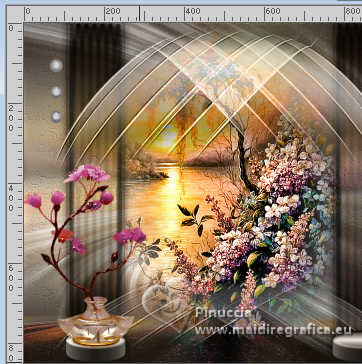
Effects>3D Effects>Drop Shadow, color #000000.

32. Effects>Reflection Effects>Rotating Mirror.

33. For the borders, set again the foreground color to #1b130d.

Image>Add borders, 1 pixel, symmetric, background color.
Image>Add borders, 10 pixels, symmetric, foreground color.
Image>Add borders, 1 pixel, symmetric, background color.
Image>Add borders, 30 pixels, symmetric, foreground color.
Image>Add borders, 1 pixel, symmetric, background color.
Image>Add borders, 10 pixels, symmetric, foreground color.
34. Open SuizaBella_Ref_AG-003934 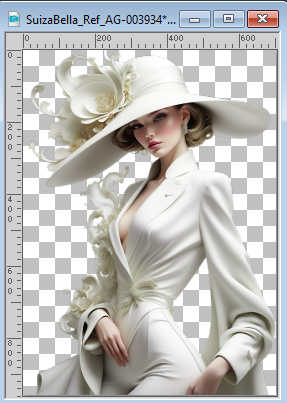
Edit>Copy.
Go back to your work and go to Edit>Paste as new layer.
Move  the tube to the right, or to your liking. the tube to the right, or to your liking.
Effects>3D Effects>Drop Shadow, at your choice.
35. Image>Add borders, 1 pixel, symmetric, background color.
Sign your work on a new layer.
Add the author and the translator's watermarks.
Image>Resize, 1024 pixels de largeur, resize all layers checked.
36. Layers>Merge>Merge All and save as jpg.
For the tubes of this version thanks Luz Cristina and Callitubes
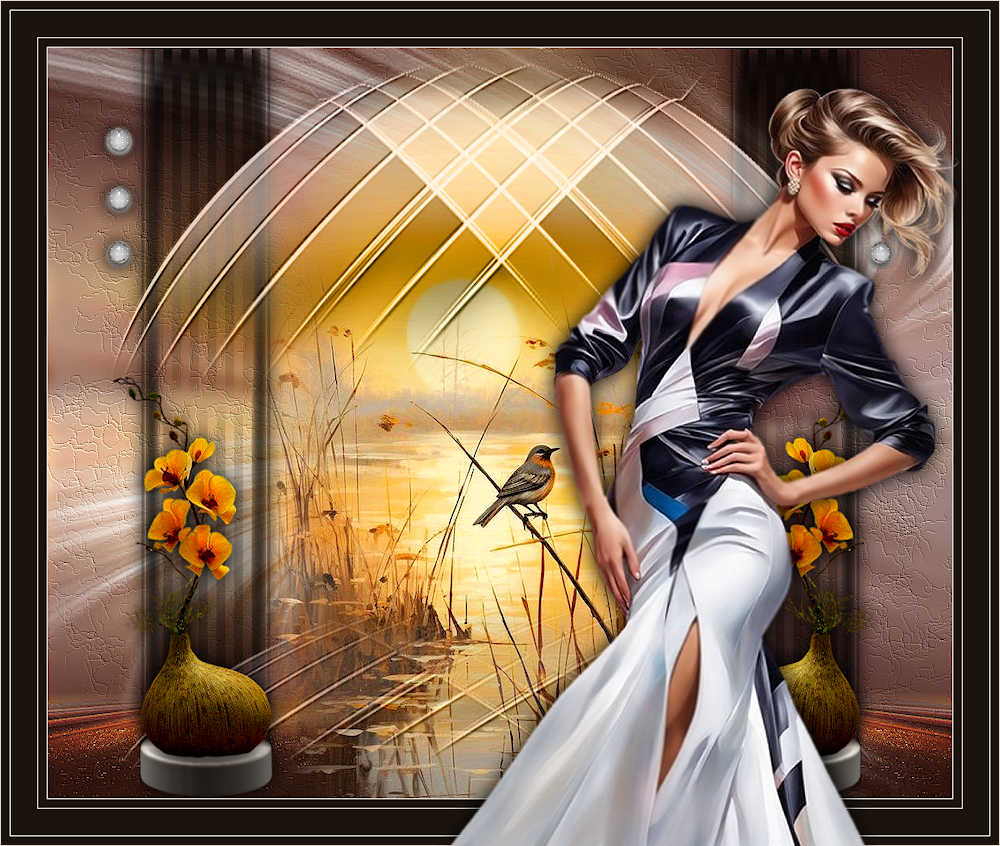
 Your versions here Your versions here

If you have problems or doubts, or you find a not worked link, or only for tell me that you enjoyed this tutorial, write to me.
18 June 2024

|


