|
TOP BEATRIZ

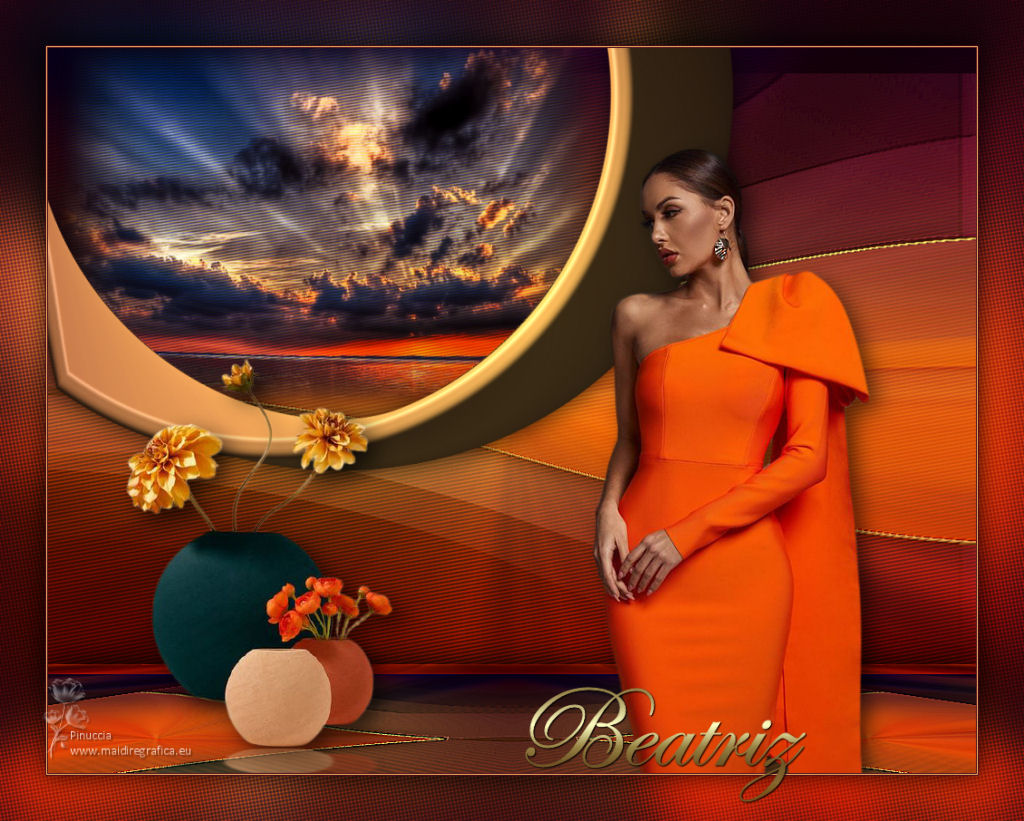
Thanks Lica Cida for your invitation to translate your tutorial

This tutorial was created with PSPX9 and translated with PSPX2 and PSPX3 and PSPX7, but it can also be made using other versions of PSP.
Since version PSP X4, Image>Mirror was replaced with Image>Flip Horizontal,
and Image>Flip with Image>Flip Vertical, there are some variables.
In versions X5 and X6, the functions have been improved by making available the Objects menu.
In the latest version X7 command Image>Mirror and Image>Flip returned, but with new differences.
See my schedule here
 French translation here French translation here
 your versions here your versions here
For this tutorial, you will need:
Material here
Merci pour les tubes Beatriz (3602-woman-LB TUBES; 1547-misted paisaje-LB TUBES)
et Calligraphy (Callitubes-135flores)
Mask !!!.mask.ket01
Le texte est de Lica Cida.
(you find here the links to the material authors' sites)
Plugins
consult, if necessary, my filter section here
VanDerLee - Unplugged-X here
Mura's Meister - Pole Transform here
Mura's Meister - Copies here
Mura's Meister - Perspective Tiling here
Nik Software - Color Efex here

You can change Blend Modes according to your colors.
In the newest versions of PSP, you don't find the foreground/background gradient (Corel_06_029).
You can use the gradients of the older versions.
The Gradient of CorelX here
Copy the preset Emboss 3 in the Presets Folder.
Open the mask in PSP and minimize it with the rest of the material.
1. Open a new transparent image 1024 x 700 pixels.
Set your foreground color to #4a0a22,
and your background color to #ffbf5b.
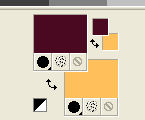
Set your foreground color to a Foreground/Background Gradient, style Sunburst.

Flood Fill  the transparent image with your Gradient. the transparent image with your Gradient.
2. Effects>Geometric Effects>Perspective Horizontal.

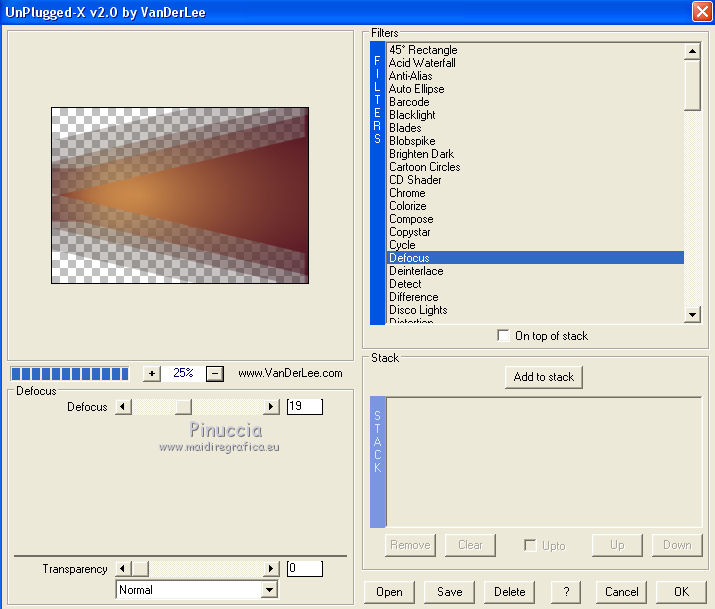
3. Effects>Plugins>VanDerLee - Unplugged-X
4. Activate your Freehand Selection Tool  , point to point , point to point

Select the triangle central
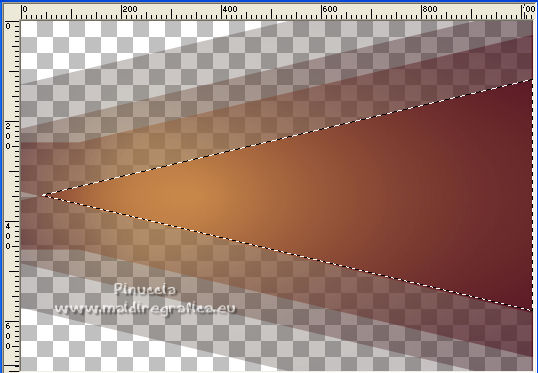
in case of problems, I added in the material the selection "sel top beatriz" (to be placed in the Selections Folder):
Selections>Load/Save Selection>Load Selection from Disk.
Look for and load the selection sel top beatriz.

Effects>3D Effects>Drop Shadow, color #000000.
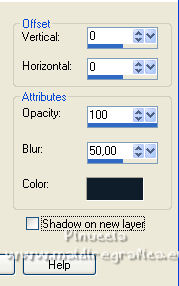
5. Open the tube 3602-woman-LBTUBES and go to Edit>Copy.
Go back to your work and go to Edit>Paste into Selection
(use always the main tube).
6. Adjust>Blur>Radial Blur.

7. Effects>3D Effects>Chisel, light color.

Selections>Select None.
8. Effects>Distortion Effects>Pinch.

Effects>User Defined Filter - select the preset Emboss 3 and ok.

9. Selection Tool 
(no matter the type of selection, because with the custom selection your always get a rectangle)
clic on the Custom Selection 
and set the following settings.

Layers>New Raster Layer.
Flood Fill  the selection with your Gradient. the selection with your Gradient.
10. Effects>3D Effects>Inner Bevel.

Selections>Select None.
Image>Flip.
11. Effects>Plugins>Mura's Meister - Pole Transform.
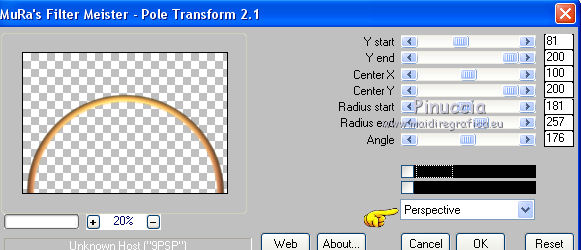
Image>Flip.
12. Effects>Plugins>Mura's Meister - Copies.
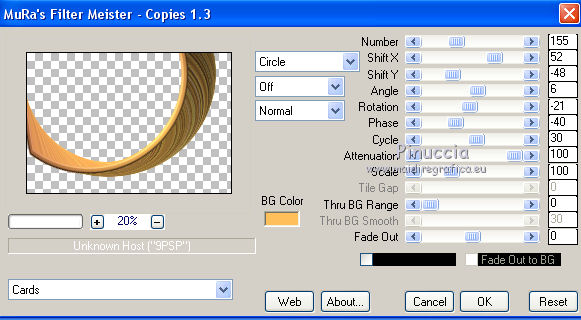
the execution of the effect is slow, be patient
Activate your Magic Wand Tool 
and click in the inner part of the effect to select it.
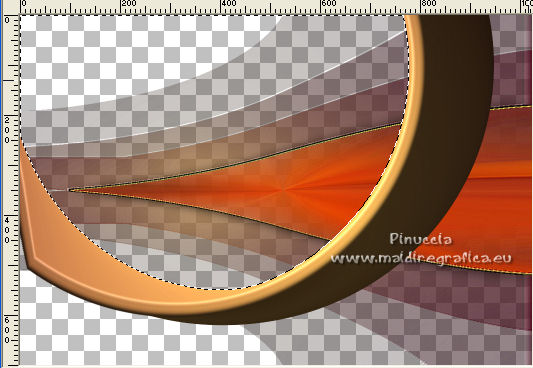
13. Layers>New Raster Layer.
Open the tube 1547-misted paisaje-LB TUBES and go to Edit>Copy.
Go back to your work and go to Edit>Paste into Selection.
Selections>Select None.
Adjust>Sharpness>Sharpen.
14. Effects>Artistic Effects>Halftone.

Layers>Arrange>Move Down.
Activate the top layer, Raster 2.
Layers>Merge>Merge Down.
Image>Resize, to 80%, resize all layers not checked.
15. Effects>Image Effects>Offset.

Effects>3D Effects>Drop Shadow, color #000000.

16. Activate the bottom layer, Raster 1.
Layers>New Mask layer>From image
Open the menu under the source window and you'll see all the files open.
Select the mask !!!.mask.ket01.

Layers>Merge>Merge Group.
17. Image>Canvas Size - 1024 x 800 pixels.

18. Layers>New Raster Layer.
Layers>Arrange>Send to Bottom.
Flood Fill  the layer with your Gradient. the layer with your Gradient.
19. Selections>Select All.
Edit>Paste into Selection (the tube 1547-misted paisaje-LB TUBES is still in memory).
Selections>Select None.
20. Adjust>Blur>Radial Blur, same settings.

Layers>Duplicate.
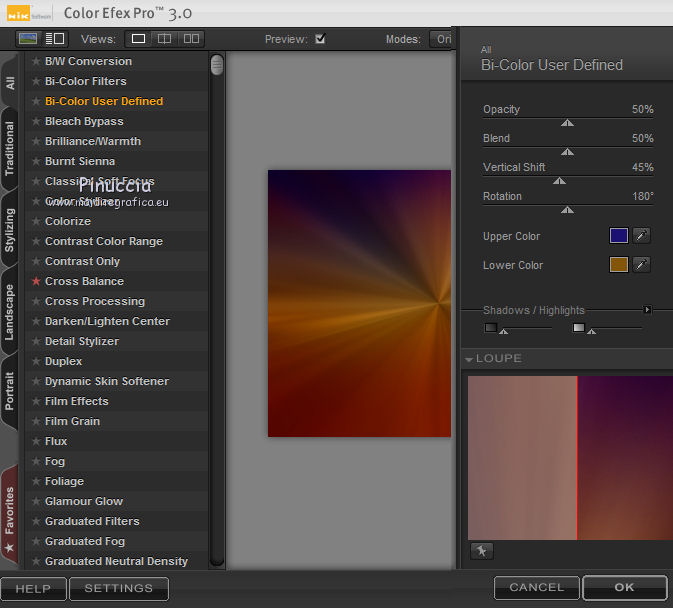
21. Effects>Plugins>Nik Software - Color Efex Pro
Bi-Color User Defined, default settings.
22. Effects>Artistic Effects>Halftone, same settings.

Close the top layer, Raster 3.
Activate the layer below, Group-Raster 1.
23. Edit>Copy Special>Copy Merged.
Edit>Paste as new layer.
Layers>Arrange>Move Down.
24. Effects>Plugins>Mura's Meister - Perspective Tiling.
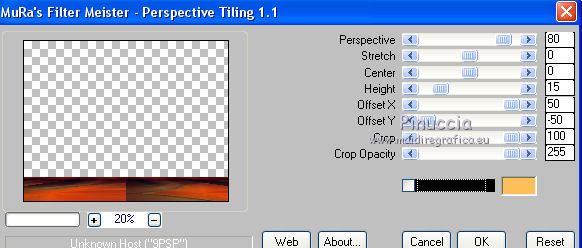
Effects>Reflection Effects>Rotating Mirror, default settings.

Effects>3D Effects>Drop Shadow, color #000000.

Adjust>Sharpness>Sharpen More.
Open the top layer Raster 3.
Activate the mask layer Group-Raster 1.
Change the Blend Mode of this layer to Screen.
Effects>Image Effects>Offset.

You should have this

26. Activate the top layer.
Open the tube 3602-woman-LBTUBES and go to Edit>Copy.
Go back to your work and go to Edit>Paste as new layer.
Move  the tube to the right side. the tube to the right side.
Effects>3D Effects>Drop Shadow, at your choice
27. Open the tube Callitubes-135flores and go to Edit>Copy.
Go back to your work and go to Edit>Paste as new layer.
Move  the tube at the bottom left. the tube at the bottom left.
Effects>3D Effects>Drop Shadow, at your choice
28. Image>Add borders, 1 pixel, symmetric, foreground color.
Image>Add borders, 1 pixel, symmetric, background color.
Image>Add borders, 1 pixel, symmetric, foreground color.
Selections>Select All.
Edit>Copy.
Image>Add borders, 50 pixels, symmetric, color #ffffff.
Selections>Invert.
Edit>Paste into Selection.
Adjust>Blur>Gaussian Blur - radius 30.

Effects>Artistic Effects>Halftone.

Selections>Invert.
Effects>3D Effects>Drop Shadow, color #000000.

Selections>Select None.
28. Open the Beatriz-lc and go to Edit>Copy.
Go back to your work and go to Edit>Paste as new layer.
Place  the text to your liking, or see my example. the text to your liking, or see my example.
29. Image>Resize, 1024 pixels width, resize all layers checked.
Add, if you want, the author's and translator's watermarks.
Sign your work on a new layer.
Layers>Merge>Merge All and save as jpg.
For the tubes of this version thanks Beatriz and Gabry
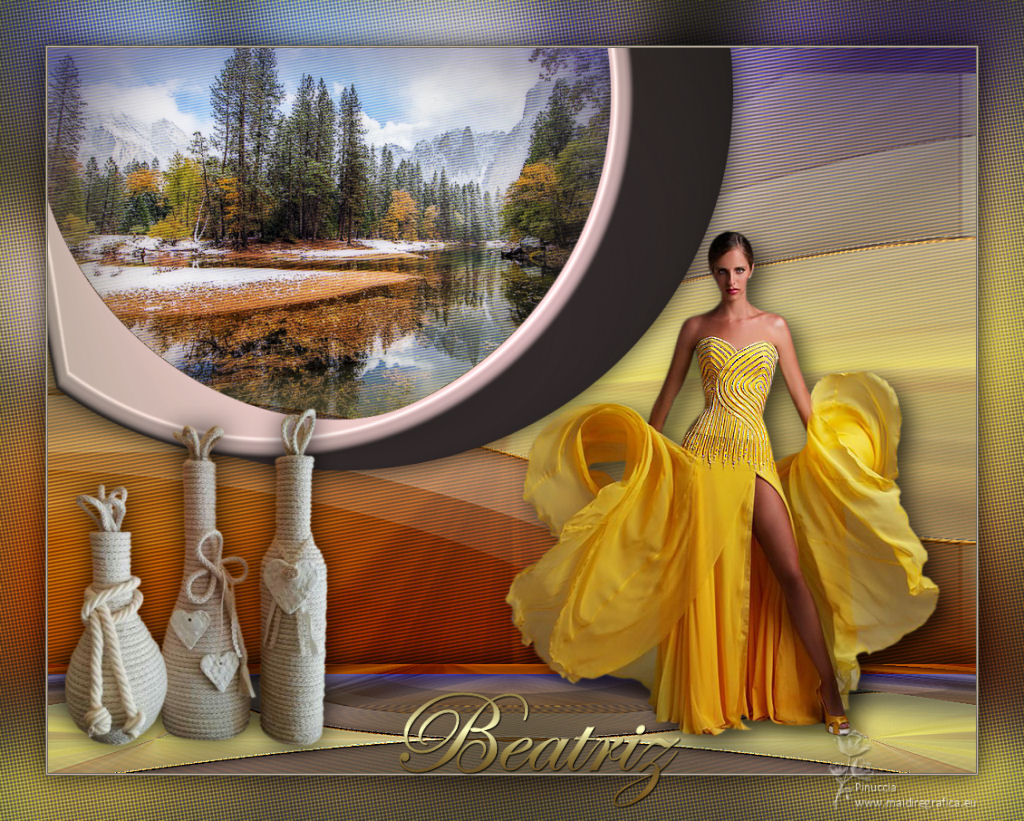
 Your versions here Your versions here

If you have problems or doubts, or you find a not worked link, or only for tell me that you enjoyed this tutorial, write to me.
12 Janvier 2022

|


