|
TOP ANIMABELLE

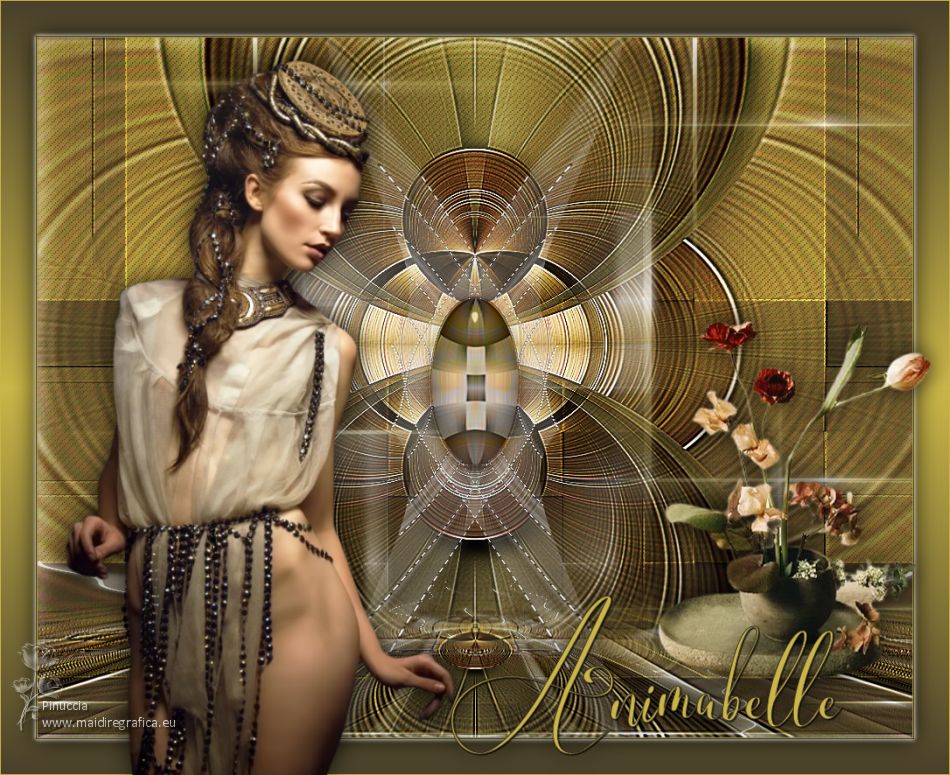
Thanks Lica Cida for your invitation to translate your tutorial

This tutorial was created with PSPX9 and translated with PSPX2 and PSPX3 and PSPX7, but it can also be made using other versions of PSP.
Since version PSP X4, Image>Mirror was replaced with Image>Flip Horizontal,
and Image>Flip with Image>Flip Vertical, there are some variables.
In versions X5 and X6, the functions have been improved by making available the Objects menu.
In the latest version X7 command Image>Mirror and Image>Flip returned, but with new differences.
See my schedule here
 French translation here French translation here
 your versions here your versions here
For this tutorial, you will need:
Material here
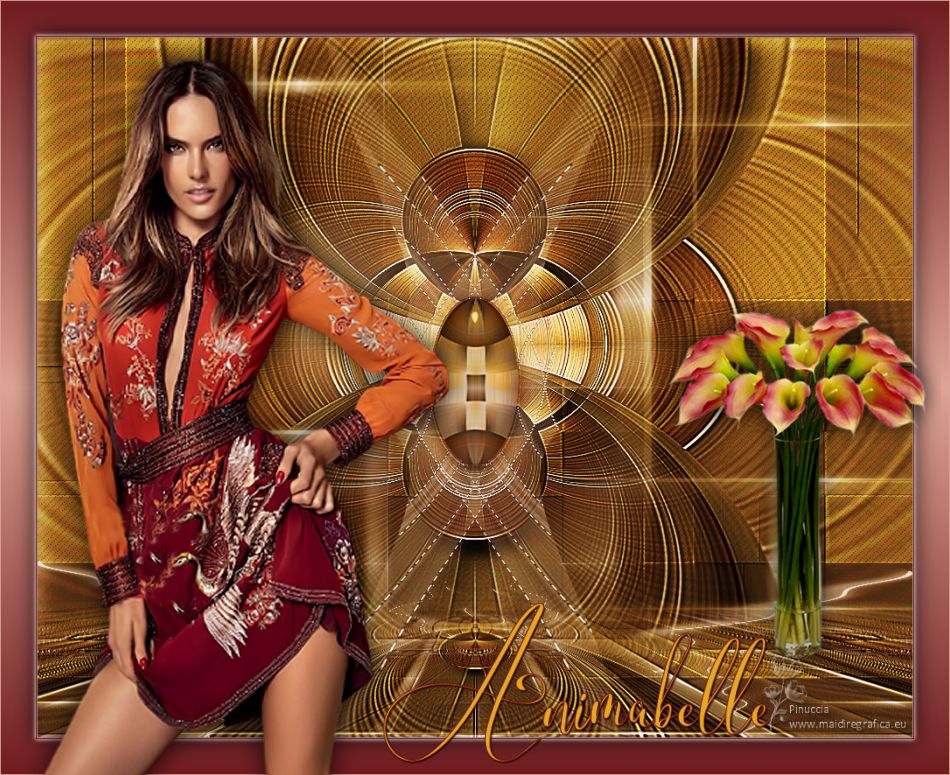
Thanks for the tubes Animabelle (89_Femmes_Page7_Animabelle) and Calli (Callitubes-140flores(1))
Decos: decor_nmcriacoes_79 (1).
The rest of the material is by Lica Cida.
(you find here the links to the material authors' sites)
Plugins
consult, if necessary, my filter section here
Filters Unlimited 2.0 here
&<Background Designers IV> - @Splish (à importer dans Unlimited) here
Toadies - Weaver here
Mehdi - Sorting Tiles, Weaver here
Alien Skin Eye Candy 5 Impact - Motion Trail here
Mura's Meister - Perspective Tiling here
Filters Toadies can be used alone or imported into Filters Unlimited.
(How do, you see here)
If a plugin supplied appears with this icon  it must necessarily be imported into Unlimited it must necessarily be imported into Unlimited

You can change Blend Modes according to your colors.
In the newest versions of PSP, you don't find the foreground/background gradient (Corel_06_029).
You can use the gradients of the older versions.
The Gradient of CorelX here
Copy the presets Airbrush_paisagem et Emboss 3 in the Presets Folder.
1. Set your foreground color to #49402a,
and your background color to #cab648.
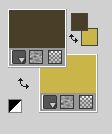
Set your foreground color to a Foreground/Background Gradient, style Linear.

Open a new transparent image 1000 x 700 pixels.
Flood Fill  the transparent image with your Gradient. the transparent image with your Gradient.
2. Effects>Plugins>Filters Unlimited 2.0 - &<Background Designers IV> - @Splish, default settings.
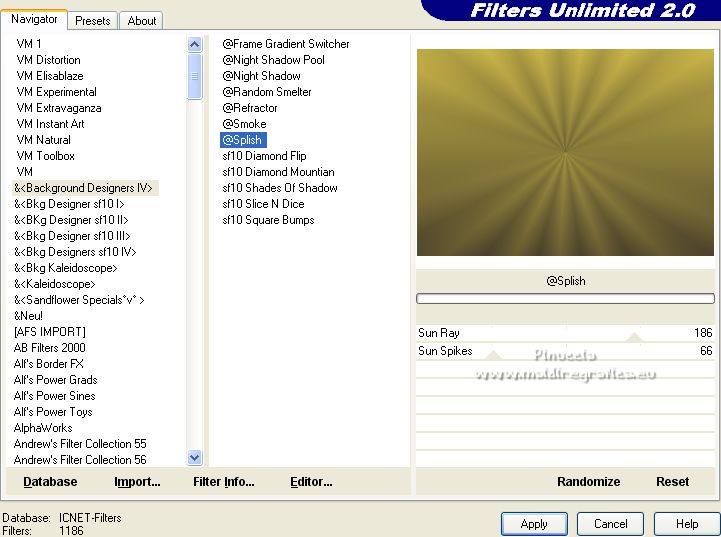
Repeat the Plugin 2 times.
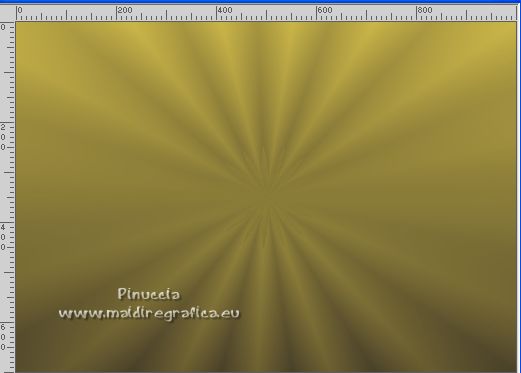
3. Effects>Plugins>Toadies - Weaver, default settings.
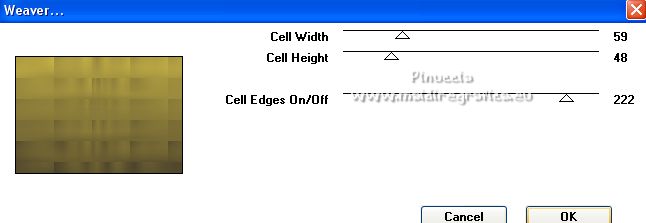
Effects>Edge Effects>Enhance More.
4. Effects>Plugins>Mehdi - Sorting Tiles.
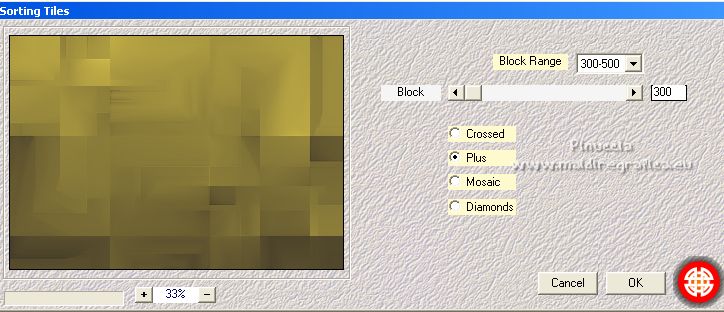
Effects>User Defined Filter - select the preset Emboss 3 and ok.

5. Effects>Reflection Effects>Rotating Mirror, default settings.

6. Effects>Texture Effects>Weave - weave color #000000.

7. Open the tube efeitoprincipal_lc and go to Edit>Copy.
Go back to your work and go to Edit>Paste as new layer.
Adjust>Sharpness>Sharpen More.
Change the Blend Mode of this layer to Soft Light.
(in the final palette, the layer of the original tutorial will be change to Hard Light,
it's up to you to decide what to do)
Layers>Duplicate.
Change the Blend mode of this layer to Overlay.

8. Layers>New Raster Layer.
Set your foreground color to #ffffff.
Activate your Airbrush Tool 
Open the presets menu and select the preset paisagem, and change size 250 pixels.

The preset doesn't work with the older version of PSP
you can place the settings as below

Apply the brush as below.
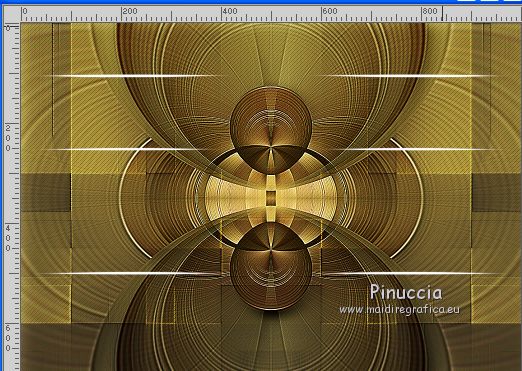
9. Effects>Geometric Effects>Skew.

Layers>Duplicate.
Image>Mirror.
Layers>Merge>Merge Down.
10. Effects>Plugins>Alien Skin Eye Candy 5 Impact - Motion Trail.
Sélectionner le preset Jet Trail
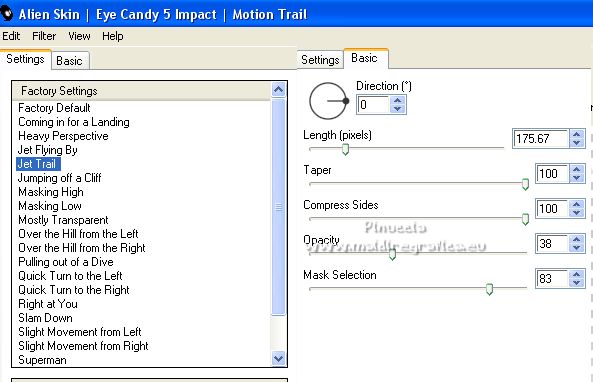
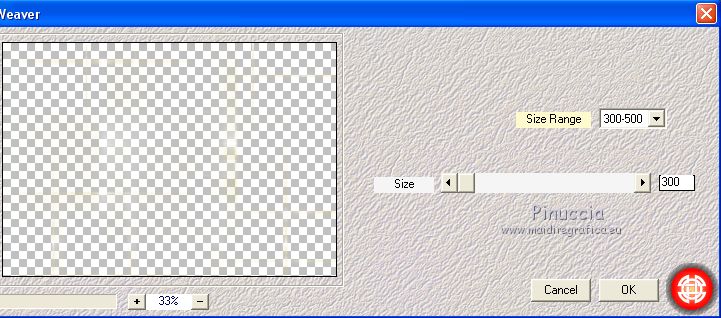
11. Effects>Plugins>Mehdi - Weaver.
Layers>Duplicate.
Layers>Merge>Merge Down.
Reduce the opacity of this layer at your liking.

12. Image>Canvas Size - 1000 x 800 pixels.

13. Edit>Copy Special>Copy Merged.
Edit>Paste as new layer.
14. Effects>Plugins>Mura's Meister - Perspective Tiling.
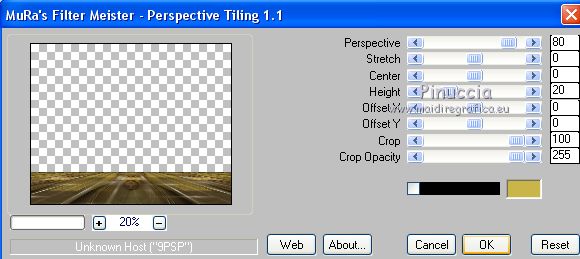
Activate your Magic Wand Tool  , feather 60, , feather 60,
and click in the transparent part to select it.
Press 5 times CANC on the keyboard  , to soften the effect. , to soften the effect.
Selections>Select None.
Effects>User Defined Filter - Emboss 3.
15. Effects>Reflection Effects>Rotating Mirror.

16. Selection Tool 
(no matter the type of selection, because with the custom selection your always get a rectangle)
clic on the Custom Selection 
and set the following settings.

Layers>New Raster Layer (Raster 5)
Flood Fill  the layer with color #ffffff. the layer with color #ffffff.
Selections>Select None.
17. Effects>Geomectric Effects>Skew

18. Effects>Image Effects>Offset.

Layers>Duplicate.
Image>Mirror.
Layers>Merge>Merge Down.
Image>Flip.
19. Effects>Distortion Effects>Warp.

20. Effects>Plugins>Alien Skin Eye Candy 5 Impact - Motion trail, same settings.

21. Effects>Distortion Effects>Wave

Change the Blend Mode of this layer to Screen and reduce the opacity to 83%.

22. Open the tube decor_nmcriacoes_79 (1) and go to Edit>Copy.
Go back to your work and go to Edit>Paste as new layer.
23. Effects>Distortion Effects>Pinch.

Edit>Repeat Pinch.
24. Image>Free Rotate - 90 degrees to left.

Place  the tube in the center. the tube in the center.

25. Open the tube decocentralefeitoprincipal_lc and go to Edit>Copy.
Go back to your work and go to Edit>Paste as new layer.
The tube is perfectly placed in the center.
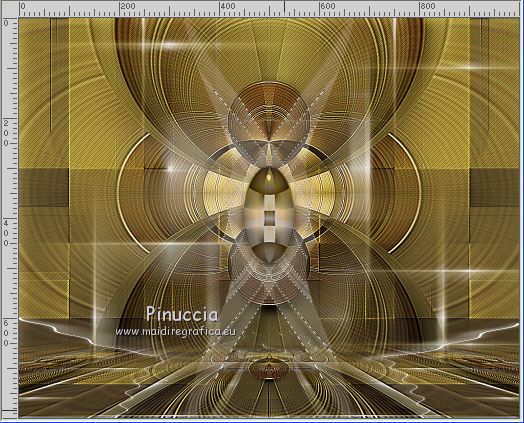
Keep the Blend Mode of the layer to Luminance (héritée).
The layers, Blend Modes and opacities.
(As I wrote at step 7, the Mode of Raster 2 has been changed to Hard Light)

26. Set your foreground color to the initial color #49402a
and change the settings of your Gradient.
 
Image>Add borders, 1 pixel, symmetric, background color.
Image>Add borders, 1 pixel, symmetric, foreground color.
Image>Add borders, 40 pixels, symmetric, color #ffffff.
Activate your Magic Wand Tool 
don't forget to set the feather to 0,
and click on the white border to select it.
Flood Fill  the selection with your Gradient. the selection with your Gradient.
Selections>Invert.
Effects>3D Effects>Drop Shadow, color #000000.

Selections>Select None.
Image>Add borders, 1 pixel, symmetric, background color.
27. Open the tube 89_Femmes_Page7_Animabelle and go to Edit>Copy.
Go back to your work and go to Edit>Paste as new layer.
Image>Mirror.
Image>Resize, to 105%, resize all layers not checked.
Move  the tube to the left side, or to your liking. the tube to the left side, or to your liking.
Effects>3D Effects>Drop Shadow, to your liking.
28. Open the tube Callitubes-140flores (1) and go to Edit>Copy.
Go back to your work and go to Edit>Paste as new layer.
Move  the tube to the right side, or to your liking. the tube to the right side, or to your liking.
Effects>3D Effects>Drop Shadow, to your liking.
29. Open textoAnimabelle_lc and go to Edit>Copy.
Go back to your work and go to Edit>Paste as new layer.
Move  the text at the bottom right, or where you prefer. the text at the bottom right, or where you prefer.
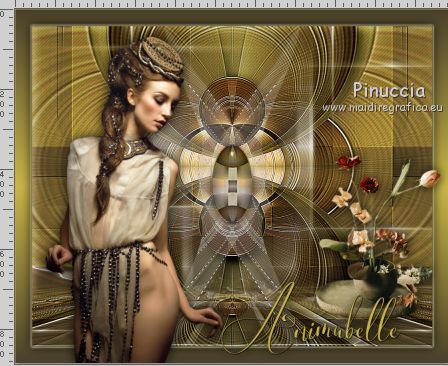
30. Image>Resize, to 1000 pixels width (optional), resize all layers checked.
Sign your work on a new layer.
Add, if you want, the author's and translator's watermarks.
Save as jpg.
For the tubes of this version thanks Luz Cristina
 Your versions here Your versions here

If you have problems or doubts, or you find a not worked link, or only for tell me that you enjoyed this tutorial, write to me.
21 November 2021

|


