|
TOP ALYCIANE
 ENGLISH VERSION ENGLISH VERSION
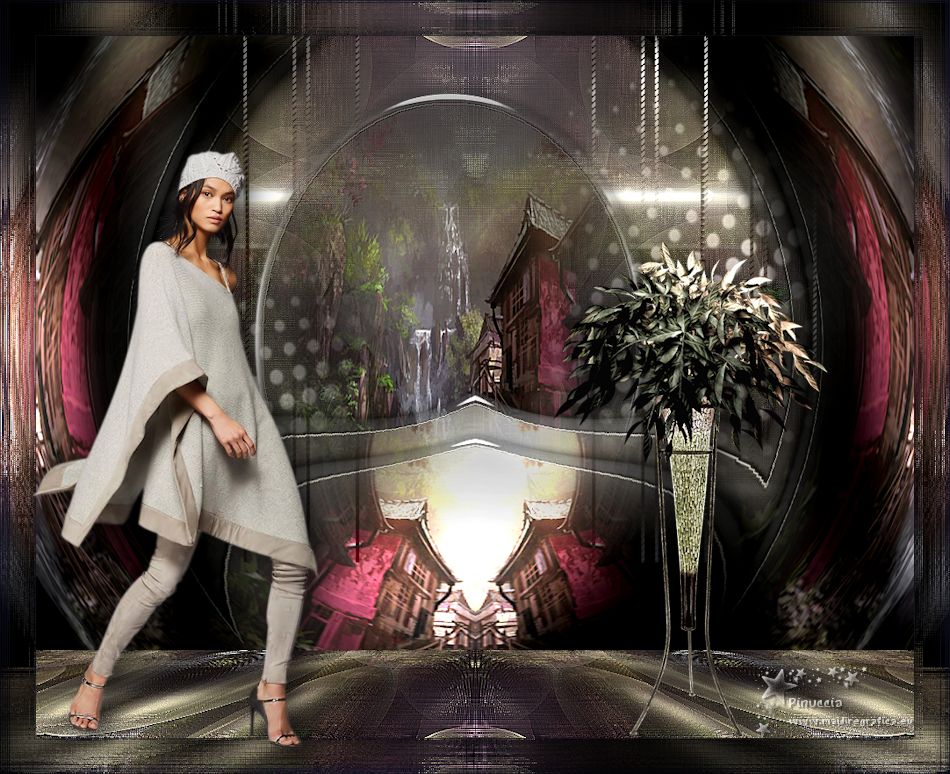
Thanks Lica Cida for your invitation to translate your tutorial

This tutorial was created with PSPX8 and translated with PSPX3, but it can also be made using other versions of PSP.
Since version PSP X4, Image>Mirror was replaced with Image>Flip Horizontal,
and Image>Flip with Image>Flip Vertical, there are some variables.
In versions X5 and X6, the functions have been improved by making available the Objects menu.
In the latest version X7 command Image>Mirror and Image>Flip returned, but with new differences.
See my schedule here
French translation here
your versions ici
For this tutorial, you will need:
Material here
Tubes: 3037-woman-LB TUBES(1) - cas_tube_landschap_37_19102011.
Mask: Narah_Mask_1437 \ Narah_Mask_1439
Deco:Grisi_Tube_Decoration_342 \ decomp.
(you find here the links to the material authors' sites)
Plugins
consult, if necessary, my filter section here
Funhouse - Loom here
Ulead Effects - Particle here
Plugin Galaxy - Instant Mirror here
Mura's Meister - Pole Transform here
Mura's Meister - Perspective Tiling here
Alien Skin Eye Candy 5 Impact - Glass here
Mura's Seamless - Emboss at alpha here
Transparency - Eliminate White here
Graphics Plus - Cross Shadow here
Filters Unlimited 2.0 here
Filters Funhouse, Mura's Seamless, Transparency and Graphics Plus can be used alone or imported into Filters Unlimited.
(How do, you see here)
If a plugin supplied appears with this icon  it must necessarily be imported into Unlimited it must necessarily be imported into Unlimited

You can change Blend Modes according to your colors.
In the newest versions of PSP, you don't find the foreground/background gradient (Corel_06_029).
You can use the gradients of the older versions.
The Gradient of CorelX here
Copy the preset  in the folder of the plugins Alien Skin Eye Candy 5. in the folder of the plugins Alien Skin Eye Candy 5.
One or two clic on the file (it depends by your settings), automatically the preset will be copied in the right folder.
why one or two clic see here
The gradient Deux tons ivoire (Duotone Ivory) or Corel_06_007 is standard in PSP.
If you don't find it in your PSP, copy the gradient in the Gradients Folder.
Copy the Selection in the Selections Folder.
Open the masks in PSP and minimize them with the rest of the material.
1. Set your foreground color to #bd97b4,
and your background color to #2a2a3a.
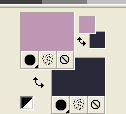
Set your foreground color to a Foreground/Background Gradient, style Linear.
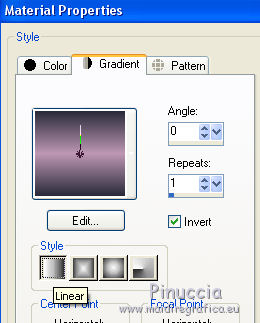
Open a new transparent image 1000 x 700 pixels.
Flood Fill  the transparent image with your Gradient. the transparent image with your Gradient.
2. Selections>Select All.
Open the tube cas_tube_landschap_37_19102011.
Activate the bottom layer, Raster 1, and go to Edit>Copy.
Go back to your work and go to Edit>Paste into Selection.
Selections>Select None.
Effects>Image Effects>Seamless Tiling.

3. Effects>Plugins>Filters Unlimited 2.0 - Funhouse - Loom, default settings.
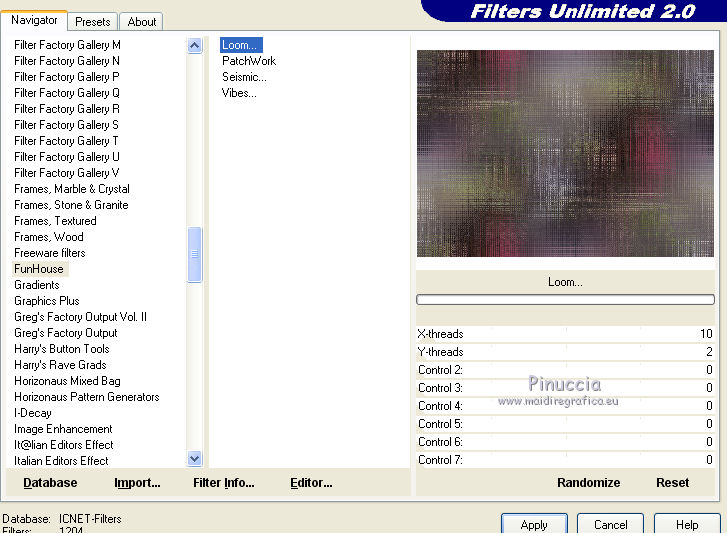
4. Effects>Plugins>Ulead Effects - Particle
Effects Bubble, with these settings
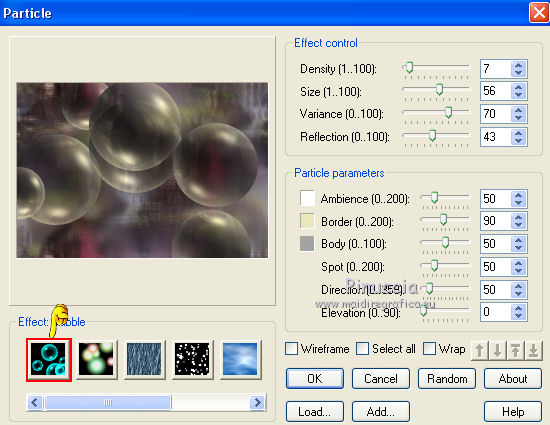
5. Effects>Image Effects>Seamless Tiling, same settings.

Repeat Effects>Image Effects>Seamless Tiling, Vertical checked.

6. Effets>Plugins>Plugin Galaxy - Instant Mirror.
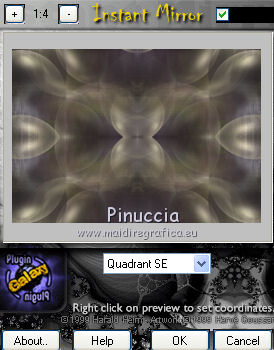
Effects>Edge Effects>Enhance.
7. Layers>New Raster Layer.
Set your foreground color to the Gradient deux ton ivoire, or Corel_06_007, style Linear.
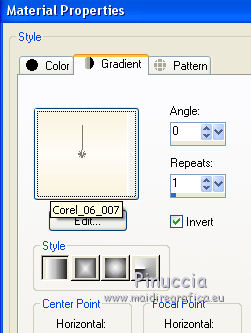
Flood Fill  the layer with your gradient. the layer with your gradient.
8. Layers>New Mask layer>From image
Open the menu under the source window and you'll see all the files open.
Select the mask Narah_Mask_1437.
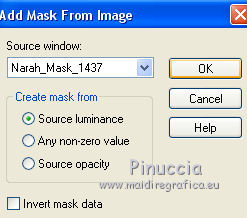
Layers>Merge>Merge Group.
9. Effects>Plugins>Mura's Seamless - Emboss at Alpha, default settings.

10. Selections>Load/Save Selection>Load Selection from Disk.
Look for and load the selection ovallc.PspSelection.
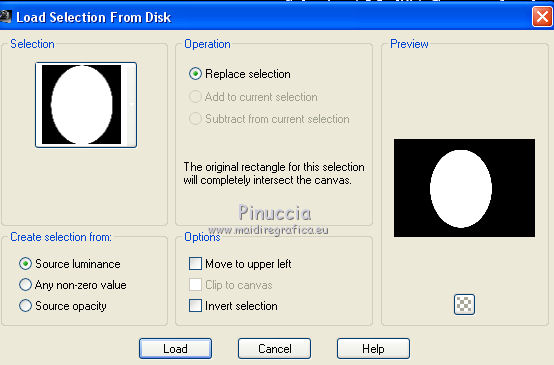
If all is ok
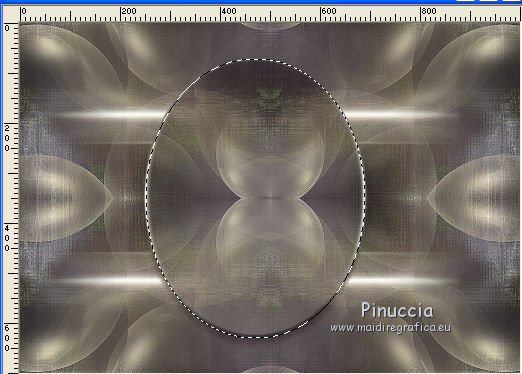
Selections>Modify>Contract - 6 pixels.
11. Layers>New Raster Layer.
Flood Fill  the layer with the Gradient Ivory. the layer with the Gradient Ivory.
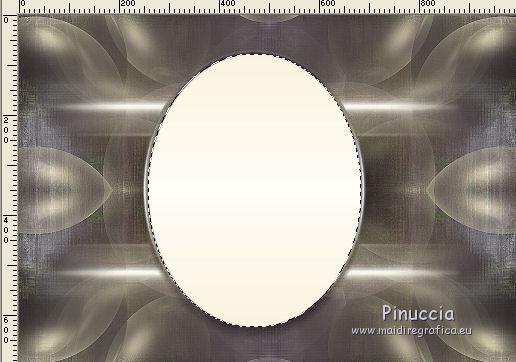
Effects>Plugins>Transparency - Eliminate White.
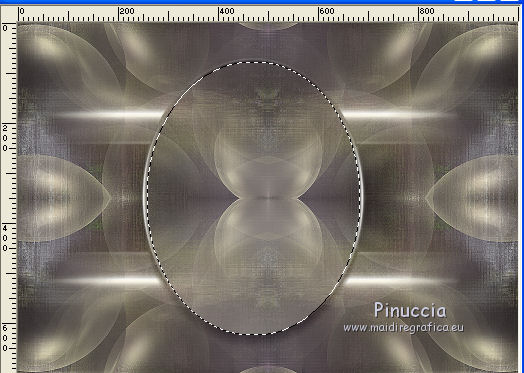
12. Activate again the tube cas_tube_landschap_37_19102011.
Activate the layer Group-Copy of Raster 1 (copy of the tube resized to 80%)
Edit>Copy.
Go back to your work and go to Edit>Paste into Selection.
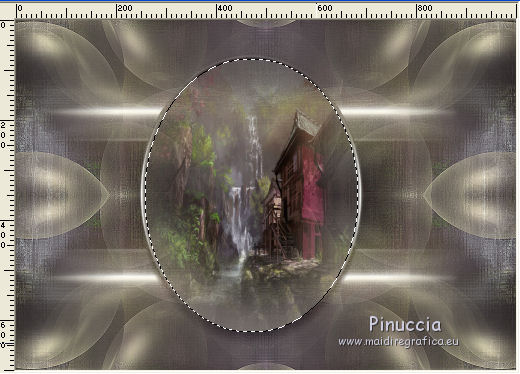
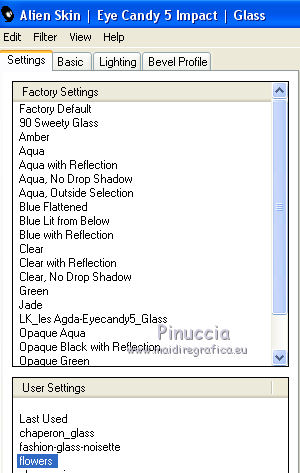
Effects>Plugins>Alien Skin Eye Candy 5 Impact - Glass
Select the preset flowers and ok.
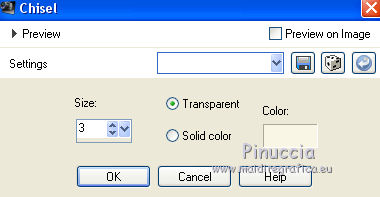
13. Effects>3D Effects>Chisel, color #faf6e6 (chosen by the gradient Ivory).
Adjust>Sharpness>Sharpen More.
Selections>Select None.
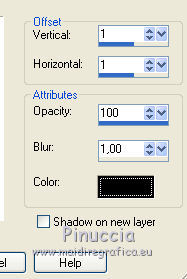
14. Effects>3D Effects>Drop Shadow, color #000000.
15. Layers>Duplicate.
Image>Resize, to 80%, resize all layers not checked.
Repeat Effects>3D Effects>Drop Shadow, same settings.

16. Effects>Reflection Effects>Rotating Mirror, Diagonal lower right.
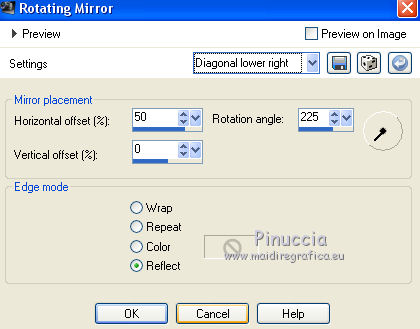
17. Effects>Plugins>Mura's Meister - Pole Transform.
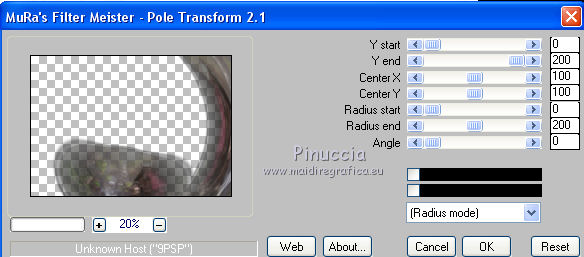
Effects>Reflection Effects>Rotating Mirror, default settings.

18. Effects>Plugins>Graphics Plus - Cross Shadow, default settings
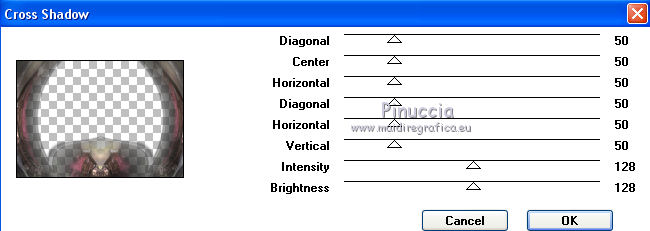
(if necessary, repeat the effects)
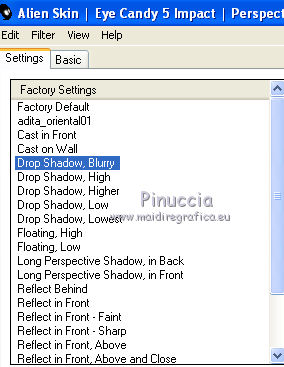
19. Effects>Plugins>Alien Skin Eye Candy 5 Impact - Perspective Shadow.
Select the preset Drop Shadow, Blurry.
****
For my example, I added this step: to you to decide
At the bottom of the tutorial the version without this step.
20. Vous positionner sur le calque de dessous.
Layers>Duplicate.
Repeat Effects>3D Effects>Drop shadow, same settings.

Repeat the steps from 15 to 19.
.Effects>Reflection Effects>Rotating Mirror - Diagonal lower right.
.Effects>Plugins>Mura's Meister - Pole Transform.
.Effects>Reflection Effects>Rotating Mirror, default settings.
.Effects>Plugins>Graphics Plus - Cross Shadow, default settings
(if necessary, repeat the efffect)
.Effects>Plugins>Alien Skin Eye Candy 5 Impact - Perspective Shadow - Drop Shadow Blurry
Activate the top layer.
Layers>Merge>Merge Down.
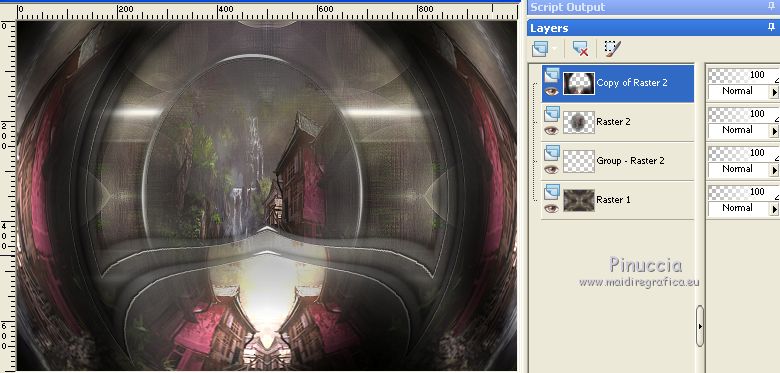
******
20. Layers>New Raster Layer.
Flood Fill  the layer with the Gradient Ivory. the layer with the Gradient Ivory.
Layers>New Mask layer>From image
Open the menu under the source window
and select the mask Narah_Mask_1439.
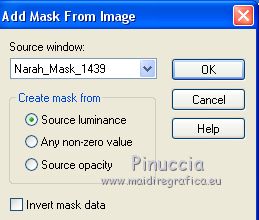
Layers>Merge>Merge Group.
21. Effects>Plugins>Mura's Seamless - Emboss at Alpha, default settings.

Layers>Arrange>Move Down - 2 times.
Change the Blend Mode of this layer to Luminance (legacy).
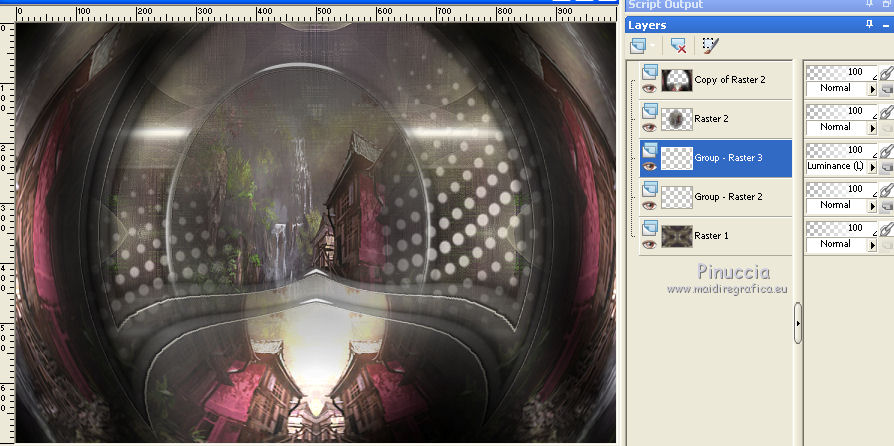
22. Image>Canvas Size - 1000 x 800 pixels.
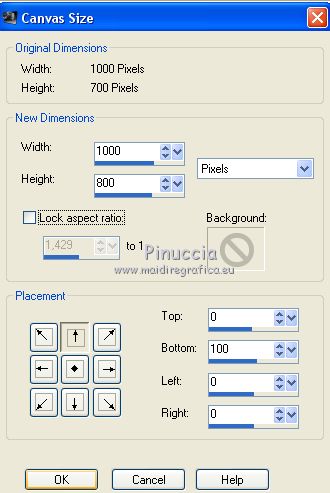
22. Activate the bottom layer, Raster 1.
Layers>Duplicate.
Effects>Plugins>Mura's Meister - Perspective Tiling.
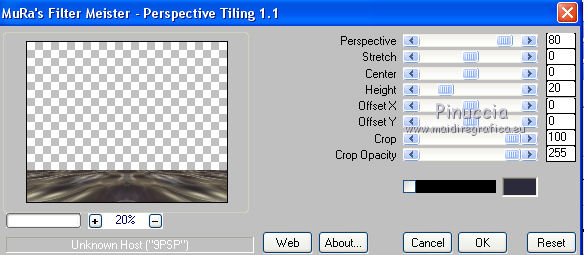
Adjust>Sharpness>Sharpen More.
23. Open the tube decomp and go to Edit>Copy.
Go back to your work and go to Edit>Paste as new layer.
Layers>Arrange>Bring to Top.
Objects>Align>Top
if your PSP versions doesn't make the Objects menu available,
use the Move Tool 
or, activate your Pick Tool 
and set Position Y to 0,00.
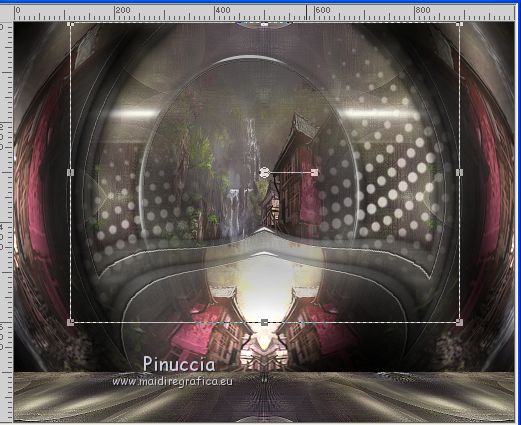
Version without the step 20
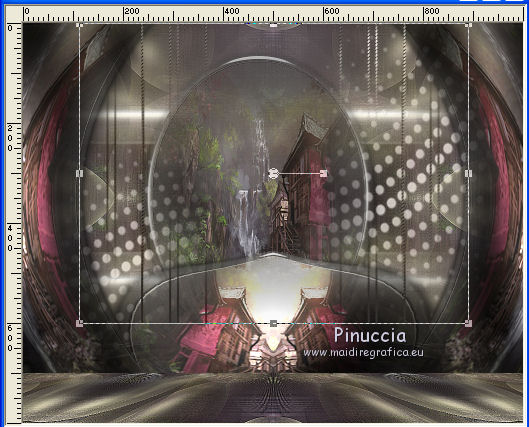
Change the Blend Mode of this layer to Luminance (legacy)
(change Blend Mode and opacities at your choice).
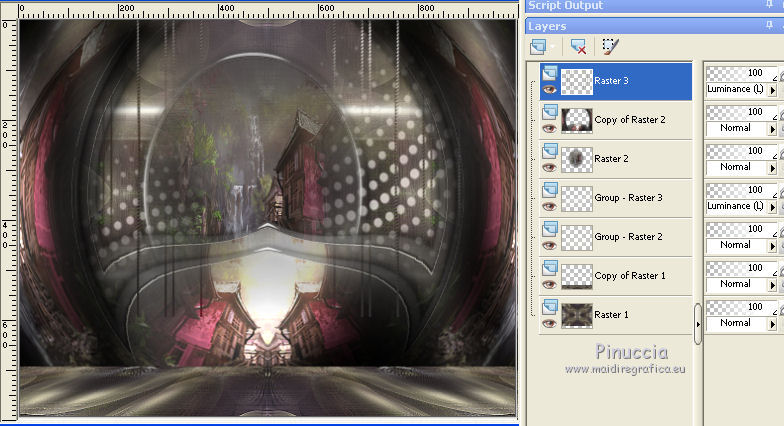
Layers without the step 20
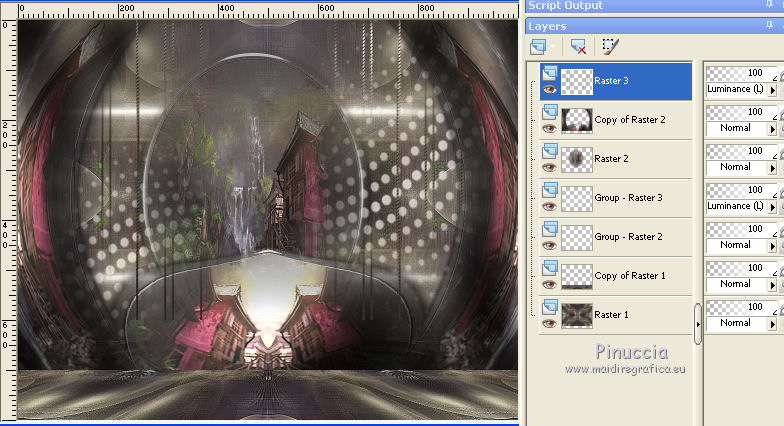
24. Image>Add borders, 1 pixel, symmetric, dark color #2a2a3a.
Effects>Photos Effects>Film et Filters (apply according to your work)
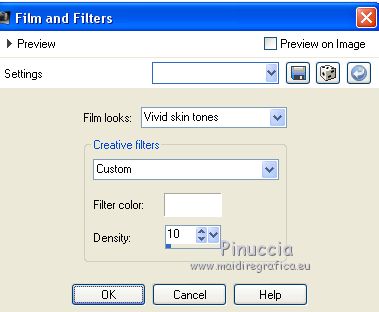
25. Edit>Copy.
26. Image>Add borders, 40 pixels, symmetric, light color #bd97b4.
Activate your Magic Wand Tool 
and click on the border to select it.
Edit>Paste into Selection.
27. Effects>Plugins>Filters Unlimited 2.0 - Funhouse - Loom, default settings.
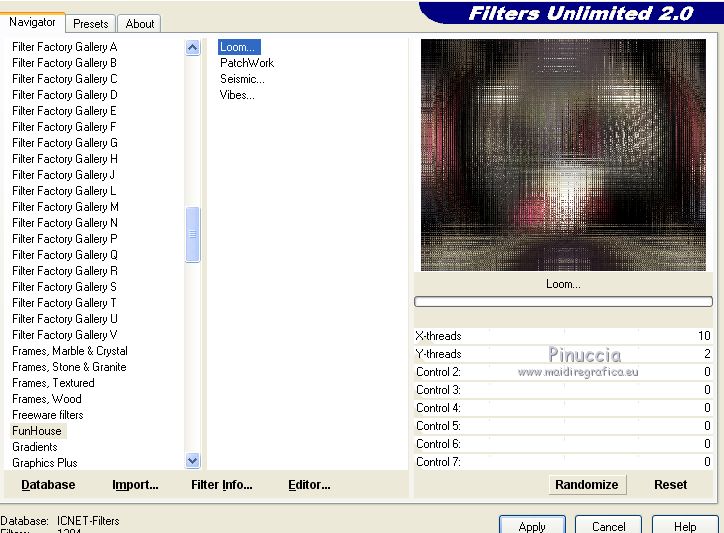
Effects>Plugins>Graphics Plus - Cross Shadow, default settings.

Selections>Invert.
28. Effects>3D Effects>Drop Shadow, color #000000.

Selections>Select None.
29. Open the tube 3037-woman-LB TUBES (1) and go to Edit>Copy.
Go back to your work and go to Edit>Paste as new layer.
Image>Mirror.
Move  the tube to the left side. the tube to the left side.
Effects>3D Effects>Drop Shadow, at your choice.
30. Open the tube Grisi_Tube_Decoration_342.
Activate the layer Copy of tube and go to Edit>Copy.
Go back to your work and go to Edit>Paste as new layer.
Image>Resize, to 80%, resize all layers not checked.
Move  the tube to the right side. the tube to the right side.
Effects>3D Effects>Drop Shadow, at your choice.
31. Sign your work on a new layer.
little note about the watermark:
I don't ask to put watermark on the versions made by my translations.
But if you decide to use the watermark supplied by the author, I would appreciate that my work as translator was also respected.
For that, I added my watermark to the material (english and french).
32. Image>Add borders - 1 pixels, symmetric, dark color #2a2a3a.
Image>Resize, 1000 pixels width, resize all layers checked.
Save as jpg.
Versions without step 20
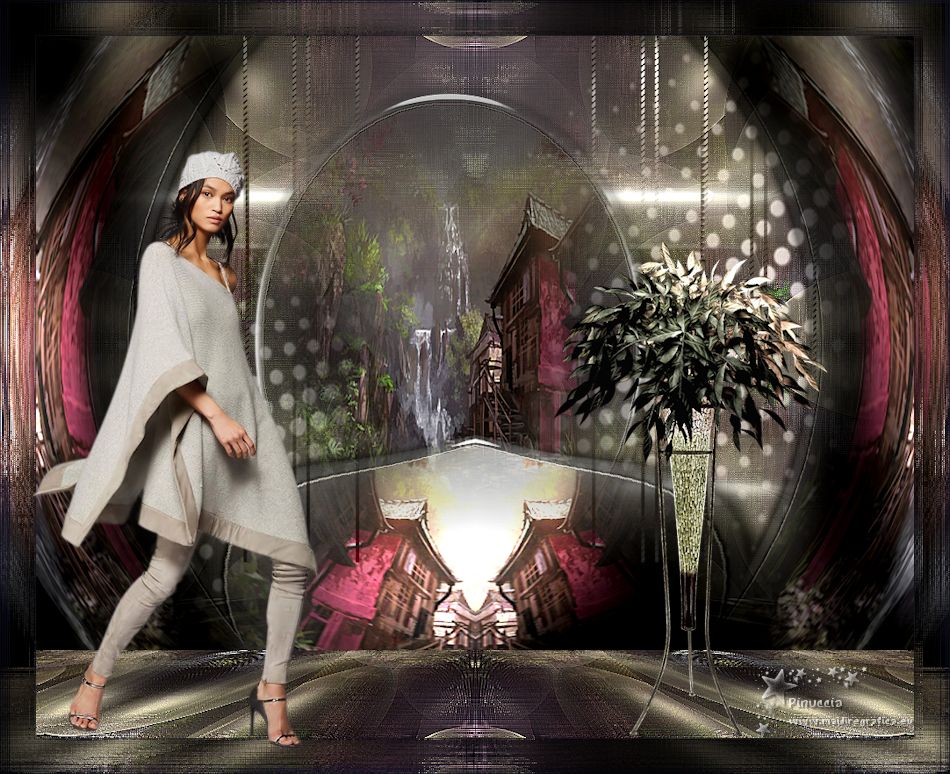
Version without Film and Filters Effects
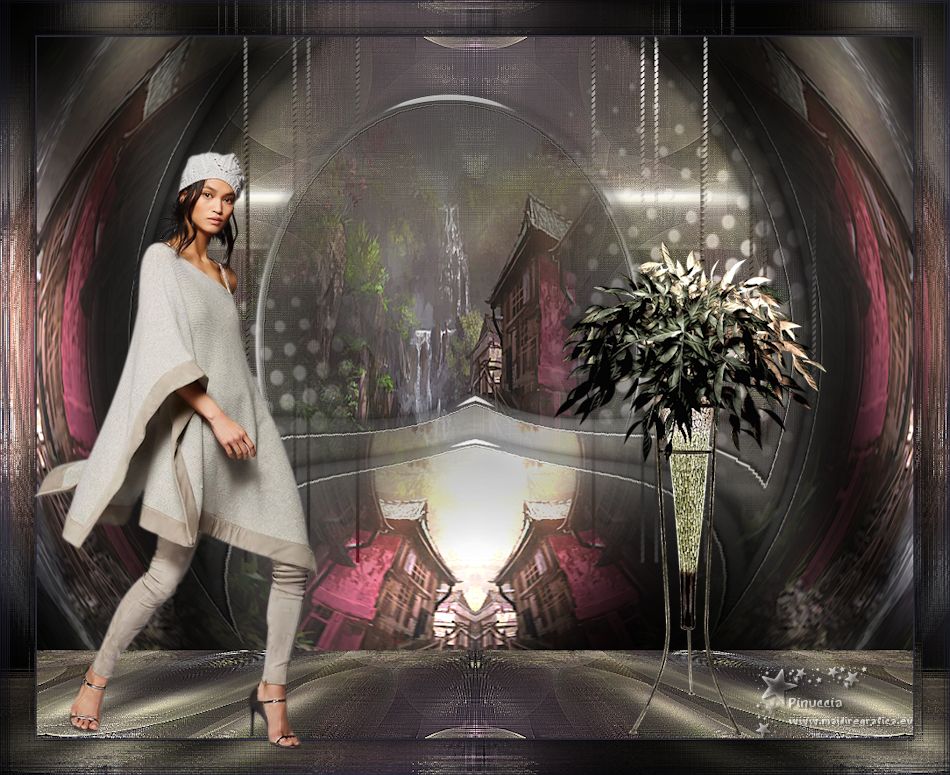
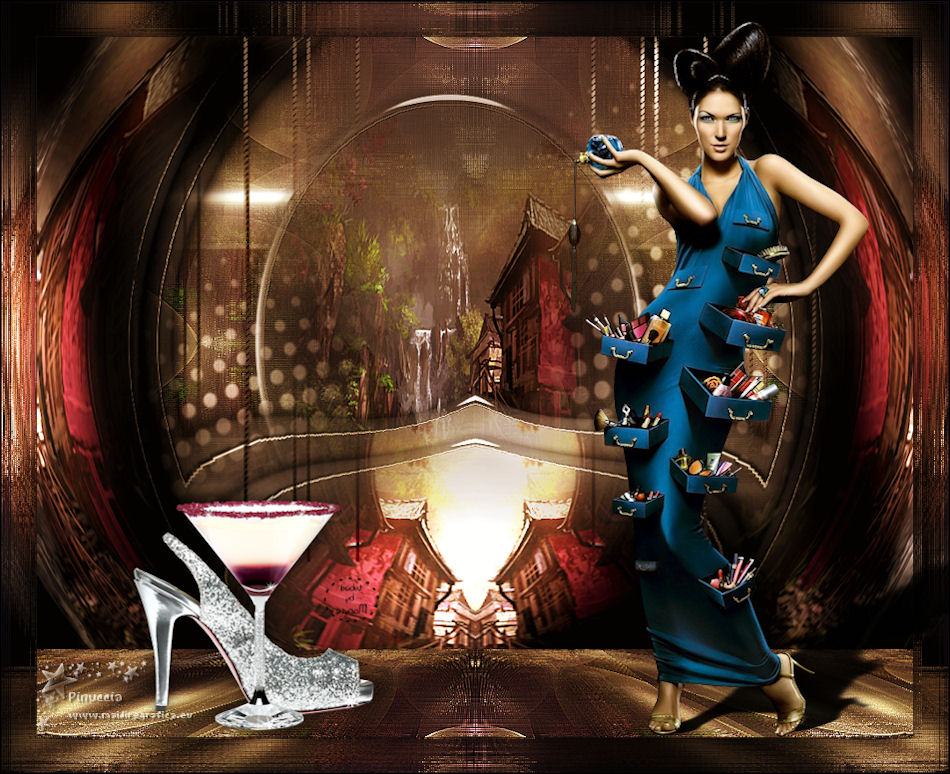
Version with tubes by Maryse
Your versions here

If you have problems or doubts, or you find a not worked link, or only for tell me that you enjoyed this tutorial, write to me.
8 November 2019
|
 ENGLISH VERSION