|
TAG RACHEL

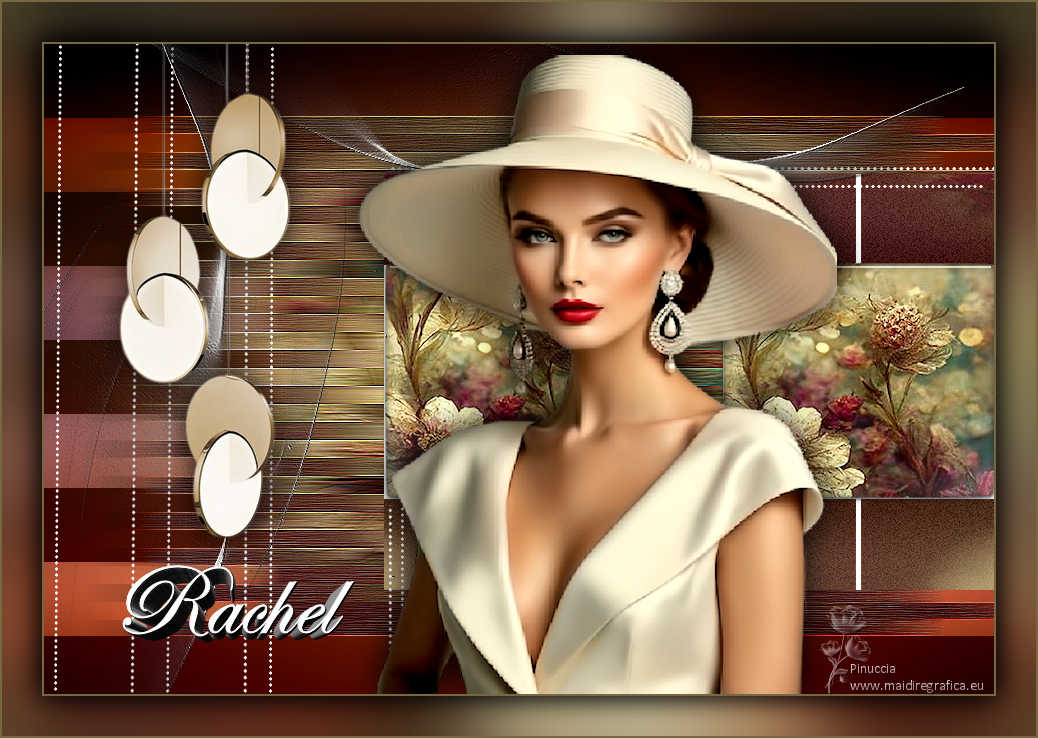
Thanks Lica Cida for your invitation to translate your tutorial

This tutorial was created with PSPX9 and translated with PSPX9 and PSP2020, but it can also be made using other versions of PSP.
Since version PSP X4, Image>Mirror was replaced with Image>Flip Horizontal,
and Image>Flip with Image>Flip Vertical, there are some variables.
In versions X5 and X6, the functions have been improved by making available the Objects menu.
In the latest version X7 command Image>Mirror and Image>Flip returned, but with new differences.
See my schedule here
 French translation here French translation here
 your versions here your versions here

For this tutorial, you will need:

Thanks for the tubes Callitubes.
(you find here the links to the material authors' sites)

consult, if necessary, my filter section here
Filters Unlimited 2.0 here
VM Extravaganza - Transmission here
VM Toolbox - Slipthrough here
Alien Skin Eye Candy 5 Impact - Glass here
Nik Software - Color Efex Pro here
Filters VM Extravaganza and VM Toolbox can be used alone or imported into Filters Unlimited.
(How do, you see here)
If a plugin supplied appears with this icon  it must necessarily be imported into Unlimited it must necessarily be imported into Unlimited

You can change Blend Modes according to your colors.
In the newest versions of PSP, you don't find the foreground/background gradient (Corel_06_029).
You can use the gradients of the older versions.
The Gradient of CorelX here

1. Choose two colors to work.
Set your foreground color to #766942,
and your background color to #52181c.
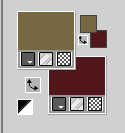
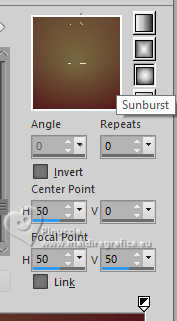
2. Set your foreground color to a Foreground/Background Gradient, style Sunburst.
3. Open a new transparent image 950 x 650 pixels.
Flood Fill  the transparent image with your Gradient. the transparent image with your Gradient.
4. Effects>Plugins>VM Extravaganza - Transmission.
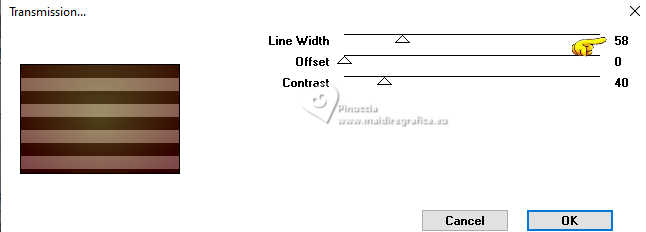
Layers>Duplicate.
Image>Resize, to 80%, resize all layers not checked.
5. Activate your Magic Wand Tool  , default settings, , default settings,
and click on the outside to select it.
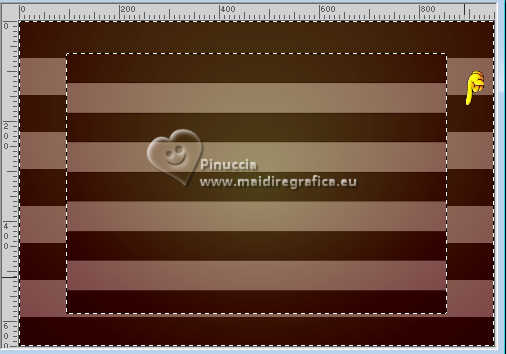
Selections>Invert.
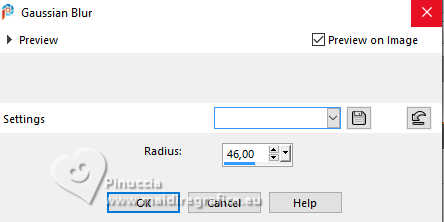
6. Adjust>Blur>Gaussian Blur - radius 46.
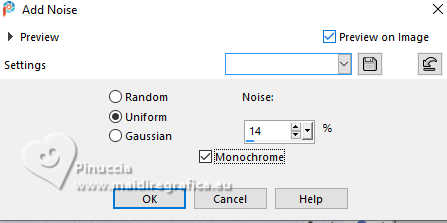
7. Adjust>Add/Remove Noise>Add Noise.
8. Open Callitubes-824flores 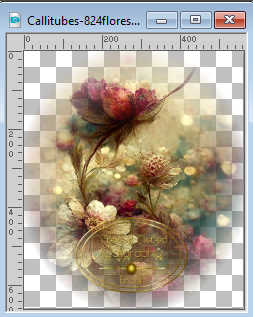
Edit>Copy.
Minimize the tube.
Go back to your work and go to Edit>Paste into Selection.
Selections>Select None.
Adjust>Sharpness>Sharpen.
9. Effects>Image Effects>Offset.
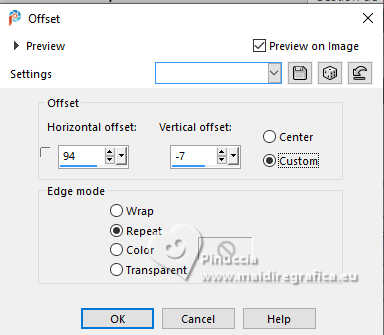
Layers>Duplicate.
10. Activate the layer below of the original, Copy of Raster 1.
Effects>Distortion Effects>Wind - from right, strength 100.
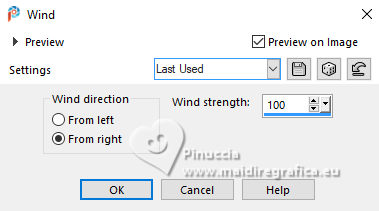
11. Effects>Plugins>VM Extravaganza - Transmission.
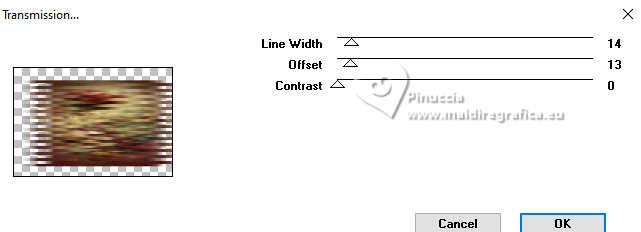
Effects>Edge Effects>Enhance More.
12. Activate your top layer, Copy (2) of Raster 1.
Image>Resize, to 80%, resize all layers not checked.
13. Effects>Image Effects>Offset, same settings.

14. Open linhasbylc 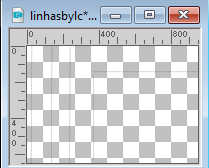
Edit>Copy.
Go back to your work and go to Edit>Paste as new layer.
15. Layers>Duplicate.
Image>Resize, to 110%, resize all layers not checked.
Layers>Merge>Merge Down.
16. Activate the layer Copy(2) of Raster 1.
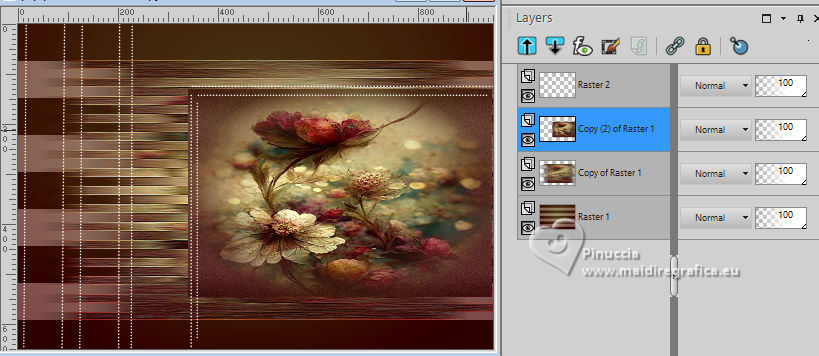
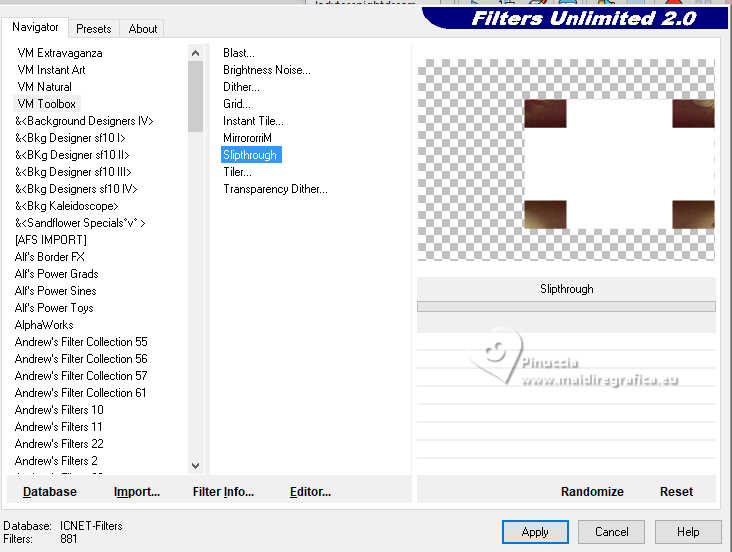
Effects>Plugins>Filters Unlimited 2.0 - VM Toolbox - Slipthrough.
in this case, to obtain the correct result, it is necessary to use the effect in Unlimited.
17. Effects>Reflection Effects>Rotating Mirror.

Layers>Duplicate.
Objects>Align>Right.
Layers>Merge>Merge Down.
18. Activate your Selection Tool  , rectangle, , rectangle,
and select the left white square.
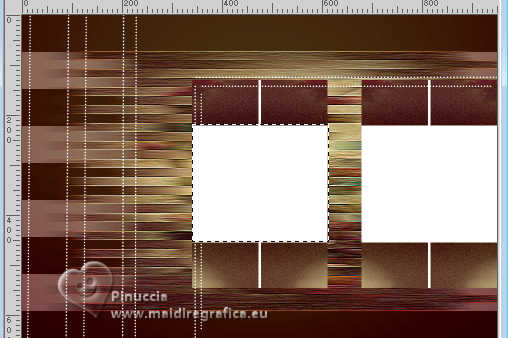
Selections>Promote Selection to Layer.
19. Activate again the tube Callitubes-824flores and go to Edit>Copy.
Go back to your work and go to Edit>Paste as new layer.
Image>Resize, to 80%, resize all layers not checked.
Place  correctly the tube on the selection. correctly the tube on the selection.
Selections>Invert.
Press CANC on the keyboard 
Selections>Invert.
Adjust>Sharpness>Sharpen.
Selections>Select None.
20. Effects>Plugins>Alien Skin Eye Candy 5 Impact - Glass - preset Clear (or to your liking).

Layers>Merge>Merge Down.
Layers>Duplicate.
Place  the image on the second square. the image on the second square.
Or Effects>Image Effects>Offset.
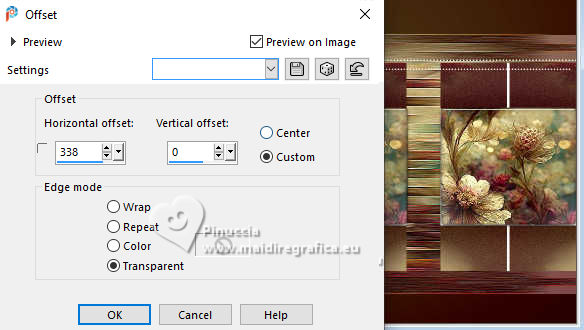
Layers>Merge>Merge Down - 2 times.
21. Activate your top layer, Raster 2.
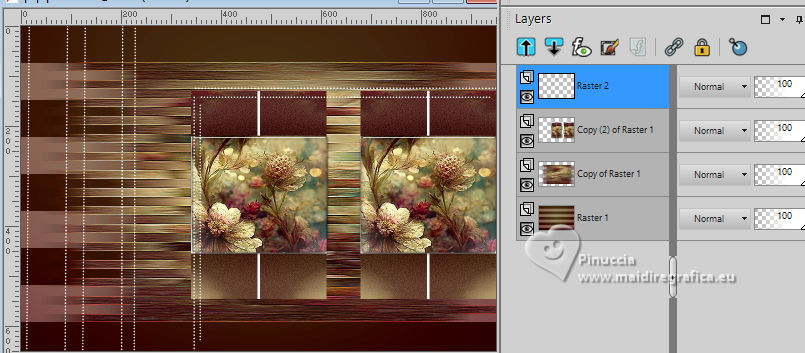
Selection Tool 
(no matter the type of selection, because with the custom selection your always get a rectangle)
clic on the Custom Selection 
and set the following settings.
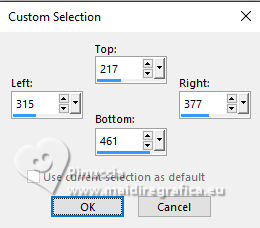
Press CANC on the keyboard.
Selections>Select None.
22. Activate your bottom layer, Raster 1.
Effects>Plugins>Nik Software - Color efe Pro - Graduated Filters
Color Set: Orange1, default settings.
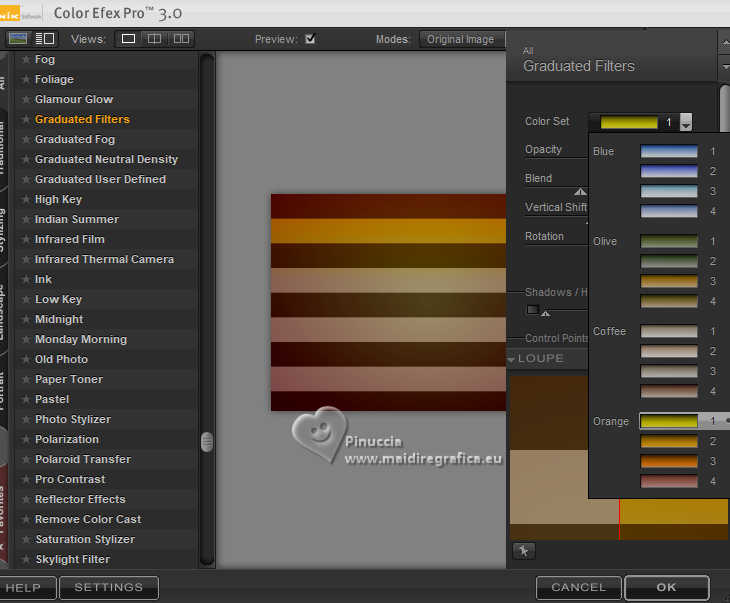
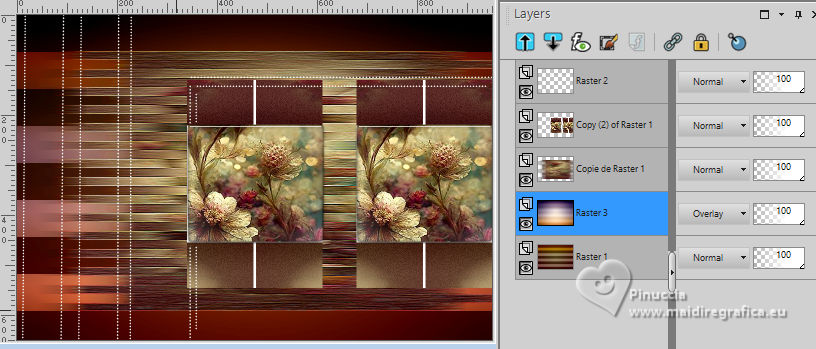
23. Open backfinal-bylc 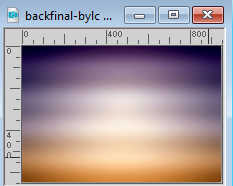
Edit>Copy.
Go back to your work and go to Edit>Paste as new layer.
Change the blend Mode of this layer to Overlay.
24. Activate your top layer.
Open MASK-MD-089 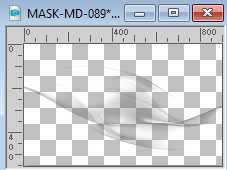
Edit>Copy.
Go back to your work and go to Edit>Paste as new layer.
K key to activate your Pick Tool 
Position X: 21,00 - Position Y: -181,00.

Layers>Duplicate.
Image>Free Rotate - 90 degrees to left.
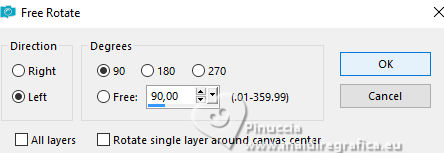
Position X: -124,00 - Position Y: -46,00.

25. Open Callitubes-162decor 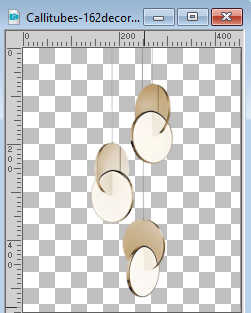
Edit>Copy.
Go back to your work and go to Edit>Paste as new layer.
Move  the tube at the upper left. the tube at the upper left.
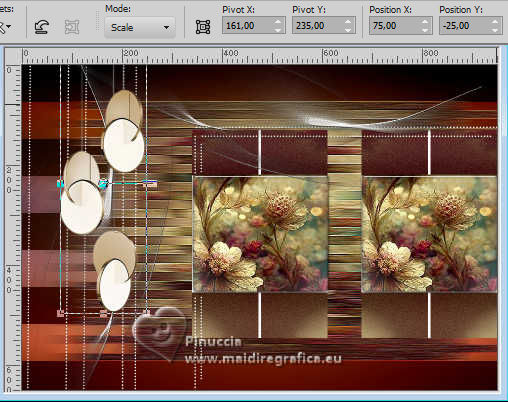
Effects>3D Effects>Drop Shadow, at your choice.
26. Open Callitubes-4411mulheres 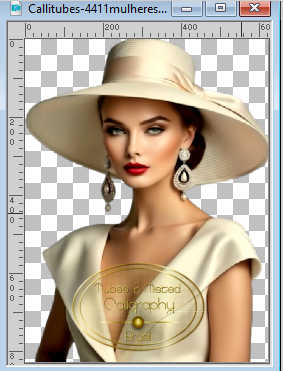
Edit>Copy.
Go back to your work and go to Edit>Paste as new layer.
Image>Resize, at your choice, resize all layers not checked.
Place  correctly the tube, see my example. correctly the tube, see my example.
Effects>3D Effects>Drop Shadow, at your choice.
27. Open titulobylc 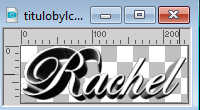
Edit>Copy.
Go back to your work and go to Edit>Paste as new layer.
Move  the text at the bottom left. the text at the bottom left.
28. Image>Add borders, 2 pixels, symmetric, light color.
Selections>Select All.
Edit>Copy
Image>Add borders, 40 pixels, symmetric, color #ffffff.
Selections>Invert.
Edit>Paste into Selection
Adjust>Blur>Gaussian Blur - radius 46.

Selections>Invert.
Effects>3D Effects>Drop Shadow, color #000000.

Edit>Repeat Drop shadow.
Selections>Select None.
Image>Add borders, 2 pixels, symmetric, light color.
29. Add the author and the watermark's watermark.
Sign your work and save as jpg.
For the tube of this version thanks Laurette
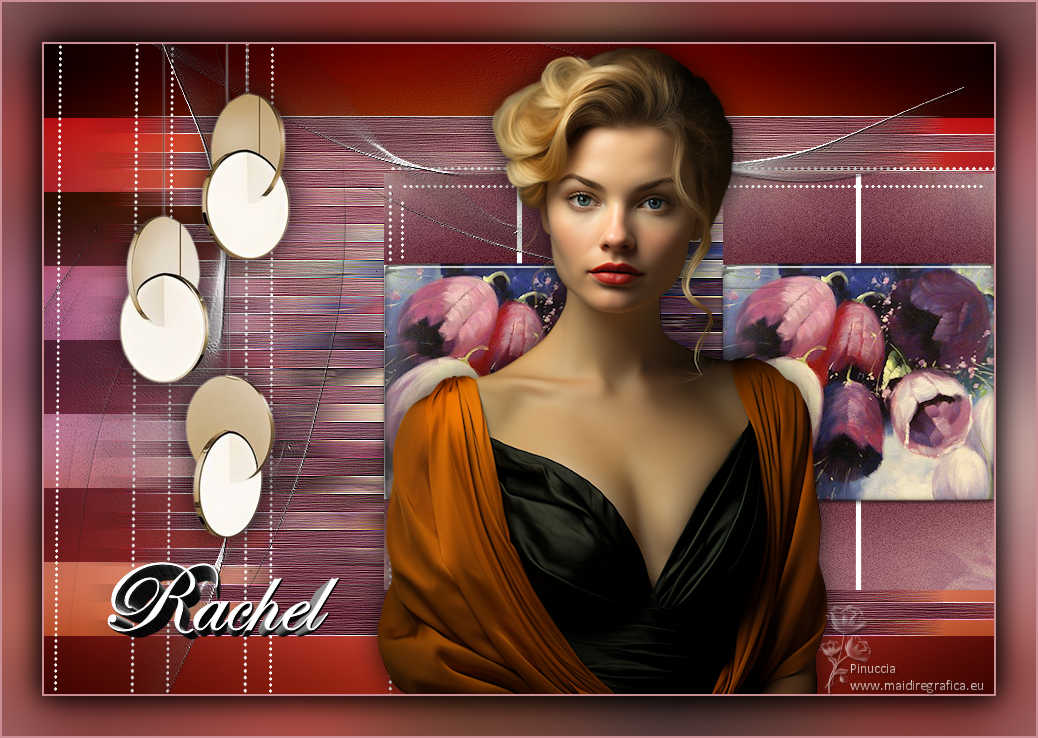
 Your versions here Your versions here

If you have problems or doubts, or you find a not worked link, or only for tell me that you enjoyed this tutorial, write to me.
16 Juillet 2024

|


