|
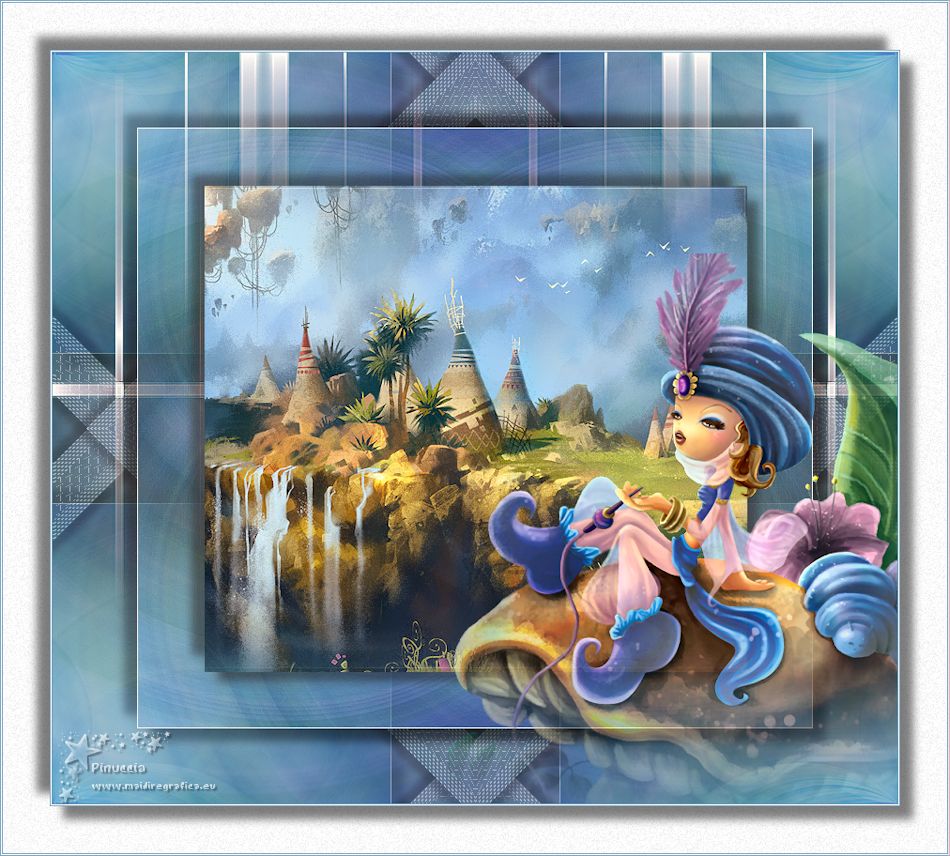
TAG FANTAISIE

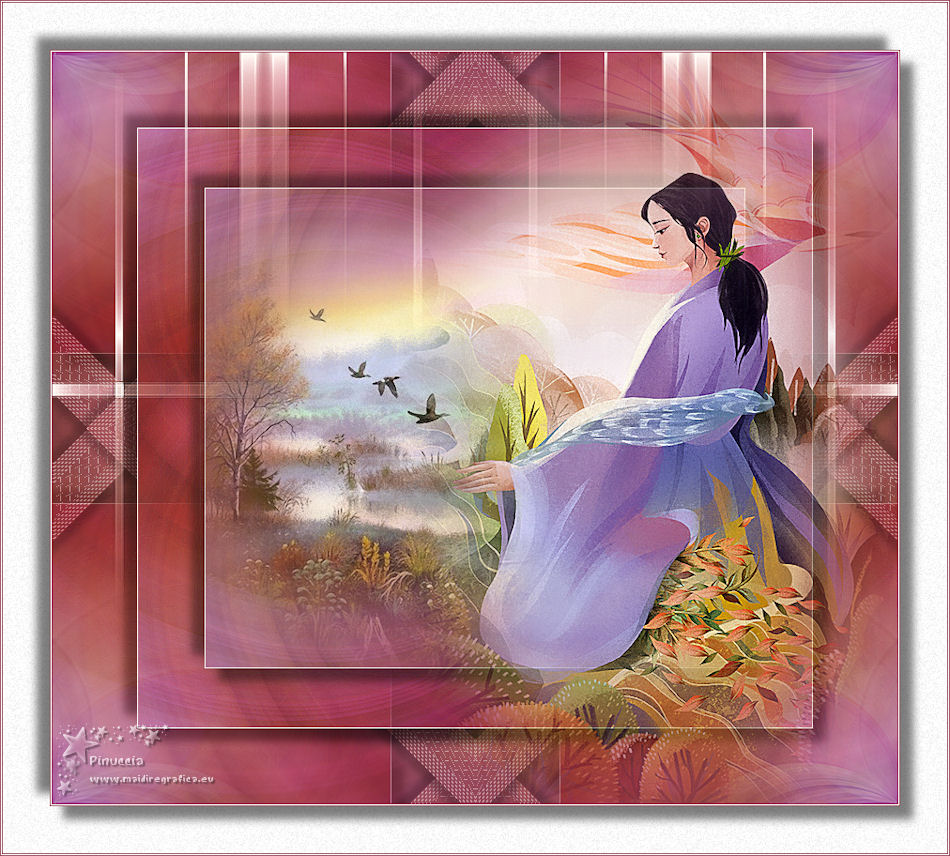
Thanks Lica Cida for your invitation to translate your tutorial

This tutorial was created with PSPX9 and translated with PSPX2 and PSPX3, but it can also be made using other versions of PSP.
Since version PSP X4, Image>Mirror was replaced with Image>Flip Horizontal,
and Image>Flip with Image>Flip Vertical, there are some variables.
In versions X5 and X6, the functions have been improved by making available the Objects menu.
In the latest version X7 command Image>Mirror and Image>Flip returned, but with new differences.
See my schedule here
 French translation here French translation here
 your versions ici your versions ici
For this tutorial, you will need:
Material here
Thanks for the tubes Tine (misted_fantaisie4_tine_07.2020-105 - misted_paysage18_tine_04.2020-80)
The rest of the material is by Lica Cida.
(you find here the links to the material authors' sites)
Plugins
consult, if necessary, my filter section here
Filters Unlimited 2.0 here
Xero - Fuzzifier here
AFS IMPORT - sqborder2 here
AP [Lines] - Lines SilverLining here
Graphics Plus - Vertical Mirror here
Nik Software - Color Efex Pro here
Filters AFS IMPORT and Graphics Plus can be used alone or imported into Filters Unlimited.
(How do, you see here)
If a plugin supplied appears with this icon  it must necessarily be imported into Unlimited it must necessarily be imported into Unlimited

You can change Blend Modes according to your colors.
In the newest versions of PSP, you don't find the foreground/background gradient (Corel_06_029).
You can use the gradients of the older versions.
The Gradient of CorelX here
1. Open a new transparent image 900 x 800 pixels.
Set your foreground color to #1c0c11,
and your background color to #9b3c54.
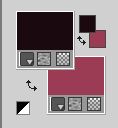
Set your foreground color to a Foreground/Background Gradient, style Linear.
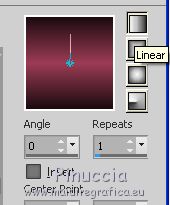
Flood Fill  the transparent image with your Gradient. the transparent image with your Gradient.
2. Selections>Select All.
Open the tube misted_fantaisie4_tine_07.2020-105 and go to Edit>Copy.
Go back to your work and go to Edit>Paste into Selection.
Selections>Select None.
3. Effects>Image Effects>Seamless Tiling, default settings.

Adjust>Blur>Radial Blur.
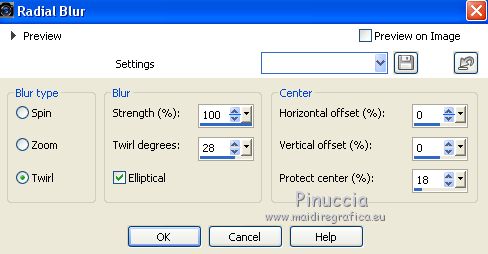
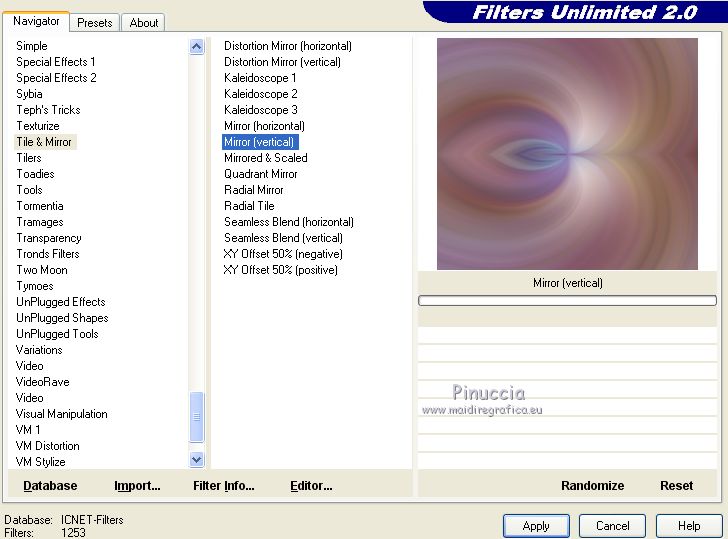
4. Effects>Plugins>Filters Unlimited 2.0 - Tile & Mirror - Mirror (vertical)
Layers>Duplicate.
Image>Mirror.
Change the Blend Mode of thi layer to Overlay.
Layers>Merge>Merge Down.
5. Layers>Duplicate.
Image>Resize, 80%, resize all layers not checked.
Effests>Edge Effects>Enhance More.
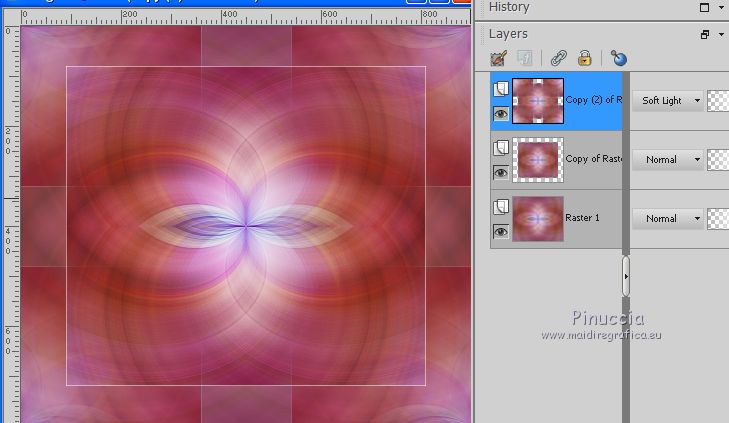
6. Layers>Duplicate.
Effects>Image Effects>Seamless Tiling, default settings.

Change the Blend Mode of this layer to Soft Light.
7. Activate the layer below, Copy of Raster 1.
Layers>Duplicate.
Layers>Arrange>Move Up.
Image>Resize, to 80%, resize all layers not checked.
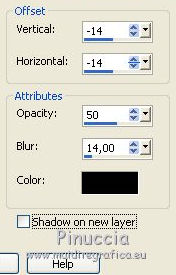
8. On the 3 top layers

Effects>3D Effects>Drop Shadow.
9. Activate the top layer.
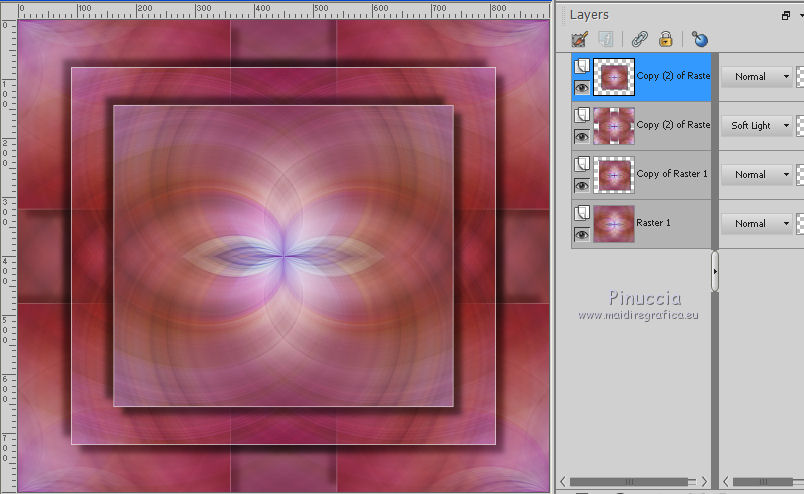
Open deco_mp and go to Edit>Copy.
Go back to your work and go to Edit>Paste as new layer.
Keep the layer in mode Screen.
10. Open the tube misted_paysage18_tine_04.2020-80 and go to Edit>Copy.
Go back to your work and go to Edit>Paste as new layer.
Image>Resize, 80%, resize all layers not checked.
Adjust>Sharpness>Sharpen.
11. Effects>Plugins>Xero - Fuzzifier, default settings.
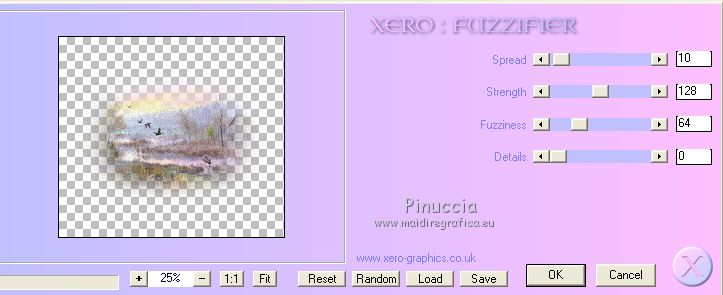
12. Selection Tool 
(no matter the type of selection, because with the custom selection your always get a rectangle)
clic on the Custom Selection 
and set the following settings.
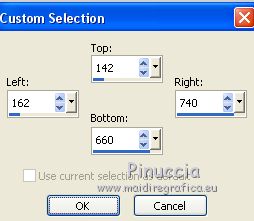
Sélections>Inverser.
Presser CANC sur le clavier 
Sélections>Désélectionner tout.
13. Activer à nouveau le tube misted_fantaisie4_tine_07.2020-105 and go to Edit>Copy.
Go back to your work and go to Edit>Paste as new layer.
Image>Mirror.
Image>Resize, 80%, resize all layers not checked.
Adjust>Sharpness>Sharpen More.
Placer  the tube at your choice, or see my example. the tube at your choice, or see my example.
14. Effects>Plugns>Xero - Fuzzifier, default settings.
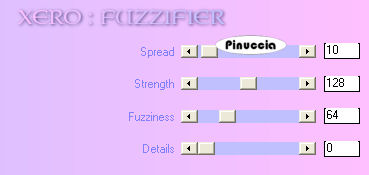
15. Activate the bottom layer, Raster 1.
Custom Selection 

Sélections>Transformer la sélection en calque.
Calques>Agencer>Placer en haut de la pile.
16. Effets>Modules Externes>AFS IMPORT - sqborder2.
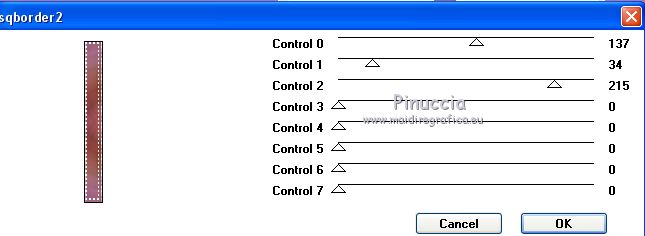
Sélections>Désélectionner tout.
17. Custom Selection 
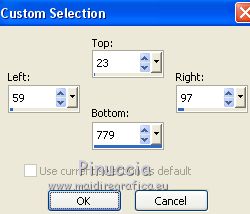
Selections>Promote Selection to layer.
18. Effects>Plugins>AP [Lines] - Lines SilverLining.
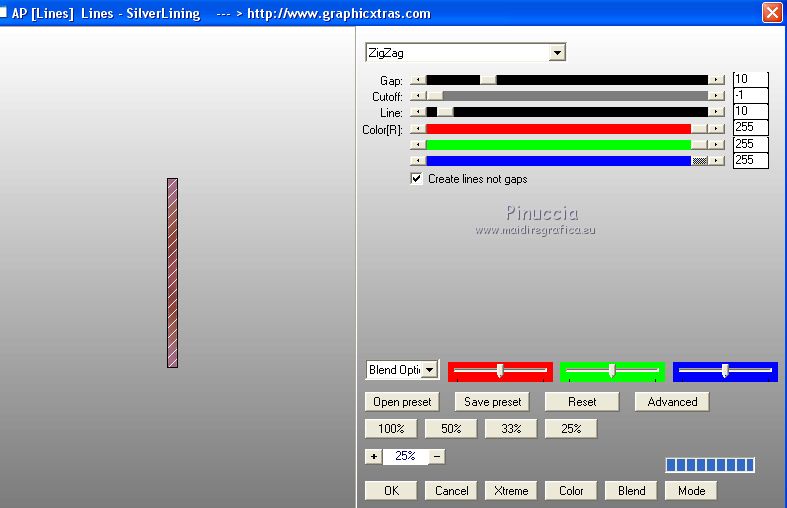
Selections>Select None.
Layers>Merge>Merge Down.
Layers>Duplicate.
Image>Mirror.
Layers>Merge>Merge Down.
Calques>Dupliquer.
Image>Miroir.
Calques>Fusionner>Fusionner le calque de dessous.
Effects>3D Effects>Drop Shadow, same settings.
 
19. Effects>Geometric Effects>Skew.
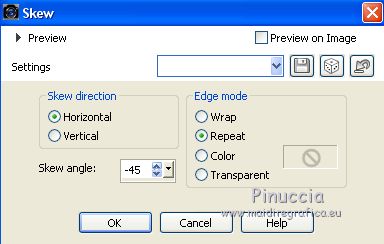
Layers>Duplicate.
Image>Mirror.
Layers>Merge>Merge Down.
20. Effects>Plugins>Graphics Plus - Vertical Mirror, default settings.
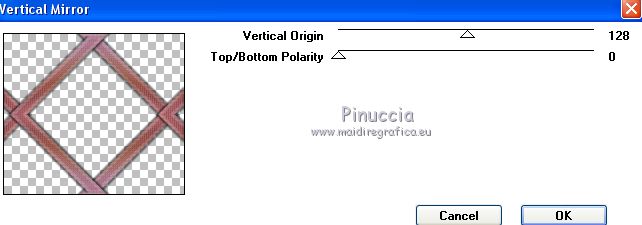
Effects>Reflection Effects>Rotating Mirror

21. Effects>Reflection Effects>Kaleidoscope.
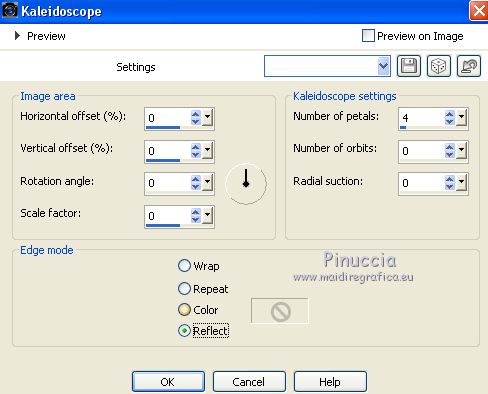
Move this layer over the layer Raster 1,
and reduce the opacity to 50%.
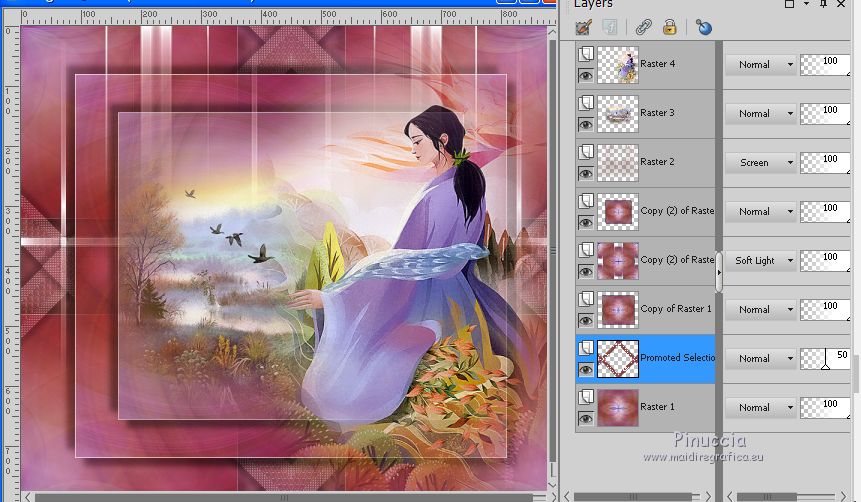
Layers>Merge>Merge visible.
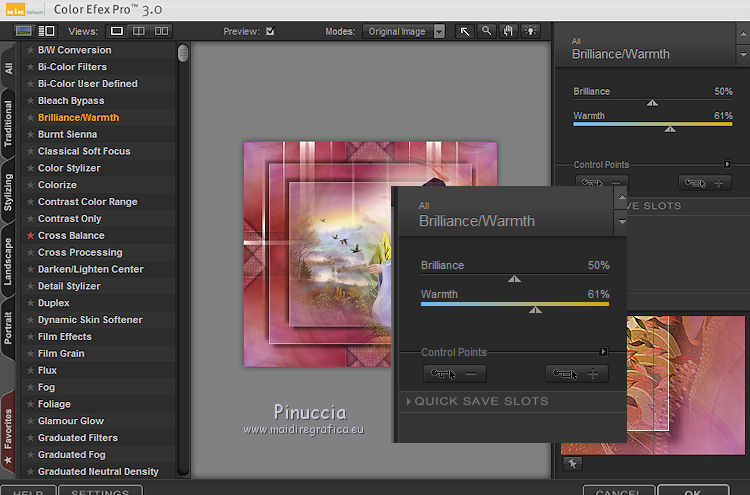
22. Effects>Plugins>Nik Software - Color Efex Pro - Brilliance - Warmth
(adapt as you like better)
23. Image>Add borders, 1 pixel, symmetric, background color.
Image>Add borders, 1 pixel, symmetric, color #ffffff.
Image>Add borders, 1 pixel, symmetric, background color.
Image>Add borders, 50 pixels, symmetric, color #ffffff.
Activate your Magic Wand Tool 
and click in the last border to select it.
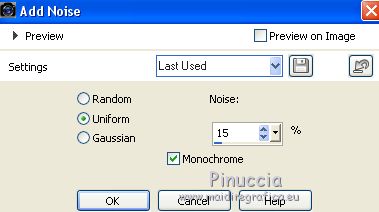
Adjust>Add/Remove Noise>Add Noise.
Selections>Invert.
Effects>3D Effects>Drop Shadow, same settings.
 
Selections>Select None.
Image>Add borders, 1 pixel, symmetric, background color.
Image>Add borders, 1 pixel, symmetric, color #ffffff.
Image>Add borders, 1 pixel, symmetric, background color.
24. Sign your work on a new layer.
Add, if you want, the watermarks of the author and of the translator.
Image>Resize, 1000 pixels width, resize all layers checked.
Save as jpg.
Version with tubes by Kikirou and Jewel
 Your versions here Your versions here

If you have problems or doubts, or you find a not worked link, or only for tell me that you enjoyed this tutorial, write to me.
7 January 2021
|

