|
TAG BLACK AND WHITE

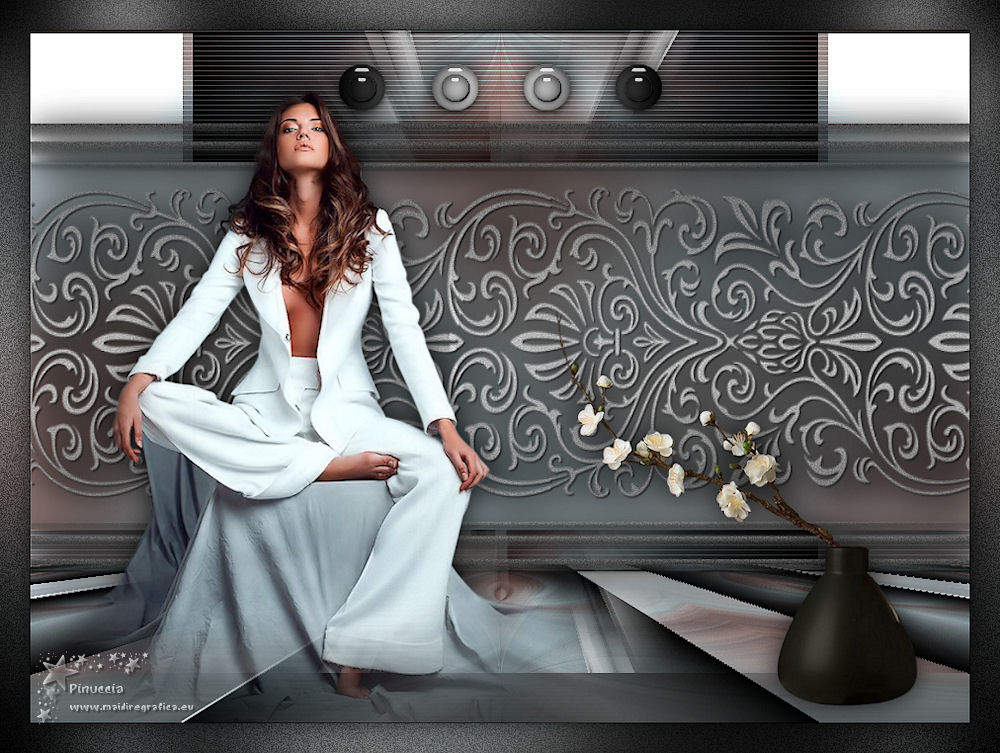
Thanks Lica Cida for your invitation to translate your tutorial

This tutorial was created with PSPX9 and translated with PSPX2 and PSPX3, but it can also be made using other versions of PSP.
Since version PSP X4, Image>Mirror was replaced with Image>Flip Horizontal,
and Image>Flip with Image>Flip Vertical, there are some variables.
In versions X5 and X6, the functions have been improved by making available the Objects menu.
In the latest version X7 command Image>Mirror and Image>Flip returned, but with new differences.
See my schedule here
 French translation here French translation here
 your versions ici your versions ici
For this tutorial, you will need:
Material here
For the tubes thanks Beatriz (3188-woman-LB TUBES /3236-vase-LB TUBES)
For the masks thanks smArt et DWorisch (smArt_maszk_74 / 002 gradientedworisch)
(you find here the links to the material authors' sites)
Plugins
consult, if necessary, my filter section here
Filters Unlimited 2.0 here
Plugin Galaxy - Instant Mirror here
Mura's Meister - Perspective Tiling here
Alien Skin Eye Candy 5 Impact - Perspective Shadow, Glass here
Graphics Plus - Cross Shadow here
°v° Kiwi Oelfilter - Videowand here
Mura's Seamless - Emboss at Alpha here
Carolaine and Sensibility - CS-Texture here
AAA Frames - Foto Frame /AAA Filters - Custom here
Filters Graphics Plus, Mura's Seamless and Kiwi's can be used alone or imported into Filters Unlimited.
(How do, you see here)
If a plugin supplied appears with this icon  it must necessarily be imported into Unlimited it must necessarily be imported into Unlimited

You can change Blend Modes according to your colors.
In the newest versions of PSP, you don't find the foreground/background gradient (Corel_06_029).
You can use the gradients of the older versions.
The Gradient of CorelX here
Copy the preset Emboss 3 in the Presets Folder.
Copy the selection in the Selections Folder.
Oper the mask in PSP and minimize it with the rest of the material.
1. Set your foreground color to #000000,
and your background color to #ffffff.
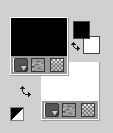
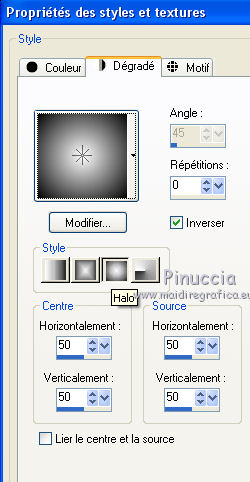
Set your foreground color to a Foreground/Background Gradient, style Sunburst.
2. Open the image imagemlc.
Cette image will be the basis of your work (don't forget to open the layer).
Layers>New Raster Layer.
Layers>Arrange>Send to Bottom.
Flood Fill  the layer with your gradient. the layer with your gradient.
3. Selections>Select all.
Open the tube 3188-woman-LB TUBES and go to Edit>Copy.
Go back to your work and go to Edit>Paste into Selection.
Selections>Select None.
Effects>Image Effects>Seamless Tiling, default settings.

4. Adjust>Blur>Radial Blur.

Layers>Duplicate.
5. Effects>Plugins>Plugin Galaxy - Instant Mirror.
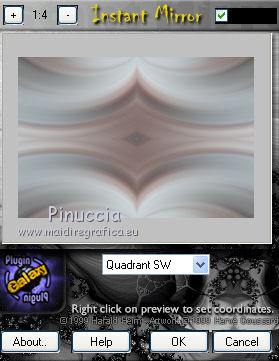
Change the Blend Mode of this Layers to Overlay.
Effects>Edge Effects>Enhance More.
6. Activate the layer Raster 2.
Selection Tool 
(no matter the type of selection, because with the custom selection your always get a rectangle)
clic on the Custom Selection 
and set the following settings.

Selections>Promote Selection to Layer.
Adjust>Blur>Gaussian Blur - radius 42.

Layers>Arrange>Move up.

Selections>Select None.
Effects>3D Effects>Drop Shadow, color #000000.

7. Change the settings of your Gradient, to style Linear.

Layers>New Raster Layer.
Flood Fill  the layer with your gradient. the layer with your gradient.
Adjust>Blur>Gaussian blur, same settings.

8. Adjust>Add/Remove Noise>Add Noise.

9. Layers>New Mask layer>From image
Open the menu under the source window and you'll see all the files open.
Select the mask smArt_maszk74.

Layers>Merge>Merge Group.
Effects>3D Effects>Drop Shadow, color #000000.
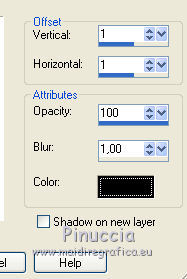
10. Effects>Image Effects>Offset.

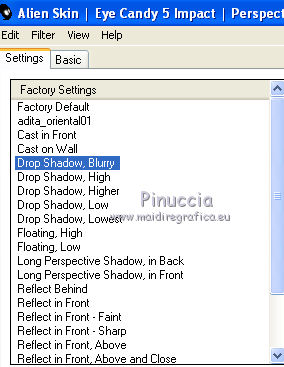
Effects>Plugins>Alien Skin Eye Candy 5 Impact - Perspective Shadow.
Select the preset Drop Shadow Blurry and ok.
Activate the top layer, Raster 1.
Layers>Arrange>Move Down - 2 times.

since the mask will make this effect disappear
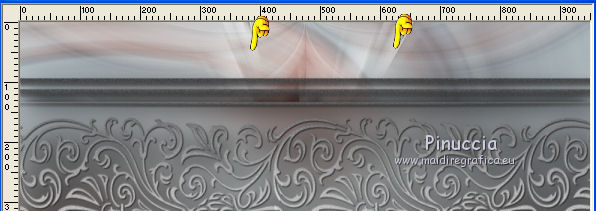
for my example, before applying the mask, I duplicated the layer.
Layers>New Mask layer>From image
Open the menu under the source window
and select the mask 002_gradienteworisch.

Layers>Duplicate.
Layers>Merge>Merge Down.
Effects>Plugins Mura's Seamless - Emboss at Alpha, default settings.

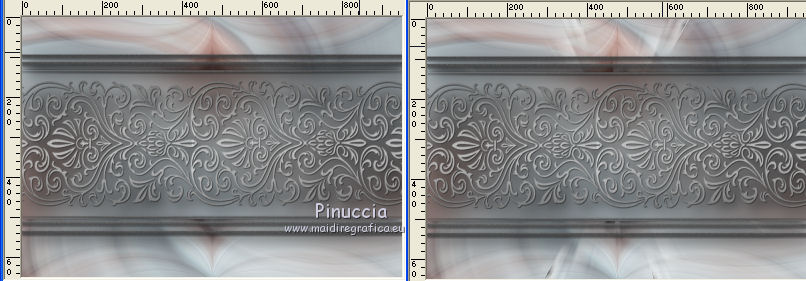
Here below to the right the result with my variation.
12. Activate the bottom layer, Raster 2.
Effects>Plugins>Kiwi's - Videowand.
due to the filter definition starting with the ° v ° sign,
you find it in the filter list at the end of the list

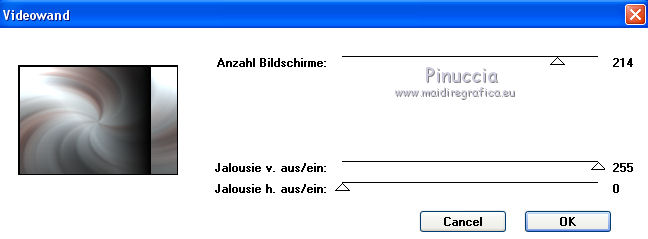
Effects>Reflection Effects>Rotating Mirror, default settings.

13. Image>Canvas Size - 950 x 700 pixels.

Layers>Duplicate.
14. Effects>Plugins>Mura's Meister - Perspective Tiling.
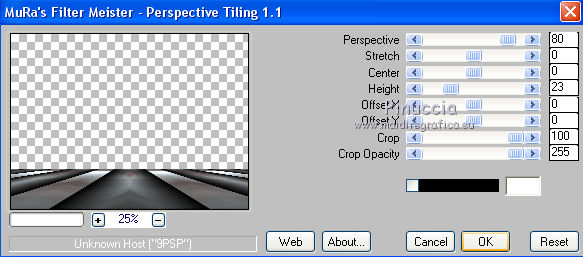
Effects>User Defined Filter - select the preset Emboss 3 and ok.

15. Activate the layer Raster 2.
Effects>Plugins>Carolaine and Sensibility - CS_Texture, default settings.
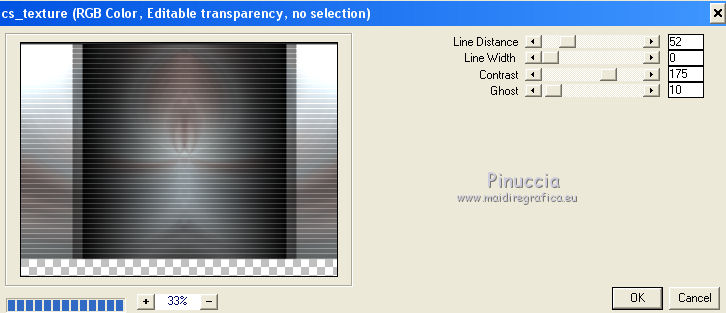
You should have this.

with my variation of the step 10

16. Activate the top layer, Group Raster 3.
Selections>Load/Save Selection>Load Selection from Disk.
Look for and load the selection blackwhite1lc.PspSelection.

17. Set again you foreground color to the Halo Gradient.

Flood Fill  the selection with your Gradient. the selection with your Gradient.
18. Effects>Plugins>Alien Skin Eye Candy 5 Impact - Glass.
Select the preset Clear and ok.

19. Selections>Modify>Contract - 10 pixels.
Repeat Effects>Plugins>Alien Skin Eye Candy 5 Impact - Glass - Clear.
Effects>3D Effects>Drop Shadow, color #000000.

Selections>Select None.
Effects>3D Effects>Drop Shadow, color #000000.

Here is the result at this point, without my variant of step 10.
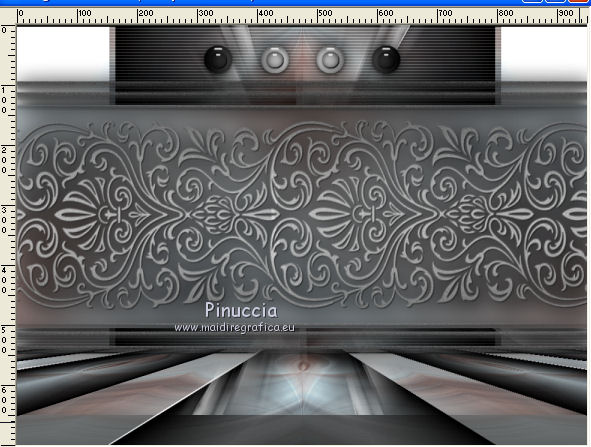
20. Open the tube 3188-woman-LB TUBES and go to Edit>Copy.
Go back to your work and go to Edit>Paste as new layer.
I resized to 110%, resize all layers not checked.
Move  the tube to the left side, or at your choice. the tube to the left side, or at your choice.
Effects>3D Effects>Drop Shadow, at your choice.
21. Open the tube 3236-vase-LB TUBES and go to Edit>Copy.
Go back to your work and go to Edit>Paste as new layer.
I resized to 65%, resize all layers not checked.
Move  the tube at the bottom right, or at your choice. the tube at the bottom right, or at your choice.
22. Image>Add borders, 1 pixel, symmetric, foreground color.
Image>Add borders, 30 pixels, symmetric, background color.
23. Activate your Magic Wand Tool 
and click on the 30 pixels borders to select it.
Flood Fill  the selection with the Sunburst Gradient. the selection with the Sunburst Gradient.
24. Adjust>Blur>Gaussian Blur, same settings.

Adjust>Add/Remove Noise>Add Noise, same settings.

25. Effects>Plugins>Graphics Plus - Cross Shadow, default settings.

Selections>Invert.
Effects>3D Effects>Drop Shadow, color #000000.

Selections>Select None.
26. (Optional) Effects>Plugins>AAA Filters - Custom - click on Sharp and ok.

Image>Resize, 1000 pixels width, resize all layers checked.
27. Sign your work on a new layer.
little note about the watermark:
I don't ask to put watermark on the versions made by my translations.
But if you decide to use the watermark supplied by the author, I would appreciate that my work as translator was also respected.
For that, I added my watermark to the material.
28. Layers>Merge>Merge All and save as jpg.
Result without my variant of step 10.
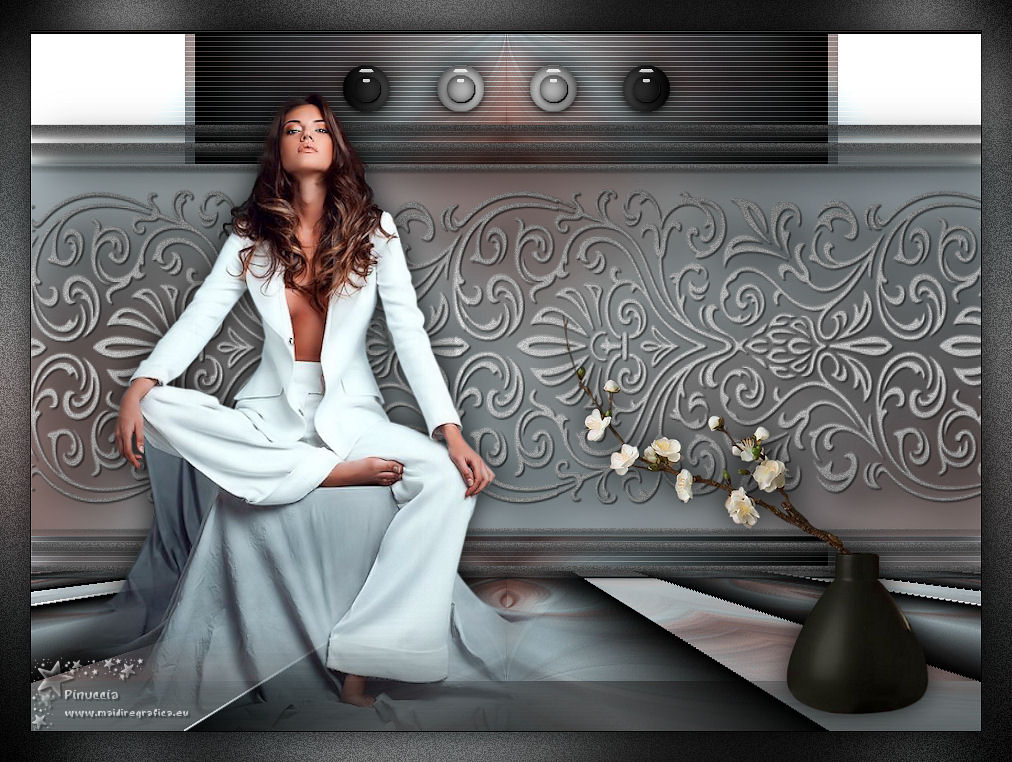
Version avec tubes by Luz Cristina and Maryse
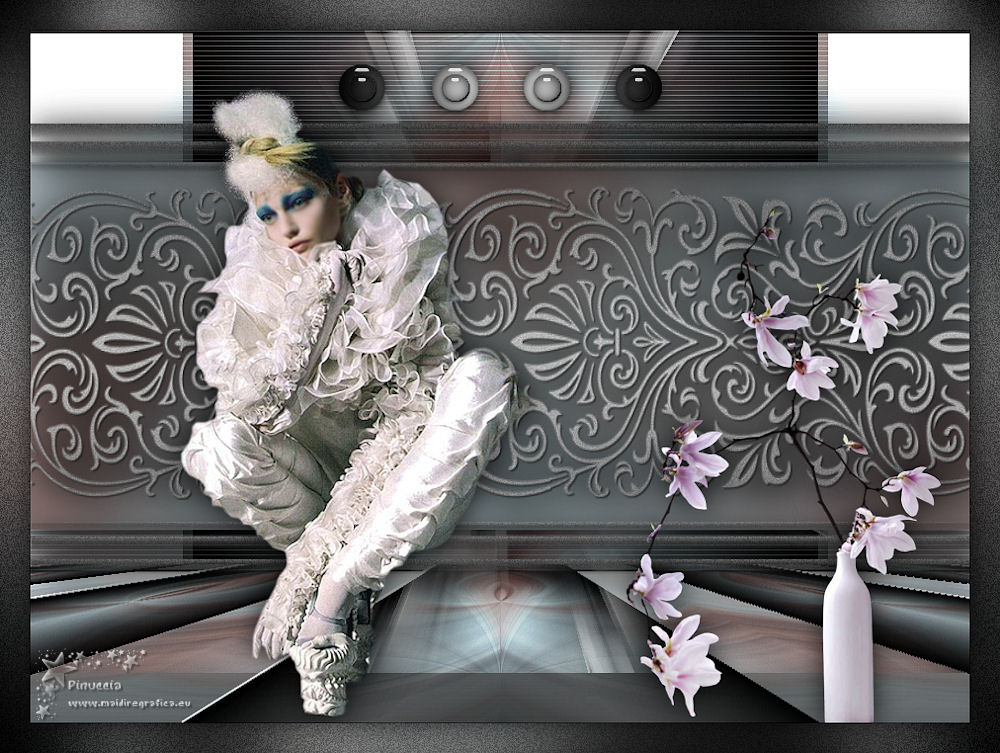
 Your versions here Your versions here

If you have problems or doubts, or you find a not worked link, or only for tell me that you enjoyed this tutorial, write to me.
14 Août2020
|


