|
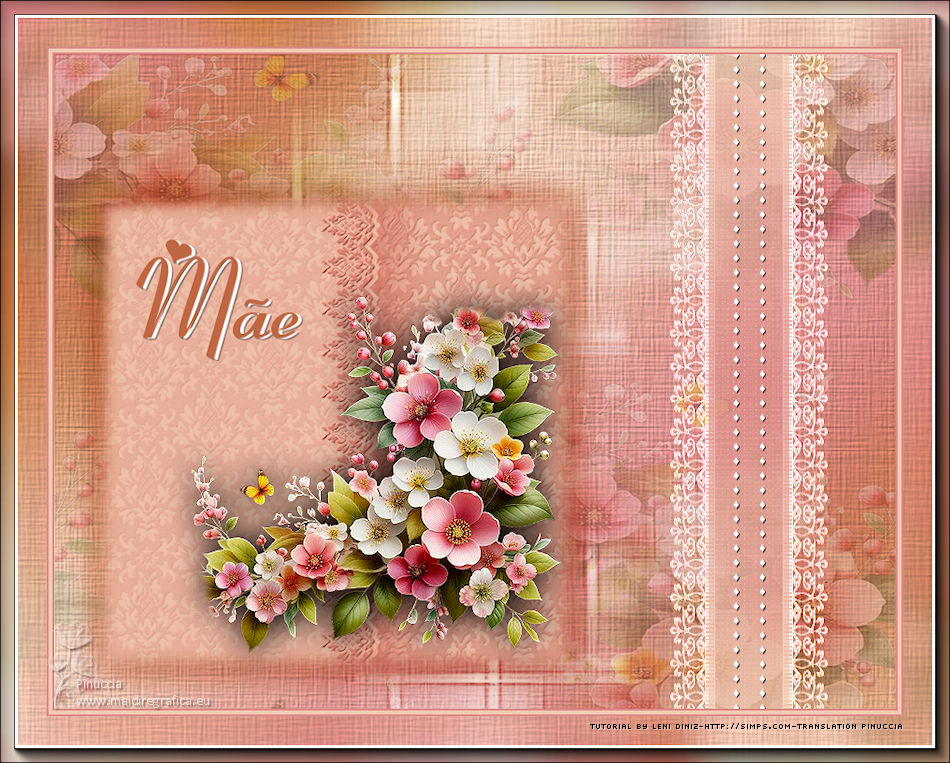
MÃE
 MOTHER MOTHER

Thanks SIM PSP Group for your invitation to translate your tutorials into english

This tutorial was written with Psp18 and translated with PspX9, but it can also be made using other versions of PSP.
Since version PSP X4, Image>Mirror was replaced with Image>Flip Horizontal,
and Image>Flip with Image>Flip Vertical, there are some variables.
In versions X5 and X6, the functions have been improved by making available the Objects menu.
In the latest version X7 command Image>Mirror and Image>Flip returned, but with new differences.
See my schedule here

|
Special Note
PSP SIM and its Tutorial Authors ask the public:
- Please, we request that we maintain the originality of the tutorial,
refraining from adding or including unsolicited effects;
- The use of other images is permitted and encouraged,
but please don't modify the content of the original tutorial;
- Please acknowledge and attribute the valuable credits to those who write tutorials, make translations and create materials.
Carefully,
PSP SIM and Leni Diniz
|

For this tutorial, you will need:

The material is by Leni Diniz.
(The links of the tubemakers here).

Filters Unlimited 2.0 here
Mehdi - Wavy Lab 1.1.
FM Tile Tools - Blend Emboss here
Mura's Seamless - Emboss at Alpha here
Carolaine and Sensibility - CS-LDots here
AAA Frames - Foto Frame here
Filters Mura's Seamless can be used alone or imported into Filters Unlimited.
(How do, you see here)
If a plugin supplied appears with this icon  it must necessarily be imported into Unlimited it must necessarily be imported into Unlimited

You can change Blend Modes according to your colors.
In the newest versions of PSP, you don't find the foreground/background gradient (Corel_06_029).
You can use the gradients of the older versions.
The Gradient of CorelX here

Copy the Texture Hatch fine or Corel_15_021 in the Textures Folder.
Colors

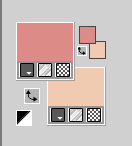
Set your foreground color to the the light color #f1cab2,
and your background color to the dark color #dc8b87
1. Open Alpha_Channel_mãe_leni
This image, that will be the basis of your work, is not empty,
but contains the selections saved to alpha channel.
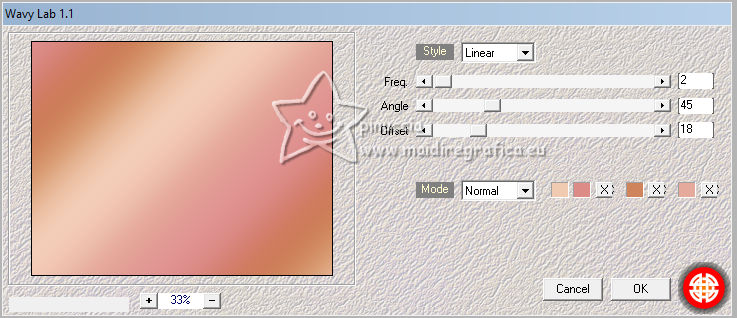
Effects>Plugins>Mehdi - Wavy Lab 1.1.
This filter creates gradients with the colors of your Materials palette.
The first is your background color, the second is your foreground color.
Of the last two colors created by the filtre, change the third color with the color 3 #cf845c,
and keep the fourth color #e6aa9c
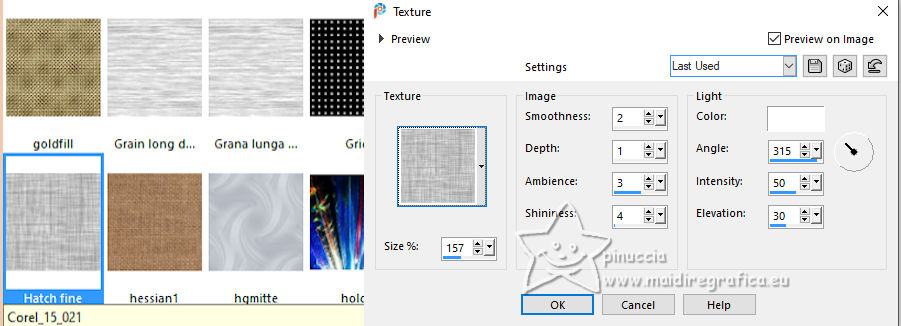
2. Effects>Texture Effects>Texture - select the texture Hatch fine or Corel_15_21.
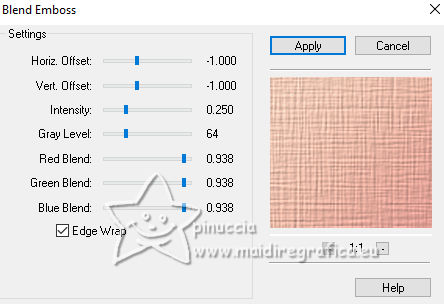
3. Effects>Plugins>FM Tile Tools - Blend Emboss, default settings.
4. Layers>New Raster Layer.
Selections>Select All.
Open the tube LeniDiniz_224misted-flores 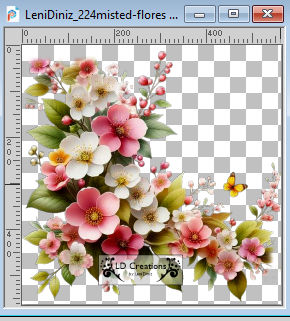
Edit>Copy.
Go back to your work and go to Edit>Paste Into Selection.
Selections>Select None.
5. Image>Resize, to 85%, resize all layers not checked.
Adjust>Sharpness>Sharpen.
Nota Opcional.
Only reduce if the tube is too big, so that it doesn't cover
the entire space when applying the Seamless Tiling effect;
So for the supplied tube the resize is 85%, and in the second version it is 55%
6. Effects>Image Effects>Seamless Tiling, default settings.

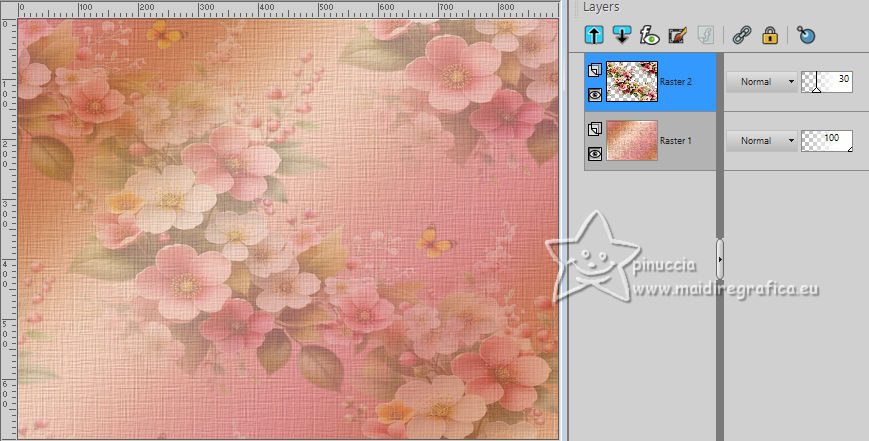
7. Reduce the opacity of this layer to 30%.
8. Activate decor_mae_leni 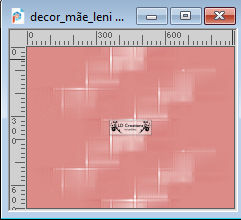
Edit>Copy.
Go back to your work and go to Edit>Paste as new layer.
Keep the Blend Mode of this layer to Overlay
9. Layers>New Raster Layer.
Selections>Load/Save Selection>Load Selection from Alpha Channel.
The selection leni #1 is immediately available. You just have to click Load.
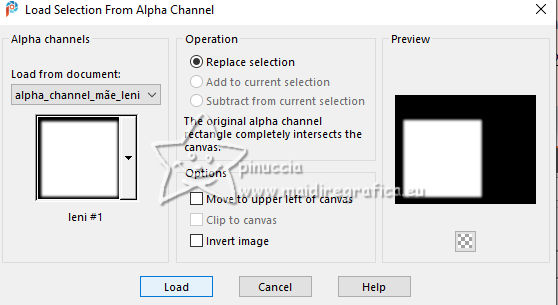
Flood Fill  the selection with your light background color #f1cab2. the selection with your light background color #f1cab2.
10. Layers>New Raster Layer.
Open decor_mae_leni-2 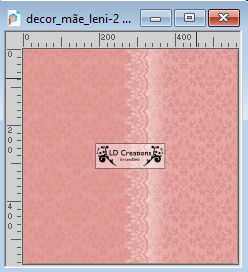
Edit>Copy.
Go back to your work and go to Edit>Paste into Selection.
11. Activate your Color Changer Tool  , tolerance 100, Edge Softness 20 , tolerance 100, Edge Softness 20
and flood fill  with your dark foreground color #dc8b87. with your dark foreground color #dc8b87.
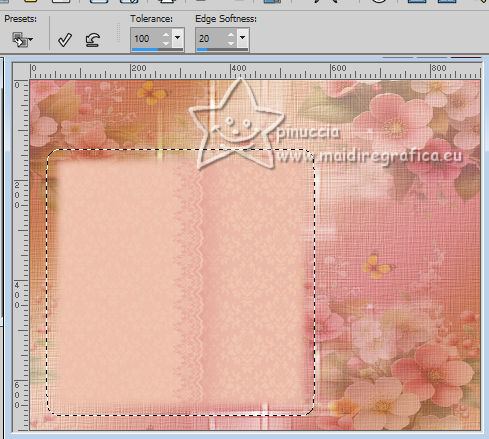
Change the Blend Mode of this layer to Multiply, opacity 100
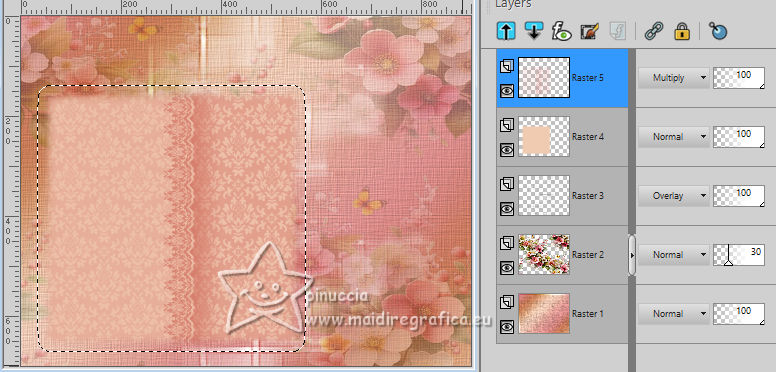
12. Effects>Plugins>Mura's Seamless>Emboss at Alpha - Emboss 52
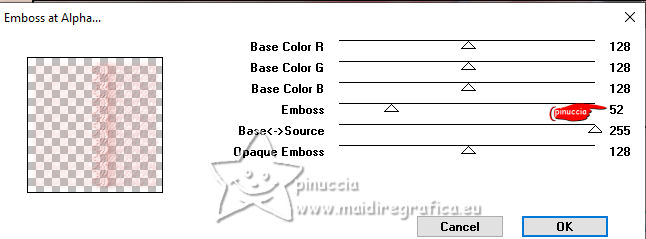
Keep selected.
13. Effects>3D Effects>Drop Shadow, color 3 #cf845c.
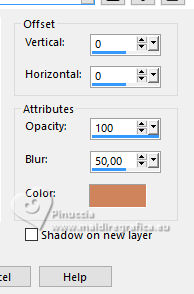
Selections>Select None.
14. Layers>New Raster Layer.
Selections>Load/Save Selection>Load Selection from Alpha Channel.
Open the selections menu and load the selection leni #2
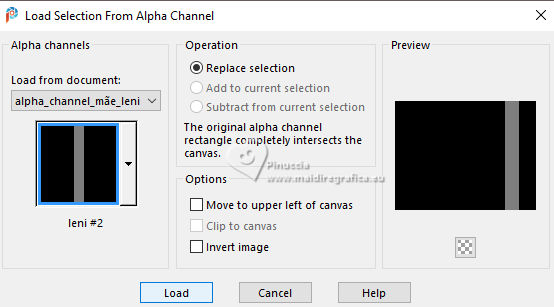
15. With the color 1 and 2, set your foreground color to a Foreground/Background Gradient, style Sunburst.
 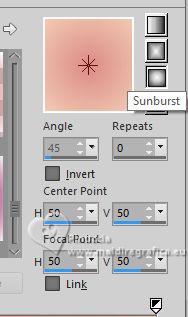
Flood Fill  the layer with your Gradient. the layer with your Gradient.
It will have low opacity when filling
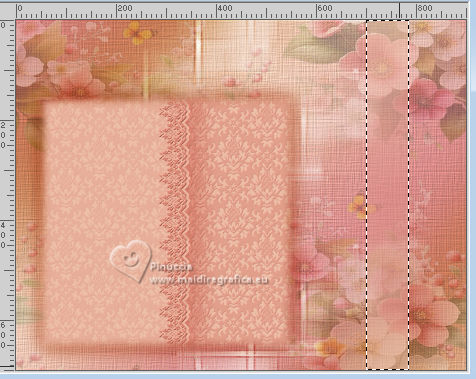
16. Layers>Duplicate.
Layers>Merge>Merge Down.
17. Effects>Plugins>Caroline and Sensibility - CS-LDots
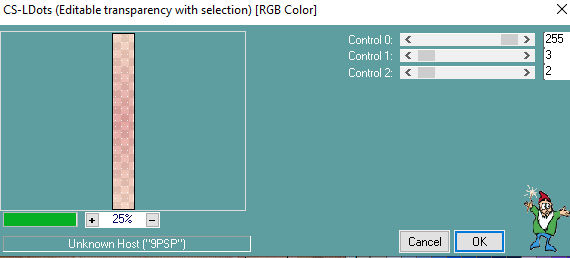
Selections>Select None.
18. Open decor_mae_leni-3 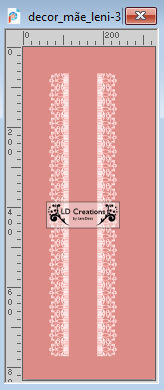
Edit>Copy.
Go back to your work and go to Edit>Paste as new layer.
19. Activate your Pick Tool 
Position X: 659,00 and Position Y: -3,00

Layers>Arrange>Move Down.
Keep the Blend Mode of this layer to Luminance (Legacy).
20. Activate your top layer, Raster 6.
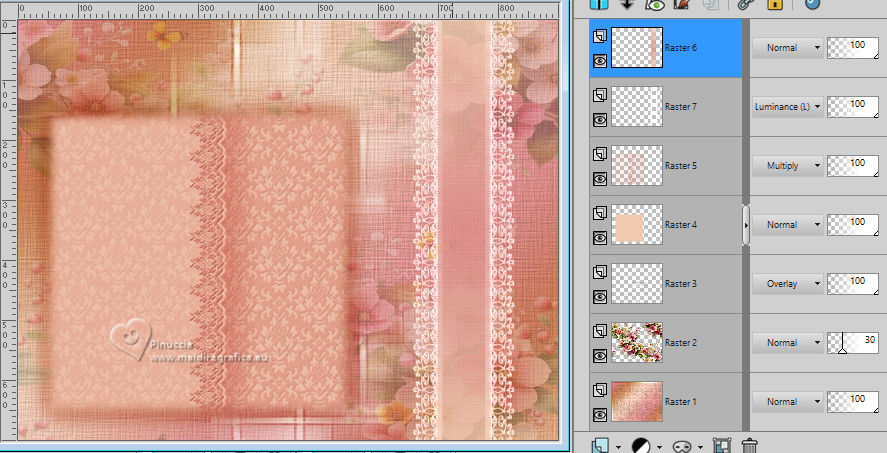
Open decor_mae_leni-4 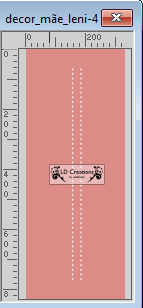
Edit>Copy.
Go back to your work and go to Edit>Paste as New Layer.
21. Pick Tool 
Position X: 726,00 and Position Y: -3,00.

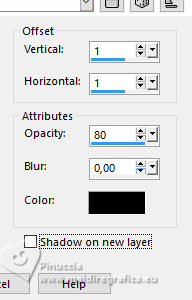
Effects>3D Effects>Drop Shadow, color #000000.
22. Activate again the tube LeniDiniz_224misted-flores
Edit>Copy.
Go back to your work and go to Edit>Paste as new layer.
Image>Mirror>Mirror Horizontal.
Image>Resize, to 70%, resize all layers not checked.
for the tube of my second version, resize to 55%
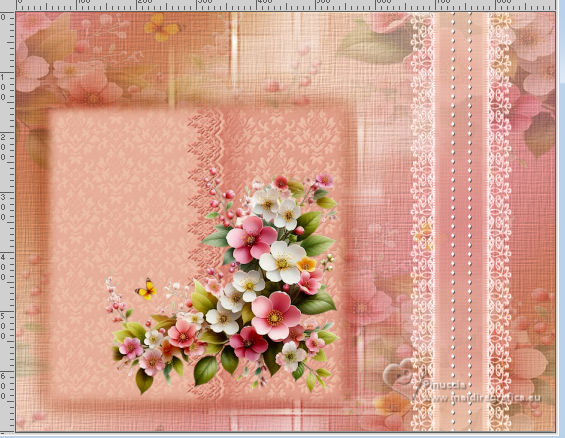
23. Position  the tube as below the tube as below
24. Adjust>Sharpness>Sharpen.
Effects>3D Effects>Drop Shadow at your choice.
25. Open one of the texts título_mãe_leni 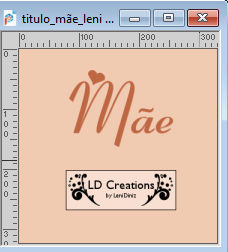
Edit>Copy.
Go back to your work and go to Edit>Paste as New Layer.
Position  as in my example, or to your liking. as in my example, or to your liking.

Effects>3D Effects>Drop Shadow at your choice.
26. Edit>Copy Special>Copy Merged.
27. Image>Add borders, 2 pixels, symmetric, dark foreground color #dc8b87.
Image>Add borders, 4 pixels, symmetric, light background color #f1cab2.
Image>Add borders, 2 pixels, symmetric, dark foreground color #dc8b87.
28. Selections>Select All.
Image>Add Borders - 50 pixels, symmetric, whatever color.
Selections>Invert.
Edit>Paste into Selection.
Adjust>Blur>Gaussian Blur - radius 15.

29. Effects>Texture Effects>Texture, same settings.

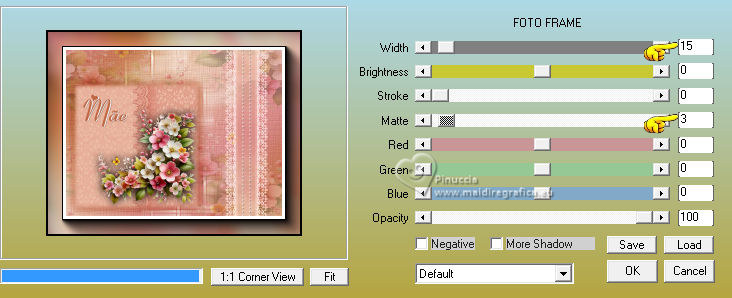
30. Effects>Plugins>AAA Frames - Foto Frame.
31. Selections>Select None.
Sign your work and save as jpg.
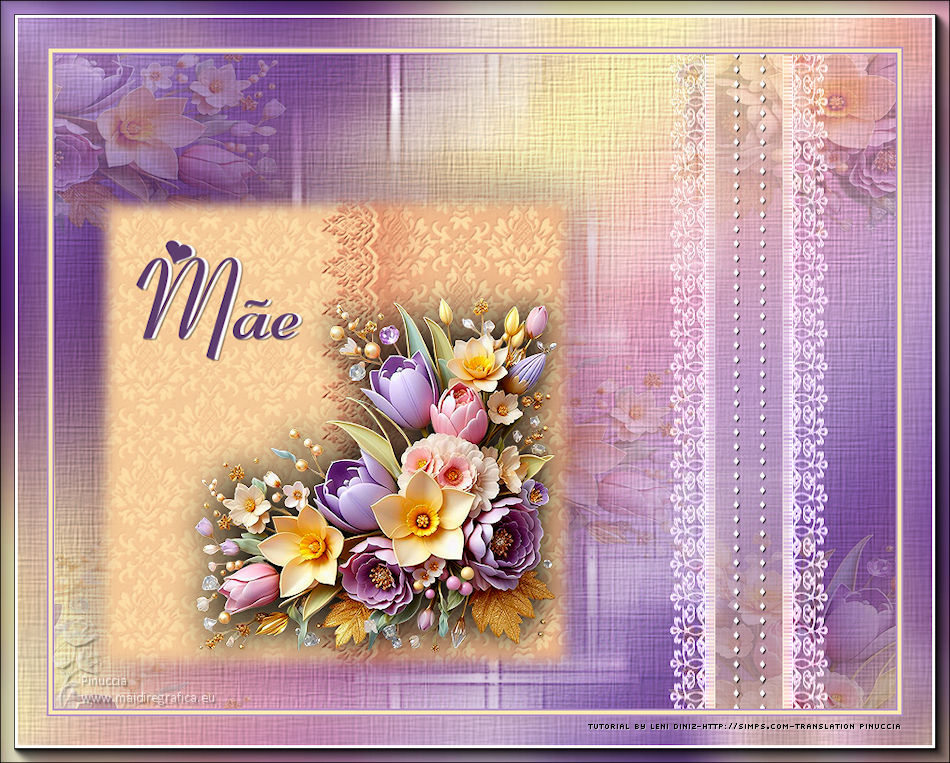

 Your versions.Thanks Your versions.Thanks
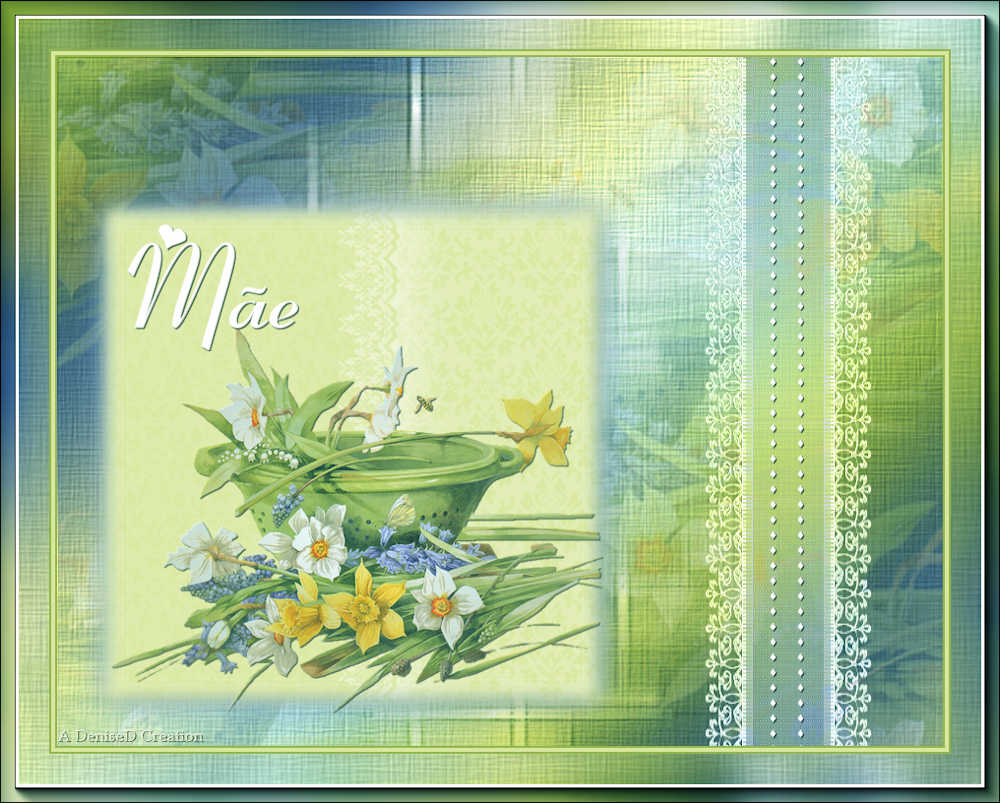
DeniseD
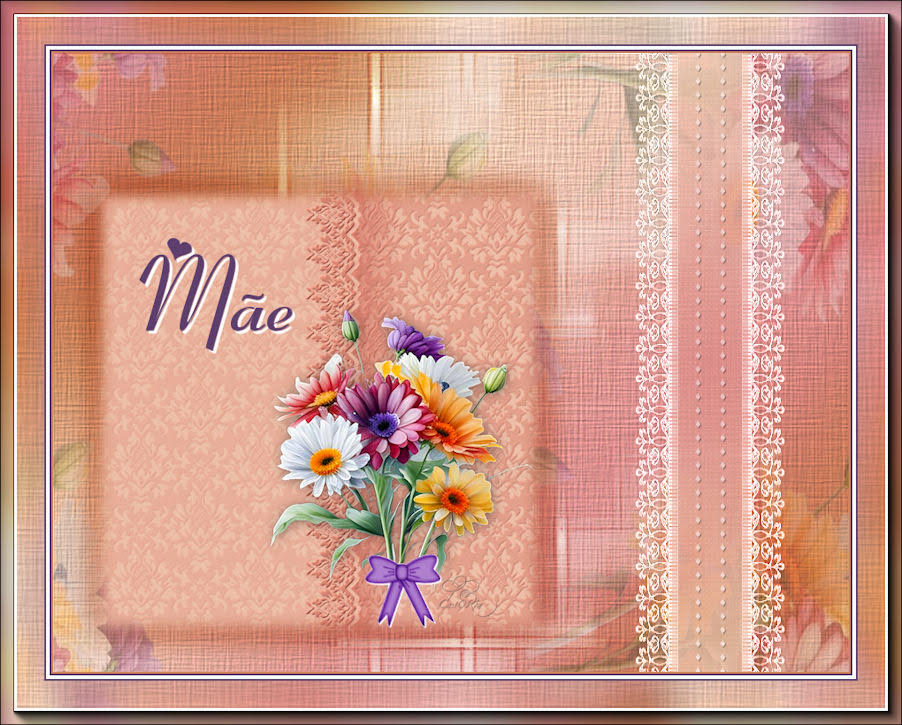
Castorke
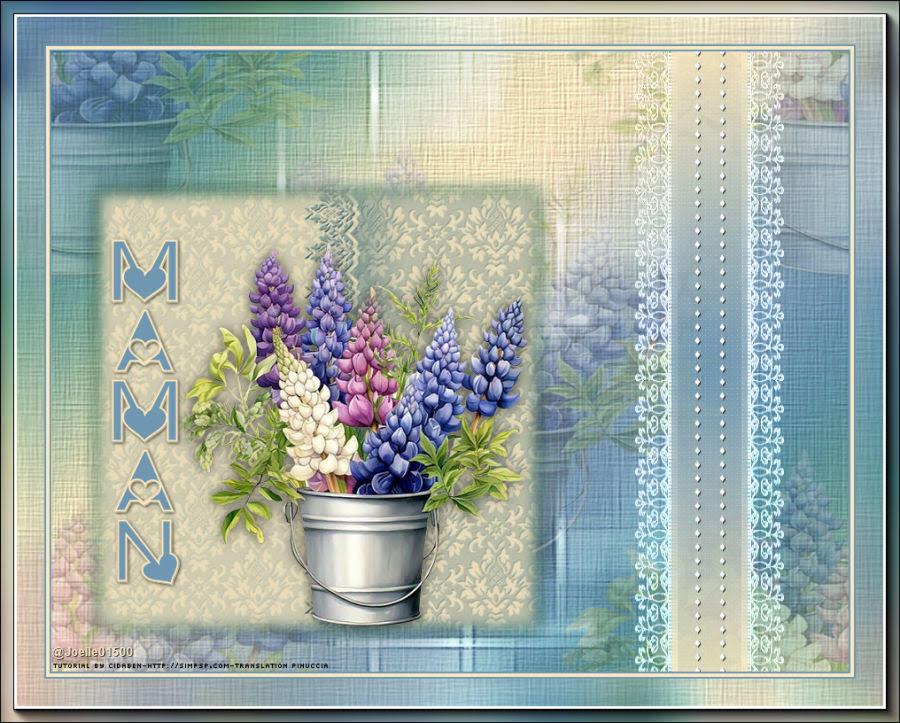
Joelle
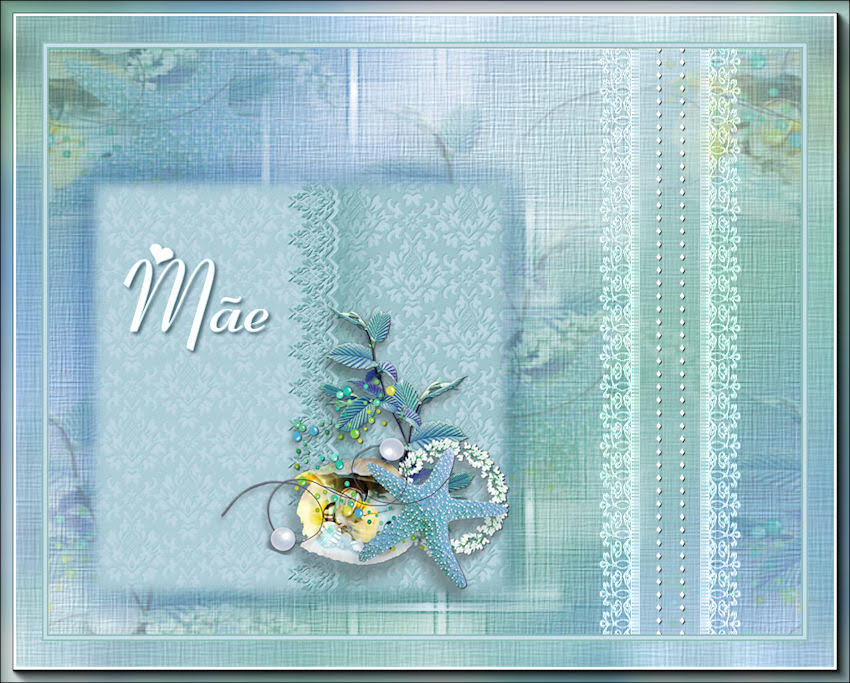
Di@ne
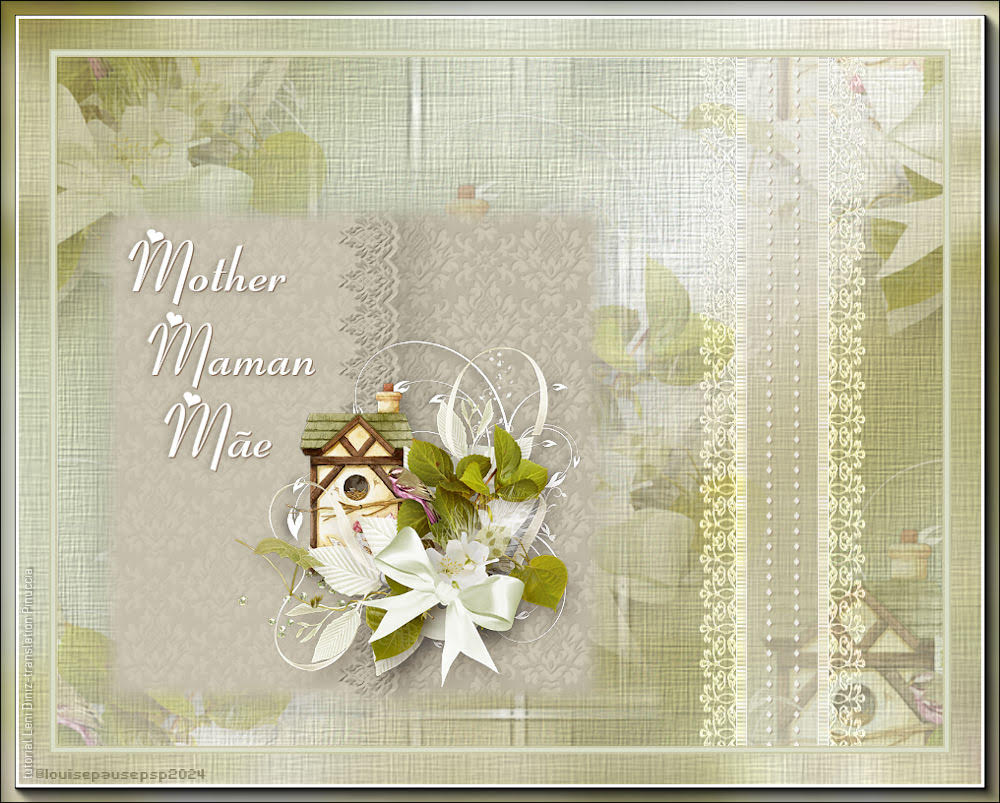
Louise
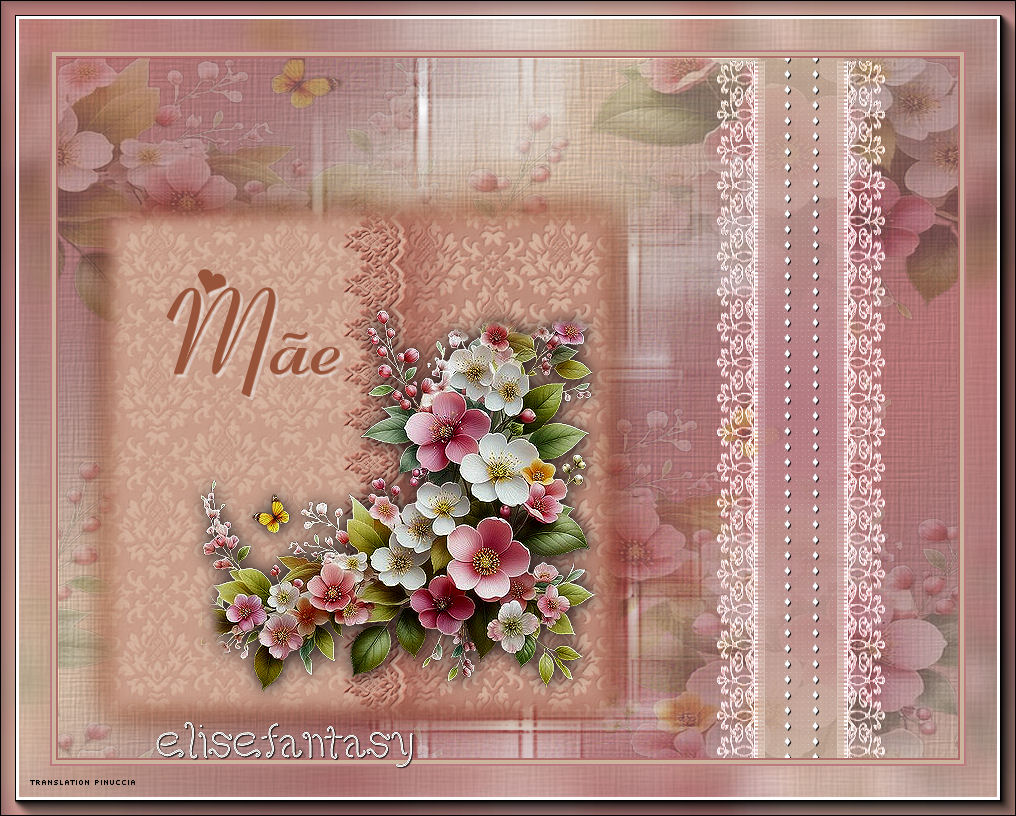
Elise


If you have problems or doubts, or you find a not worked link, or only for tell me that you enjoyed this tutorial, write to me.
3 May 2023

|
 MOTHER

 MOTHER