|
ELEGANCE  

This tutorial was written by Leni Diniz and Márcinha, and translated with Psp2020, but it can also be made using other versions of PSP.
You can change Blend Modes according to your colors. In the newest versions of PSP, you don't find the foreground/background gradient (Corel_06_029). You can use the gradients of the older versions. The Gradient of CorelX here  Copy the Selections in the Selections Folder Colors 1. Choose two colors and the colors white and black.  Set your foreground color to the the dark color #004882, and your background color to the ligh color #82d5f9 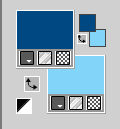 Set your foreground color to a Foreground/Background Gradient, style Linear. 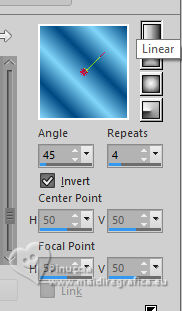 2. Open a new transparent image 900 x 600 pixels. Flood Fill  the transparent image with your Gradient. the transparent image with your Gradient.3. Effects>Image Effects>Seamless Tiling - default settings  4. Effects>Plugins>Mehdi - Sorting Tiling - 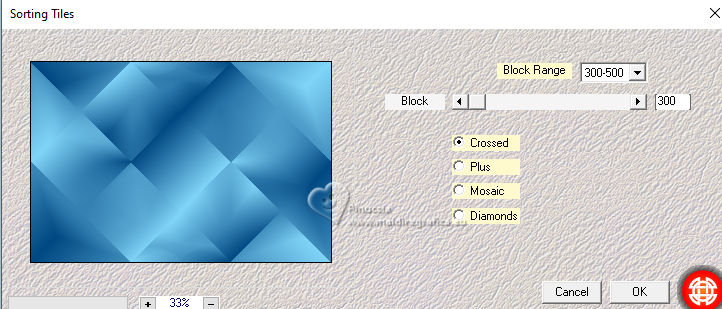 5. Effects>Plugins>Simple - Center Tile This Effect works without window; result: 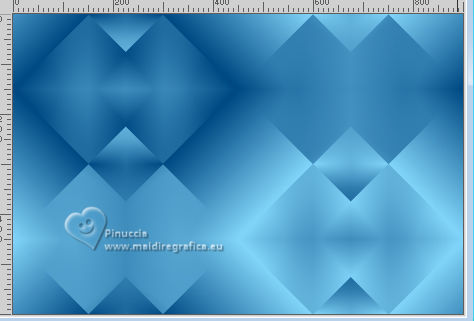 6. Effects>Edge Effects>Enhance Layers>Duplicate. 7. Effects>Plugins>Simple - Horizontal Grain Also this Effect works without window; result: 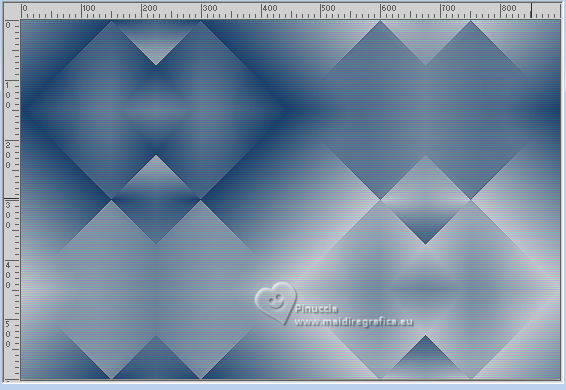 8. Change the Blend Mode of this layer to Overlay. 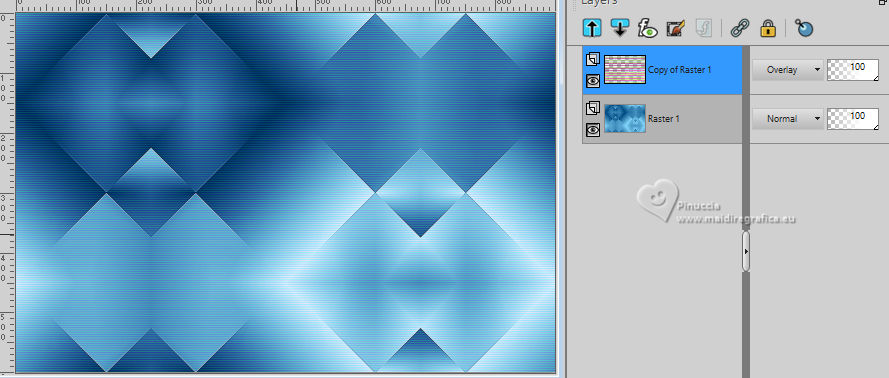 9. Layers>Merge>Merge Down. Selections>Load/Save Selections>Load Selection From Disk. Look for and load the selection Elegance_01_LNM 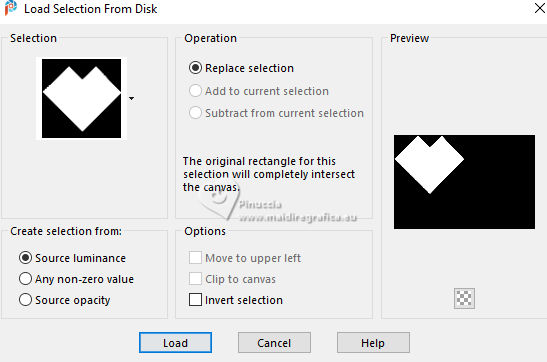 10. Selections>Promote Selection to layer. 11. Effects>3D Effects>Drop Shadow - color white #ffffff, Shadow on new layer checked 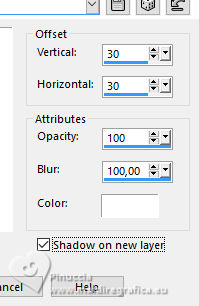 12. Activate the layer Promoted Selection. Repeat Drop Shadow vertical and horizontal -30. 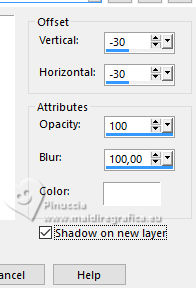 13. We have this  Stay on the layer Promoted Selection Shadow 2. Layers>Merge>Merge Down. Selections>Select None. 14. Effects>Plugin>AP Lines - Lines SilverLining - Dotty Grid (default settings)  15. Activate the layer Raster 1. Selections>Load/Save Selections>Load Selection From Disk. Look for and load the selection Elegance_02_LNM  16. Selections>Promote Selection to layer. 17. Effects>3D Effects>Drop Shadow - color #ffffff, Shadow on new layer checked  18. Activate the layer Promoted Selection 1. Repeat Drop Shadow vertical and horizontal -30.  19. We have this. 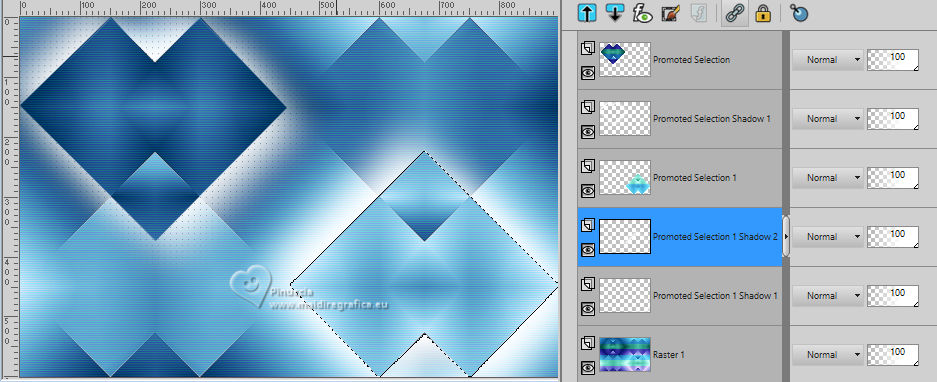 Stay on the layer Promoted Selection 1 Shadow 2 Layers>Merge>Merge Down. Selections>Select None. 20. Effects>Plugins>AP Lines - Lines SilverLining - Dotty Grid (default settings) 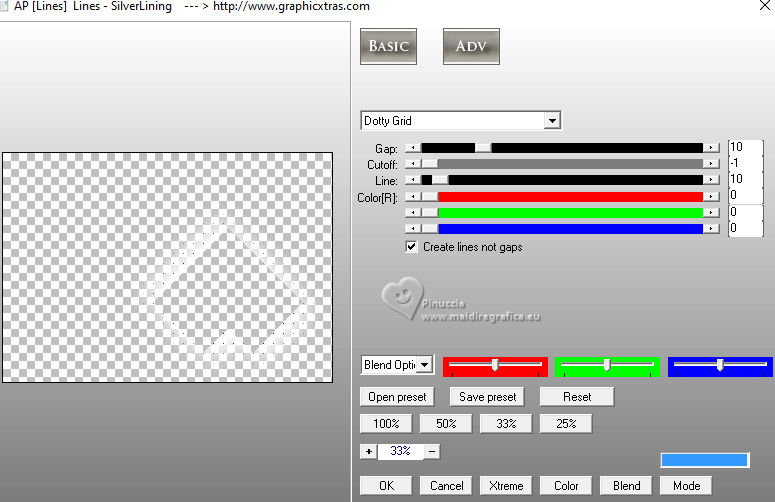 21. Activate the layer Raster 1. Layer>Duplicate. 22. Image>Free Rotate - 90 degrees to right.  23. Effects>3D Effects>Drop Shadow - color #ffffff, Shadow on new layer checked  24. Activate the layer Copy of Raster 1. Repeat Drop Shadow vertical and horizontal -30.  25. Stay on the layer Copy of Raster 1 Shadow 2. Layers>Merge>Merge Down. Change the Blend Mode of this layer to Dissolve and reduce the opacity to 15%. 26. We have this 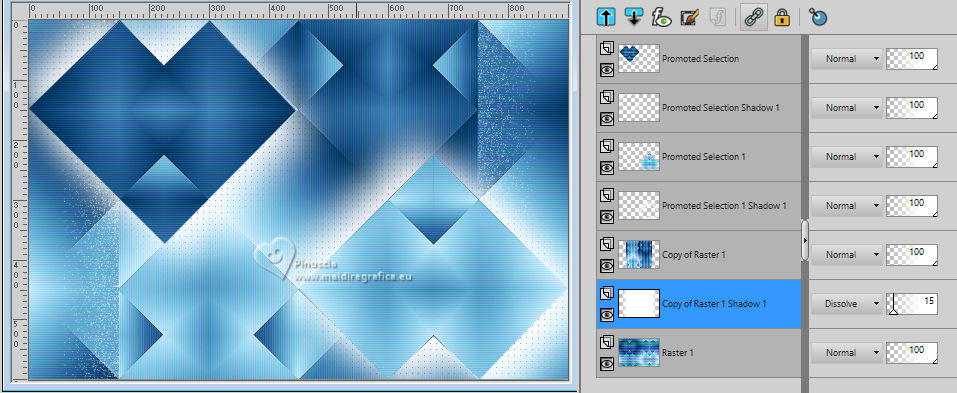 27. Layers>Merge>Merge Visible. Layers>New Raster Layer. 28. Selections>Load/Save Selections>Load Selection From Disk. Look for and load again the selection Elegance_01_LNM  29. Open the misted IN_017_Floral 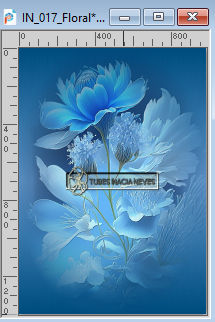 Edit>Copy. Go back to your work and go to Edit>Paste Into Selection. Adjust>Sharpness>Sharpen More. Selections>Select None. Change the Blend Mode of this layer to Luminance (L) and reduce the opacity to 50%. 30. Layers>New Raster Layer. Selections>Load/Save Selections>Load Selection From Disk. Look for and load again the selection Elegance_02_LNM  31. Activate again the misted IN_017_Floral Image>Mirror>Mirror Horizontal. Edit>Copy. Go back to your work and go to Edit>Paste Into Selection. Adjust>Sharpness>Sharpen More. Selections>Select None. Change the Blend Mode of this layer to Luminance (L) and reduce the opacity to 50%. 32. We have this  33. Image>Add Borders - 1 pixel, symmetric, color black #000000. Image>Add borders, 2 pixels, symmetric, color white #ffffff. Image>Add borders, 1 pixel, symmetric, color black #000000. Selections>Select All. 34. Image>Add Borders>50 pixels, symmetric, whatever color. Selections>Invert. Change the settings of your Gradient, style Sunburst.  Flood Fill  the selection with your Gradient. the selection with your Gradient.35. Effects>Plugins>AAA Frames - Foto Frame  36. Selections>Invert. Effects>3D Effects>Drop Shadow, color black #000000, shadow on new layer not checked.  Selections>Select None. 37. Layers>New Raster Layer. Selections>Load/Save Selections>Load Selection From Disk. Look for and load the selection Elegance_03_LNM  38. Flood Fill  the selection with your last Gradient. the selection with your last Gradient. 39. Effects>Plugins>Alien Skin Eye Candy 5 Impact - Glass  40. Selections>Select None. Effects>3D Effects>Drop Shadow, color #000000.  41. Layers>New Raster Layer. Selections>Load/Save Selections>Load Selection From Disk. Look for and load the selection Elegance_04_LNM  42. Set your foreground color to Color. Flood Fill  the selection with your foreground color #004882. the selection with your foreground color #004882.Effects>3D Effects>Inner Bevel  43. Selections>Select None. Effects>3D Effects>Drop Shadow - background color #82d5f9, shadow on new layer checked  44. Stay on the layer Raster 3 Shadow 1 Effects>Plugins>AP Lines - Lines SilverLining - Dotty Lines  We have this  45. Activate your top layer, Raster 3. Open the tube 1091MulherByPqnaAlice  Erase the watermark and go to Edit>Copy. Go back to your work and go to Edit>Paste as New Layer. K key to activate your Pick Tool  Position X: 387,00 - Position Y: 0,00  If you are using another tube, place it to your liking. Layers>Duplicate. Adjust>Blur>Gaussian Blur - radius 20  Layers>Arrange>Move Down. Change the Blend Mode of this layer to Multiply. We are this:  46. Image>Add borders, 2 pixels, symmetric, color white #ffffff. Image>Add borders, 1 pixel, symmetric, color black #000000. 47. Sign your work and save as jpg. For the tubes of this version thanks Luz Cristina and Yvonne    Your versions.Thanks Your versions.Thanks Jolcsi  Di@ne  Lynnette  Louise  Marion  Violette   If you have problems or doubts, or you find a not worked link, or only for tell me that you enjoyed this tutorial, write to me. |