|
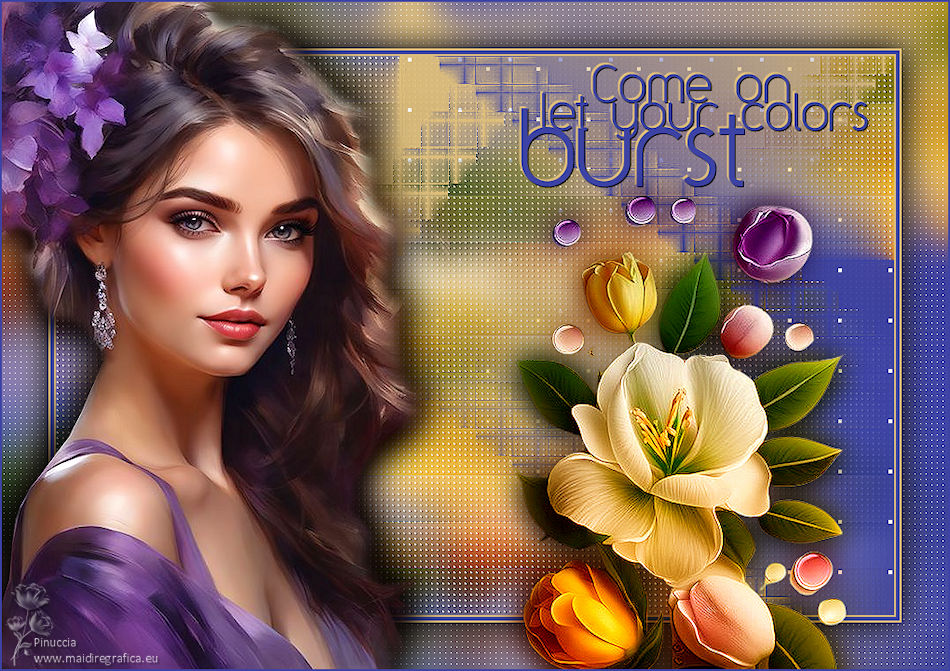
COLORS BURST


Thanks SIM PSP Group for your invitation to translate your tutorials into english

This tutorial was written by Leni Diniz and Márcinha, and translated with Psp2020, but it can also be made using other versions of PSP.
Since version PSP X4, Image>Mirror was replaced with Image>Flip Horizontal,
and Image>Flip with Image>Flip Vertical, there are some variables.
In versions X5 and X6, the functions have been improved by making available the Objects menu.
In the latest version X7 command Image>Mirror and Image>Flip returned, but with new differences.
See my schedule here

|
Special Note
PSP SIM and its Tutorial Authors ask the public:
- Please, we request that we maintain the originality of the tutorial,
refraining from adding or including unsolicited effects;
- The use of other images is permitted and encouraged,
but please don't modify the content of the original tutorial;
- Please acknowledge and attribute the valuable credits to those who write tutorials, make translations and create materials.
Carefully,
PSP SIM - Leni Diniz e Márcinha
|

For this tutorial, you will need:

The material is by Leni Diniz.
(The links of the tubemakers here).

Carolaine and Sensibility - CS-LDots, CS-Linear-H

You can change Blend Modes according to your colors.

Open the mask in PSP and minimize it with the rest of the material.
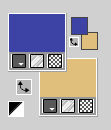
Choose two colors to work.
For the example:
Set your foreground color to #3d43a5,
and your background color to #dfbf7b.
In the material, there are some graphics,
choose the one that best matches the elements you will use.
Also, if you prefer, you can colorize it.
1. Open the image grafico_leni-3 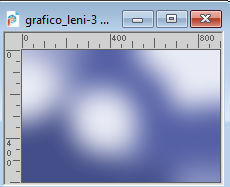
or another image according to your color, chosen or colorize.
This image will be the basis of your work.
2. Selections>Select All.
Open the tube LeniDiniz_270misted-flores 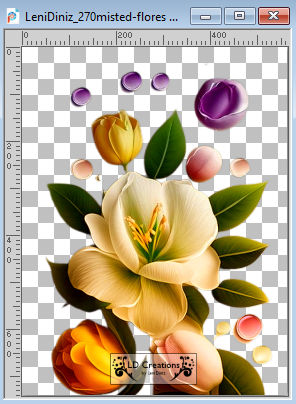
Edit>Copy.
Minimize the tube.
Go back to your work and go to Edit>Paste into Selection.
Selections>Select None.
3. Effects>Image Effects>Seamless Tiling.

4. Adjust>Blur>Gaussian Blur - radius 20.

5. Layers>Duplicate.
Close this layer, Copy of Raster 1.
Activate the layer below Raster 1.
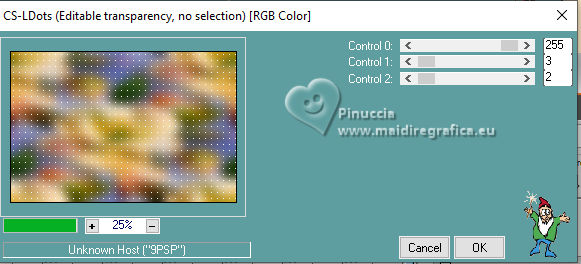
6. Effects>Plugins>Carolaine and Sensibility - CS-LDots
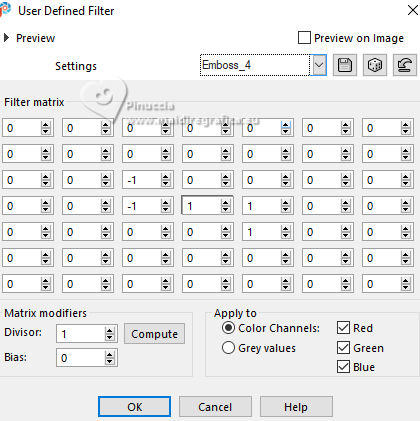
7. Effects>User Defined Filter - select the preset Emboss 4 and ok.
8. Open and activate your top layer, Copy of Raster 1.
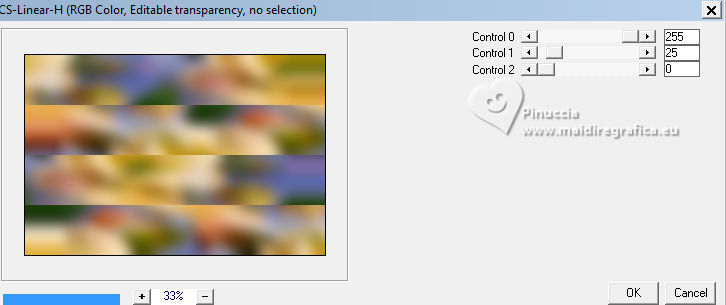
Effects>Plugins>Carolaine and Sensibility - CS-Linear-H
9. Effects>Edge Effects>Enhance More.
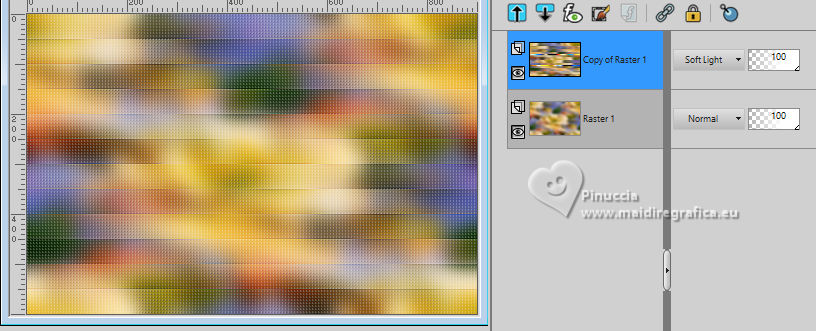
Change the Blend Mode of this layer to Soft Light, or to your liking.
(for my second version I changed to Multiply)
10. Layers>New Raster Layer.
Flood Fill  with your background color #dfbf7b. with your background color #dfbf7b.
Effects>Texture Effects>Weave
Weave color: #000000 - Gap color: #ffffff
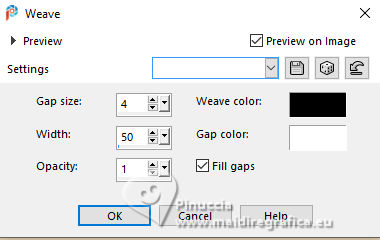
11. Layers>New Mask Layer>From image.
Open the menu under the source window and you'll see all the files open.
Select the mask m0310
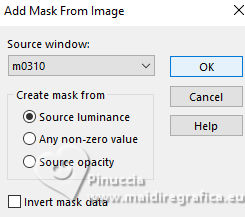
Effects>Edge Effects>Enhance More.
Layers>Merge>Merge Group.
12. Layers>New Raster Layer.
Flood Fill  with your foreground color #3d43a5. with your foreground color #3d43a5.
Effects>Texture Effects>Weave, same settings.

13. Layers>New Mask Layer>From image
Open the menu under the source window
and select again the mask m0310

Effects>Edge Effects>Enhance More.
Layers>Merge>Merge Group.
14. Image>Free Rotate - 90 degree to right.

15. Objects>Align> Right.
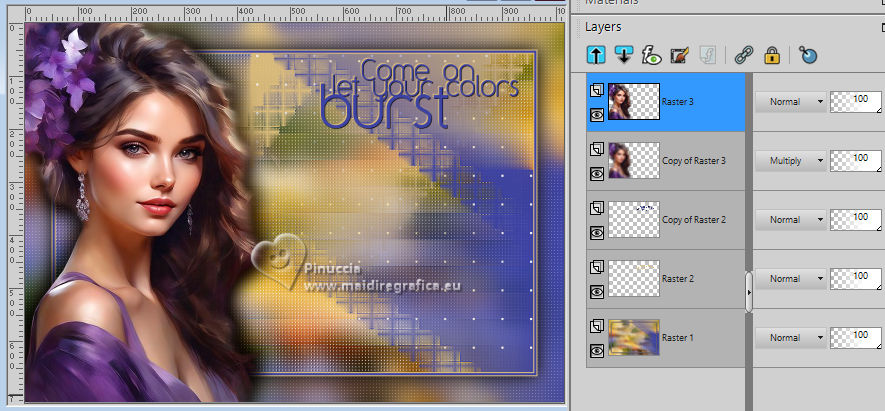
16. Your tag and the layers.
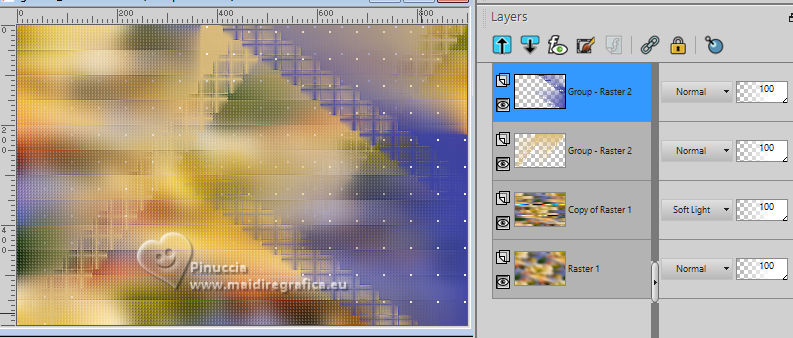
17. Edit>Copy Special>Copy Merged.
18. Image>Add borders, 2 pixels, symmetric, background color #dfbf7b.
Image>Add borders, 4 pixels, symmetric, foreground color #3d43a5.
Image>Add borders, 2 pixels, symmetric, background color #dfbf7b.
19. Selections>Select All.
Image>Add borders, 50 pixels, symmetric, whatever color.
Selections>Invert.
Edit>Paste into Selection.
20. Adjust>Blur>Gaussian Blur - radius 15.

Effects>Plugins>Carolaine and Sensibility - CS-LDots
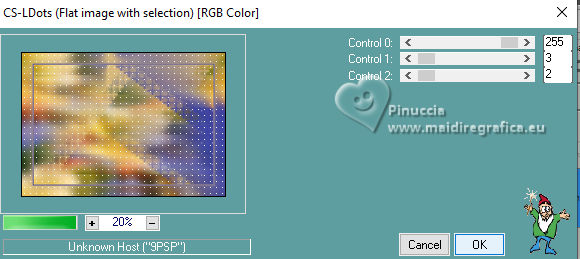
21. Selections>Invert.
Effects>3D Effects>Drop Shadow, color #000000.

Selections>Select None.
22. Open word_art-1 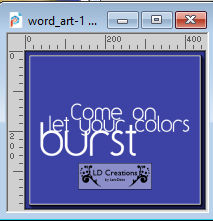
Edit>Copy.
Go back to your work and go to Edit>Paste as New Layer.
Pick Tool 
Position X: 555,00 and Position Y: 65,00.

23. Activate your Color Changer Tool  , Tolerance 100 - Edge Softness 20 , Tolerance 100 - Edge Softness 20
and right button to fill with your background color #dfbf7b.
24. Layers>Duplicate.
25. Again Color Changer Tool  , Tolerance 100 - Edge Softness 20 , Tolerance 100 - Edge Softness 20
left button to fill with your foreground color #3d43a5.
Pick Tool 
Position X: 557,00 and Position Y: 67,00.

26. Effects>3D Effects>Drop Shadow, color #000000.
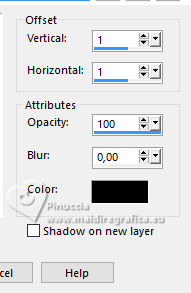
Note: in my second version I applied Drop Shadow on the second layer of the wordart.
27. Open the tube LeniDiniz-1169mulheres 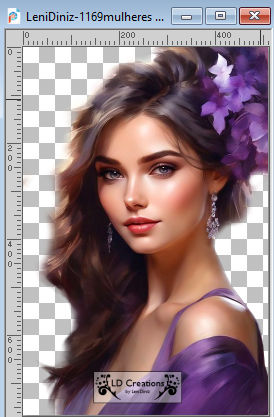
Edit>Copy.
Go back to your work and go to Edit>Paste as New Layer.
Image>Resize, 94%, resize all layers not checked.
Image>Mirror>Mirror Horizontal.
Objects>Align>Left.
Adjust>Sharpness>Sharpen.
Effects>3D Effects>Drop Shadow, at your choice.
28. Layers>Duplicate.
Layers>Arrange>Move Down.
Adjust>Blur>Gaussian Blur - radius 16.
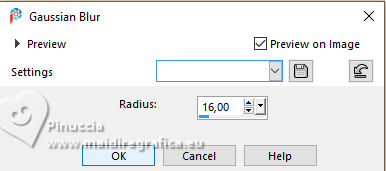
Change the Blend Mode of this layer to Multiply.
29. Activate your top layer.
Activate again the tube LeniDiniz_270misted-flores
Edit>Copy.
Go back to your work and go to Edit>Paste as New Layer.
Image>Resize, to 74%, resize all layers not checked.
30. Move  the tube to the right, under the wordart. the tube to the right, under the wordart.
Adjust>Sharpness>Sharpen.
Layers>Duplicate.
Layers>Arrange>Move Down.
Adjust>Blur>Gaussian Blur - radius 16.

Change the Blend Mode of this layer to Multiply.
Your tag and the layers
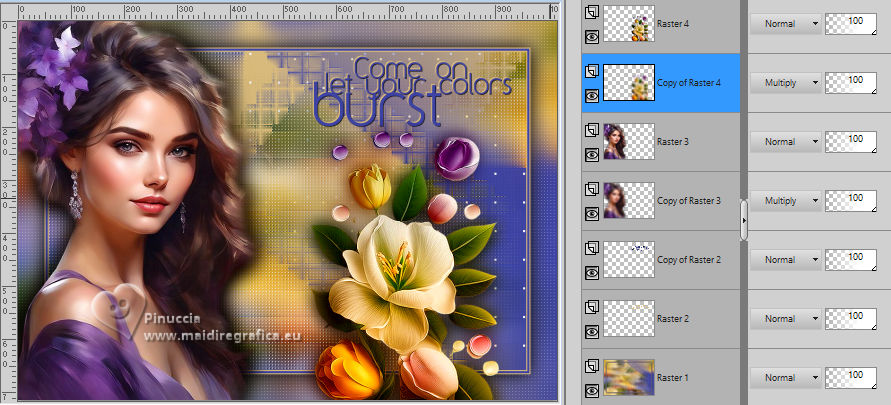
31. Image>Add Bordes - 2 pixels, symmetric, foreground color #3d43a5.
32. Sign your work and save as jpg.
For the tube of this version thanks Kamil
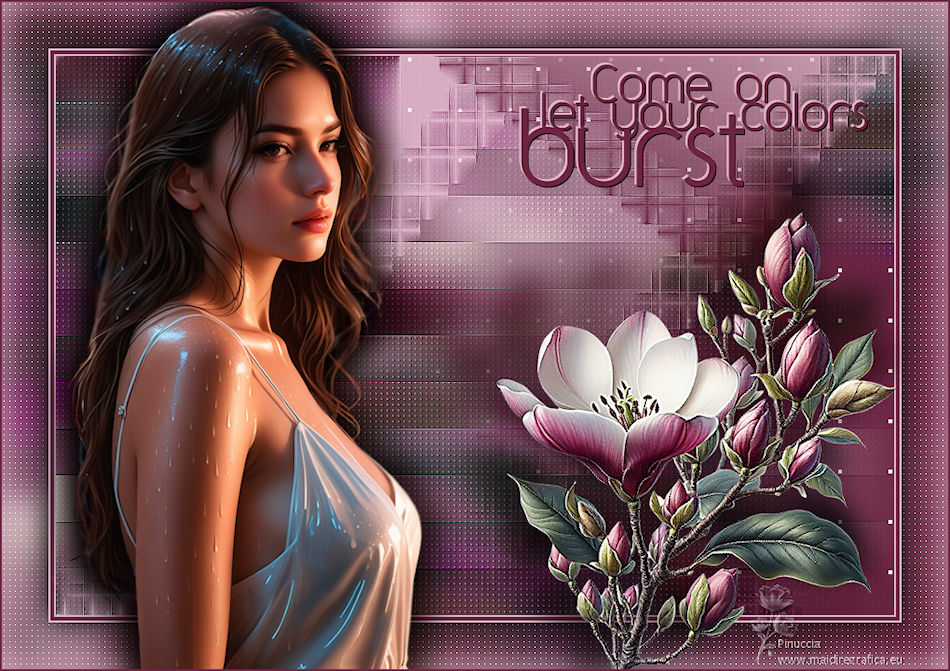

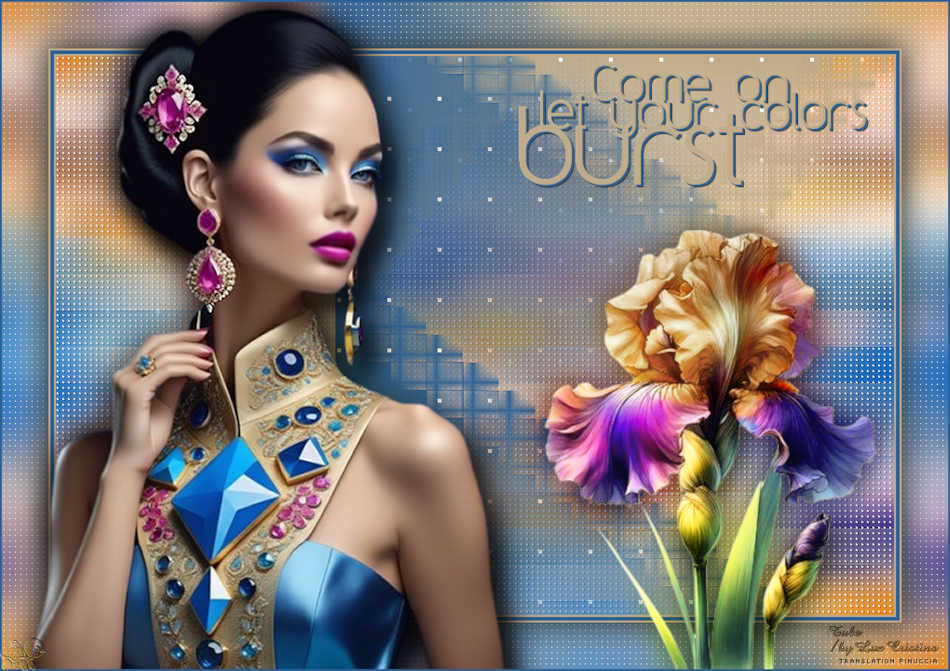
 Your versions.Thanks Your versions.Thanks

Lynnette
Pia
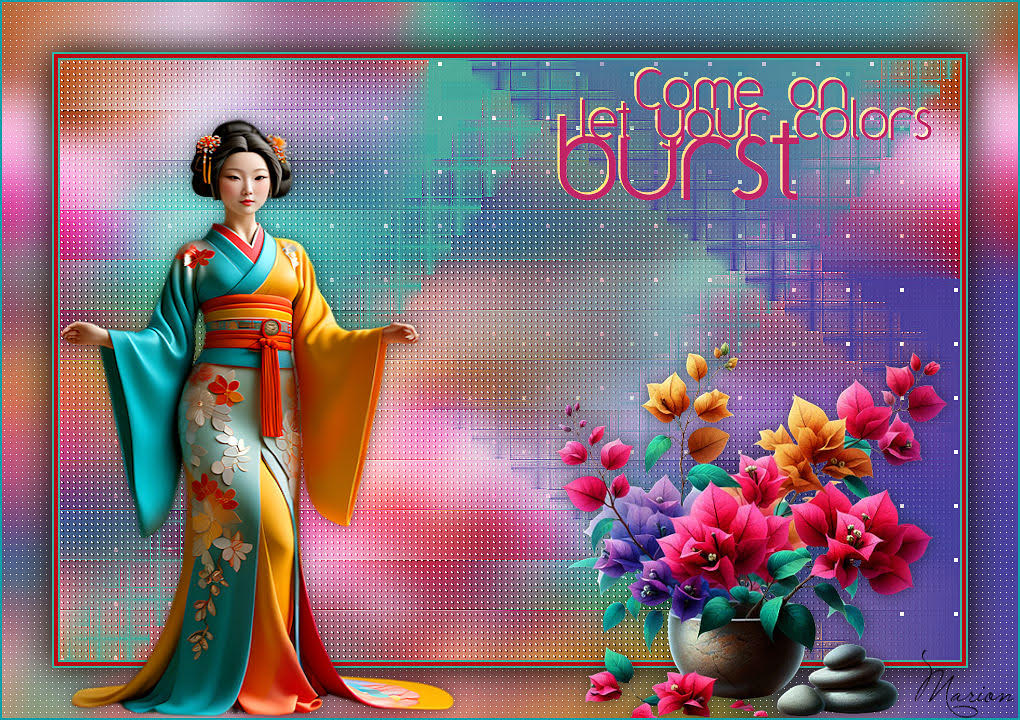
Marion
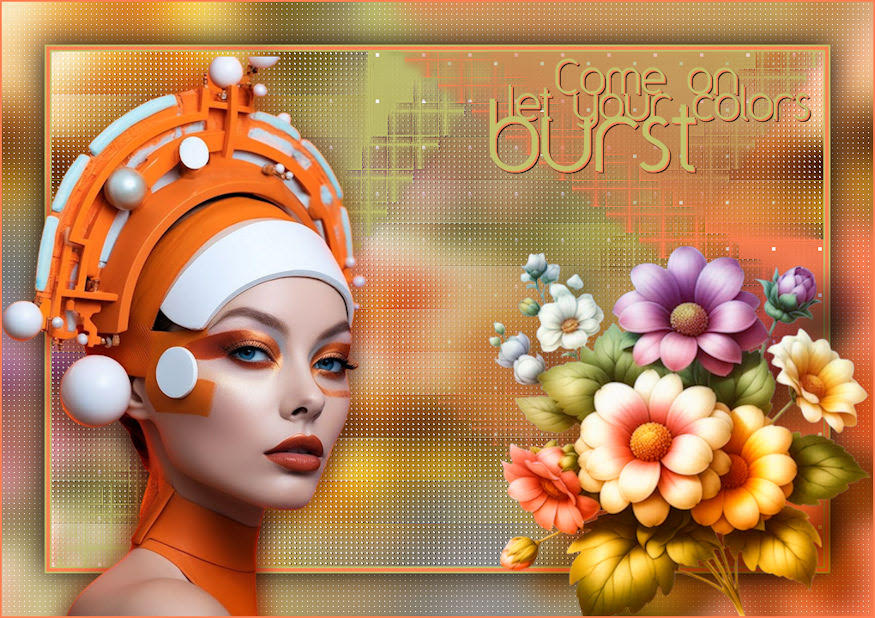
Di@ne
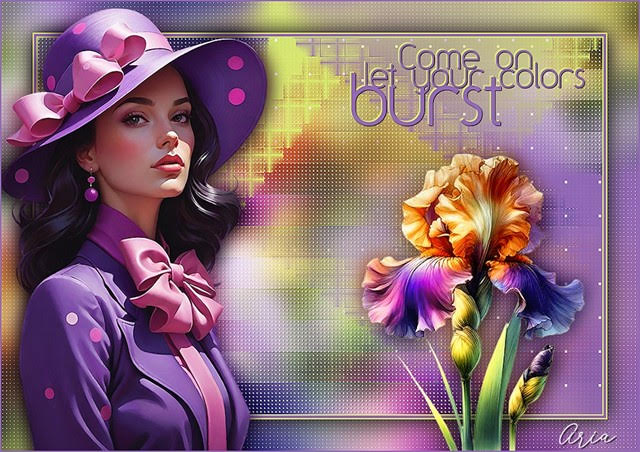
Aria


If you have problems or doubts, or you find a not worked link, or only for tell me that you enjoyed this tutorial, write to me.
6 June 2024

|

